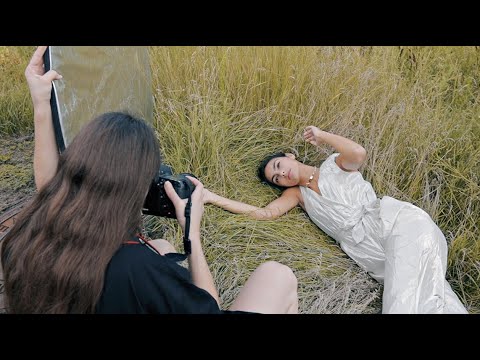
Most of my work happens under controlled light. I’ve got strobes labeled with masking tape, a lighting diagram app I built myself, and modifiers I test the day they arrive. Outdoors, I lose all of that. No power settings, no modeling lamp, no ability to reposition the source. What I do have is the same principles that make studio work successful: understanding where light originates, how it wraps around a subject, and how camera position shapes the entire frame. That’s exactly why I keep coming back to outdoor shooting tutorials from photographers who work in natural light daily.
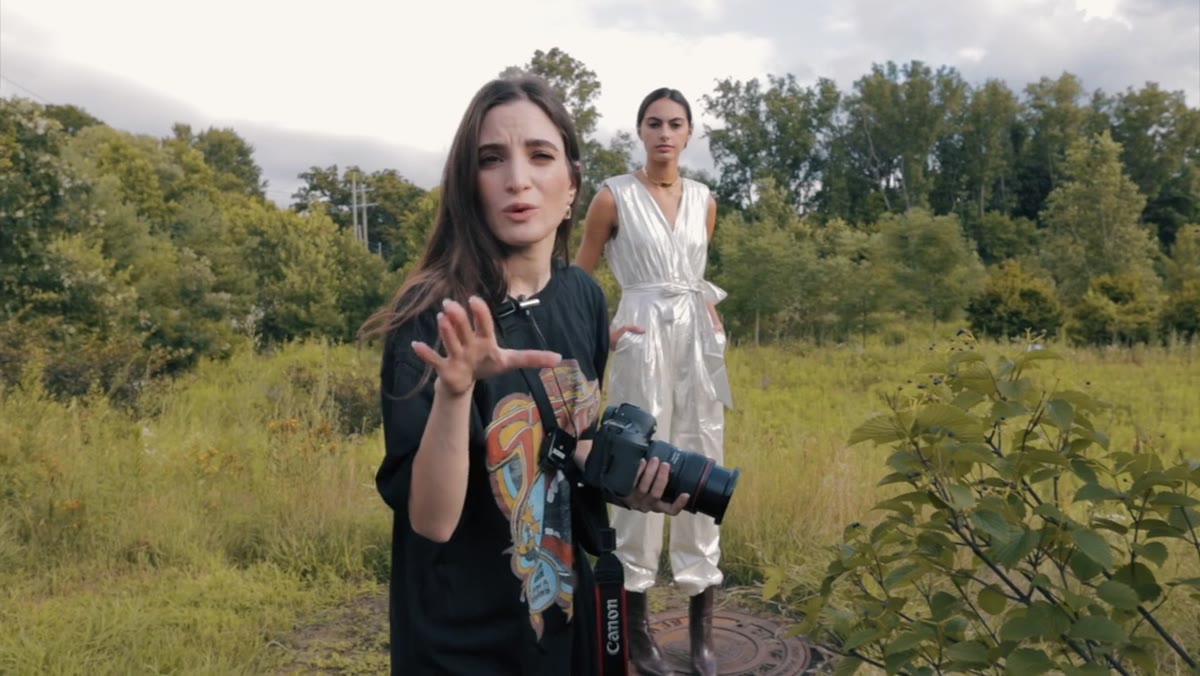
In this Jessica Kobeissi tutorial, she takes a model to a park on an overcast day and walks through the decisions she’s making in real time, including angle changes, lighting position, and reflector use. Watch the full tutorial on YouTube before reading if you want the visual context, or use this breakdown as a step-by-step guide you can take into the field. Either way, the core lessons here are ones that apply whether you’re shooting in a park or adapting them back into a studio environment.
What struck me watching her work is how methodical she is, even when it looks casual. She’s constantly adjusting and testing rather than assuming. That’s the same instinct I rely on in studio sessions, just applied to a moving, unpredictable light source.
Step 1: Establish Your Starting Pose Before Worrying About Anything Else
 Model posing with angled body and arms creating shape
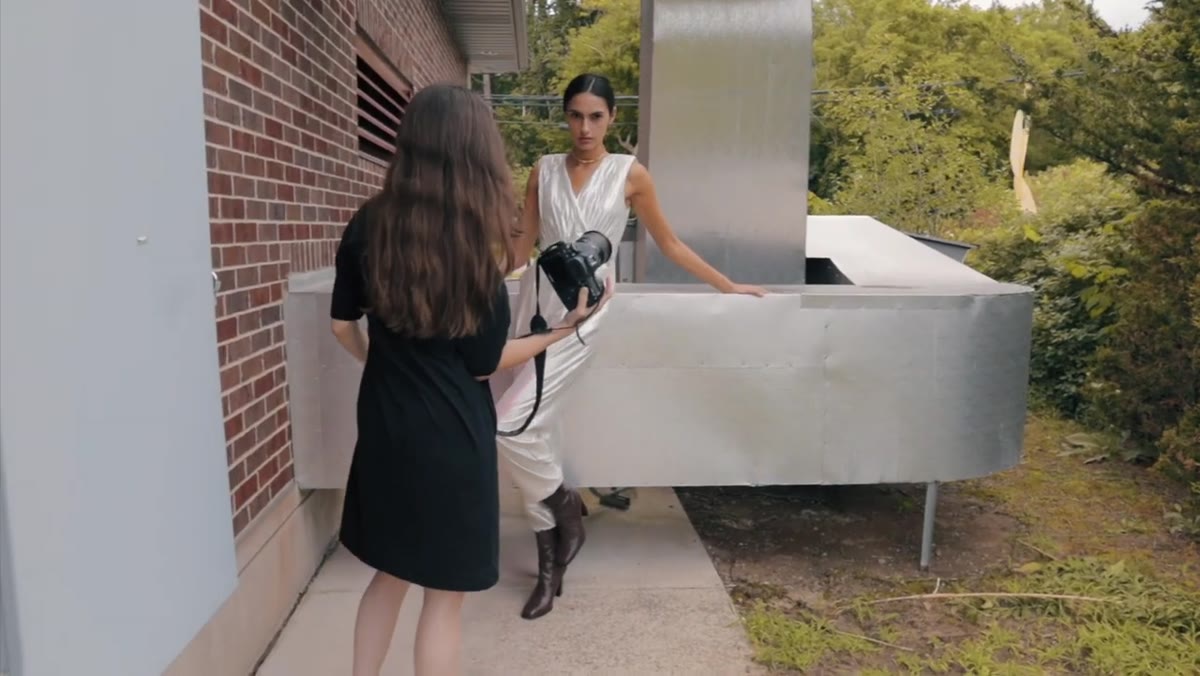
Before Kobeissi touches her camera settings or evaluates the light, she gets her model into a strong pose. And it’s worth noting what that pose actually is: the body is angled away from the camera rather than squared up, the arms are away from the torso to create separation and shape, and there’s a sense of movement rather than stiffness. She calls it a 4.0 pose, and she’s not wrong.
Model posing with angled body and arms creating shape
Before Kobeissi touches her camera settings or evaluates the light, she gets her model into a strong pose. And it’s worth noting what that pose actually is: the body is angled away from the camera rather than squared up, the arms are away from the torso to create separation and shape, and there’s a sense of movement rather than stiffness. She calls it a 4.0 pose, and she’s not wrong.
From a studio perspective, this is exactly right. You lock in a strong body position first, because every lighting and angle adjustment you make afterward will be evaluated against how the subject looks. If your pose is weak, no amount of repositioning will save the shot. Get the subject’s weight shifted, the body at an angle, and the limbs doing something intentional. Then start making your technical decisions.
Step 2: Shoot the Same Pose at Three Camera Heights
 Photographer shooting from high angle above subject’s eyeline
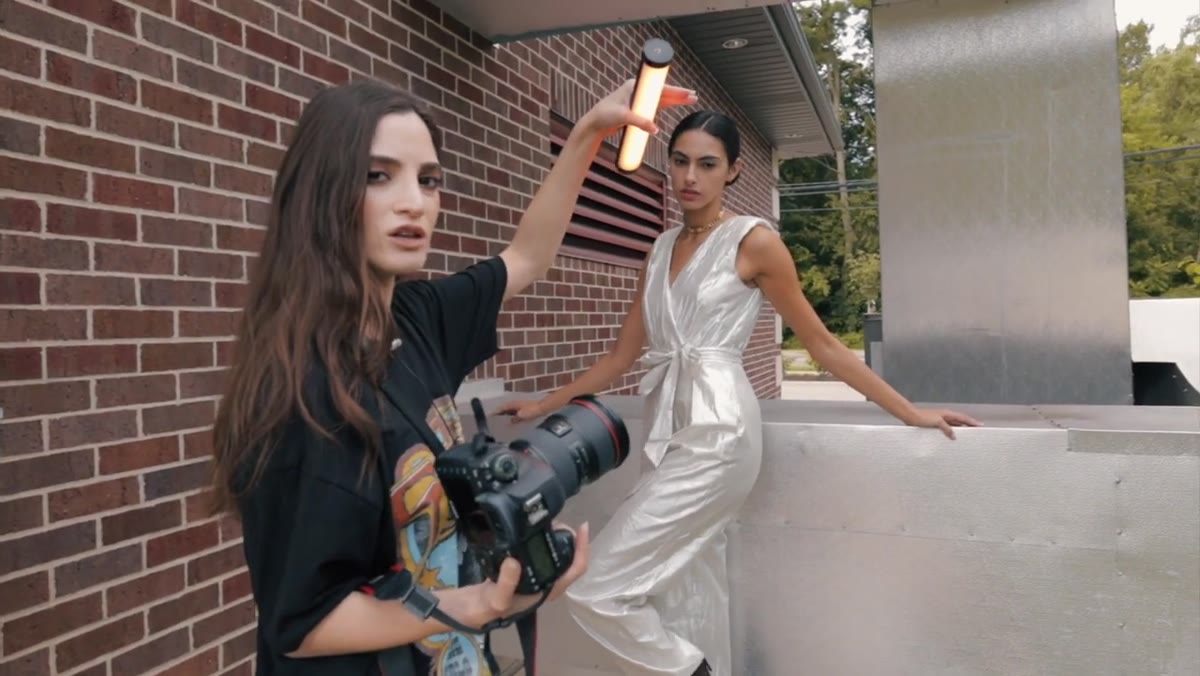
Once the pose is set, Kobeissi shoots from a high angle above eye level, then at eye level, then from a low angle. She does this without changing the model’s position at all. The point is to isolate the variable of camera height so you can actually see what it does to the image.
Photographer shooting from high angle above subject’s eyeline
Once the pose is set, Kobeissi shoots from a high angle above eye level, then at eye level, then from a low angle. She does this without changing the model’s position at all. The point is to isolate the variable of camera height so you can actually see what it does to the image.
Her conclusion, which matches my experience, is that a slightly elevated angle tends to be the most flattering starting point for most subjects. A low angle can create drama but it can also distort proportions in ways that don’t serve a portrait. Eye level is neutral and often safe but rarely the most interesting choice. Spend five minutes doing this exact test on your next shoot, three frames, three heights, same pose. You’ll stop guessing and start knowing which angle works for a particular subject and focal length combination.
Step 3: Rotate the Subject Through the Light, Not the Background
 Model repositioned to show changing light quality across angles
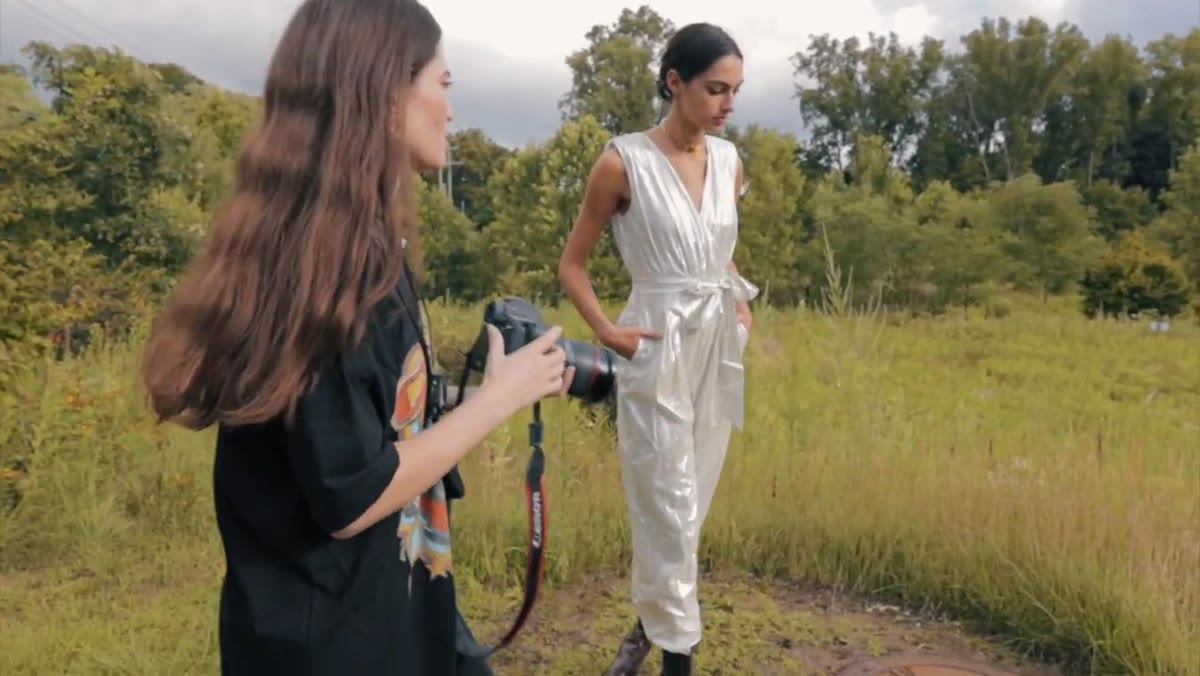
This is the section of the tutorial I’d show to every photographer who’s ever chosen a shooting location based solely on how the background looks. Kobeissi keeps her model standing in roughly the same spot and has her rotate through different orientations relative to the sun. The images change dramatically. Some angles produce clean, even light on the face. Others throw shadows under the eyes and across the nose in ways that flatten features.
Model repositioned to show changing light quality across angles
This is the section of the tutorial I’d show to every photographer who’s ever chosen a shooting location based solely on how the background looks. Kobeissi keeps her model standing in roughly the same spot and has her rotate through different orientations relative to the sun. The images change dramatically. Some angles produce clean, even light on the face. Others throw shadows under the eyes and across the nose in ways that flatten features.
On an overcast day like the one in the video, the effect is more subtle because the cloud cover is acting as a giant softbox, diffusing the light and reducing harsh shadows. But the direction still matters. Front-lit versus side-lit versus back-lit looks like three different lighting setups even under clouds. My standard practice in studio is to walk around a lit subject before shooting a single frame. Do the same thing outdoors, but walk your subject around the light source instead.
Step 4: Identify the Most Flattering Light Position and Use It as Your Anchor
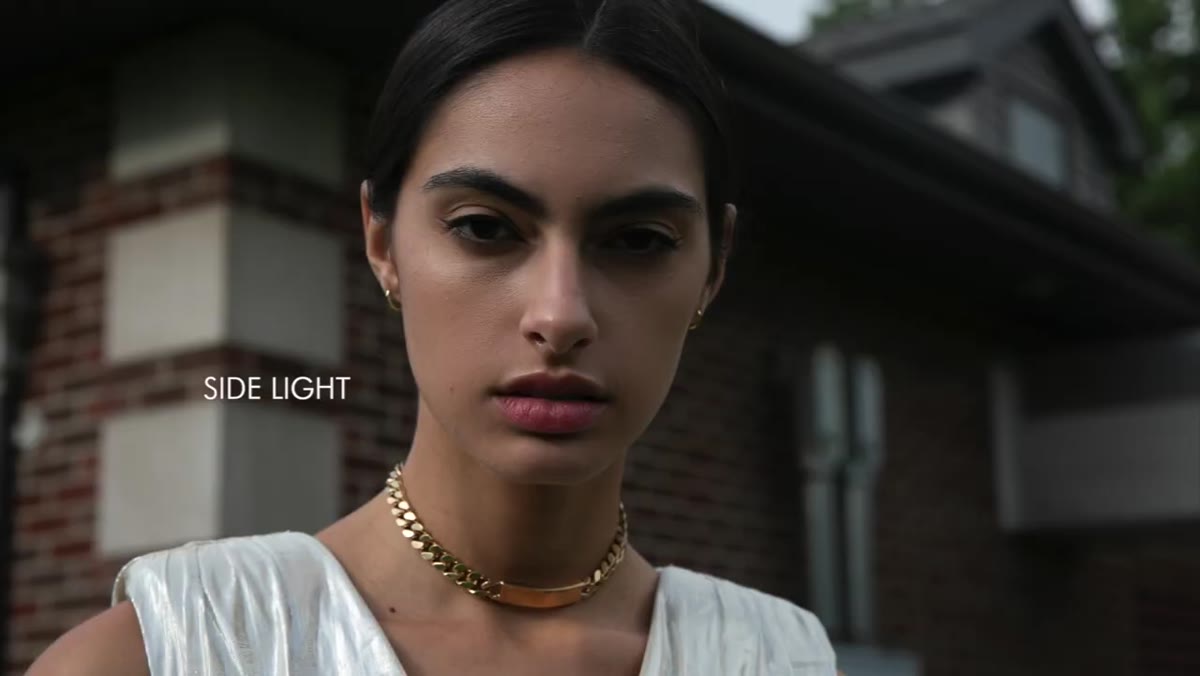 Side-lit shot showing even, flattering light on model’s face
After rotating through positions, Kobeissi picks the angle where the light looks best on the model’s skin and calls it out directly: this is the prettiest light. She’s not being vague about it. The light is coming from the side, wrapping around the face, and producing dimension without harsh shadows.
Side-lit shot showing even, flattering light on model’s face
After rotating through positions, Kobeissi picks the angle where the light looks best on the model’s skin and calls it out directly: this is the prettiest light. She’s not being vague about it. The light is coming from the side, wrapping around the face, and producing dimension without harsh shadows.
In practical terms, this becomes your anchor position for the rest of the shoot. Every compositional variation, every background change, every new pose you try should start from this relationship between your subject and the light source. You can deviate for creative reasons, but you should deviate knowingly, not accidentally.
Step 5: Use a Reflector When the Background You Want Doesn’t Match the Light You Need
 Reflector being introduced to fill shadows on subject’s face
Here’s the scenario Kobeissi lays out: you’ve found the best light position, but the background you actually want is in a different direction. The light coming from that angle is harsh or unflattering. The solution is a reflector, not a compromise.
Reflector being introduced to fill shadows on subject’s face
Here’s the scenario Kobeissi lays out: you’ve found the best light position, but the background you actually want is in a different direction. The light coming from that angle is harsh or unflattering. The solution is a reflector, not a compromise.
A reflector bounces existing light back onto the subject from a controlled direction. Positioned below and slightly in front of the face, it fills shadows under the chin and eyes without adding a second hard light source. For outdoor work, a five-in-one reflector in silver or white is the piece of gear that closes the gap between “the light I have” and “the light I need.” I keep one in my bag even on studio days for tests near windows. If you’re shooting outdoors without one, you’re solving a problem you didn’t have to have.
What I’d Add From Studio Experience: Overcast Days Are Your Softbox
The overcast sky in this tutorial is doing a lot of heavy lifting, and Kobeissi benefits from it without overstating it. For anyone coming from a studio background, here’s the translation: a fully overcast sky is functionally equivalent to a very large, very soft light source positioned overhead. It wraps, it minimizes shadows, and it’s extremely forgiving.
The limitation is that it’s not directional in the way a controlled source is. You can’t narrow it or flag it. That’s why position and reflectors still matter even on cloudy days. If you want to replicate this quality of light indoors, you’re looking at a large octabox or a window with sheer diffusion material. The overcast sky is essentially a free version of equipment that costs several hundred dollars.
The single most important thing I took from this tutorial: stop evaluating outdoor locations based on backgrounds alone. Evaluate the light first, lock in a direction that flatters your subject, and then figure out which background works within that constraint. The reflector is your tool for closing any remaining gap.
Watch the full tutorial on YouTube to see Kobeissi work through these decisions in real time. Watching how a photographer moves around a subject is something a written breakdown can get close to, but never fully replace.
Comments
Leave a Comment