The Setup That Almost Embarrassed Me in Front of a Client
A few years back I was prepping for a beauty shoot, a moody campaign for a skincare brand that wanted that deep, shadow-heavy look you see in a lot of European editorial work. I had everything dialed in, or so I thought. When the client walked in and I pulled up the first test frames, one of them looked at the screen and said, “It’s dark, but it doesn’t feel dark.” She was right. The image was underexposed in the wrong places. The shadows were muddy. The subject looked buried rather than sculpted.
That comment sent me back to basics, and I am glad it did. Low key photography is not about turning lights down. It is about being deliberate with where the light goes and, more importantly, where it refuses to go.
What Low Key Actually Means Technically
Low key refers to an image where the majority of tonal values fall in the shadow range. The histogram is weighted left. But the common mistake is treating this as an exposure decision rather than a lighting decision. If you just underexpose a normally lit portrait, you get a dark portrait. That is not the same thing.
In a true low key setup, the light is shaped and controlled so that bright areas are intentional and isolated. The ratio between your key light and the ambient or fill is severe, often 8:1 or higher. At 8:1, your fill side is three full stops darker than your key side. At 16:1, four stops. These ratios create the contrast structure that makes low key work feel deliberate. Without that structure, darkness is just darkness.
The background also carries the whole thing. In most of my low key work, the background is either black fabric, a dark gray seamless pulled far from the subject, or a wall I have flagged off completely. I use 9-foot black paper from Savage a lot. It costs around $40 a roll and it handles wrinkles better than fabric in a small studio.
Building the Light: One Source, One Job
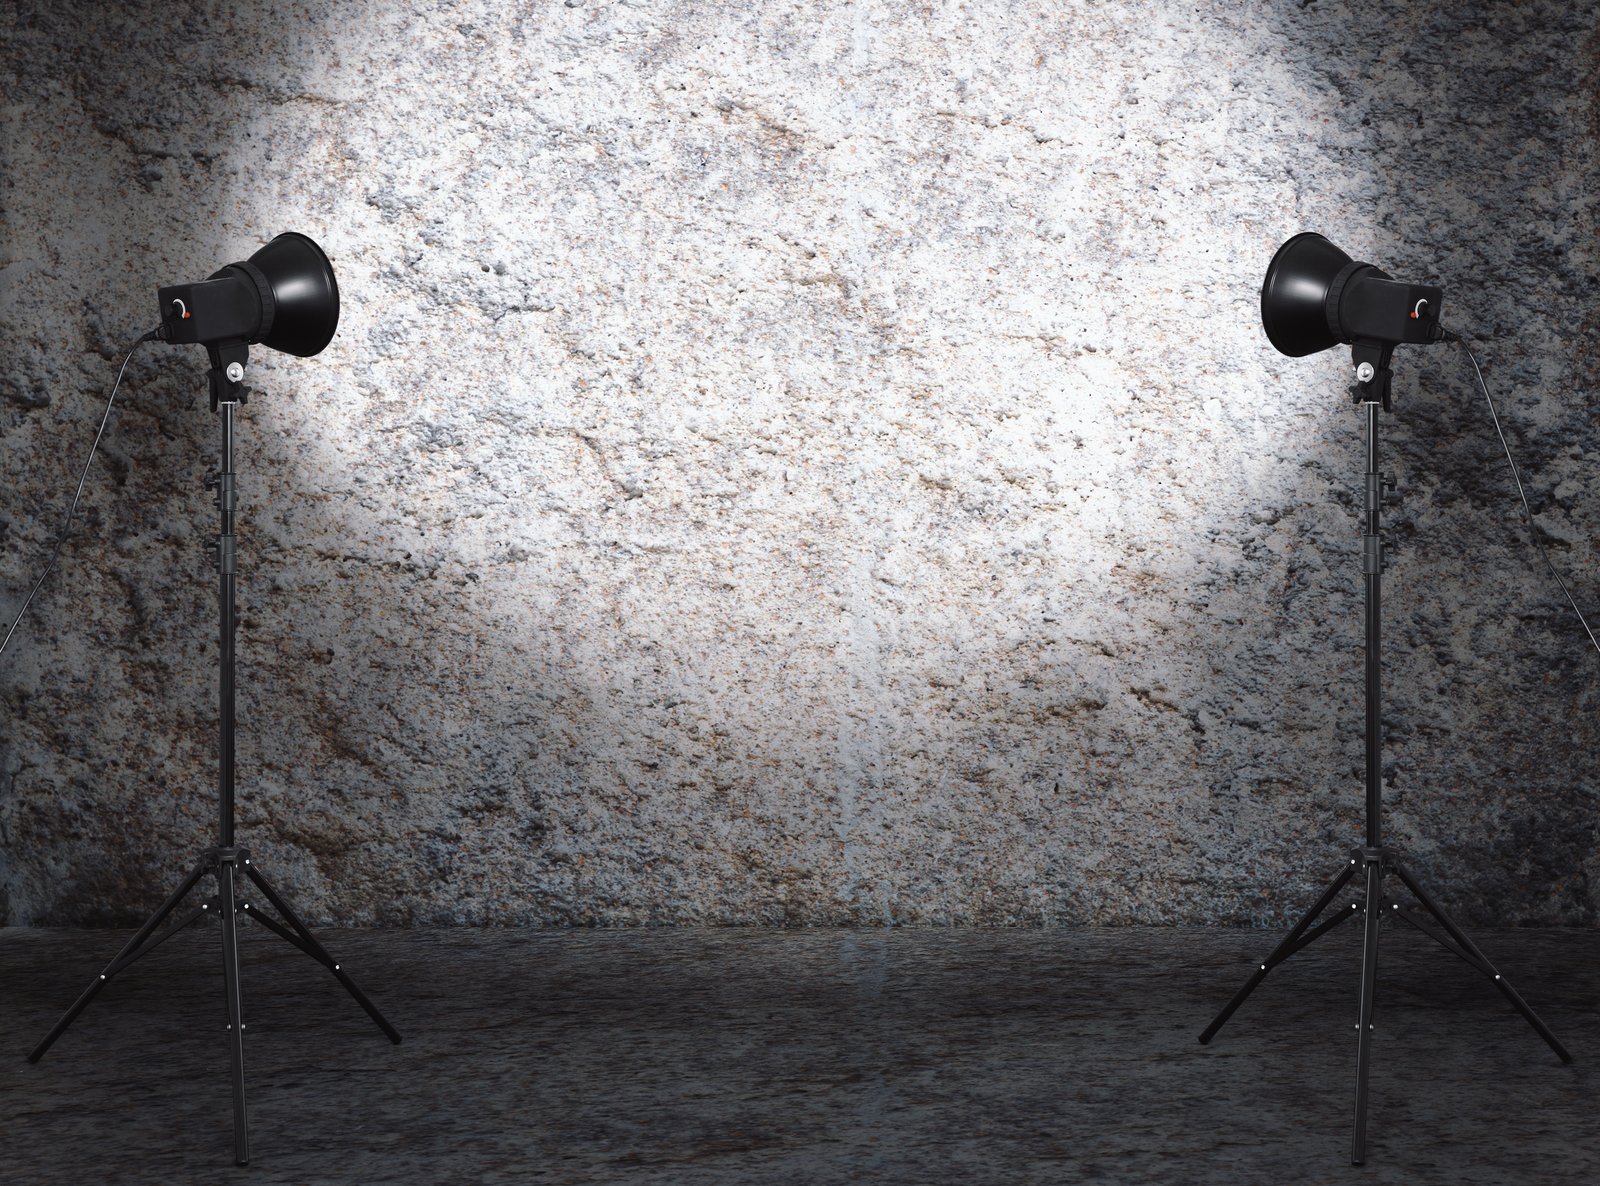
My default starting point for a low key portrait is a single Profoto B10 Plus with a 1x3-foot strip softbox. I place it at roughly a 45-degree angle to the subject, slightly above eye level, and I flag the spill aggressively with a large black foamcore panel on the opposite side. That panel is doing two jobs: it blocks any bounce and it deepens the shadow side by absorbing whatever stray light might otherwise kiss the cheek or jaw.
Power-wise, I usually start around 100 to 150 watt-seconds and work from there. The goal is a key-side reading of f/8 to f/11 at ISO 100 with my shutter at 1/125. That gives me clean shadow detail without the fill side contaminating the blacks. I shoot tethered into Capture One and I check the shadow luminosity values in the scopes. I want the unlit areas sitting below 20 on the luminosity scale, ideally below 15.
If I need a rim or hair light, I add a second strobe behind the subject, heavily flagged, with a small reflector dish or a narrow grid. A 10-degree grid on a reflector head keeps that rim tight and stops it from spilling into the background. The moment your background picks up light from a rim, your whole low key logic falls apart.
The Role of the Subject’s Position (This Changes Everything)
Posing in low key is not decorative. It is functional. Where the subject’s face is angled determines which planes catch the key light and which ones drop into shadow. I spend real time on this during every shoot. A five-degree chin tilt down can completely change whether the highlight on the cheekbone is a sculpted edge or a flat wash.
I keep a lighting journal where I sketch every setup from every shoot, including where the subject’s chin was pointing and how that affected the shadow fall on the neck and collarbone. After several years of sketching these out, patterns emerge. For low key specifically, I have found that turning the face slightly away from the key light and then bringing it back toward it, stopping just before the nose shadow crosses the upper lip, almost always gives me the most dimensionality. Some photographers call that short lighting. Whatever you call it, it works in low key because it maximizes the shadow area on the face while keeping the lit planes sharp and readable.
My wife actually helped me understand this more intuitively than any technical reading did. She used to point out when window light was making her look tired versus when it was doing something interesting. That forced me to look at light in terms of what it was revealing about facial structure rather than just as a quantity of brightness.
Metering, Calibration, and Not Trusting Your Screen
Color calibration matters in low key more than in high key work, and here is why: when you have deep shadows next to a narrow band of light, the color temperature of that light is exposed and isolated. There is no fill light averaging things out. If your strobe is running warm, that warmth sits right on the lit cheekbone with nothing to balance it.
I use a Sekonic C-800 spectrometer to measure color temperature before every shoot. It costs around $700 and I use it every single session. For most of my strobes I calibrate to a target of 5500K. If I find a head running at 5750K or above, I correct it with a quarter CTB gel on the modifier. I label every light in my studio with its current gel status on a strip of masking tape, right on the housing. That practice alone has saved me from more than a few inconsistent sets.
Trusting your monitor is the other variable. I calibrate my EIZO ColorEdge with a Calibrite ColorChecker Display Pro once a month. In low key work, shadow rendering on an uncalibrated screen can mislead you into thinking blacks are cleaner or more detailed than they actually are.
The single most important thing I can tell you about low key lighting is this: darkness is not an accident you manufacture by dimming things. It is a structure you build by controlling exactly where every photon goes.
Comments (2)
Simple but effective. Sometimes that's all you need.
Love how you break down complex stuff into manageable steps.
Leave a Comment