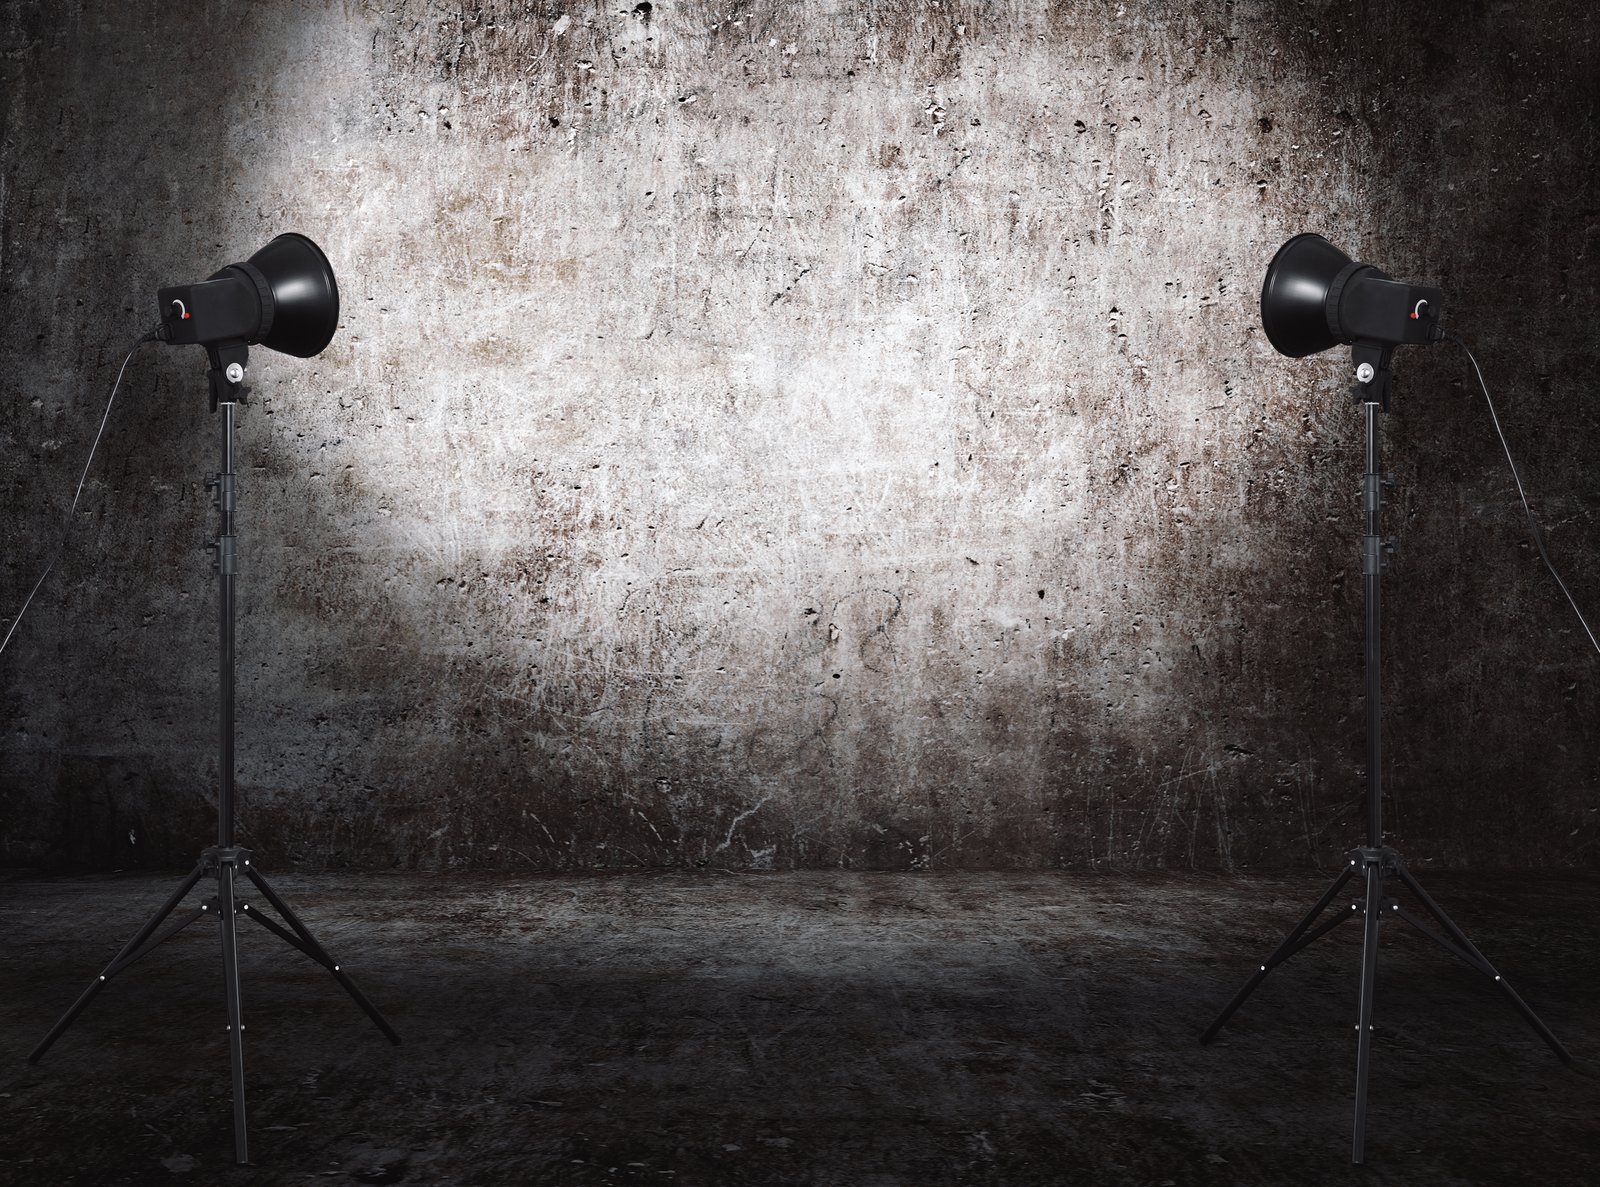
The Mistake Most Photographers Make Before They Even Fire a Frame
I keep a lighting journal. Every shoot, I sketch the setup — light positions, modifiers, distances, power settings. I’ve been doing it for years, and when I flip back through the early pages, one pattern is obvious: I used to fight with shadow instead of working with it.
Low key photography trips people up because they approach it backwards. They start by dimming everything down and hope drama emerges from the murk. That’s not low key. That’s underexposure. Real low key lighting is not about how little light you use. It’s about how precisely you place what you do use, and how deliberately you withhold it everywhere else.
That distinction sounds simple. Getting it right in practice is another matter entirely.
What Low Key Actually Means (And Why Ratios Are the Whole Game)
Low key describes an image where the majority of the frame sits in shadow, with the subject emerging from darkness rather than sitting inside a bright, evenly lit environment. The tonal balance skews toward black. But the subject still needs to be lit, usually with significant contrast between highlight and shadow on the face or body itself.
This is a lighting ratio problem. In a typical portrait, I might work at a 2:1 or 3:1 ratio between my key light and fill. For low key work, I’m often at 8:1 or higher, sometimes pulling fill entirely. At 8:1, the shadow side of a face is receiving roughly three stops less light than the highlight side. That gap is what creates the sense of weight and dimension that makes low key portraits feel the way they do.
The math works like this: a 2:1 ratio is one stop of difference. A 4:1 ratio is two stops. An 8:1 ratio is three stops. Every time you double the ratio, you add one stop of difference. Know these numbers before you touch a modifier.
Building the Setup: One Light Done Correctly
The cleanest way to learn low key is to start with a single strobe and a medium-sized modifier, then add nothing until you have a reason to.
My go-to for this kind of work is a 24-inch beauty dish with a grid attached, set to camera right at roughly 45 degrees horizontal and 30 to 40 degrees above the subject’s eye line. The grid stops light spill cold, which matters enormously on a dark background. Without it, you get light crawling onto the background and lifting those blacks you worked to preserve. A gridded beauty dish runs you anywhere from around $80 to $200 depending on brand. I’ve tested most of them the week they arrived, and for this application, the Glow 22-inch with a 30-degree grid has been reliable and honest with its falloff.
Background matters just as much as the light. I shoot low key on a seamless black paper backdrop, typically Savage or Superior, positioned at least six feet behind the subject. That distance ensures even the spill that escapes my grid has time to fall off before it hits the paper. If the background reads at anything above pure black on the histogram, I haven’t controlled my light well enough.
For strobe power, I’ll meter the key light to f/8 at ISO 100 on a full-frame body. The background at that same ISO reads at f/2 or below — four-plus stops underexposed. That’s the gap I want.
When a Second Light Earns Its Place
Some low key setups call for a hair light or a rim light. I use them selectively, and I never add one until I’ve seen the single-light version and found it genuinely incomplete.
A rim light placed behind the subject at roughly 7 or 8 o’clock, aimed toward camera, will separate dark hair or clothing from a dark background. Without it, a subject in a black jacket against black seamless can simply disappear at the edges. The rim light solves a real problem, so it earns its spot.
But power discipline is critical here. I run a rim at least two stops below the key. If the key is at f/8, the rim is at f/4 or below. In low key work, any light that competes with your key starts unraveling the whole tonal logic of the image. I label every light in my studio with masking tape and include the last tested output range on the label. It sounds fussy. It means I don’t have to guess mid-shoot.
The One Thing That Collapses a Low Key Image Faster Than Anything Else
Ambient light. Studio ambient is the enemy of low key work specifically because the effect depends on a controlled dark-to-light transition. Any ambient light, even the glow from a monitor or a north-facing window, will lift your shadow values and flatten the contrast you’ve built with your strobe placement.
I shoot low key with the studio curtains drawn, the modeling lights off on any strobe not in use, and my camera set to a shutter speed of 1/200s to kill any remaining ambient contribution. At that shutter speed and ISO 100, the strobe dominates completely. Whatever the ambient is doing becomes irrelevant.
My first significant editorial shoot out of school nearly fell apart because I hadn’t calibrated my color temperature and the images came back looking muddy and inconsistent. I’ve been meticulous about environment and calibration ever since, and controlling ambient in low key work is part of that same discipline. You can’t fix lifted shadows in post the way you can correct for a color shift. The tonal relationship between light and dark has to be built correctly at capture.
Low key lighting rewards photographers who treat every variable as a choice rather than an accident. Control the single light source first, control the spill second, and let the darkness do the work you’ve designed it to do.
Comments (1)
I've watched a dozen tutorials on this and yours is the clearest by far.
Leave a Comment