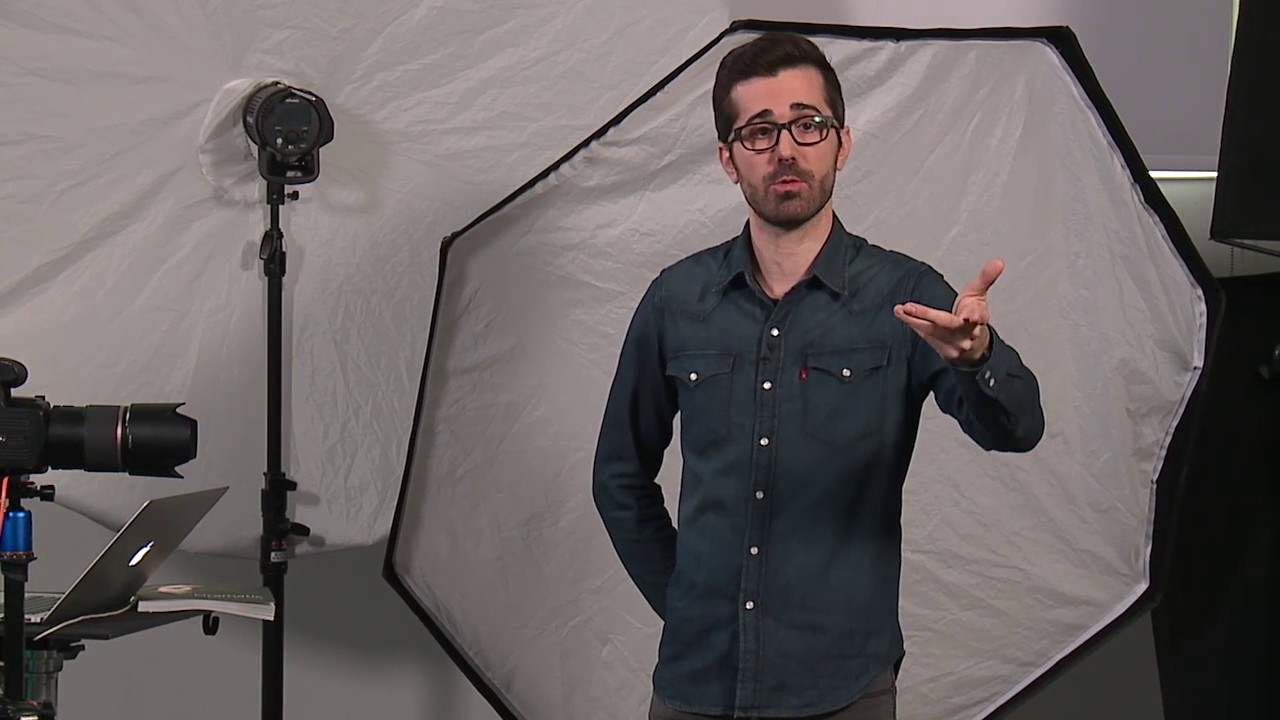
Every few months I pull up a tutorial that reframes something I thought I already understood. Low-key portraiture was one of those things I had been doing intuitively for years before I could actually articulate what separates a deliberately dark image from a simply underexposed one. I keep a lighting journal, and I’ve sketched probably a hundred low-key setups over my career, but I still found myself writing notes while watching this breakdown by Chris Knight for CreativeLive. Watch the full tutorial on YouTube before or after reading this, because Knight’s delivery adds nuance that’s worth your time.
The reason this tutorial matters to working photographers isn’t that it introduces exotic gear or hidden tricks. It matters because it builds a precise vocabulary around a technique that most photographers treat as a vibe. If you’ve ever handed a client a dark, moody portrait and had them come back asking why it looks “too dark” when you know it’s correct, you understand the problem. The gap is almost always conceptual, not technical. Knight closes that gap methodically.
What follows is my walkthrough of the key ideas from the tutorial, restructured as actionable steps you can take into the studio today.
Step 1: Define What Low-Key Actually Means Before You Touch a Light
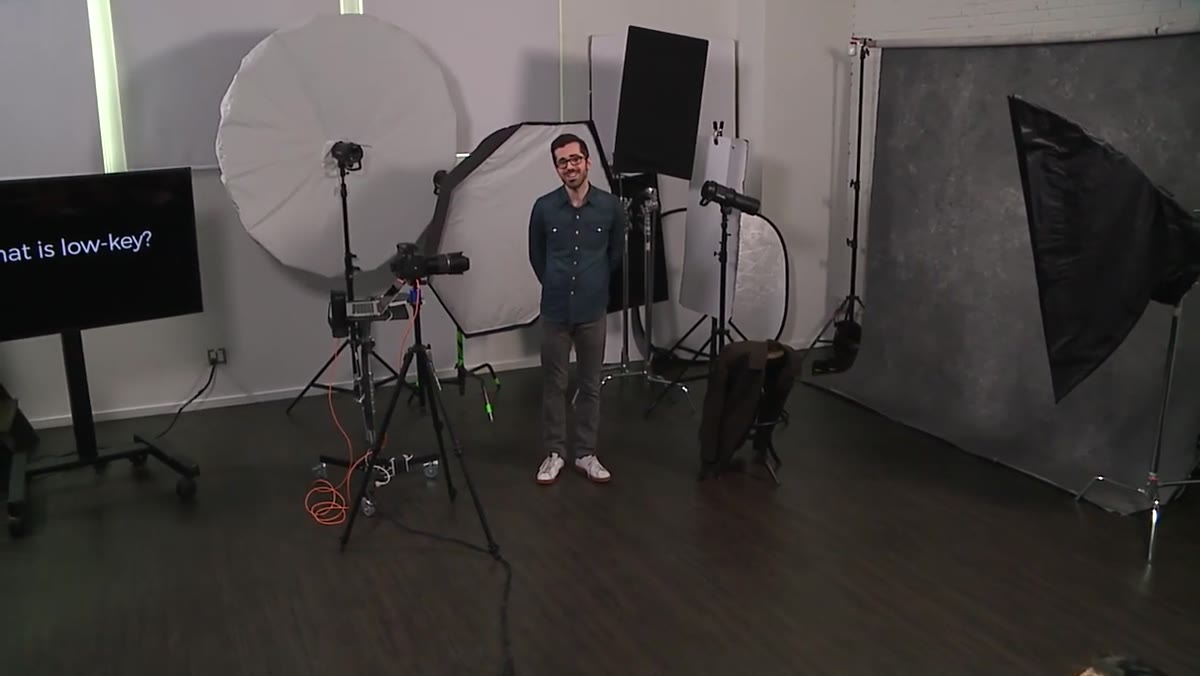 Chris Knight introducing the concept of low-key at a studio
Low-key is not a mood board keyword. It is a specific visual strategy where darkness and shadow carry the structural weight of the image. Before you adjust a single modifier, you need to ask what emotional response you are engineering. Knight is direct about this: serious, moody, mysterious, cinematic. These are the registers that low-key lighting naturally supports. That doesn’t mean a subject smiling in a low-key setup is automatically wrong, but you are working against certain viewer expectations the moment they look at the frame. Decide whether the fight is worth it before you commit to the setup.
Chris Knight introducing the concept of low-key at a studio
Low-key is not a mood board keyword. It is a specific visual strategy where darkness and shadow carry the structural weight of the image. Before you adjust a single modifier, you need to ask what emotional response you are engineering. Knight is direct about this: serious, moody, mysterious, cinematic. These are the registers that low-key lighting naturally supports. That doesn’t mean a subject smiling in a low-key setup is automatically wrong, but you are working against certain viewer expectations the moment they look at the frame. Decide whether the fight is worth it before you commit to the setup.
Step 2: Understand the Histogram Distinction Between Low-Key and Underexposed
 Histogram display showing tonal information weighted to the left
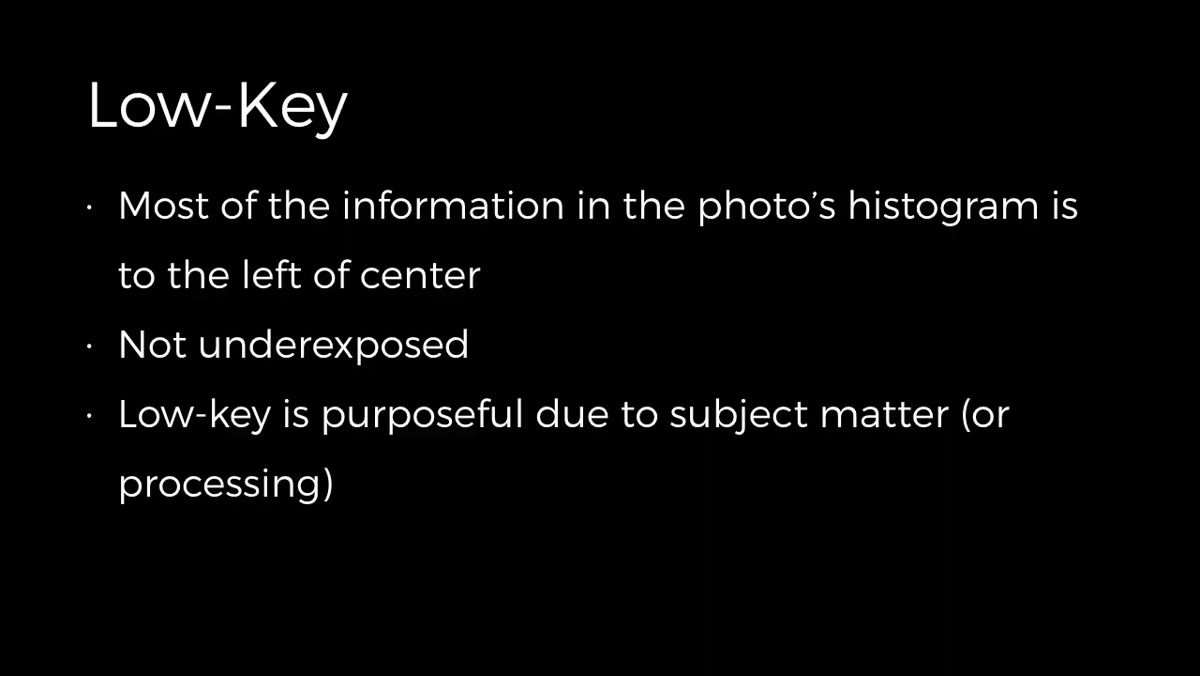
This is the most practically useful idea in the entire tutorial. A low-key image and an underexposed image can look identical on a histogram: most of the tonal information pushed to the left of center. The difference is intent. A dark subject on a dark background is supposed to produce a left-heavy histogram. That is not a mistake. The exposure is correct for what you are trying to build. Where photographers get into trouble is when they second-guess themselves mid-shoot because the histogram looks “wrong” by conventional standards. In the studio, you have full control over every variable. Lean on that control. Set your exposure with purpose, not by chasing a centered histogram.
Histogram display showing tonal information weighted to the left
This is the most practically useful idea in the entire tutorial. A low-key image and an underexposed image can look identical on a histogram: most of the tonal information pushed to the left of center. The difference is intent. A dark subject on a dark background is supposed to produce a left-heavy histogram. That is not a mistake. The exposure is correct for what you are trying to build. Where photographers get into trouble is when they second-guess themselves mid-shoot because the histogram looks “wrong” by conventional standards. In the studio, you have full control over every variable. Lean on that control. Set your exposure with purpose, not by chasing a centered histogram.
Step 3: Use the Studio Environment to Override Automatic Exposure Logic
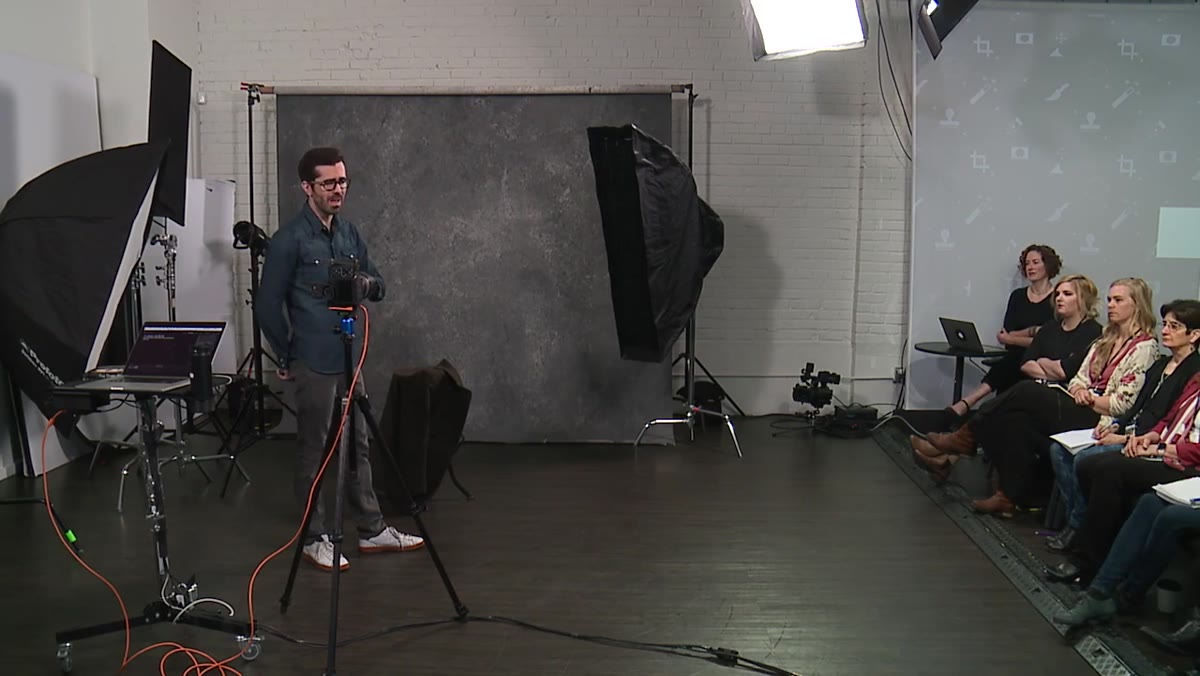 Studio setting demonstrating deliberate exposure control over subject and background
Shooting outdoors on auto, your camera will try to center-weight the exposure. Put a dark subject on a dark background and the camera will push it brighter to compensate. That is the opposite of what you want. In the studio, you eliminate that variable entirely. You set the exposure manually, you control the output of every light, and you make the image the histogram reflects what you intended rather than what the camera guessed. This is one of the genuine advantages of studio work that newer photographers underestimate. Treat it as a creative instrument, not just a convenience.
Studio setting demonstrating deliberate exposure control over subject and background
Shooting outdoors on auto, your camera will try to center-weight the exposure. Put a dark subject on a dark background and the camera will push it brighter to compensate. That is the opposite of what you want. In the studio, you eliminate that variable entirely. You set the exposure manually, you control the output of every light, and you make the image the histogram reflects what you intended rather than what the camera guessed. This is one of the genuine advantages of studio work that newer photographers underestimate. Treat it as a creative instrument, not just a convenience.
Step 4: Learn the Figure-Ground Relationship and Build Lighting Around It
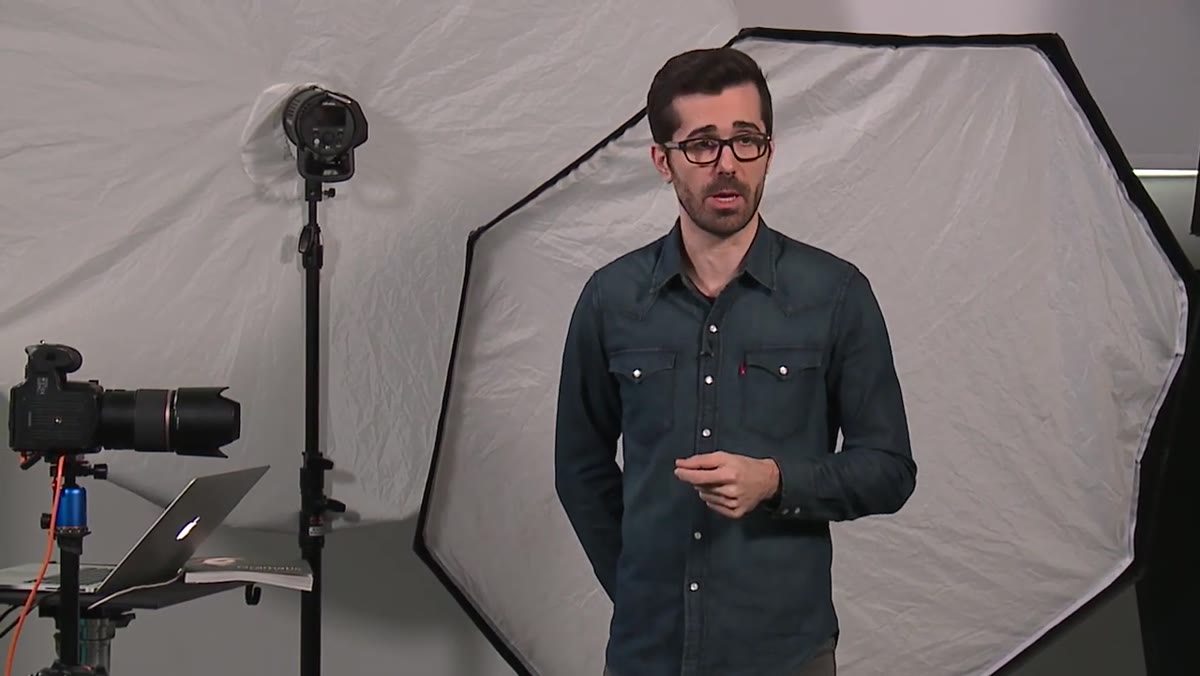 Demonstration of figure-ground separation in a low-key portrait
Knight references the Gestalt principles of visual organization, specifically the figure-ground relationship. The short version for photographers: human eyes are wired to separate a subject from its background. In low-key work, you use contrast to do that work rather than relying on color or busy backgrounds. The bright areas of the image, whether that’s a lit cheekbone, a catch light, a rim of light on a shoulder, become the elements that pull the eye in. Everything else recedes. This means every light you place needs to earn its spot. If it isn’t creating separation or defining form, it is probably softening the drama you’re trying to build.
Demonstration of figure-ground separation in a low-key portrait
Knight references the Gestalt principles of visual organization, specifically the figure-ground relationship. The short version for photographers: human eyes are wired to separate a subject from its background. In low-key work, you use contrast to do that work rather than relying on color or busy backgrounds. The bright areas of the image, whether that’s a lit cheekbone, a catch light, a rim of light on a shoulder, become the elements that pull the eye in. Everything else recedes. This means every light you place needs to earn its spot. If it isn’t creating separation or defining form, it is probably softening the drama you’re trying to build.
Step 5: Treat Lighting as a Component of the Larger Visual Story
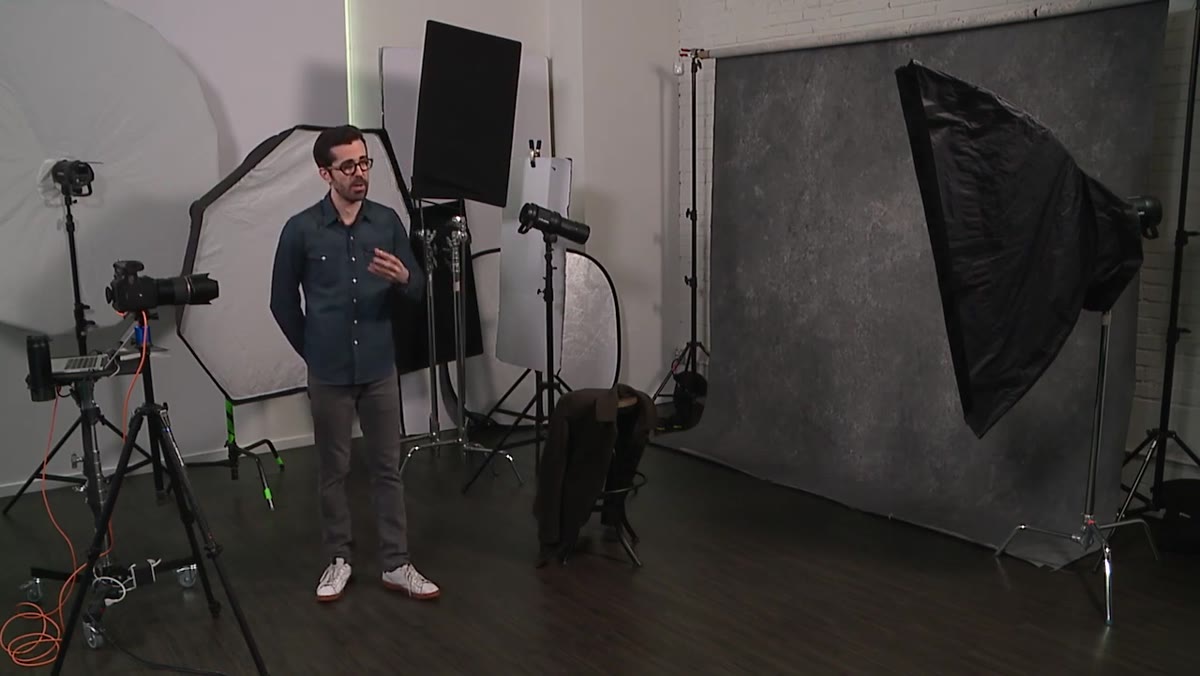 Knight explaining lighting within the context of a broader visual narrative
Knight frames lighting not as the end goal but as a component of a greater idea. This sounds abstract but it has a concrete implication: your low-key setup should be chosen to serve the story, not imposed on it. If you’re shooting a subject for an editorial about resilience or tension, the low-key approach reinforces that before the viewer has read a single word. If you’re shooting a brand campaign for a children’s toy, the same setup creates friction that you’ll spend the rest of the image trying to undo. Decide on the story first. Let the lighting answer to it.
Knight explaining lighting within the context of a broader visual narrative
Knight frames lighting not as the end goal but as a component of a greater idea. This sounds abstract but it has a concrete implication: your low-key setup should be chosen to serve the story, not imposed on it. If you’re shooting a subject for an editorial about resilience or tension, the low-key approach reinforces that before the viewer has read a single word. If you’re shooting a brand campaign for a children’s toy, the same setup creates friction that you’ll spend the rest of the image trying to undo. Decide on the story first. Let the lighting answer to it.
What I’d Add From My Own Studio Experience
Knight’s tutorial focuses on the conceptual and technical foundation, which is exactly right for an introductory breakdown. What I’d layer on top is the importance of your background material in low-key work. A black background that reflects even a small amount of ambient spill will fight you constantly. I’ve gone through a lot of black backdrop options over the years, and the difference between a matte, light-absorbing black muslin and a cheaper poly backdrop that throws back a subtle sheen shows up immediately in the shadow areas. Get your background right first and your job as a lighting designer gets easier by half.
The other thing I’d add is to shoot tethered when you’re learning low-key setups. Looking at the histogram on the back of a camera in a dark studio is imprecise. Seeing the image large on a calibrated monitor while you’re still adjusting lights changes everything. I cannot stress how much faster you’ll dial in the exposure balance between your key light and your shadow falloff when you’re watching the result in real time on a proper display.
The single most important idea from this tutorial is the one Knight returns to repeatedly: low-key is about intent, not darkness for its own sake. Getting the exposure to read left on a histogram is not the goal. The goal is a deliberate, purposeful image where shadow and darkness are active design choices, not accidents. Every light placement, every modifier choice, every exposure decision should connect back to what you are trying to communicate and why.
Watch the full tutorial on YouTube and pay particular attention to how Knight talks about the relationship between the emotional register of the image and the technical setup. That connection is where the real work happens.
Comments
Leave a Comment