
I shoot studio work for a living. Fashion, beauty, corporate headshots. My lights are labeled with masking tape, my modifiers are organized by size, and I have a lighting diagram app on my phone that I built myself. Control is the whole game in studio work, and I am very comfortable in that game. What makes me uncomfortable is walking out of my studio with no equipment, no safety net, and being expected to produce images that look like I brought a full kit. That is exactly the scenario that keeps a lot of photographers tethered to their gear bags when they should be out shooting.
That discomfort is why a recent tutorial from Jay P. Morgan at The Slanted Lens hit me differently than most. In Watch the full tutorial on YouTube, he heads into downtown Los Angeles with his model Jenly and deliberately leaves the strobes and reflectors behind. The goal is to demonstrate how open sky reflection in shade can do the work of an entire lighting setup, if you know how to position your subject correctly. Then, after shooting thousands of frames in a single session, he shows how Aftershoot’s AI culling engine processed the entire take overnight. Two separate problems, solved cleanly, in one video.
Step 1: Choose Shade, Not Direct Sun
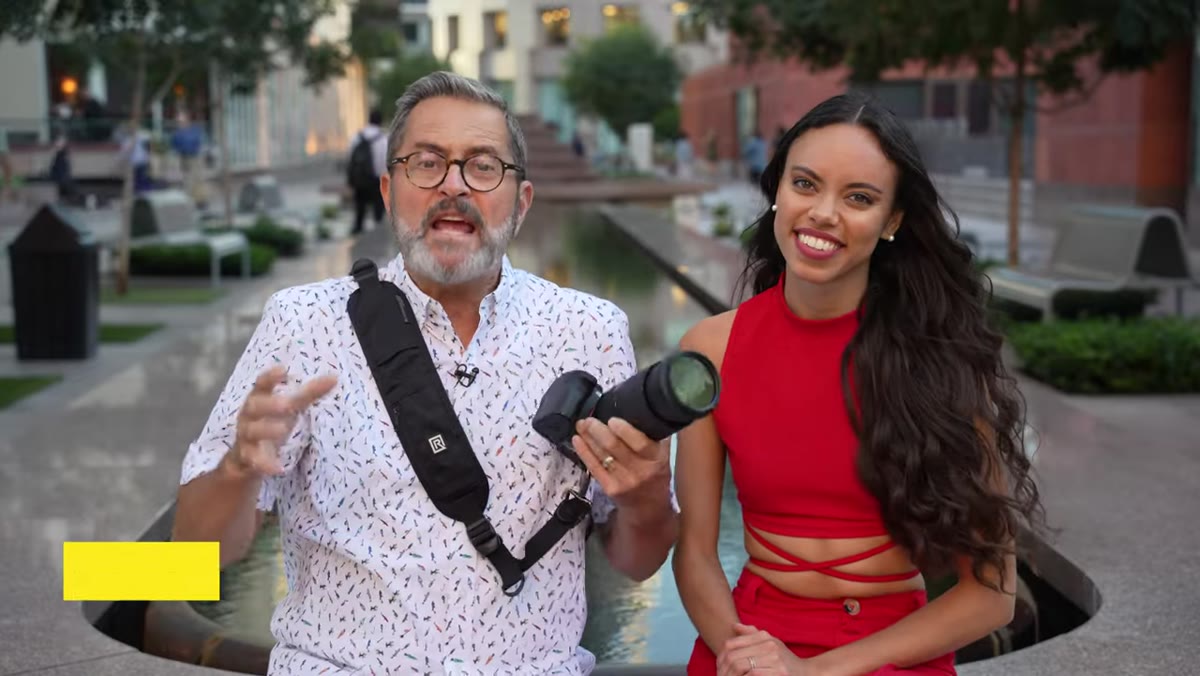 Jay P. explaining shooting in shade with no gear
The instinct for a lot of photographers, especially those coming from a studio background, is to look for patches of direct sunlight when shooting outdoors. Beautiful, golden, dramatic. It is also nearly impossible to control and extremely unflattering for most skin tones at midday. Jay P. flips that logic entirely. The move is to find shade, specifically shade where an open sky is visible in front of the subject. The sky acts as a massive, soft, diffuse light source. Think of it as the world’s largest octabox, positioned roughly above and in front of your subject.
Jay P. explaining shooting in shade with no gear
The instinct for a lot of photographers, especially those coming from a studio background, is to look for patches of direct sunlight when shooting outdoors. Beautiful, golden, dramatic. It is also nearly impossible to control and extremely unflattering for most skin tones at midday. Jay P. flips that logic entirely. The move is to find shade, specifically shade where an open sky is visible in front of the subject. The sky acts as a massive, soft, diffuse light source. Think of it as the world’s largest octabox, positioned roughly above and in front of your subject.
The key physical principle here is that you are not using ambient light bouncing around randomly. You are using directional reflected light from the sky itself. That directional quality is what separates a well-lit shade portrait from a flat, muddy one. Face the subject toward the open sky, position yourself between them and the building or structure casting the shade, and you already have a workable key light with zero equipment.
Step 2: Position the Subject at the Shadow’s Edge
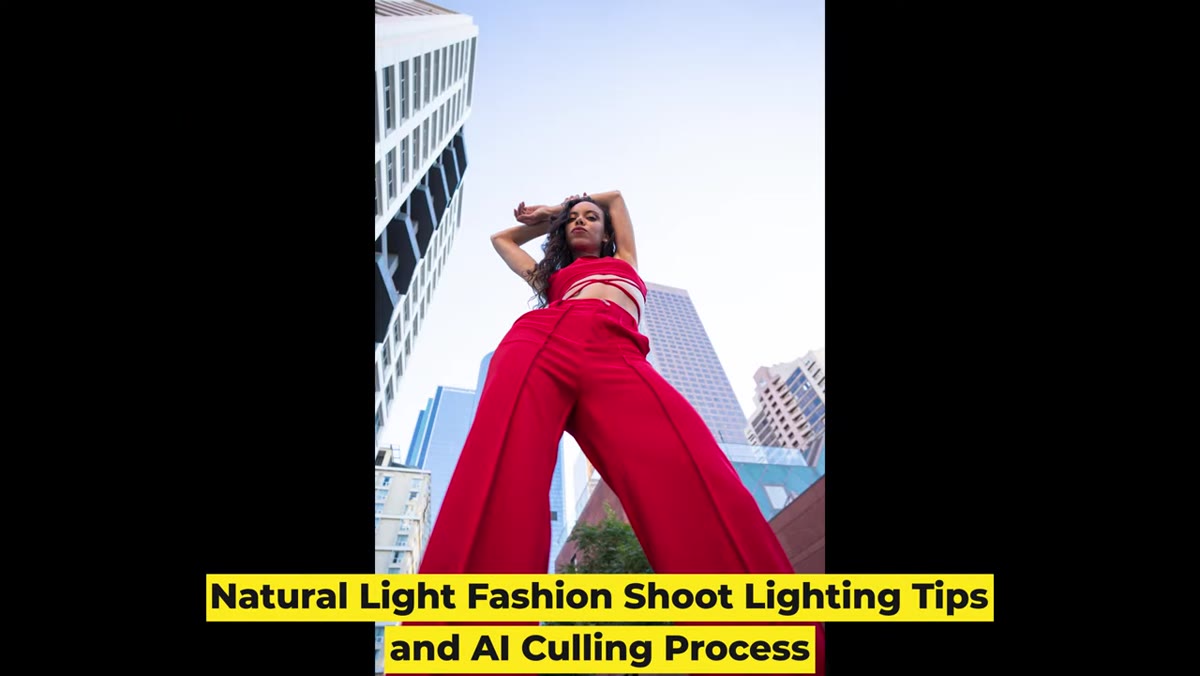 Subject positioned at edge of shade with open sky ahead
This is where precision matters and where most people get it wrong. Parking your subject anywhere in the shade is not enough. You want them near the edge of the shadow, close enough that the open sky has a clear line to their face. Too deep in the shadow and the light goes flat. Too far into the sun and you lose the softness entirely.
Subject positioned at edge of shade with open sky ahead
This is where precision matters and where most people get it wrong. Parking your subject anywhere in the shade is not enough. You want them near the edge of the shadow, close enough that the open sky has a clear line to their face. Too deep in the shadow and the light goes flat. Too far into the sun and you lose the softness entirely.
Think of it like feathering a softbox. The sweet spot is just inside the shadow line, angled so the sky fills the face from slightly above. Chin down a degree or two helps the light catch the cheekbones and reduces shadowing under the eyes. This is the same logic I apply when I position a subject in relation to a large window in my studio. The distance from the source edge determines the quality of the falloff. Outside, the shadow line is your barn door.
Step 3: Shoot Volume and Bracket Your Moments
 Jay P. describing shooting thousands of frames on location
Jay P. mentions shooting thousands of images across the session, and that number is not recklessness. It is a professional hedge. When you are working with natural light outdoors, clouds shift, pedestrians walk through your frame, and your subject’s expression cycles through ten options in three seconds. Burst shooting and volume give you the material to find the decisive frame later, rather than hoping you caught it in real time.
Jay P. describing shooting thousands of frames on location
Jay P. mentions shooting thousands of images across the session, and that number is not recklessness. It is a professional hedge. When you are working with natural light outdoors, clouds shift, pedestrians walk through your frame, and your subject’s expression cycles through ten options in three seconds. Burst shooting and volume give you the material to find the decisive frame later, rather than hoping you caught it in real time.
For this kind of shoot, set your camera to continuous autofocus tracking on the subject’s face. Shoot in raw so you have latitude to correct for small shifts in the color temperature as cloud cover changes. And keep your ISO flexible. Jay P. is downtown in Los Angeles, which means shaded areas can still have solid ambient light. Start at your base ISO and only push it when you need to recover shutter speed for sharp captures.
Step 4: Let Aftershoot Run the Initial Cull Overnight
 Jay P. reviewing Aftershoot results after overnight AI cull
This is where the workflow gets interesting for high-volume shooters. Jay P. loaded his session into Aftershoot before going to sleep and came back in the morning to find the software had sorted roughly 7,000 images while he was completely offline. From a folder of 2,000 images, Aftershoot returned 469 selects, organized into stacks. Each stack groups similar frames together and flags the strongest image as the top pick.
Jay P. reviewing Aftershoot results after overnight AI cull
This is where the workflow gets interesting for high-volume shooters. Jay P. loaded his session into Aftershoot before going to sleep and came back in the morning to find the software had sorted roughly 7,000 images while he was completely offline. From a folder of 2,000 images, Aftershoot returned 469 selects, organized into stacks. Each stack groups similar frames together and flags the strongest image as the top pick.
The practical setup here is straightforward. Import your shoot into Aftershoot, define your culling preferences, start the process, and let it run. The software analyzes sharpness, blink detection, and expression quality. You do not need to babysit it. If you shoot events, weddings, or any high-volume editorial work, this is not a nice-to-have. It is the difference between four hours of culling and forty-five minutes of review.
Step 5: Review the Stacks Using the Key Face View
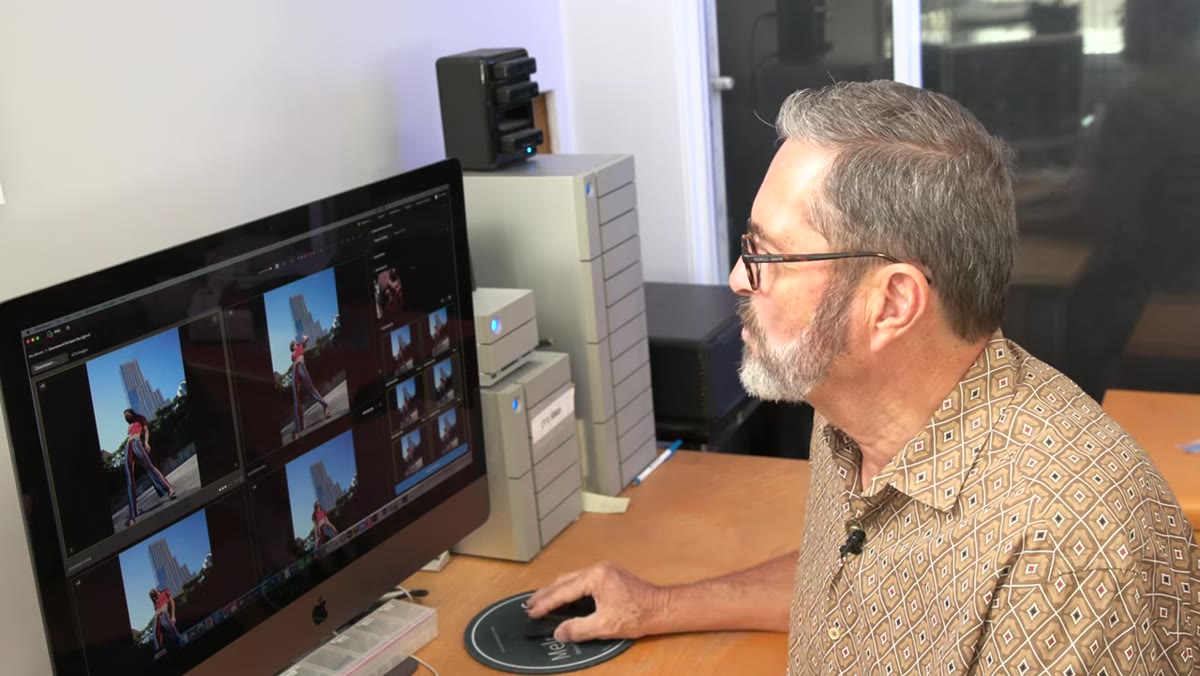 Aftershoot key face view showing cropped face detail
The feature that Jay P. highlights most enthusiastically is Aftershoot’s key face view, and it is genuinely useful. When you double-click on a stack, the interface shows you a large cropped view of the primary subject’s face from each image in that stack. For a single subject this saves time. For group shots, it is a different category of useful altogether.
Aftershoot key face view showing cropped face detail
The feature that Jay P. highlights most enthusiastically is Aftershoot’s key face view, and it is genuinely useful. When you double-click on a stack, the interface shows you a large cropped view of the primary subject’s face from each image in that stack. For a single subject this saves time. For group shots, it is a different category of useful altogether.
He walks through a family reunion shoot where a single stack contained nine frames with more than fifty people. The key face panel displayed every individual face in the frame at once. A single glance told him who was sharp, who was blinking, and which frame was worth keeping. Navigate through stacks using the arrow keys, move through images within a stack using the period and comma keys. The whole review process becomes surgical rather than exhausting.
My Caveat: The AI Picks Are a Starting Point, Not a Final Edit
I ran Aftershoot on a recent corporate headshot session, about 800 frames. The culled selects were accurate roughly 85 percent of the time. The remaining 15 percent required me to override the AI’s pick because of something it could not evaluate, a slight tension in the jaw that reads as effort rather than confidence, or a pose that was technically sharp but compositionally weak. The AI is optimizing for technical quality. You are still the one responsible for the creative read.
Use the stacks as your pre-screened pile, not your final answer. Do your client selects from there, not directly from the AI’s top pick for each group. That second pass is fast. The total time I saved still made the tool worth every cent.
The single most transferable idea in this tutorial is that the sky is a light source you can actually use intentionally, not just something you work around. Position your subject at the edge of shade with open sky in front of them, treat the shadow line like a modifier edge, and you have a controlled, flattering, equipment-free setup that works in any city with a building casting a shadow. Pair that with AI culling that handles your overnight grunt work, and you have a leaner, faster production workflow from shot to selects.
Watch the full tutorial on YouTube to see Jay P. walk through both the lighting positioning and the Aftershoot interface in real time.
Comments
Leave a Comment