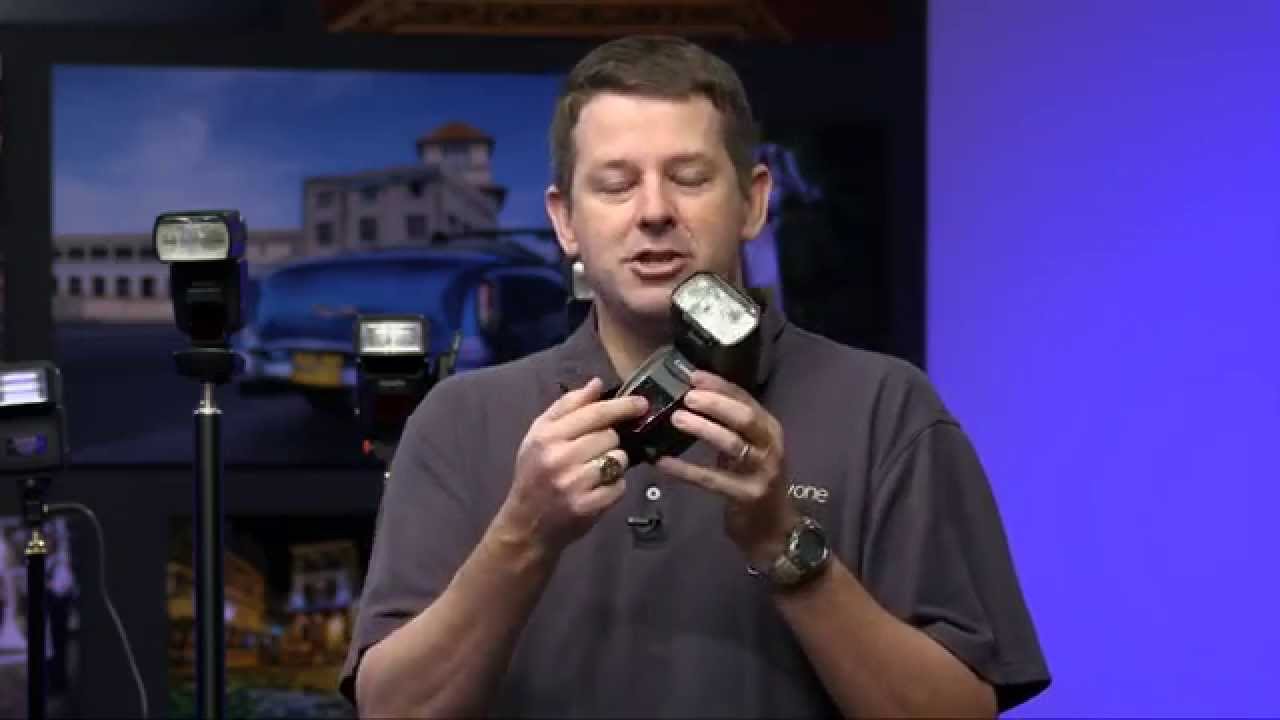
Every working photographer hits the same wall. You buy a speedlight, you pull it off the hot shoe, you set it on a stand, and then you stand there staring at it like it owes you money. Nothing fires. Nothing connects. The flash just sits there. That moment — that specific, deflating moment — is exactly what RC and Pete Collins tackle in this episode of the KelbyOne Photography Tips and Tricks series, and it’s the reason I keep recommending it to photographers who are just stepping into off-camera work.
Watch the full tutorial on YouTube
I remember the first time I tried to build a two-light setup for a beauty job. I had the flashes, I had the stands, I had the modifiers. What I did not have was any idea how to make the camera talk to the lights. I ended up cabling everything together with a sync cord I borrowed from another photographer and spent half the shoot tripping over it. A clear understanding of trigger systems would have saved that afternoon. That’s what this tutorial delivers, in plain, practical order.
Step 1: Understand Why Off-Camera Flash Needs a Triggering Solution
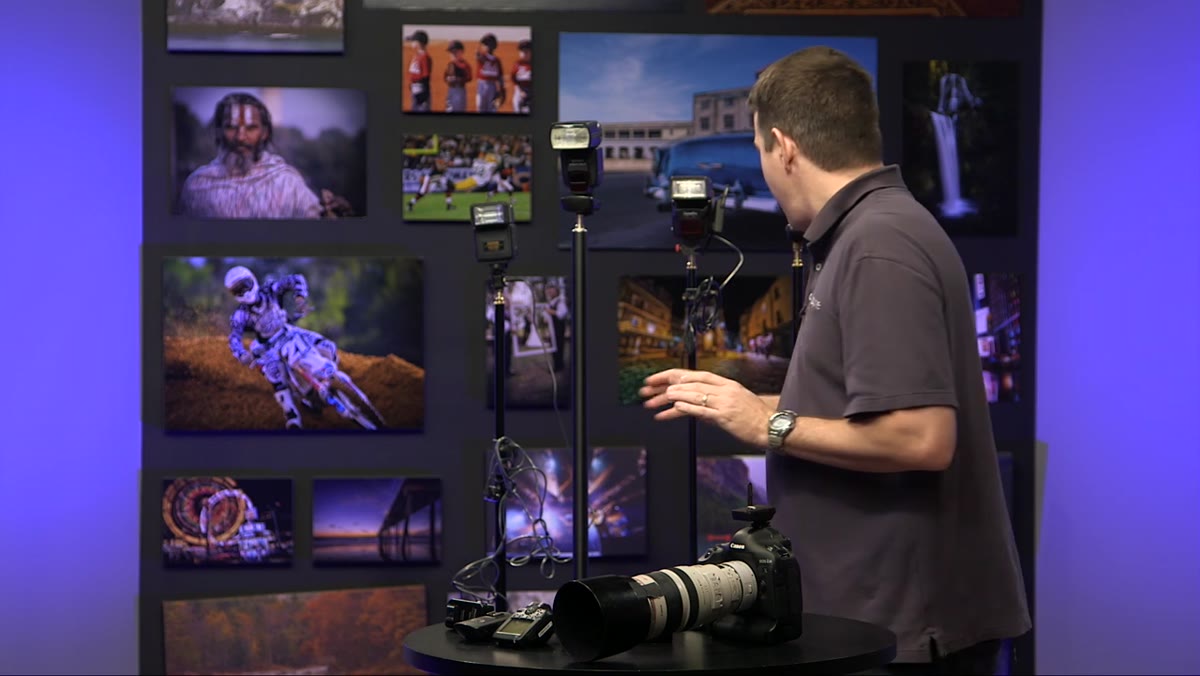
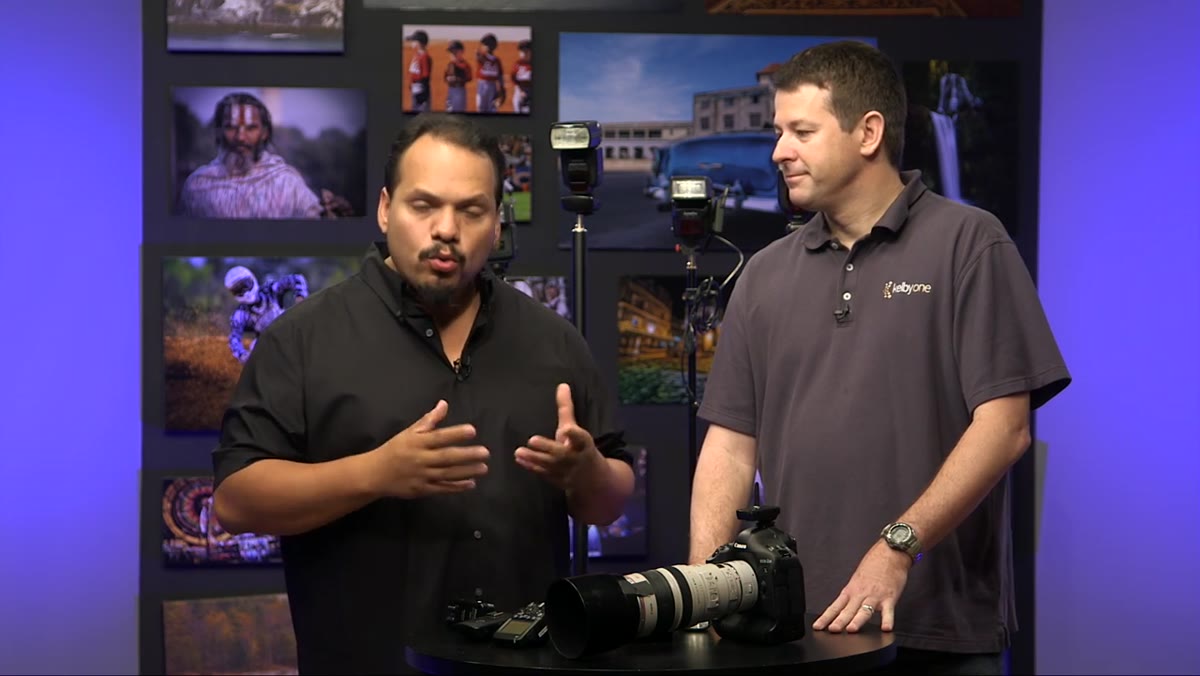 RC explaining off-camera flash introduces new triggering problems
The moment you move a flash off the camera, you break the direct electrical connection that normally fires it. The camera no longer knows the flash exists. To fire that light reliably, you need a dedicated communication path between the camera and the flash. Pete frames this as the first problem to solve before you think about modifiers, power settings, or anything else. Get triggering sorted first. Everything else is secondary.
RC explaining off-camera flash introduces new triggering problems
The moment you move a flash off the camera, you break the direct electrical connection that normally fires it. The camera no longer knows the flash exists. To fire that light reliably, you need a dedicated communication path between the camera and the flash. Pete frames this as the first problem to solve before you think about modifiers, power settings, or anything else. Get triggering sorted first. Everything else is secondary.
Step 2: Start with Optical Triggering and Know Its Limitations
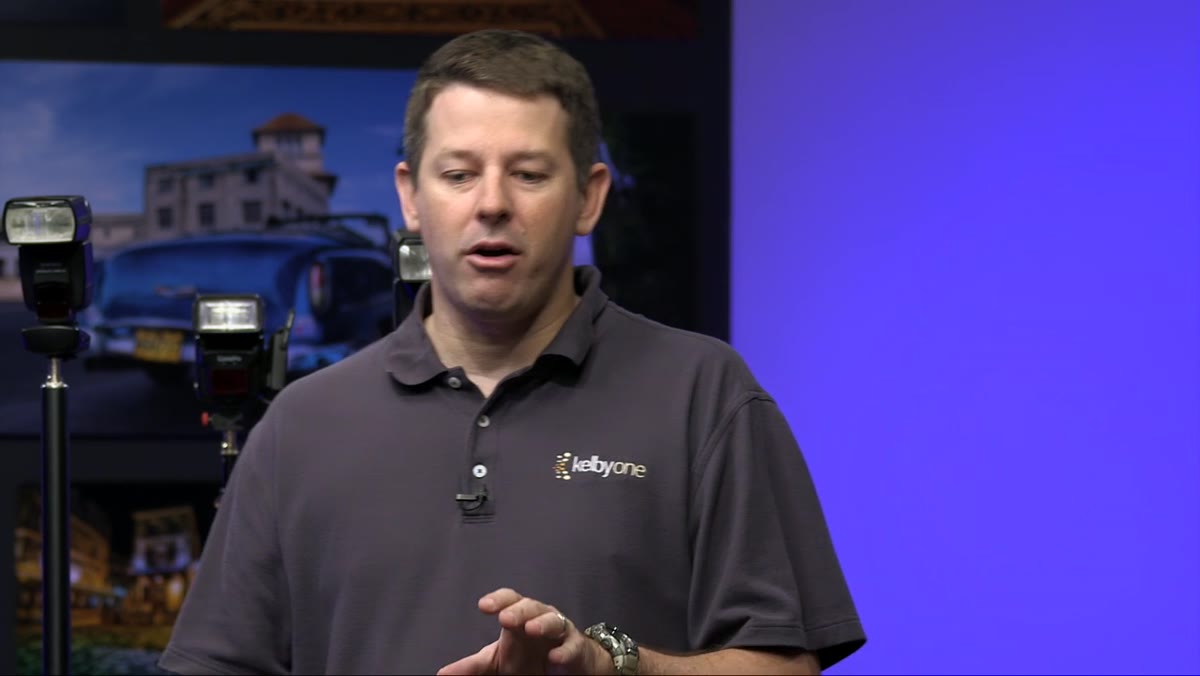 Studio diagram showing camera, umbrella flash, and softbox flash positions
Most modern speedlights include a built-in optical slave sensor. When the sensor detects a burst of light from another flash, it fires immediately. The speed of light makes this effectively instantaneous, so sync timing is not the issue. In a clean studio environment with two or three lights placed in the open, optical triggering is free, simple, and completely adequate. If your older flash does not have a built-in slave, a small add-on optical slave unit from a supplier like Flash Zebra plugs into the flash’s sync port and adds the capability for a few dollars.
Studio diagram showing camera, umbrella flash, and softbox flash positions
Most modern speedlights include a built-in optical slave sensor. When the sensor detects a burst of light from another flash, it fires immediately. The speed of light makes this effectively instantaneous, so sync timing is not the issue. In a clean studio environment with two or three lights placed in the open, optical triggering is free, simple, and completely adequate. If your older flash does not have a built-in slave, a small add-on optical slave unit from a supplier like Flash Zebra plugs into the flash’s sync port and adds the capability for a few dollars.
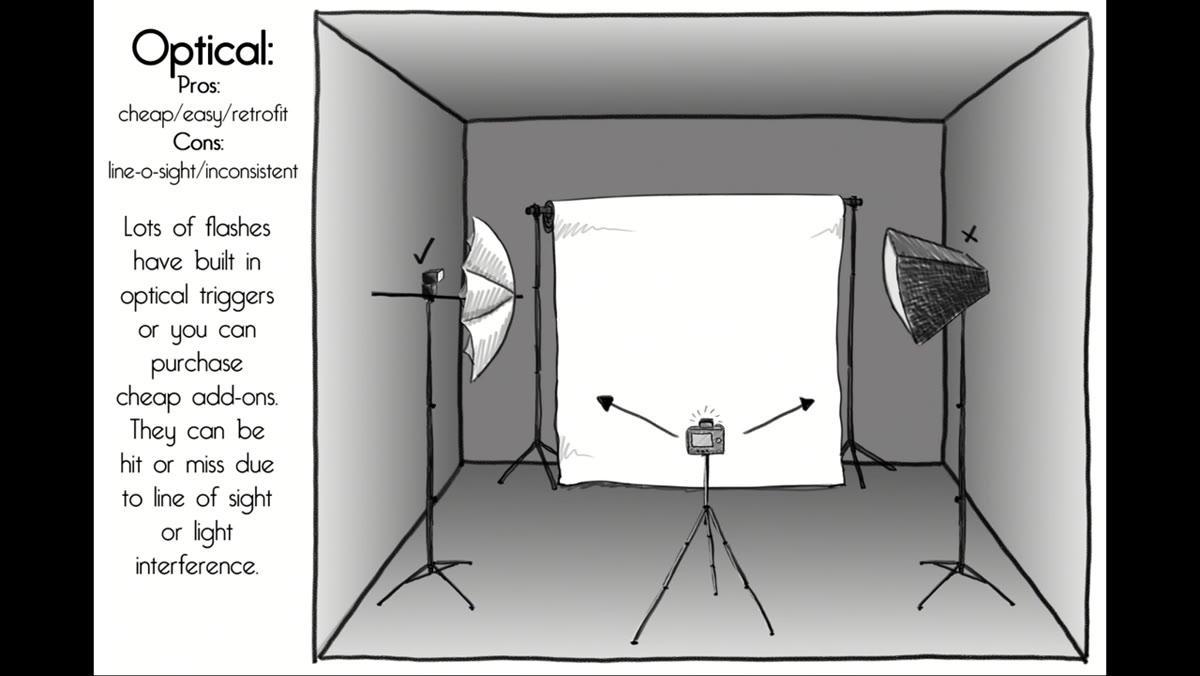 Softbox on the right blocking flash sensor from seeing main burst
The critical limitation is line of sight. If a flash is mounted inside a softbox, the diffusion panel blocks the sensor from seeing the triggering burst. The slave never fires. You can work around this by angling the sensor toward an open gap, bouncing a small burst off a wall the sensor can see, or simply placing a third bare flash in the room that does nothing but trigger the others. These are the kinds of workarounds that work fine occasionally but become genuinely annoying once your setups grow.
Softbox on the right blocking flash sensor from seeing main burst
The critical limitation is line of sight. If a flash is mounted inside a softbox, the diffusion panel blocks the sensor from seeing the triggering burst. The slave never fires. You can work around this by angling the sensor toward an open gap, bouncing a small burst off a wall the sensor can see, or simply placing a third bare flash in the room that does nothing but trigger the others. These are the kinds of workarounds that work fine occasionally but become genuinely annoying once your setups grow.
Step 3: Consider Wired Sync Cables for Reliable But Tethered Triggering
 Wired trigger cable connecting camera sync port to flash unit
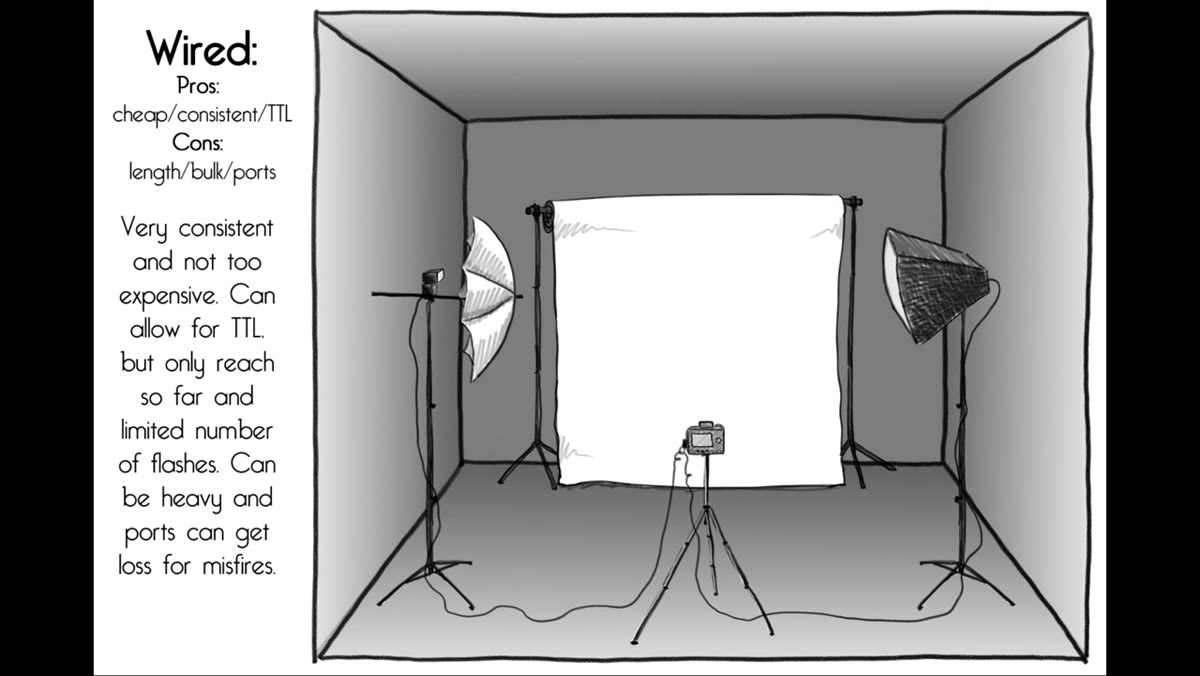
A sync cable runs directly from the camera’s PC sync port or hot shoe to the flash. No sensors, no radio signal, no batteries to die at the wrong moment. The connection is deterministic. If the cable is plugged in and not damaged, the flash fires. For a solo photographer working in a fixed studio space where the camera position rarely changes, a sync cable is genuinely underrated. The cost is essentially nothing.
Wired trigger cable connecting camera sync port to flash unit
A sync cable runs directly from the camera’s PC sync port or hot shoe to the flash. No sensors, no radio signal, no batteries to die at the wrong moment. The connection is deterministic. If the cable is plugged in and not damaged, the flash fires. For a solo photographer working in a fixed studio space where the camera position rarely changes, a sync cable is genuinely underrated. The cost is essentially nothing.
The obvious problem is the cable itself. On a commercial shoot where an art director is in the room, a model is moving, and you are circling for different angles, a sync cable running across the floor is a liability. It limits your movement to whatever length of cable you have, and it only connects one flash directly, meaning any additional lights still need optical slaves or their own cables. Wired triggering belongs in the toolkit, but it is a starting point, not an endpoint.
Step 4: Move to Radio Triggers for Full Creative Freedom
 Radio trigger transmitter on camera hot shoe, receiver on flash unit
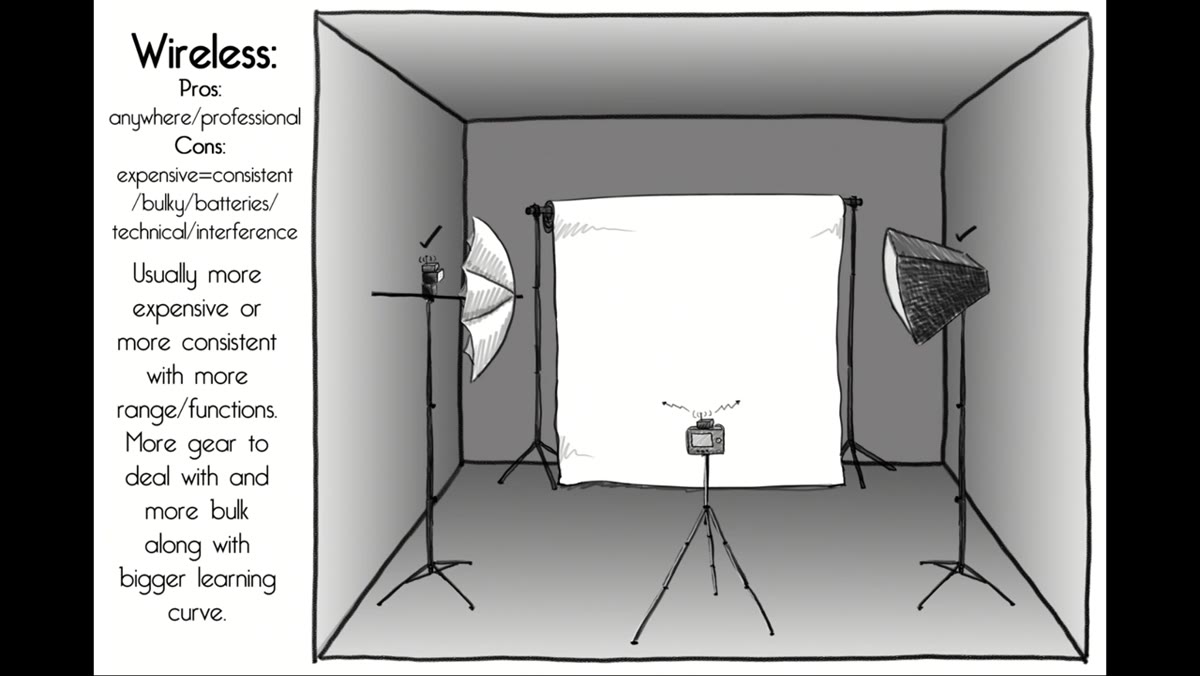
Radio triggers solve every problem that optical and wired systems introduce. A small transmitter sits on the camera’s hot shoe. A receiver attaches to each flash. When you press the shutter, the transmitter sends a radio signal that fires every receiver simultaneously, regardless of walls, modifiers, or distance. You can shoot outdoors, around corners, through scrims, or in a packed location and the flashes fire every single time.
Radio trigger transmitter on camera hot shoe, receiver on flash unit
Radio triggers solve every problem that optical and wired systems introduce. A small transmitter sits on the camera’s hot shoe. A receiver attaches to each flash. When you press the shutter, the transmitter sends a radio signal that fires every receiver simultaneously, regardless of walls, modifiers, or distance. You can shoot outdoors, around corners, through scrims, or in a packed location and the flashes fire every single time.
The entry cost is higher than optical triggering, and you need a receiver unit for each flash you own. Basic radio trigger sets from manufacturers like Godox or PocketWizard have become affordable enough that the price argument against them has mostly collapsed. If you are doing any location work, any multi-light studio work, or any situation where you need to adjust flash power from the camera position, radio is the only system worth building around. Pete and RC emphasize this as the direction most photographers should be heading once they move past initial experimentation.
Step 5: Match the Trigger System to the Flash Ecosystem
 Pete discussing compatibility between trigger brands and flash manufacturers
Not all triggers work with all flashes, and this is where photographers burn money by buying the wrong combination. Some radio systems communicate only basic sync signals, meaning the flash fires but you cannot adjust power remotely. More advanced systems from the same manufacturer as your flash allow full TTL and remote power control directly from the camera. Before buying any trigger, confirm whether it supports TTL pass-through for your specific flash model. If you are mixing brands, check compatibility charts carefully. A trigger that communicates beautifully with one flash brand may reduce a flash from another brand to a simple on-off slave with no remote control at all.
Pete discussing compatibility between trigger brands and flash manufacturers
Not all triggers work with all flashes, and this is where photographers burn money by buying the wrong combination. Some radio systems communicate only basic sync signals, meaning the flash fires but you cannot adjust power remotely. More advanced systems from the same manufacturer as your flash allow full TTL and remote power control directly from the camera. Before buying any trigger, confirm whether it supports TTL pass-through for your specific flash model. If you are mixing brands, check compatibility charts carefully. A trigger that communicates beautifully with one flash brand may reduce a flash from another brand to a simple on-off slave with no remote control at all.
What the Tutorial Does Not Cover (and Should)
Pete and RC keep this episode deliberately introductory, which is the right call for the audience they are addressing. What they do not get into is the practical reality of high-speed sync triggering, which matters the moment you take strobes outside in daylight. Standard sync triggers top out at your camera’s native sync speed, usually around 1/200 or 1/250 of a second. The second you want to drag your shutter below that threshold outdoors to control ambient exposure, you need a trigger and flash combination that supports HSS. Not every radio system does. If you are planning to shoot outdoor portraits where you are balancing strobe against a bright sky, buy a trigger that explicitly supports HSS for your flash model from the start. Retrofitting this later costs more than getting it right the first time.
I keep a lighting journal from every shoot, and the notes from my early location jobs are full of reminders I wrote to myself about trigger failures that could have been avoided. Half of them trace back to optical slaves that could not see through a modifier, or a basic radio trigger that did not support HSS when I needed it. Buy for where your shooting is going, not just where it is today.
The single most useful thing this tutorial does is force you to think about triggering before you think about anything else in your off-camera flash setup. The light modifier, the power ratio, the color temperature, all of that is meaningless if the flash does not fire. Solve the connection first, then solve everything else.
Watch the full tutorial on YouTube
Comments
Leave a Comment