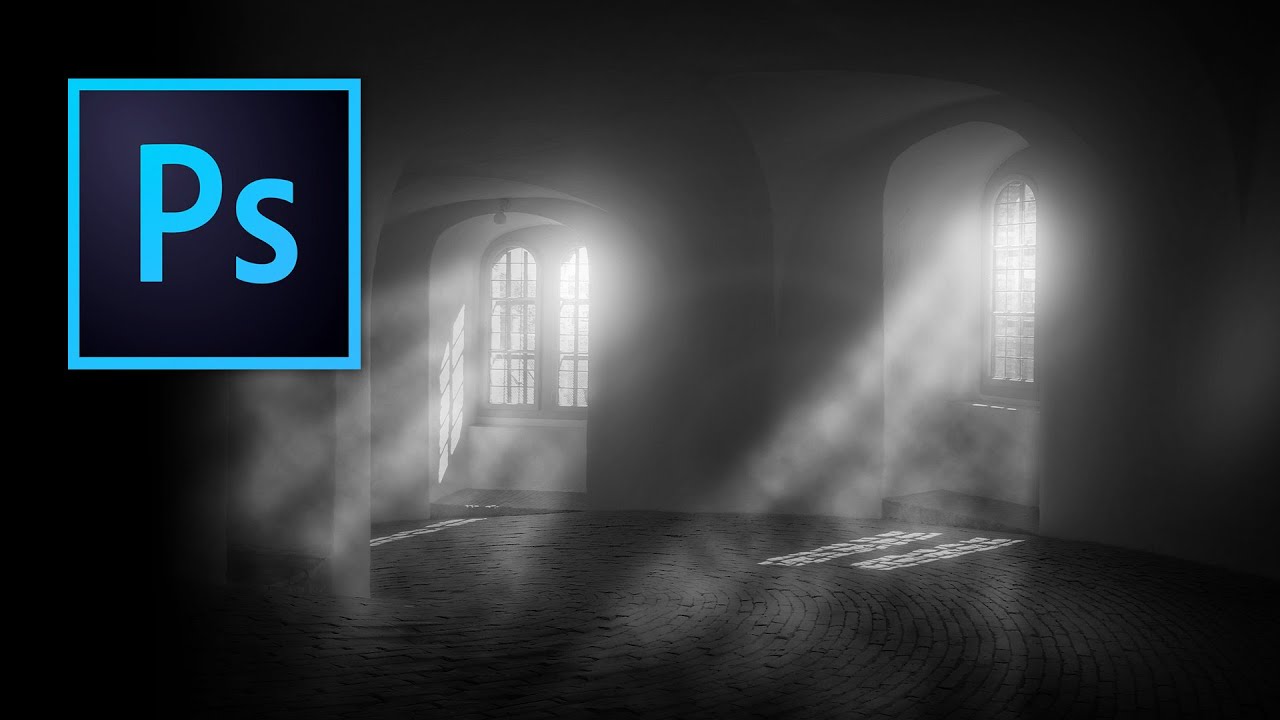
Most of my lighting problems get solved before I ever open Photoshop. I label every head in my studio with masking tape, I keep a lighting journal of every setup I’ve ever shot, and I’ve designed my own diagram app because the ones available never matched how I actually think on set. But even with all that prep, there are times when a client image needs something the strobes couldn’t give it on the day. A mood. A sense of danger. Light that feels like it came from somewhere cinematic rather than a gridded softbox six feet off camera.
That’s exactly the gap that this technique fills. In this Kelvin Designs tutorial on dramatic lighting in Photoshop, the approach is refreshingly honest: start by killing all the light, then add it back exactly where you want it. It’s the same logic I use when I’m planning a one-light setup from scratch. You understand the scene better when you strip it down first.
What follows is my walkthrough of the technique, with the settings you actually need and a few notes from how I’d apply this on real commercial work.
Step 1: Convert to Smart Object Before Anything Else
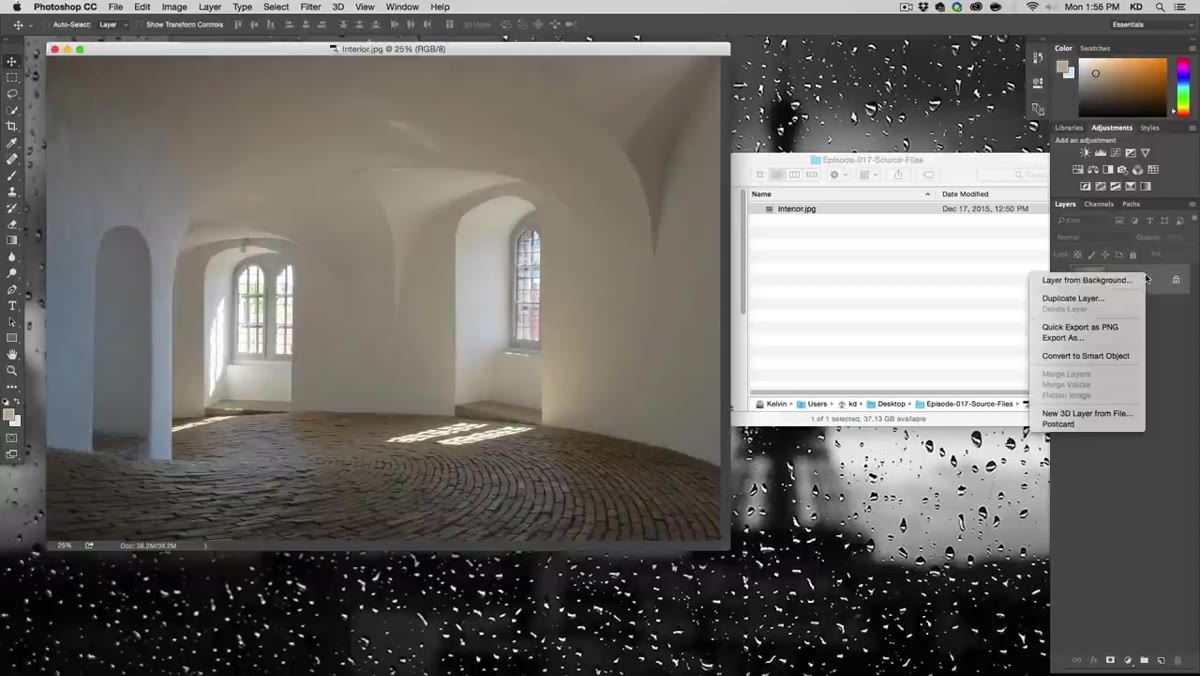 Converting the image layer to Smart Object in Layers panel
Open your image in Photoshop and immediately right-click the layer to convert it to a Smart Object. This is non-negotiable. Every filter you apply from this point will remain editable and non-destructive. If you skip this step and decide later that your exposure adjustment was half a stop too heavy, you’ll be undoing your entire stack. Smart Objects cost you nothing and save you everything.
Converting the image layer to Smart Object in Layers panel
Open your image in Photoshop and immediately right-click the layer to convert it to a Smart Object. This is non-negotiable. Every filter you apply from this point will remain editable and non-destructive. If you skip this step and decide later that your exposure adjustment was half a stop too heavy, you’ll be undoing your entire stack. Smart Objects cost you nothing and save you everything.
Step 2: Kill the Light With Camera Raw Filter
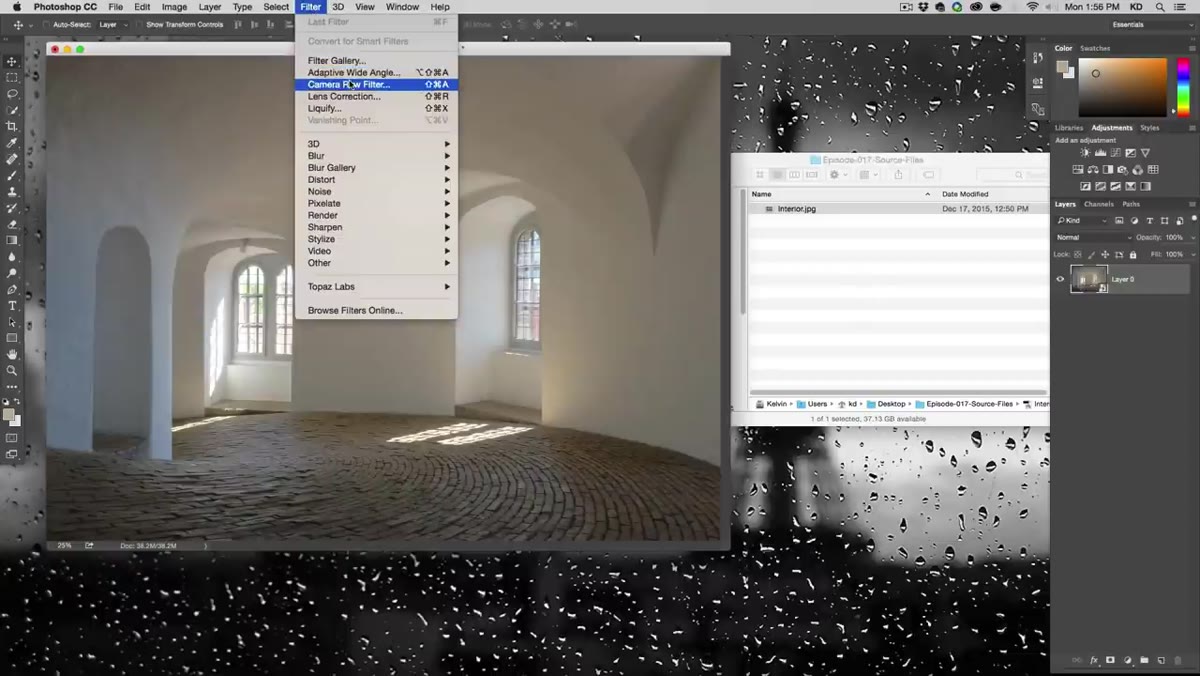 Camera Raw Filter panel open with HSL/Grayscale tab selected
Go to Filter and open the Camera Raw Filter. Head to the HSL/Grayscale panel and check Convert to Grayscale. You’re not making a black-and-white photo for its own sake. You’re clearing the color information so the light you add later reads as pure luminosity rather than competing with the original color values. Once you’re in grayscale, pull the Exposure down by roughly 2 to 2.5 stops, and bring the Highlights down until the brightest areas of the image sit closer to a mid-tone. Think of it the way Kelvin describes it: you’ve just walked into the room and turned off all the lights. This darkened, stripped-back version of the image is your blank stage.
Camera Raw Filter panel open with HSL/Grayscale tab selected
Go to Filter and open the Camera Raw Filter. Head to the HSL/Grayscale panel and check Convert to Grayscale. You’re not making a black-and-white photo for its own sake. You’re clearing the color information so the light you add later reads as pure luminosity rather than competing with the original color values. Once you’re in grayscale, pull the Exposure down by roughly 2 to 2.5 stops, and bring the Highlights down until the brightest areas of the image sit closer to a mid-tone. Think of it the way Kelvin describes it: you’ve just walked into the room and turned off all the lights. This darkened, stripped-back version of the image is your blank stage.
Step 3: Set Up a New Group Called “Lights”
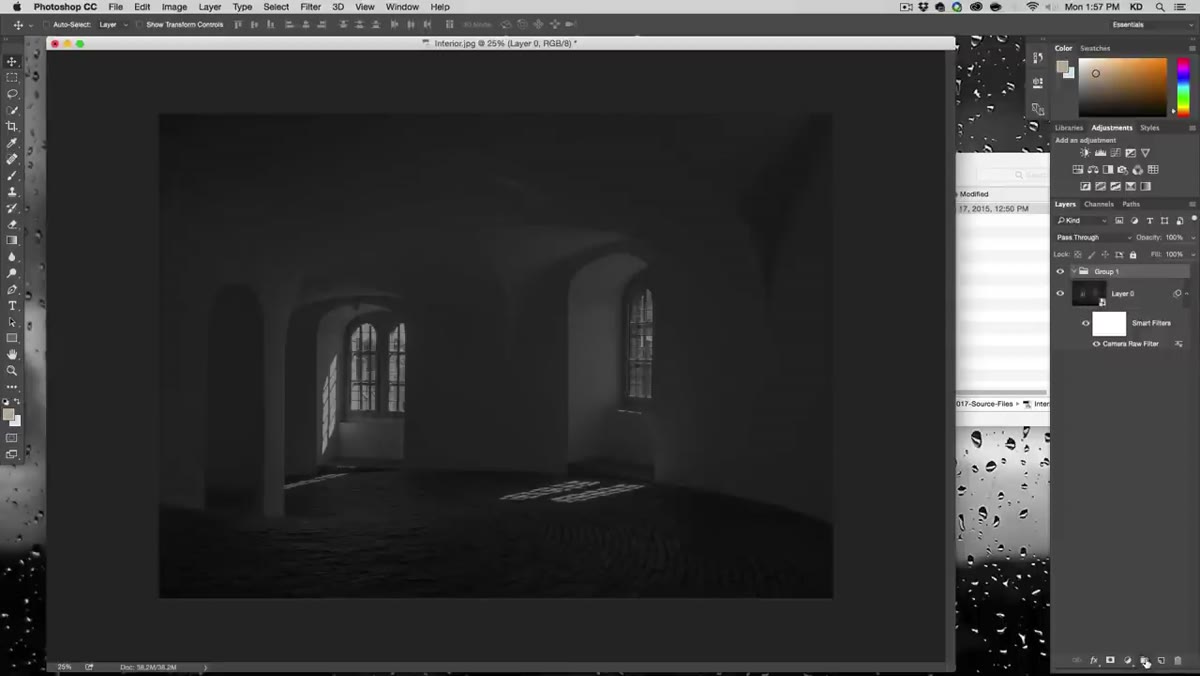 New group and new layer created inside Layers panel
Create a new Group in your Layers panel and name it “Lights.” Then create a new blank layer inside that group. The group structure matters here because you’ll be applying a mask to the group later, and that mask will affect every light beam inside it simultaneously. Keeping your beams organized this way also means you can toggle the entire lighting effect on and off with one click, which is something I do constantly when I’m showing a client a before-and-after on a laptop.
New group and new layer created inside Layers panel
Create a new Group in your Layers panel and name it “Lights.” Then create a new blank layer inside that group. The group structure matters here because you’ll be applying a mask to the group later, and that mask will affect every light beam inside it simultaneously. Keeping your beams organized this way also means you can toggle the entire lighting effect on and off with one click, which is something I do constantly when I’m showing a client a before-and-after on a laptop.
Step 4: Draw Your Light Beams With the Polygon Lasso Tool
 Polygon Lasso Tool drawing a triangular light beam shape
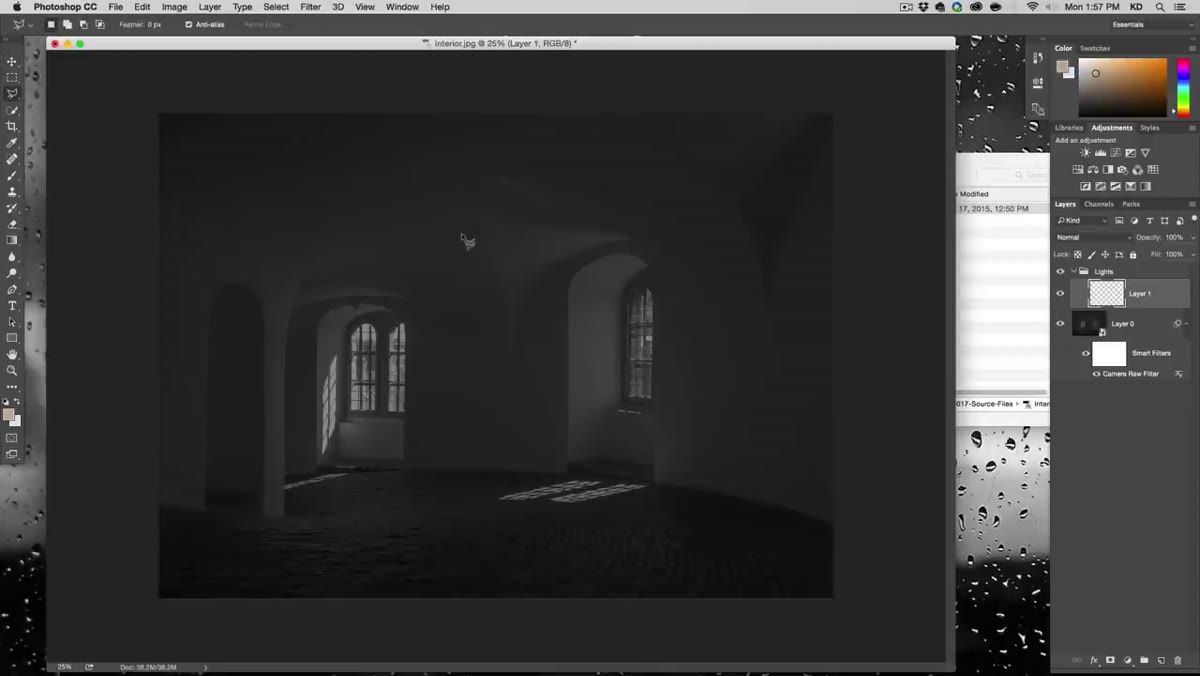
Select the Polygon Lasso Tool and draw a long, thin triangle across the image, narrow at the source and fanning out as it travels. The shape doesn’t need to be perfect. In fact, if it’s slightly uneven it will read more naturally. Once you’ve closed the selection, fill it with white using Edit > Fill. Deselect with Command+D. This white triangle is your raw light beam. It looks harsh and artificial right now, but that gets addressed in the steps ahead.
Polygon Lasso Tool drawing a triangular light beam shape
Select the Polygon Lasso Tool and draw a long, thin triangle across the image, narrow at the source and fanning out as it travels. The shape doesn’t need to be perfect. In fact, if it’s slightly uneven it will read more naturally. Once you’ve closed the selection, fill it with white using Edit > Fill. Deselect with Command+D. This white triangle is your raw light beam. It looks harsh and artificial right now, but that gets addressed in the steps ahead.
Convert this beam layer to its own Smart Object. The reason, as the tutorial explains, is that Smart Objects preserve their bounding box orientation. When you use Command+T to transform the beam later, the handles will follow the actual shape rather than snapping back to a default rectangle. Duplicate the beam layer a few times, rotating and repositioning each copy to suggest multiple shafts of light hitting the scene from a consistent angle. Name the original layer something like “Beam 1” so the group stays legible as it grows.
Step 5: Reduce Opacity to Blend the Beams Into the Scene
 Layer opacity reduced to approximately 45 percent on beam layer
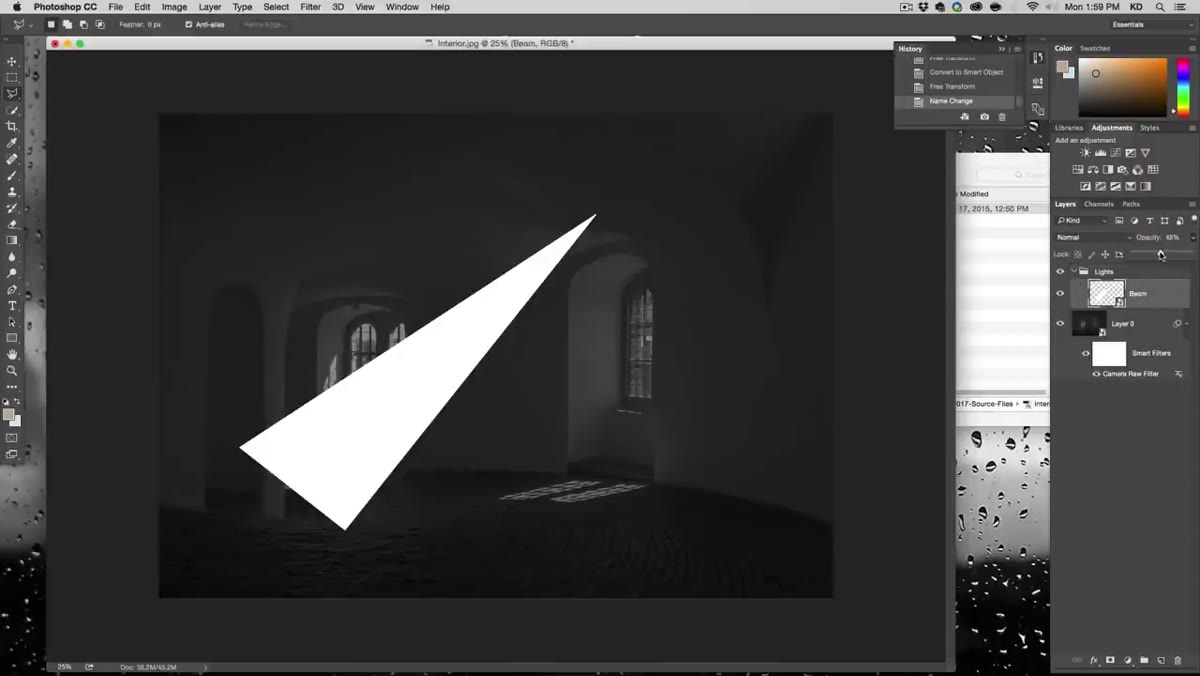
With your beam layers in place, drop the opacity of each one to around 40 to 50 percent. At full white they’ll blow out the image. At half opacity they start to feel like actual light rather than a graphic overlay. You’ll fine-tune this later once the smoke mask is in place, but getting into the right ballpark now makes the next step easier to judge visually.
Layer opacity reduced to approximately 45 percent on beam layer
With your beam layers in place, drop the opacity of each one to around 40 to 50 percent. At full white they’ll blow out the image. At half opacity they start to feel like actual light rather than a graphic overlay. You’ll fine-tune this later once the smoke mask is in place, but getting into the right ballpark now makes the next step easier to judge visually.
Step 6: Apply a Cloud-Rendered Mask to the Group for Smoky Texture
 Render Clouds applied to group layer mask showing smoke texture
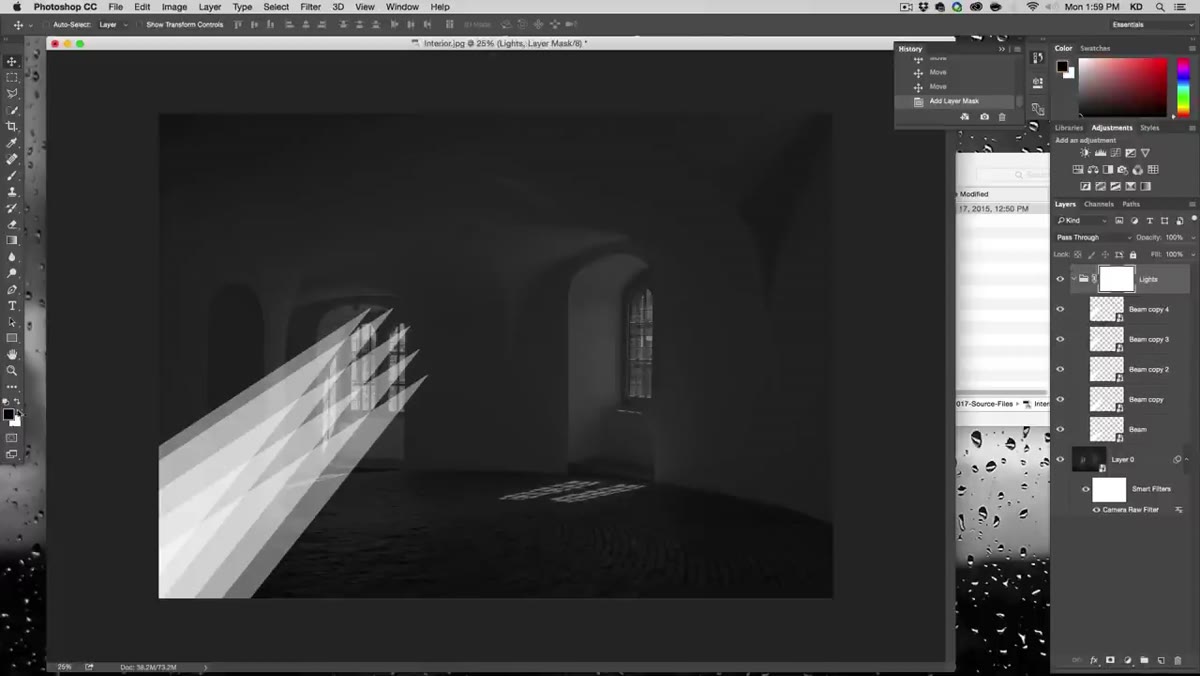
Click on the “Lights” group and add a Layer Mask. Make sure your foreground and background colors are set to black and white. Now go to Filter > Render > Clouds. Photoshop will generate a random cloud pattern directly onto the mask, which breaks up the hard edges of your beam shapes and introduces the kind of irregular, particle-like texture you’d see in a smoky or dusty environment. The effect may look too dense at first, with the mask eating too much of the beam in some areas.
Render Clouds applied to group layer mask showing smoke texture
Click on the “Lights” group and add a Layer Mask. Make sure your foreground and background colors are set to black and white. Now go to Filter > Render > Clouds. Photoshop will generate a random cloud pattern directly onto the mask, which breaks up the hard edges of your beam shapes and introduces the kind of irregular, particle-like texture you’d see in a smoky or dusty environment. The effect may look too dense at first, with the mask eating too much of the beam in some areas.
To fix this, unlink the mask from the group contents by clicking the chain icon between them in the Layers panel. Then use Command+T to scale the mask itself, not the layers, making the cloud pattern much larger. As the scale increases, the smoke texture becomes softer and more diffuse, and the beams read as light pushing through a haze rather than light projected onto fog. Scale until the density feels right for the mood you’re after.
What I’d Add From My Own Work
The technique as shown uses pure white for the beams, which works perfectly for a neutral dramatic look. In commercial work, particularly beauty and fashion, I’ll sometimes shift the beam fill to a very pale warm tone before converting to the fill, something in the 4500 to 5500 Kelvin range if I’m thinking in lighting terms. It suggests tungsten or firelight without going so far that it reads as a color effect. I also tend to use a second Cloud render on a separate mask set to Luminosity blend mode to control overall contrast independently of the beam opacity. It gives you another dial to turn without starting over.
The single most important idea in this whole method is the “turn off the lights first” approach. Whether I’m setting up a shot in my studio or retouching in post, starting from darkness and adding light in is almost always more controlled than trying to subtract light from an already-lit image. It keeps your decisions intentional rather than reactive.
Watch the full tutorial on YouTube to see Kelvin walk through the cloud mask scaling in real time. Seeing the density shift as he drags the transform handle makes the logic of that step click immediately.
Comments (3)
Would love to see a follow-up going deeper into this topic.
Really solid breakdown. This pairs perfectly with the landscape work I've been writing about.
Would love to see a follow-up going deeper into this topic.
Leave a Comment