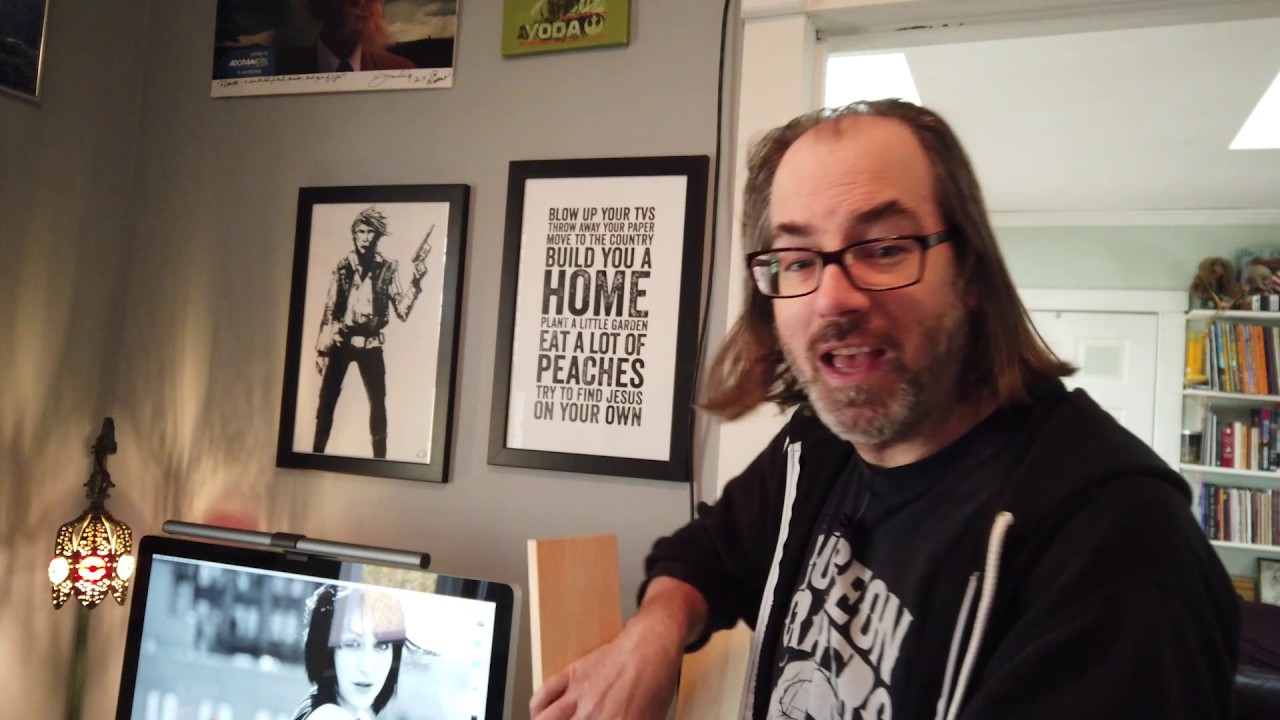
There is a particular kind of frustration that builds slowly. You know exactly what good light looks like. You can sculpt it on a model in under ten minutes in your studio. But every time you sit down to stream, record a video call, or do a talking-head segment for a client, you spend the first twenty minutes dragging a C-stand into position, adjusting a boom arm, and second-guessing a softbox placement you already figured out three weeks ago. That time adds up, and worse, it chips away at the mental focus you actually need for the work itself.
I keep a lighting journal where I sketch every setup from every shoot. Commercial jobs, test shoots, even casual portraits. The habit has taught me one thing above almost anything else: if you are repeating a setup frequently, you should commit to it permanently. That principle applies just as much to a video conferencing corner as it does to a beauty dish configuration on a cyclorama wall. In this Daniel Norton Photographer tutorial, Daniel works through exactly that problem, converting his home editing office into a space where a continuous LED light lives in a fixed position, ready to switch on without any assembly. The solution is more structural than photographic, and that is precisely what makes it worth studying.
Step 1: Identify Your Light Source and Its Limitations
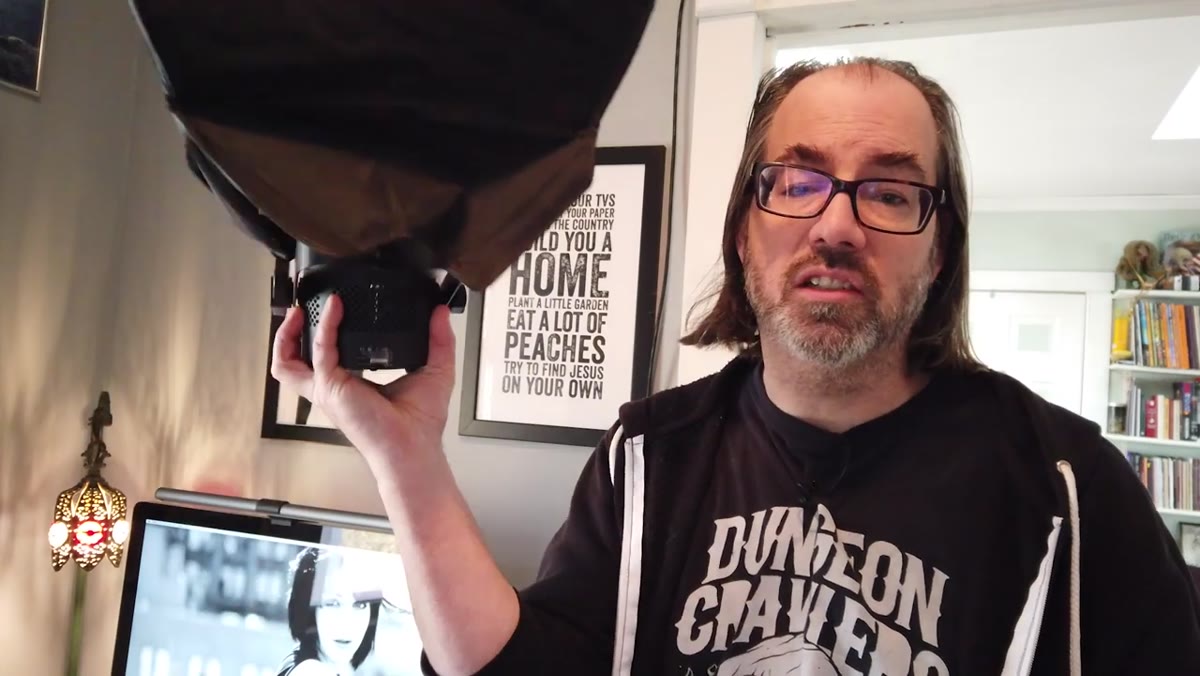 LED light with small softbox mounted on C-stand
Daniel starts with an LED panel paired with a small softbox, which is a common kit configuration. The light works, but the thin fabric diffusion that ships with most budget LED kits is a compromise. Manufacturers use it because LEDs at that price range do not push enough output to justify denser diffusion material. The practical result is slightly harsher, spottier light than you would get from a proper chimera or similar modifier.
LED light with small softbox mounted on C-stand
Daniel starts with an LED panel paired with a small softbox, which is a common kit configuration. The light works, but the thin fabric diffusion that ships with most budget LED kits is a compromise. Manufacturers use it because LEDs at that price range do not push enough output to justify denser diffusion material. The practical result is slightly harsher, spottier light than you would get from a proper chimera or similar modifier.
For a streaming or video call setup, where the camera is fixed and your face is always in the same position, the quality difference matters more than it would in a run-and-gun situation. You are not chasing a subject around a room. You are sitting in one spot, and that light is going to hit you the same way every single day. A denser, better-constructed softbox rewards the permanence of the setup.
Step 2: Audit the Existing Light in the Room
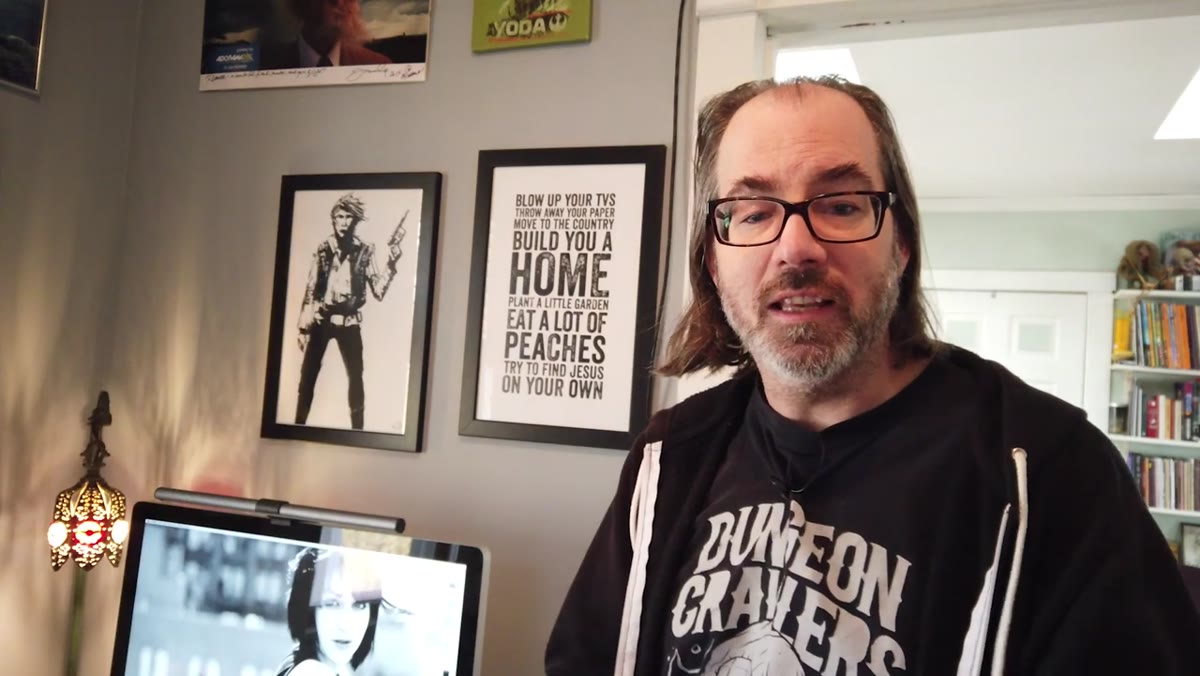 Room corner lamp shown contributing minimal usable light
Before mounting anything, Daniel takes a moment to acknowledge what the ambient room lighting actually contributes, which is almost nothing. A lamp in the corner looks like it should help. It does not. Room lighting in a home office is almost universally designed for comfortable visibility, not for flattering or controllable on-camera illumination. The color temperature is usually inconsistent, the direction is unhelpful, and the intensity is far too low to register meaningfully against a camera’s exposure settings.
Room corner lamp shown contributing minimal usable light
Before mounting anything, Daniel takes a moment to acknowledge what the ambient room lighting actually contributes, which is almost nothing. A lamp in the corner looks like it should help. It does not. Room lighting in a home office is almost universally designed for comfortable visibility, not for flattering or controllable on-camera illumination. The color temperature is usually inconsistent, the direction is unhelpful, and the intensity is far too low to register meaningfully against a camera’s exposure settings.
This audit step is not just preliminary housekeeping. It is the reason the dedicated light matters so much. Once you accept that ambient room light is decorative rather than functional, you stop trying to blend it into your setup and start treating your single LED source as the only light that counts. Control comes from that decision.
Step 3: Choose a Baby Plate Over a Freestanding Stand
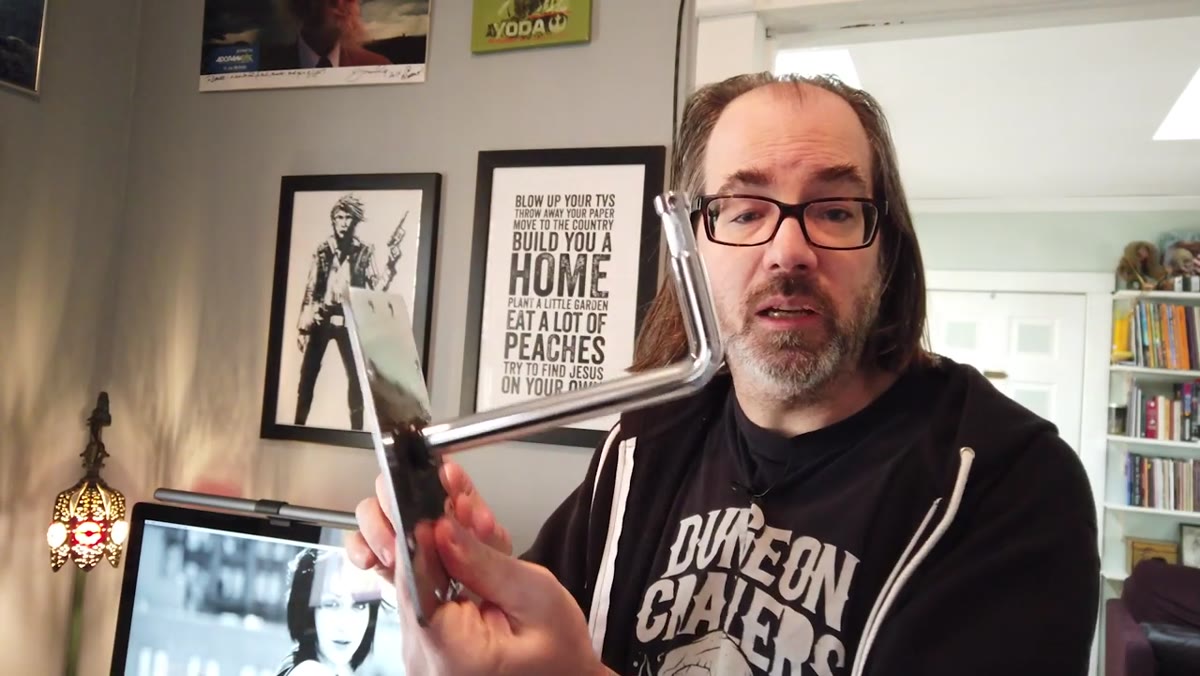 Right-angle baby plate held up to show mounting hardware
The core of the whole tutorial is the hardware switch from a C-stand to a wall-mounted baby plate. A baby plate is a small mounting bracket, roughly the size of your palm, with a 5/8-inch baby pin that accepts any standard light or modifier. Daniel uses a right-angle version, which lets the mount sit flush against a vertical surface while pointing the pin outward at 90 degrees.
Right-angle baby plate held up to show mounting hardware
The core of the whole tutorial is the hardware switch from a C-stand to a wall-mounted baby plate. A baby plate is a small mounting bracket, roughly the size of your palm, with a 5/8-inch baby pin that accepts any standard light or modifier. Daniel uses a right-angle version, which lets the mount sit flush against a vertical surface while pointing the pin outward at 90 degrees.
The advantage over a C-stand is not just convenience. A C-stand placed on a floor eats square footage, creates a trip hazard, and blocks doorways in tight spaces. A baby plate mounted at the right height puts the light exactly where you need it, clears the floor entirely, and lets you position the fixture once, leave it there, and simply switch it on when needed.
Step 4: Measure Twice Before You Touch the Wall
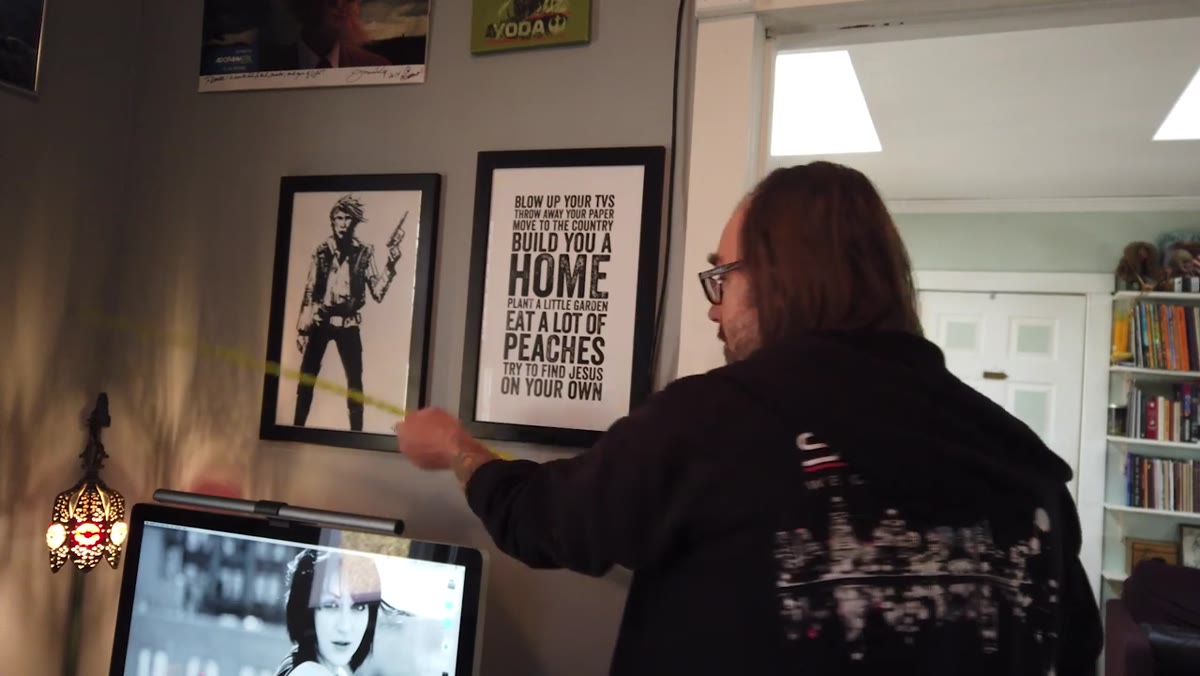 Measuring the wall span at 47 inches with tape measure
Daniel measures his wall span before buying lumber. His wall section measures 47 inches across. That number determines the length of the support board he will use, and getting it wrong means an unstable mount or an unnecessary trip back to the hardware store. If you are replicating this, measure the usable wall space first, then measure the distance between your desk and the ideal light position to confirm the height before you commit to any drilling.
Measuring the wall span at 47 inches with tape measure
Daniel measures his wall span before buying lumber. His wall section measures 47 inches across. That number determines the length of the support board he will use, and getting it wrong means an unstable mount or an unnecessary trip back to the hardware store. If you are replicating this, measure the usable wall space first, then measure the distance between your desk and the ideal light position to confirm the height before you commit to any drilling.
The point is not to be precious about the process. It is to avoid mounting something heavy near expensive equipment without understanding the structure you are mounting into. Drywall alone will not hold this reliably. That is the entire reason the next step exists.
Step 5: Install a Structural Support Board First
 Cut lumber board prepared for wall mounting as backing support
Rather than hunting for a stud at the exact pixel-perfect location where he needs the light, Daniel installs a horizontal backing board that spans across multiple studs. He cuts a piece of lumber to length at the hardware store, measuring it to cover at least six inches of stud contact on either side. The board attaches to the studs, and then the baby plate attaches to the board, anywhere along its face.
Cut lumber board prepared for wall mounting as backing support
Rather than hunting for a stud at the exact pixel-perfect location where he needs the light, Daniel installs a horizontal backing board that spans across multiple studs. He cuts a piece of lumber to length at the hardware store, measuring it to cover at least six inches of stud contact on either side. The board attaches to the studs, and then the baby plate attaches to the board, anywhere along its face.
This approach solves two problems at once. It gives you solid structural backing regardless of where the studs fall, and it gives you a small amount of horizontal adjustability. If you hang the board and realize the ideal light position is two inches to the left of where you planned, you can shift the plate without re-drilling into the wall itself.
A Note from My Own Studio: Commit to the Modifier, Not Just the Mount
The permanent mount is the right call. But in my experience, the softbox decision deserves equal attention before you finalize the position. The height and angle of the light depend partly on what modifier you are using, because different softboxes produce different coverage patterns and edge falloff. If you mount the baby plate for a small rectangular softbox and later swap to a larger chimera, you may find the position needs to shift by several inches.
My habit is to test any new modifier the day it arrives. I hang it, turn it on, and check the coverage at the actual subject distance I intend to use. For a streaming setup, that means sitting in your chair, having someone stand in your spot while you look at a live camera feed, and adjusting before anything is permanently fastened. Do that evaluation with the final modifier attached and you will never have to move the mount again.
The single most important idea in this tutorial is that repetition earns investment. If you are doing something once, rig it. If you are doing it every week, build it. A permanently mounted, switched-on LED with a proper modifier will make every video call and every stream look consistently professional without asking anything of you in the moment.
Watch the full tutorial on YouTube to see Daniel work through the mounting and measurement process in real time.
Comments (4)
The before and after really sells it. Incredible difference.
Just used this on a wedding shoot edit. Client was thrilled.
This should be required reading for anyone starting out.
Couldn't agree more. I've seen this make a huge difference in workflows work specifically.
Leave a Comment