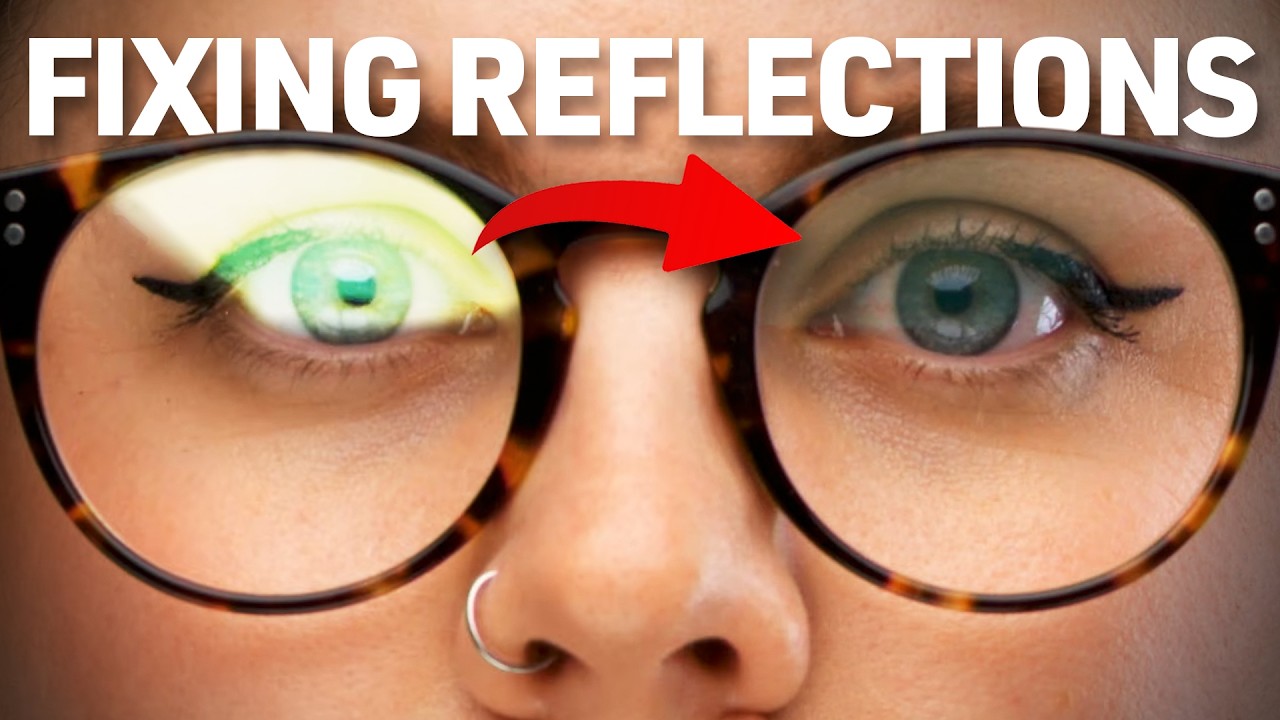
Every commercial photographer who shoots people eventually gets the email. A client sends over a brief, the talent shows up wearing glasses, and somewhere between the first test frame and the hero shot, you’re staring at a bright white rectangle of reflected softbox right in the middle of their lenses. I’ve lost count of how many times I’ve had to pull frames in post that would have been otherwise perfect. It’s one of those problems that feels like it should have an obvious fix, but the obvious fix is usually wrong.
Watch the full tutorial on YouTube
In this Visual Education tutorial, Karl Taylor breaks down the optics behind glasses reflections and walks through several practical solutions, some of which genuinely surprised me. The core argument is this: photography is physics, and fighting physics is a losing game. But understanding the rules means you can engineer around them. What follows is my step-by-step breakdown of his method, with notes from my own studio practice folded in.
Step 1: Understand Why the Reflection Is There in the First Place
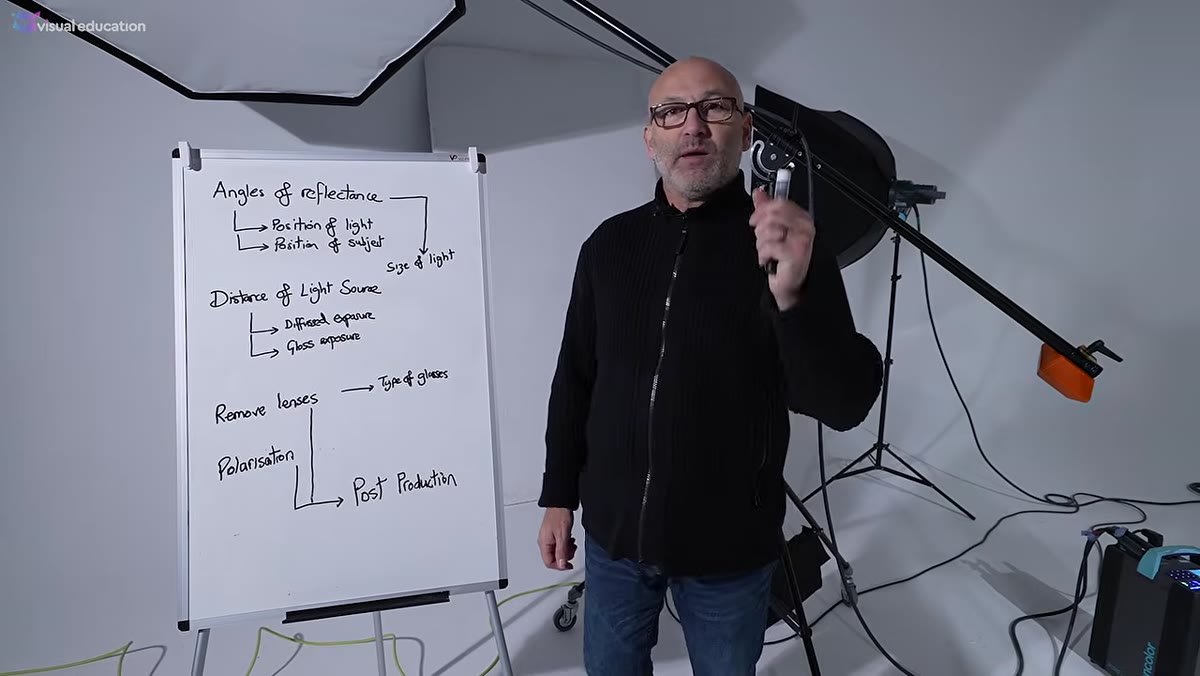 Karl explaining angles of incidence and reflectance at the camera
Before you move a single light, you need to understand what you’re actually solving. Glass surfaces are specular, meaning they form image-forming reflections of whatever light source is aimed at them. The angle at which light hits the lens (angle of incidence) equals the angle at which it bounces off (angle of reflectance). This isn’t a camera setting you can tweak. It’s geometry.
Karl explaining angles of incidence and reflectance at the camera
Before you move a single light, you need to understand what you’re actually solving. Glass surfaces are specular, meaning they form image-forming reflections of whatever light source is aimed at them. The angle at which light hits the lens (angle of incidence) equals the angle at which it bounces off (angle of reflectance). This isn’t a camera setting you can tweak. It’s geometry.
The two variables you control are the position of the light and the position of the subject. That’s it. Everything else, modifier choice, power settings, distance, grows out of those two decisions. Internalizing this saves you from chasing phantom fixes like adjusting your aperture or hoping a polarizing filter will save you mid-shoot.
Step 2: Start With a Specular Source to See the Worst Case
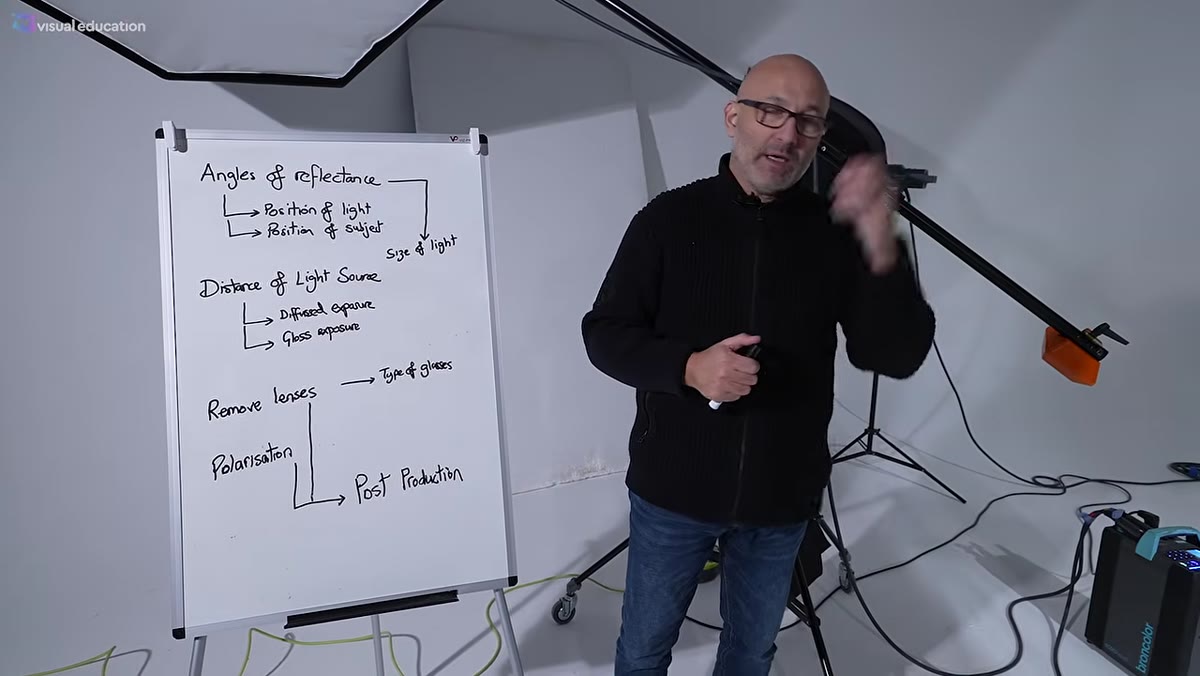 Beauty dish positioned in front of subject showing hard reflection in lenses
Karl’s approach is to demonstrate the problem at its most extreme before showing the solution, and I think that’s the right pedagogical call. A smaller, more specular modifier like a beauty dish produces a compact, bright reflection in the lens. It’s almost impossible to eliminate through positioning alone because the reflection footprint is so defined and so intense.
Beauty dish positioned in front of subject showing hard reflection in lenses
Karl’s approach is to demonstrate the problem at its most extreme before showing the solution, and I think that’s the right pedagogical call. A smaller, more specular modifier like a beauty dish produces a compact, bright reflection in the lens. It’s almost impossible to eliminate through positioning alone because the reflection footprint is so defined and so intense.
If you’ve ever tried to shoot someone in glasses with a bare strobe or a small reflector, you’ve lived this. The reflection sits right in the lens like a hot spot and moves with the light. This step isn’t about a technique you’ll use, it’s a baseline so you can actually see the improvement when you make the right change.
Step 3: Switch to a Large Modifier and Move It Closer
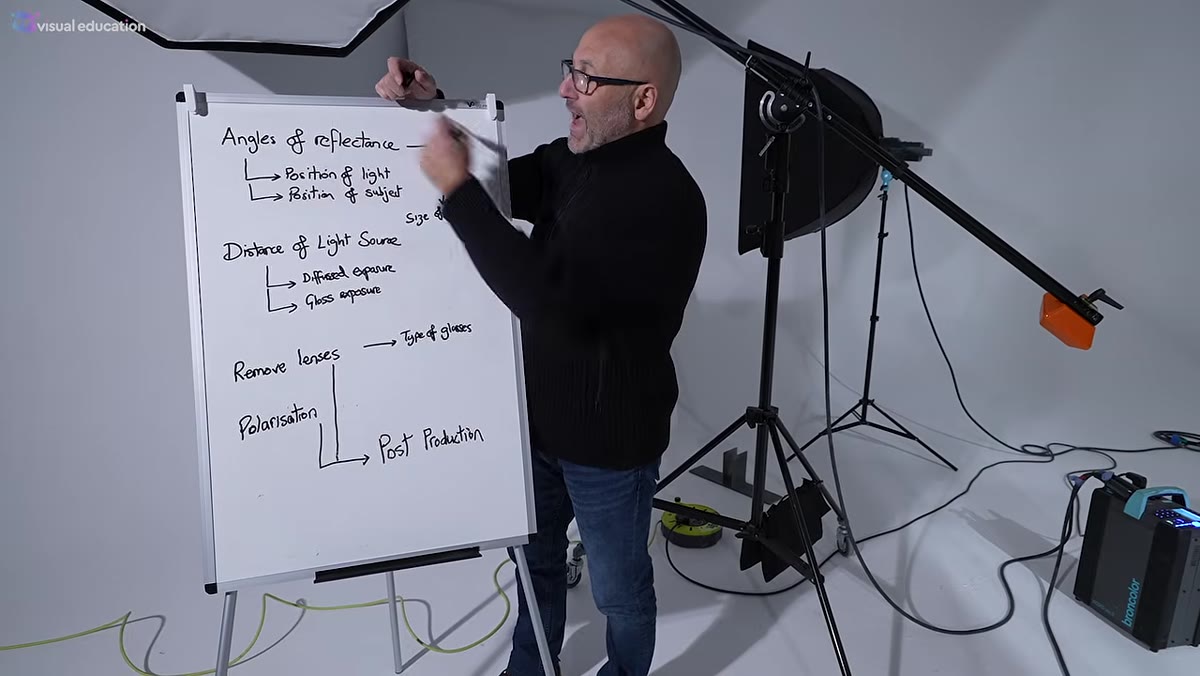 Large octabox positioned close to subject, reflection visibly reduced
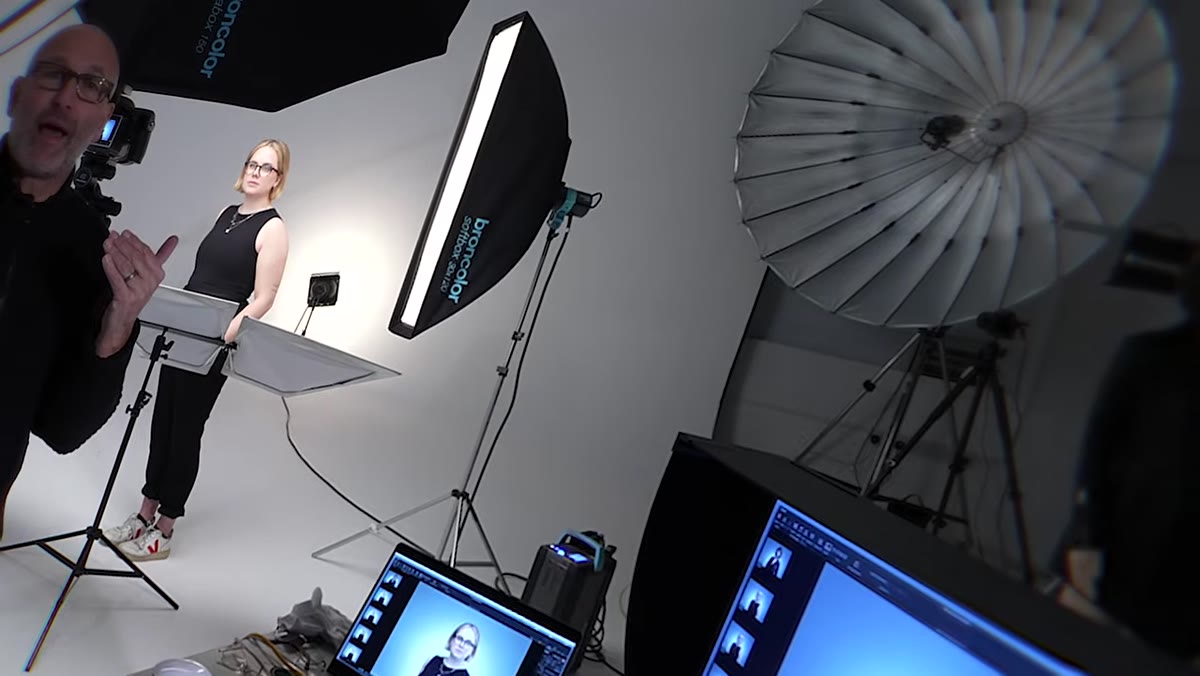
Here’s the counter-intuitive part, and the reason I sketched this setup in my lighting journal the day I watched it. Karl swaps the specular source for a large octabox and then, crucially, moves it significantly closer to the subject. Most photographers assume that a bigger light means a bigger, more visible reflection. And at the same distance, that’s true. But move it close enough and the reflection wraps so far around the frame of the glasses that it essentially disappears from the camera’s point of view.
Large octabox positioned close to subject, reflection visibly reduced
Here’s the counter-intuitive part, and the reason I sketched this setup in my lighting journal the day I watched it. Karl swaps the specular source for a large octabox and then, crucially, moves it significantly closer to the subject. Most photographers assume that a bigger light means a bigger, more visible reflection. And at the same distance, that’s true. But move it close enough and the reflection wraps so far around the frame of the glasses that it essentially disappears from the camera’s point of view.
The physics: when the modifier is large and very close, the reflected angle of that light source shifts outside the camera’s sightline. The reflection is still there, it’s just no longer pointing at the lens. As a side benefit, a large source close to the subject produces exceptionally soft, flattering light. This is the setup I now use as my default for any portrait subject wearing glasses.
Step 4: Adjust Subject or Light Position for Fine-Tuning
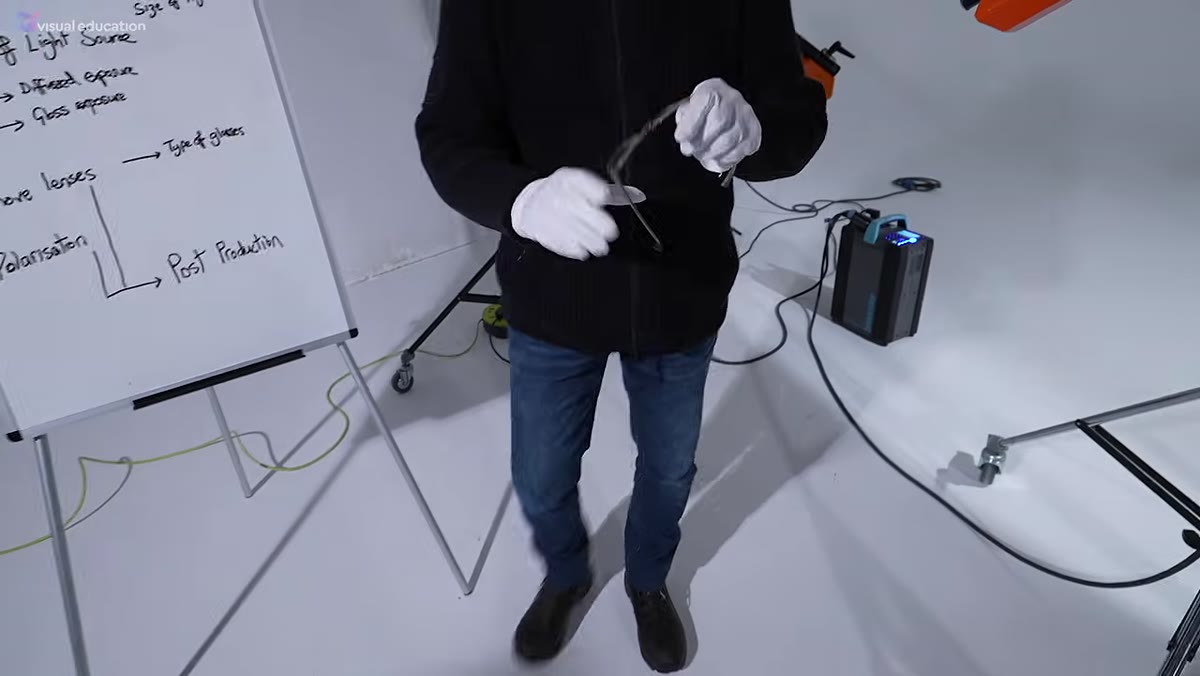 Karl asking subject to tilt chin upward, reflection disappearing from lens
Even with a large, close modifier, you may need to dial in the final position. Karl demonstrates two micro-adjustments that make a measurable difference. First, have the subject tilt their chin up slightly. This changes the angle of the lens surface relative to the light and can push the reflection out of frame entirely. Second, shift the light itself slightly higher or lower until the reflection drops out of the camera’s view.
Karl asking subject to tilt chin upward, reflection disappearing from lens
Even with a large, close modifier, you may need to dial in the final position. Karl demonstrates two micro-adjustments that make a measurable difference. First, have the subject tilt their chin up slightly. This changes the angle of the lens surface relative to the light and can push the reflection out of frame entirely. Second, shift the light itself slightly higher or lower until the reflection drops out of the camera’s view.
These are small moves, sometimes just a few inches, but their effect is immediate. I make it a habit to check the lens reflection in my tethered preview before every confirmed frame. If I can see the light source in the lens, I nudge the subject’s chin or drop the light a notch. It takes thirty seconds and saves thirty minutes of retouching.
Step 5: Consider Side Lighting Carefully
 Side lighting setup showing partial reflection behavior in glasses lenses
Side lighting with glasses introduces a different problem. The lens on the lit side may pick up a reflection while the shadow-side lens stays clean, creating an asymmetrical look that reads strangely in the final image. Karl walks through this scenario and notes that it’s workable but requires awareness. The reflection on the lit side will often be less intrusive because the angle of incidence from a side position is already working partially in your favor.
Side lighting setup showing partial reflection behavior in glasses lenses
Side lighting with glasses introduces a different problem. The lens on the lit side may pick up a reflection while the shadow-side lens stays clean, creating an asymmetrical look that reads strangely in the final image. Karl walks through this scenario and notes that it’s workable but requires awareness. The reflection on the lit side will often be less intrusive because the angle of incidence from a side position is already working partially in your favor.
If you’re committed to a side-lighting setup, position your key light further behind the plane of the subject’s face than you normally would, and watch the lens on the camera-near side. A small flag or black card just outside the modifier can help block the spill that’s most likely to kick back into that lens.
Step 6: Remove the Lenses When All Else Fails
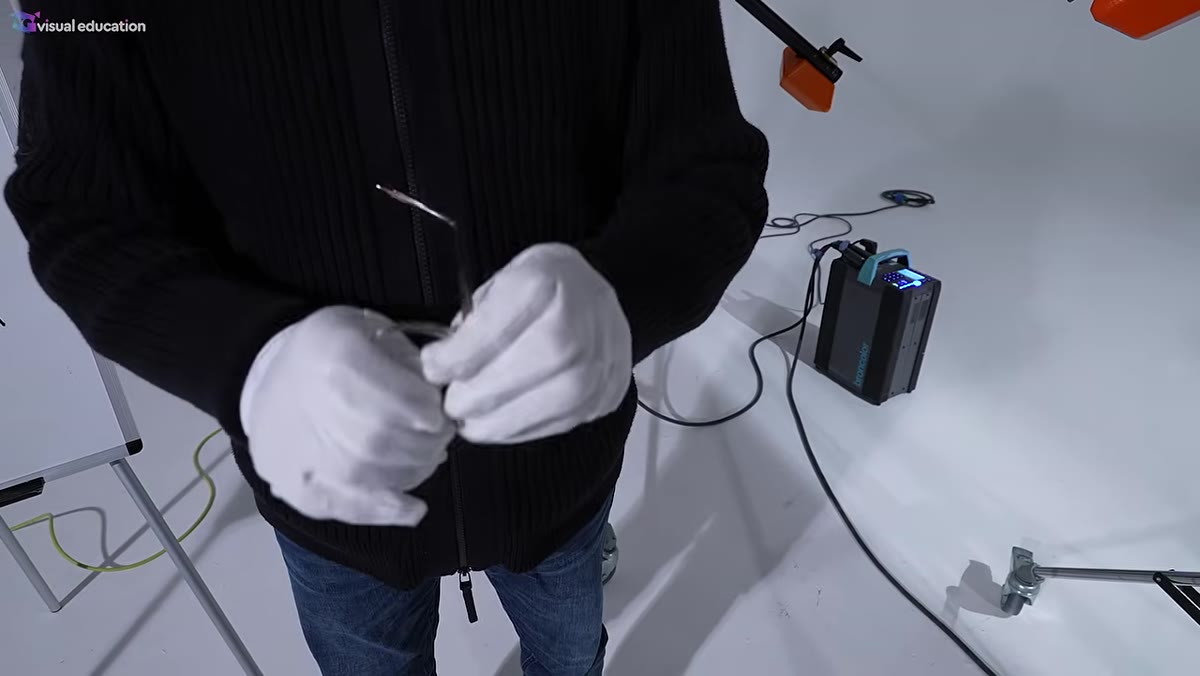 Karl demonstrating how to pop a lens out of an eyeglass frame by hand
For editorial and advertising work, this is a legitimate tool. Most opticianry-style frames hold their lenses with pressure fit, meaning you can pop them out by holding the frame firmly and pressing the lens from the inside. Karl demonstrates this with a pair of real prescription glasses, and it works cleanly on most full-rim frames. Rimless and semi-rimless frames are a different story and generally won’t cooperate.
Karl demonstrating how to pop a lens out of an eyeglass frame by hand
For editorial and advertising work, this is a legitimate tool. Most opticianry-style frames hold their lenses with pressure fit, meaning you can pop them out by holding the frame firmly and pressing the lens from the inside. Karl demonstrates this with a pair of real prescription glasses, and it works cleanly on most full-rim frames. Rimless and semi-rimless frames are a different story and generally won’t cooperate.
Once the lenses are out, the frame reads as glasses on camera and the reflection problem is completely eliminated. I’ve done this on commercial shoots where the client needed a specific frame for brand continuity but the lenses were causing problems we couldn’t light around. Always get the subject or client’s explicit permission before attempting this, and practice on your own frames first so you’re not fumbling with someone else’s $400 prescription lenses on set.
Step 7: Correct the Color Cast in Post
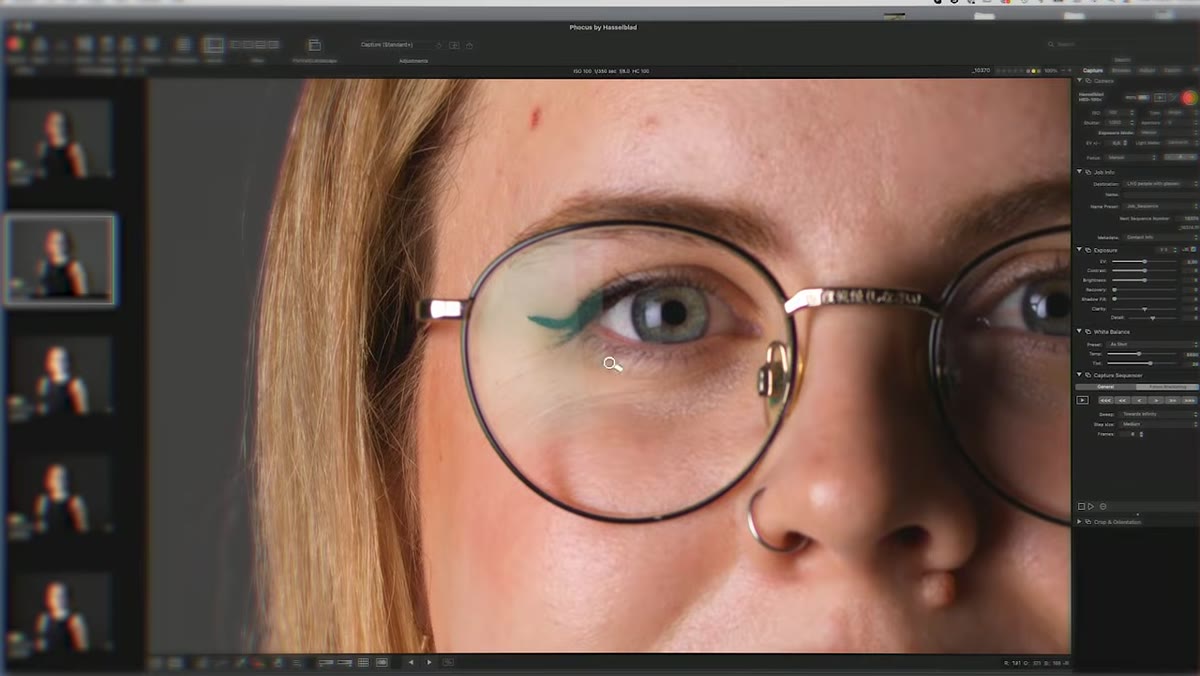
 Subtle green color shift visible in lens area during editing review
Anti-reflective coatings on modern lenses do reduce glare, but they introduce a secondary issue: a faint green or magenta color shift in the lens area. Karl addresses this in post. The fix is straightforward, use a targeted hue-saturation adjustment or a selective color correction layer in Photoshop, sample the cast color from inside the lens area, and desaturate or shift it toward neutral.
Subtle green color shift visible in lens area during editing review
Anti-reflective coatings on modern lenses do reduce glare, but they introduce a secondary issue: a faint green or magenta color shift in the lens area. Karl addresses this in post. The fix is straightforward, use a targeted hue-saturation adjustment or a selective color correction layer in Photoshop, sample the cast color from inside the lens area, and desaturate or shift it toward neutral.
This is a two-minute correction once you know to look for it. The mistake is missing it entirely because the cast is subtle enough to ignore at 100% zoom but obvious in print.
What I’d Add From My Own Experience
I’d extend Karl’s large-modifier-close-to-subject rule into a broader principle: the specular highlight on the lens behaves a lot like the specular highlight on skin. The same technique that kills unflattering shine on a subject’s forehead, wrapping a large source in close, also kills the reflection in their glasses. Once I started thinking about both problems as the same problem, my setup decisions got faster and more consistent.
One addition I’ve found useful: I keep a cheap pair of empty frames in my kit specifically for pre-shoot light testing. I place them on a stand at the subject’s eye position and check for reflections before the talent is even in front of the camera. It takes two minutes and means I’m making lighting decisions, not apology calls to clients.
The single most important idea in this tutorial is the one that runs against instinct: moving a large light source closer reduces the visible reflection, not increases it. If you remember nothing else, remember that.
Watch the full tutorial on YouTube and see Karl demonstrate each of these adjustments in real time. The before-and-after comparisons he shows on the live tethered monitor are worth the watch on their own.
Comments (3)
Quality content like this is rare. Keep it up.
Never thought of approaching it this way. Really creative.
This is fantastic. I've been recommending this approach to my readers too.
Leave a Comment