Most of my work happens in a controlled environment. I label every light in my studio with masking tape. I sketch every setup in a journal before I fire a single test shot. Control is the whole game when you shoot fashion and beauty. Wedding photography is the opposite of that, which is exactly why I keep studying it. The chaos forces photographers to solve problems I never face under studio conditions, and the solutions almost always teach me something I can bring back to my editorial work.
I came across this KelbyOne tutorial on wedding posing and expression and stayed with it longer than I expected. Watch the full tutorial on YouTube — it is short, practical, and the kind of thing you wish someone had told you before your first portrait session with real people in front of your lens. The core argument is simple: posing and expression are not two separate problems. They are one problem. Once I sat with that idea, I realized it applies just as much to a controlled studio shoot as it does to a wedding reception at noon in direct sun.
The presenter makes the case that photographers spend enormous mental energy on gear, settings, and post-production while letting the human element slip. You can have a technically perfect exposure of two people standing next to each other looking vaguely uncomfortable, and it is still a failed photograph. The fix is not complicated, but it does require you to be actively directing your subjects throughout the shoot, not just at the moment you lift the camera.
Step 1: Decide That Expression Is Your Responsibility
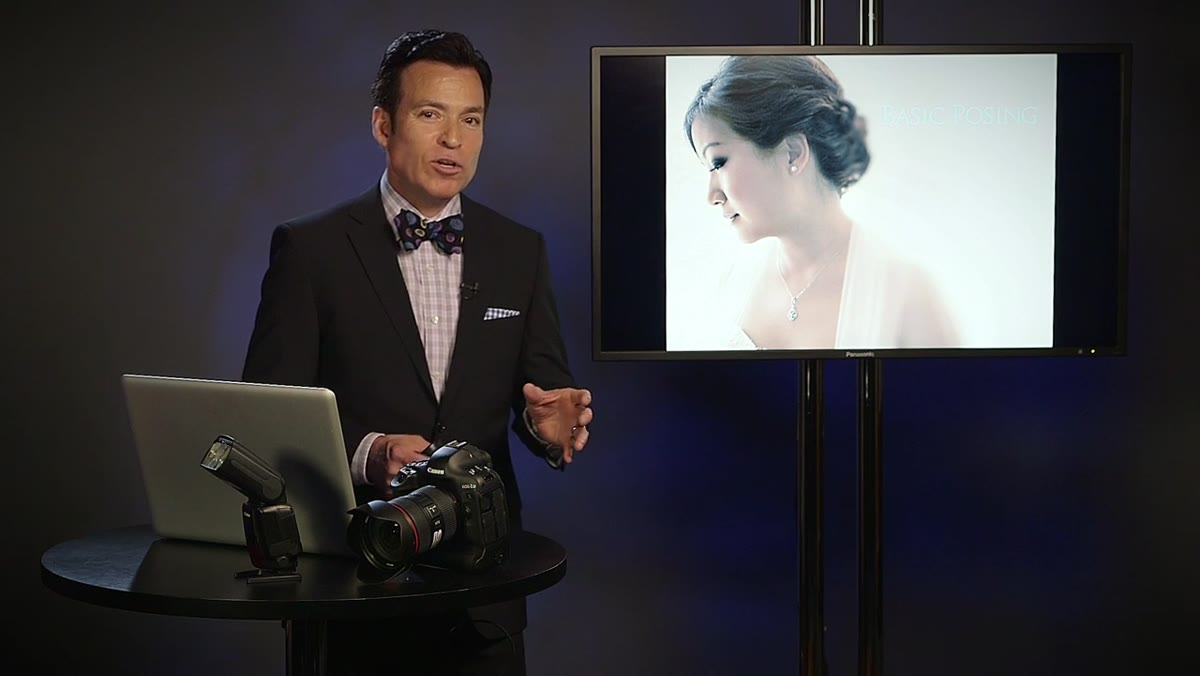 Presenter pointing to image showing couple’s relaxed facial expressions
Before you touch your camera settings, accept that you are responsible for what appears on your subjects’ faces. The tutorial makes this explicit early: expressions are guided, not captured. You are not waiting for a natural moment to happen. You are creating the conditions for one. In a studio context, I think of this the same way I think about lighting ratios. Nothing happens by accident. Everything is a decision.
Presenter pointing to image showing couple’s relaxed facial expressions
Before you touch your camera settings, accept that you are responsible for what appears on your subjects’ faces. The tutorial makes this explicit early: expressions are guided, not captured. You are not waiting for a natural moment to happen. You are creating the conditions for one. In a studio context, I think of this the same way I think about lighting ratios. Nothing happens by accident. Everything is a decision.
This mental shift changes how you prepare. Write down two or three verbal prompts you can use during the shoot. Practice saying them out loud so they don’t sound like you’re reading from a script when the moment comes.
Step 2: Start With the Standard Pose, Then Modify It
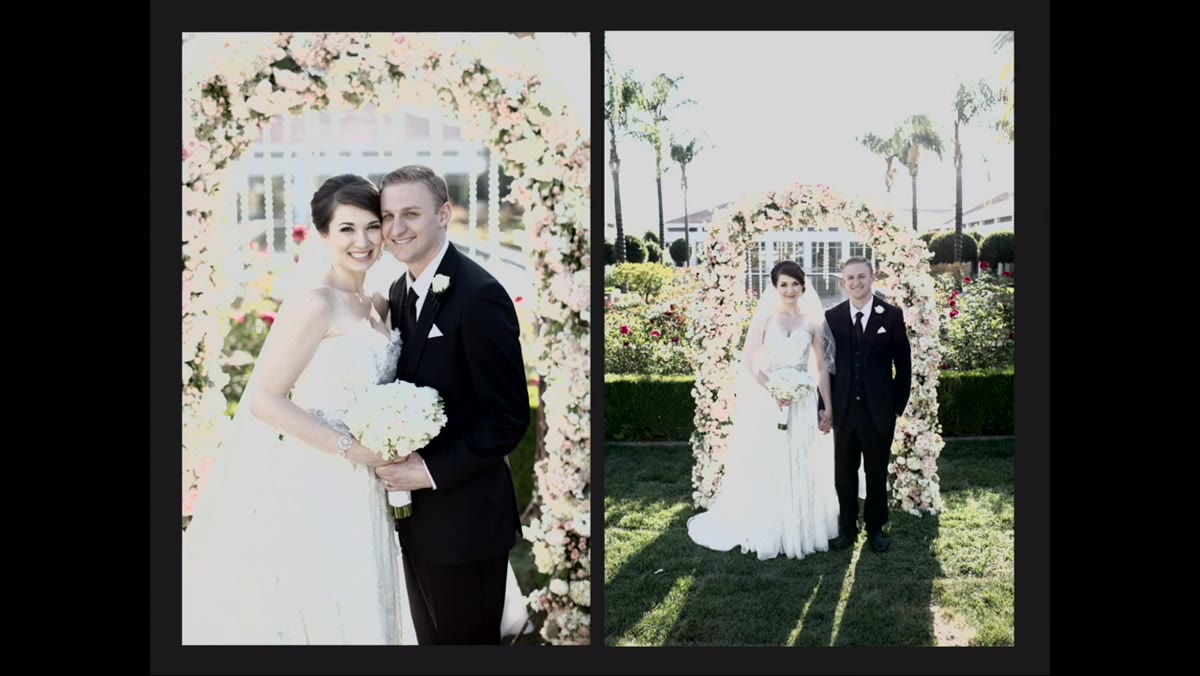
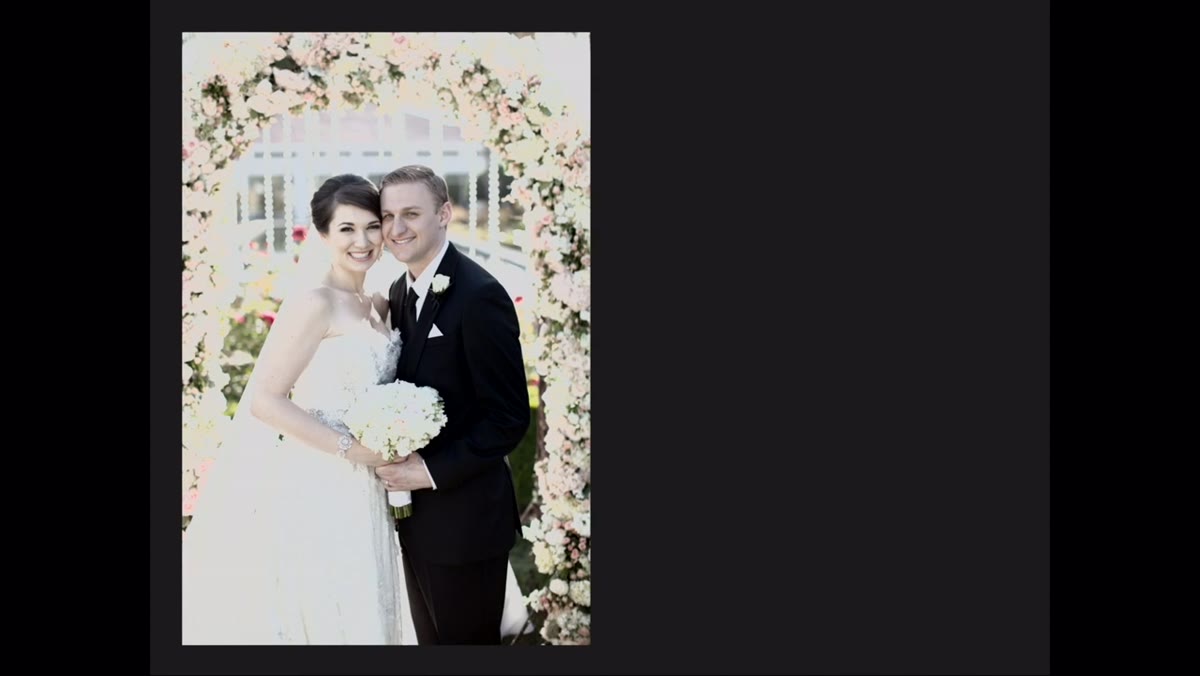 Couple in classic side-by-side wedding pose facing camera
The tutorial walks through what it calls the basic pose — groom on one side, bride on the other, both facing the camera, bouquet visible. The point is not that this pose is ideal. The point is that it is your baseline. You need a reliable starting position so you are not inventing structure from scratch every time. Once both people are settled and comfortable, you have somewhere to move from.
Couple in classic side-by-side wedding pose facing camera
The tutorial walks through what it calls the basic pose — groom on one side, bride on the other, both facing the camera, bouquet visible. The point is not that this pose is ideal. The point is that it is your baseline. You need a reliable starting position so you are not inventing structure from scratch every time. Once both people are settled and comfortable, you have somewhere to move from.
The specific modification shown is simple and transferable: instead of having both subjects stand fully upright and parallel, have them lean in slightly from the waist so their faces come closer together. It closes the physical gap, reduces the stiff symmetry of two people standing at attention, and reads as natural intimacy rather than posed proximity.
Step 3: Use Prompts to Generate Real Expressions
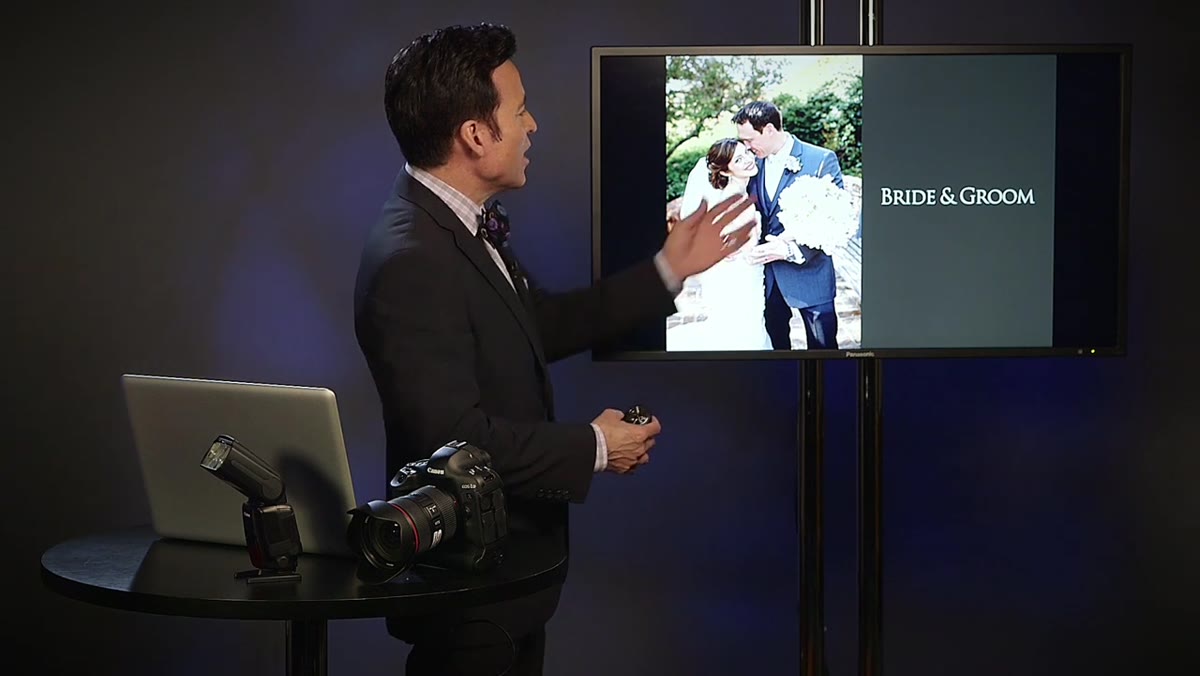 Groom leaning toward bride as she laughs naturally
Telling someone to smile produces a smile that looks like someone was told to smile. The tutorial offers a more effective approach: give subjects something to do or think about rather than a facial expression to perform. Asking the groom to touch his nose to the bride’s forehead, or to whisper something to her, produces a reaction you cannot manufacture any other way. The subjects stop thinking about the camera and start responding to each other.
Groom leaning toward bride as she laughs naturally
Telling someone to smile produces a smile that looks like someone was told to smile. The tutorial offers a more effective approach: give subjects something to do or think about rather than a facial expression to perform. Asking the groom to touch his nose to the bride’s forehead, or to whisper something to her, produces a reaction you cannot manufacture any other way. The subjects stop thinking about the camera and start responding to each other.
In studio work I use a version of this constantly. When a model locks up, I don’t ask for a different expression. I change the prompt entirely. I’ll ask them to hold a thought, not a pose. The face follows the mind, not the other way around.
Step 4: Direct the Gaze and the Mouth Separately
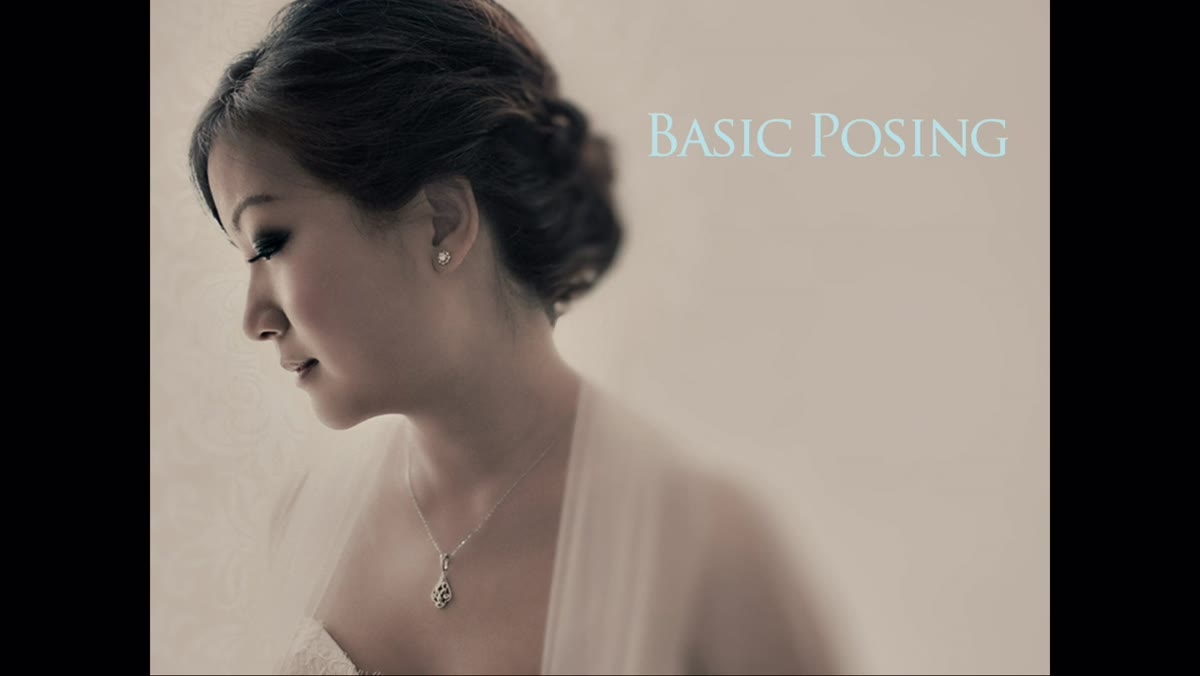 Bride posed by window, eyes cast softly downward, lips together
One frame in the tutorial shows a bride near window light. The presenter notes that he directed two specific things: lips together, and a soft downward look. Those are two separate instructions. The gaze and the mouth are independent controls, and treating them that way gives you much more precision over the final expression than asking for a general mood.
Bride posed by window, eyes cast softly downward, lips together
One frame in the tutorial shows a bride near window light. The presenter notes that he directed two specific things: lips together, and a soft downward look. Those are two separate instructions. The gaze and the mouth are independent controls, and treating them that way gives you much more precision over the final expression than asking for a general mood.
When I light a beauty subject, I think in layers: light quality, then skin, then shadow shape, then expression. The same logic applies here. Don’t ask for a feeling. Ask for a specific physical position of specific features, and the feeling tends to emerge from the combination.
Step 5: Consider Hand Position and What It Reveals
 Close-up of couple holding hands showing ring detail
Hand placement is not just a compositional choice. It tells a story about the relationship. The tutorial points out that having the groom turn his hand underneath hers accomplishes two things at once: it reads as protective and natural, and it positions the wedding ring for the camera. You are solving a practical problem and an emotional one simultaneously.
Close-up of couple holding hands showing ring detail
Hand placement is not just a compositional choice. It tells a story about the relationship. The tutorial points out that having the groom turn his hand underneath hers accomplishes two things at once: it reads as protective and natural, and it positions the wedding ring for the camera. You are solving a practical problem and an emotional one simultaneously.
In studio portraiture, hands are where tension lives. I tell every assistant I train to watch the hands first when a subject is nervous. If you solve the hands, the rest of the body usually follows.
What I’d Add from the Studio Side
The tutorial focuses on directing couples, but the underlying principle applies any time you have a human subject in front of a lens. Expression direction is a skill you can practice in isolation. I spent a year shooting my wife as a way to understand how light falls on skin, and one unexpected benefit was learning how much the quality of my verbal direction affected what I got back from her. The difference between a flat frame and a compelling one was almost never a lighting adjustment. It was almost always something I said, or didn’t say, in the five seconds before I pressed the shutter.
If you work in a studio, build expression prompts into your shot list the same way you build in lighting setups. Write them down. Test them. Keep the ones that work. The camera captures what is in front of it. You are responsible for what that is.
The single most important idea in this tutorial is that posing and expression are not two separate disciplines. They are one conversation you are having with your subject, and both fall under your direction. Stop waiting for the right moment and start building it.
Watch the full tutorial on YouTube — the visual examples make the posing modifications much easier to follow, and the whole thing runs under ten minutes.
Comments
Leave a Comment