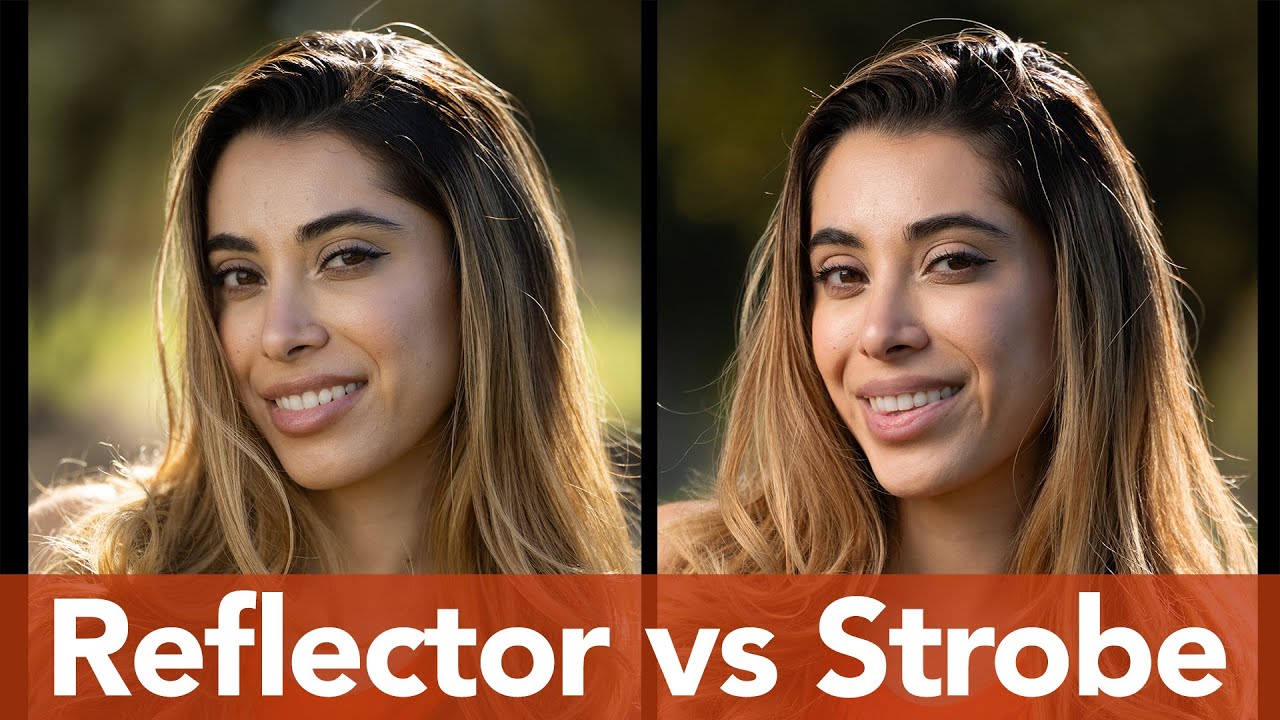
Every few months I end up in the same conversation with a newer photographer who’s convinced they need a full strobe kit before they can shoot anything worth showing a client. I used to think the same thing. Then I started keeping a lighting journal, sketching every setup from every shoot, and I noticed something embarrassing: some of my cleanest portrait light came from sessions where I had almost nothing with me.
That tension, between gear-intensive control and stripped-down simplicity, is exactly what Jay P. Morgan puts to the test in a recent The Slanted Lens tutorial that pits a $26 five-in-one reflector against an $800 FJ400 strobe and softbox combination. Watch the full tutorial on YouTube before or after reading this. The video is short, the lesson is not.
What makes this comparison genuinely useful for working photographers is that Morgan isn’t asking which tool is “better” in the abstract. He’s asking which one is better given real conditions, and he’s shooting actual portraits to prove it. Here’s how the demonstration breaks down and what you can take directly into your own outdoor work.
Step 1: Understand What Problem Each Tool Actually Solves
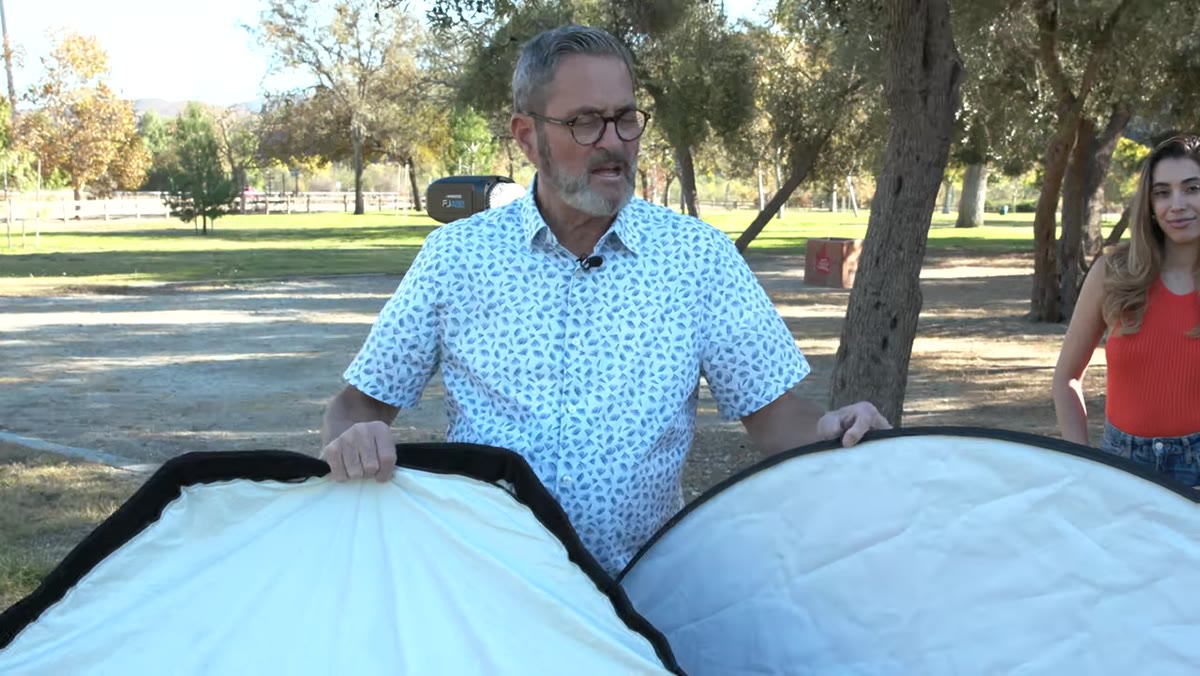 Jay P. Morgan explaining reflector portability and ease of use
A reflector’s core value isn’t image quality, it’s logistics. You can hand it to a bridesmaid, clip it to a stand with a $20 Westcott clamp, or fold it back into its case in ten seconds. For run-and-gun portrait work, weddings, or any situation where you’re already carrying too much, that matters more than people admit.
Jay P. Morgan explaining reflector portability and ease of use
A reflector’s core value isn’t image quality, it’s logistics. You can hand it to a bridesmaid, clip it to a stand with a $20 Westcott clamp, or fold it back into its case in ten seconds. For run-and-gun portrait work, weddings, or any situation where you’re already carrying too much, that matters more than people admit.
A strobe and softbox combination solves a completely different problem: location independence. You stop being at the mercy of where the sun is, what direction it’s pointing, and whether a cloud just killed your fill. That control costs money, weight, and setup time. Neither tool is universally superior. They answer different questions.
Step 2: Choose Your Shooting Position Based on Available Light
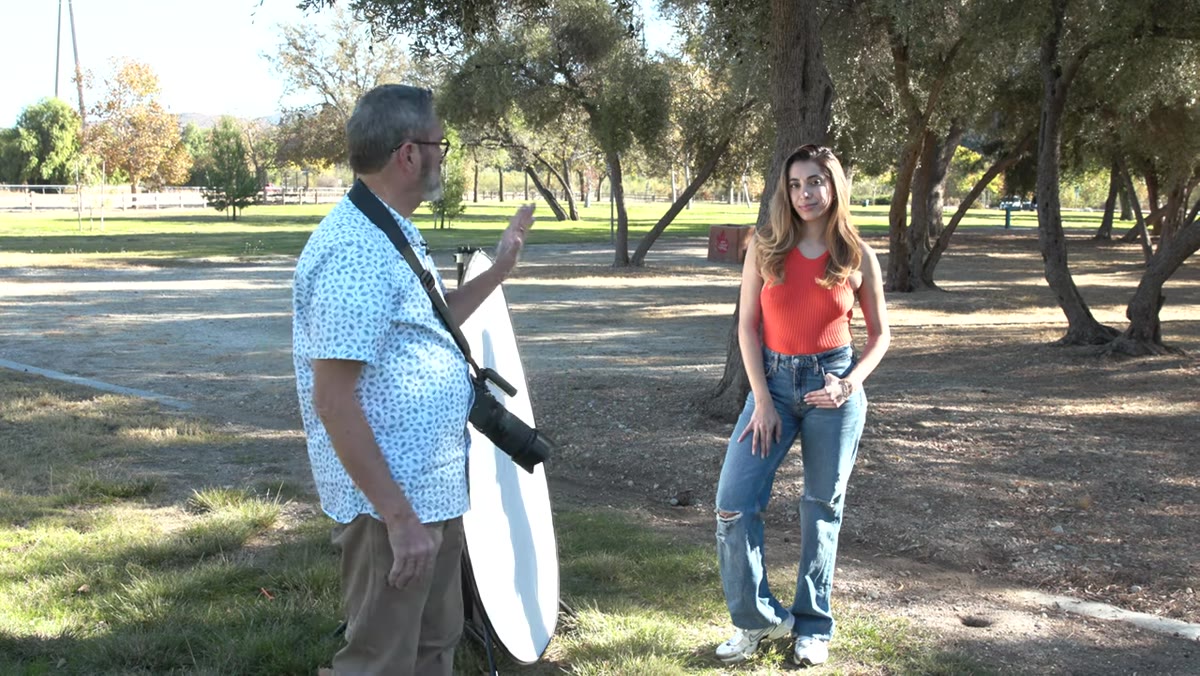 Camera position looking down a shaded path with backlit subject
Morgan places his subject at the edge of a shaded area where she’s backlit, with just enough open sun available to strike the reflector. This is a setup I come back to constantly: a dark, slightly textured background behind the subject, backlight rimming the hair and shoulders, and a fill source coming from the front. The background reads as soft and dimensional rather than flat or blown out.
Camera position looking down a shaded path with backlit subject
Morgan places his subject at the edge of a shaded area where she’s backlit, with just enough open sun available to strike the reflector. This is a setup I come back to constantly: a dark, slightly textured background behind the subject, backlight rimming the hair and shoulders, and a fill source coming from the front. The background reads as soft and dimensional rather than flat or blown out.
If you’re scouting a park or urban location, look for this exact configuration. You want shade at your back, a light source off to one side in front, and enough sky or open ground to aim your reflector toward the sun. The ratio of backlight to fill is where the mood lives.
Step 3: Set Up the Reflector for a Rembrandt-Style Fill
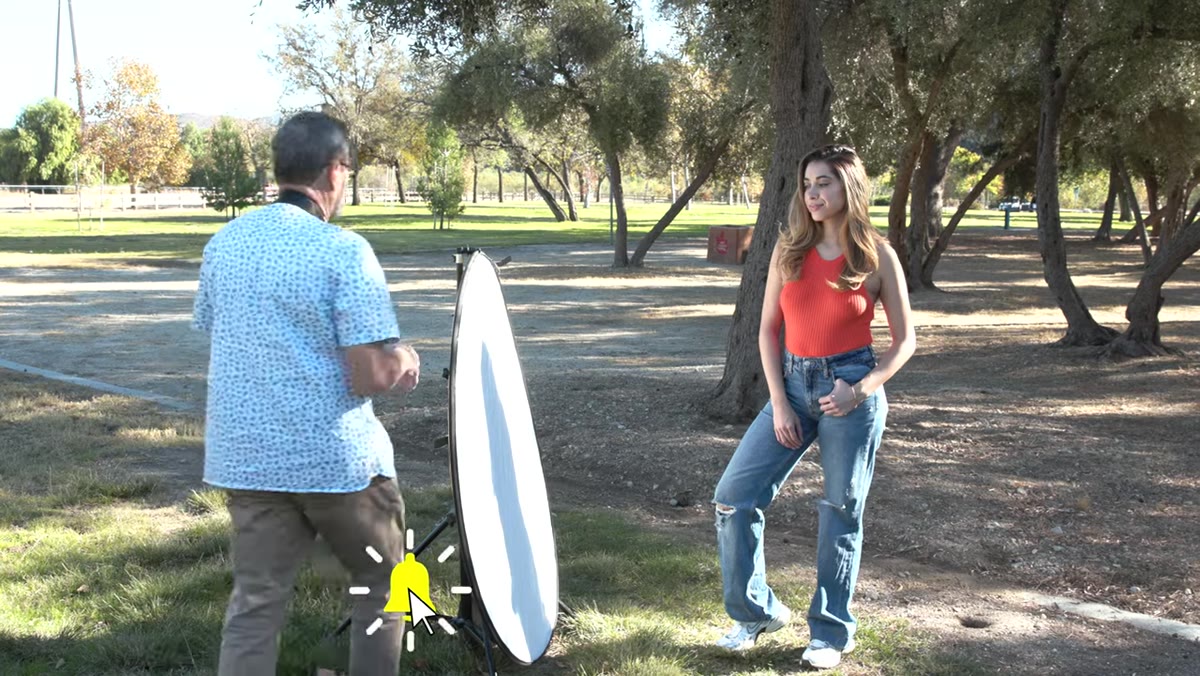 Reflector clamped high, angled toward subject’s face
Morgan flies the reflector up high, angled down onto the subject’s face. He uses the white side, not the silver, which is an important distinction. Silver throws harder, more specular light and can look aggressive in direct sun. White bounces a softer, more diffused fill that complements rather than competes with the natural backlight.
Reflector clamped high, angled toward subject’s face
Morgan flies the reflector up high, angled down onto the subject’s face. He uses the white side, not the silver, which is an important distinction. Silver throws harder, more specular light and can look aggressive in direct sun. White bounces a softer, more diffused fill that complements rather than competes with the natural backlight.
Position the reflector above eye level and tilt it until you see the catch light appear in your subject’s eyes. That catch light placement tells you your fill angle. High and slightly off-center gives you the Rembrandt triangle on the shadow side of the face. Come in too low and you get that flat, on-axis fill that removes all the dimension you’re trying to build.
Step 4: Dial In Exposure for a Bright Ambient with Sharp Subject
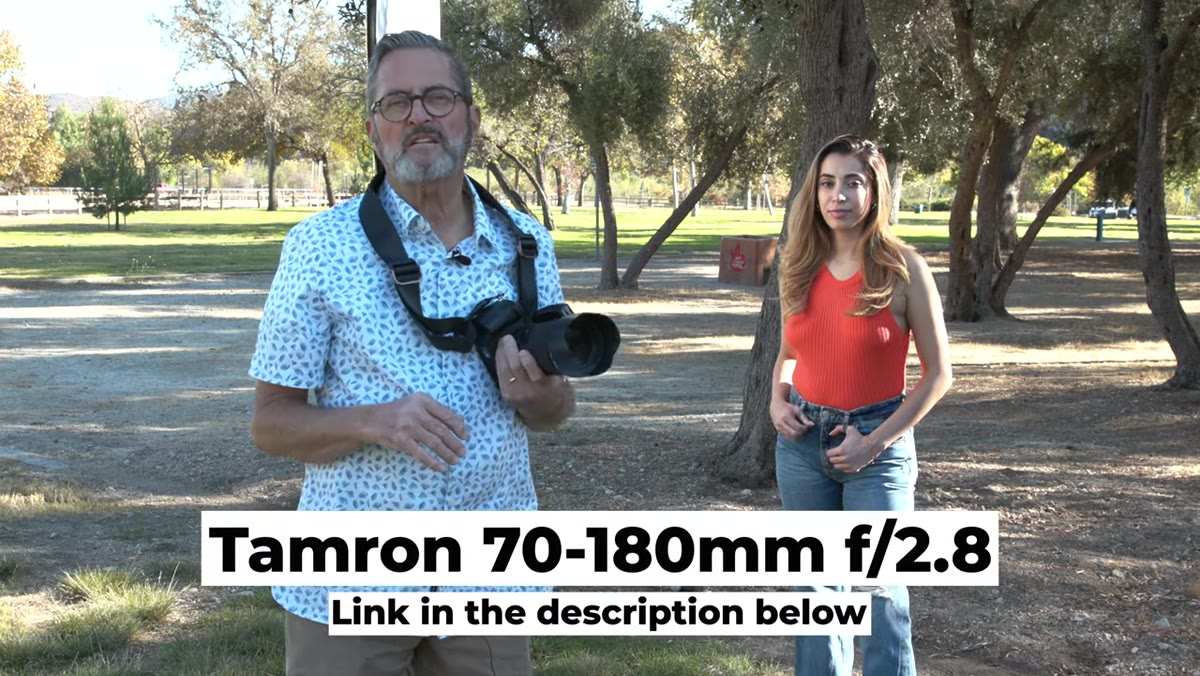 Camera settings displayed: 1/1250s, f/2.8, Tamron 70-180mm
Morgan shoots with a Tamron 70-180mm f/2.8 wide open, setting his shutter speed between 1/1250th and 1/2000th of a second. At f/2.8 in direct sun, that shutter range keeps the sky from blowing out while still separating the subject cleanly from the background. The long focal length compresses the background and increases that subject-to-background separation without you having to do anything clever.
Camera settings displayed: 1/1250s, f/2.8, Tamron 70-180mm
Morgan shoots with a Tamron 70-180mm f/2.8 wide open, setting his shutter speed between 1/1250th and 1/2000th of a second. At f/2.8 in direct sun, that shutter range keeps the sky from blowing out while still separating the subject cleanly from the background. The long focal length compresses the background and increases that subject-to-background separation without you having to do anything clever.
If you’re shooting in bright midday sun and trying to stay at f/2.8, you’ll almost certainly need an ND filter unless your camera’s sync speed covers it. A 3-stop ND buys you back to manageable shutter speeds if you’re using flash later in the same session and need to stay at or below sync.
Step 5: Compare the Reflector Result Against No Fill
 Side-by-side of portrait with and without reflector fill
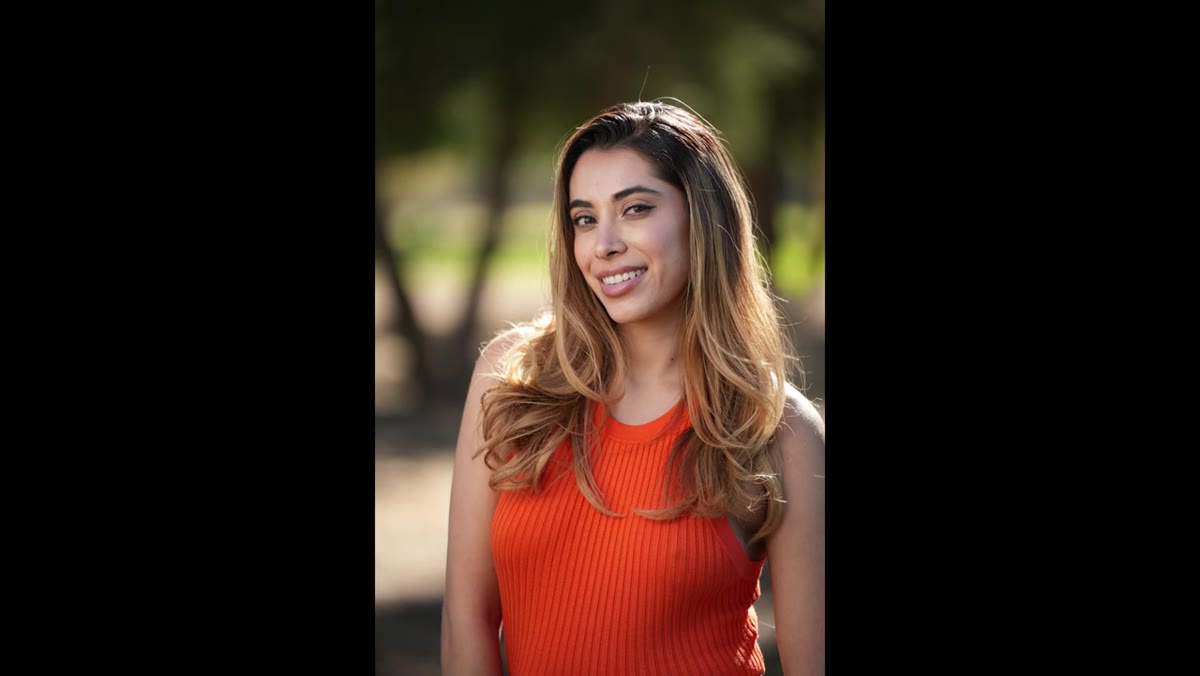
The before-and-after Morgan shows here is the most instructive moment in the video. Without the reflector, the subject’s face reads muddy and underexposed relative to the brighter background. The backlight that looks so attractive in theory becomes a liability when there’s nothing returning light to the face.
Side-by-side of portrait with and without reflector fill
The before-and-after Morgan shows here is the most instructive moment in the video. Without the reflector, the subject’s face reads muddy and underexposed relative to the brighter background. The backlight that looks so attractive in theory becomes a liability when there’s nothing returning light to the face.
Add the white reflector, and the skin tones open up, the catch lights appear, and the face holds detail in the shadows without going flat. The light wraps. That wrap is the word I keep coming back to when I think about what separates a technically correct portrait from one that actually reads as polished.
Step 6: Recognize When the Strobe Setup Earns Its Cost
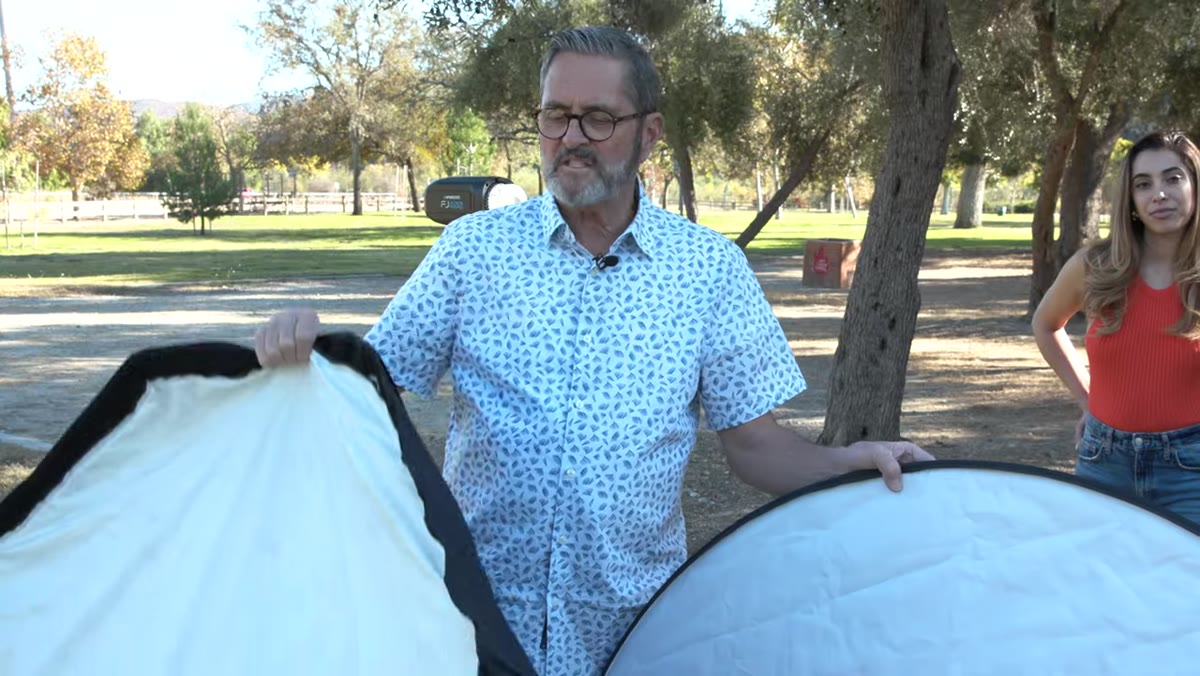 Discussion of strobe advantages: cloudy days, location flexibility
The strobe and softbox combination becomes the right tool the moment the sun stops cooperating. Overcast days, urban canyons with no direct light, interior-exterior transitions, all of these break the reflector’s operating conditions. The strobe doesn’t need the sun. It brings its own.
Discussion of strobe advantages: cloudy days, location flexibility
The strobe and softbox combination becomes the right tool the moment the sun stops cooperating. Overcast days, urban canyons with no direct light, interior-exterior transitions, all of these break the reflector’s operating conditions. The strobe doesn’t need the sun. It brings its own.
It also lets you overpower ambient light when you want to, which opens up darker backgrounds and more dramatic exposures. You can shoot into a shaded alley and still have beautiful soft light on your subject’s face because you’re no longer dependent on what the location provides. That flexibility is what justifies the cost and the weight for professional work.
What I’d Add From My Own Experience
The part of this comparison that doesn’t get enough airtime is color temperature. In my early commercial work, I once showed up to an outdoor editorial on a partly cloudy afternoon assuming I could reflector my way through it. The light kept shifting between 5500K in the sun breaks and 7000K in the shade, and my reflector was faithfully bouncing whichever color temperature happened to be available at the moment. The results were unusable and I had to reshoot.
A strobe gives you a fixed color temperature, usually around 5600K, which you can correct for in one click during editing. When you’re shooting tethered for a client or delivering same-day edits, consistency in color temperature is worth almost as much as consistency in exposure. If you’re working with just a reflector, try to limit your shooting window to when the light is stable, early morning or late afternoon when the sun angle is consistent and clouds aren’t moving fast.
The single most important takeaway from Morgan’s comparison is this: the reflector isn’t a beginner’s compromise. It’s a precision tool with a specific operating window. When conditions are right, it produces beautiful, natural-looking light for almost nothing. When conditions aren’t right, no amount of repositioning will fix it. Knowing which tool fits which situation is the skill. The gear is just the result of that decision.
Watch the full tutorial on YouTube to see the side-by-side portrait results Morgan pulls from each setup. The difference is more obvious on screen than any description can capture.
Comments (3)
Finally someone explains this in a way that actually makes sense.
The before and after really sells it. Incredible difference.
This is fantastic. I've been recommending this approach to my readers too.
Leave a Comment