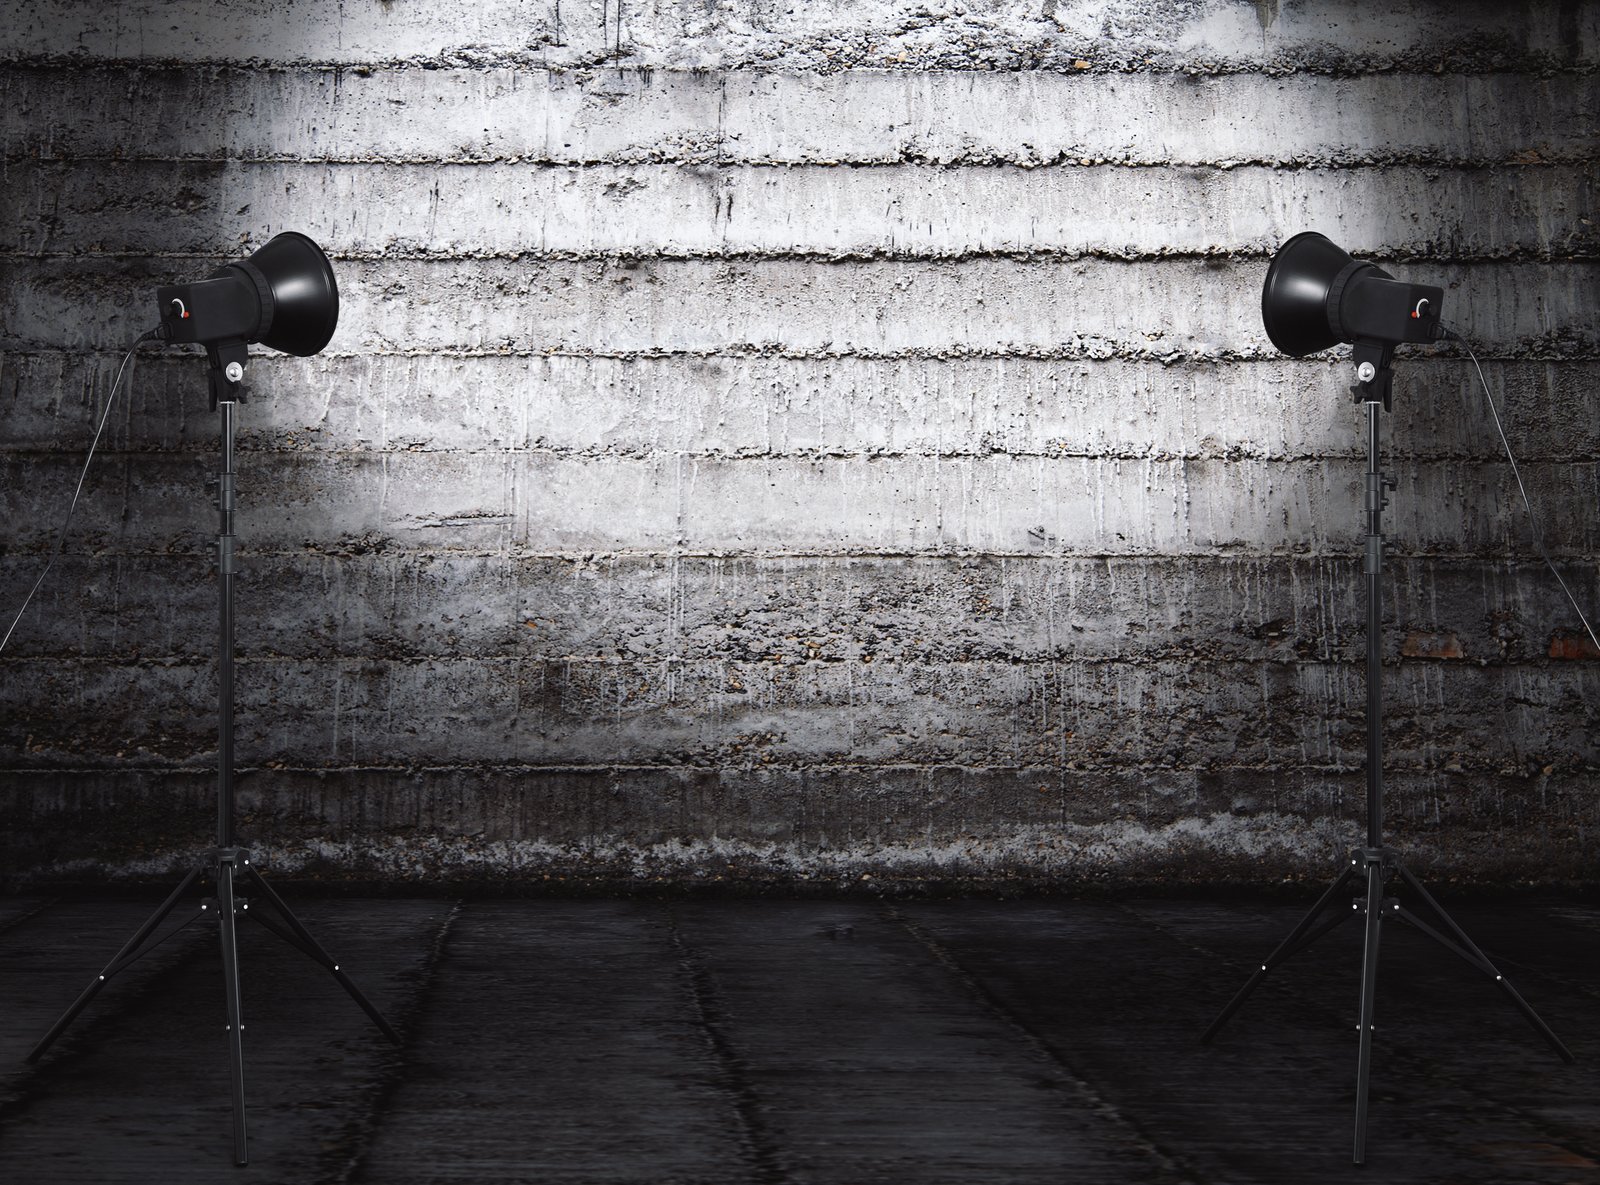
Last month I was reviewing a test shoot for a skincare brand and noticed the same problem I see constantly from photographers who are just starting to work with rim lights: the background was glowing. Not the subject. The background. The rim light had spilled onto the white sweep behind the model, and the whole image looked like a blown-out mess with a person standing in front of it. The photographer had the right instinct, wrong execution.
Rim lighting is one of the most powerful tools in a studio photographer’s kit. It is also one of the most frequently misapplied.
What Rim Lighting Is Actually Doing to Your Subject
A rim light, sometimes called a hair light or separation light, is placed behind and to the side of your subject, aimed back toward the camera at a low angle. Its job is to trace the outer edge of the subject with a narrow band of light, lifting them visually off the background by creating contrast between their silhouette and the scene behind them.
The physics here matter. When light skims across a surface at a steep angle, it catches the texture and form of whatever it touches. On a person, that means the edge of a shoulder, the curve of a jaw, the line of hair. The light is not illuminating the face or the body for modeling purposes. It is creating a boundary. That boundary is what gives the image depth. Without it, subjects photographed against dark backgrounds flatten out, especially in digital files where shadow detail compresses fast.
The issue with spill onto backgrounds is a positioning problem compounded by a power problem. More on both below.
The Setup I Use as My Starting Point
I run my rim lights as a matched pair, one camera left, one camera right, each at roughly 45 degrees behind the subject and angled in at about 30 degrees toward the camera axis. The lights are strip boxes, usually a 1x4 foot or 1x6 foot depending on how much edge coverage I need. My go-to for years has been the Westcott 6-foot Strip Bank, which runs around $150 and gives me a long, controlled spill that’s easy to flag.
For power ratio, I start the rim lights at 1 stop below my key light. If my key is sitting at f/8, I’m setting the rim at f/5.6. That’s a starting point only. Skin tone, hair color, and fabric all change how that reads on camera. Dark hair absorbs more light than blonde hair. Black leather eats rim light. You need to meter and test, not just trust a ratio.
I flag every rim light with a black foam board gobo to cut the spill before it reaches the background. I tape a label on each gobo with the modifier name and the shoot date it was first used. It sounds obsessive but when you’re shooting for a beauty client who will pull the images apart in post, you want to know exactly what you were working with if a problem shows up later.
Positioning Is More Important Than Power
The biggest mistake I see is photographers placing rim lights too close to the camera axis. When the rim light comes in from too shallow an angle, it stops behaving like a separation light and starts acting like a second key. You lose the edge effect and gain a muddy, overlapping exposure that fights your key light instead of complementing it.
Push the lights further behind the subject than feels comfortable. I often position them so the front edge of the strip box is even with the back of the subject’s ear line. At that position, the key light blocks most of the rim fixture from the camera lens, which also reduces flare. If you are getting flare in your lens, the rim light is probably too far forward.
Distance from the subject controls intensity faster than your power dial will. Moving a rim light 12 inches further away is a quicker and more controllable adjustment than dialing down half a stop on a strobe head.
When I Changed How I Think About Color Temperature
Early in my career I lost a major editorial shoot because my rim lights were daylight-balanced speedlights and my key was a tungsten modifier I hadn’t gelled. The color shift on the subject’s edge was subtle in the viewfinder and catastrophic in print. The art director killed three pages of images.
After that I started keeping a lighting journal, a physical notebook where I sketch every setup from every shoot, including color temperature notes for every fixture. I still use it. Every rim light in my studio is now on the same strobe system, Profoto B10s for portability, so color temperature is consistent across all heads by default. If you are mixing strobe brands or using speedlights alongside studio heads, gel them to match. Do not assume they’re close enough.
One Light or Two: Knowing When to Drop the Second Rim
You don’t always need both rim lights. For fashion work where I want strong graphic shape, yes, I run both. For beauty and skincare, where the rim is just there to prevent the subject from sinking into the background, one light angled slightly behind and above the subject on the key-light side is often cleaner. It keeps the face from getting edge-lit symmetrically, which can look too constructed for close-up work where naturalness matters.
The test is simple: drop one rim light, take a frame, compare it to your two-light version. If the image doesn’t lose anything meaningful, you don’t need the second light. Simplicity is not laziness. Knowing which lights to remove is a skill that takes longer to develop than knowing which lights to add.
Rim lighting is not decoration. It is structural. Get the position right first, power second, and flag the spill before you touch anything else.
Comments
Leave a Comment