I had a subject disappear on me once. Not literally, but close enough. Dark jacket, dark hair, dark seamless background, and I’d placed my key light slightly too far around to the side thinking I was being dramatic. What I got instead was a silhouette with a face. The client sat quietly while I scrambled to fix it, and I’ve never forgotten the specific embarrassment of that silence.
That shoot is why I became obsessive about rim lighting as a separate, controlled element in my setups, not a happy accident from a side light that crept around. If you’re treating your rim as an afterthought, you’re leaving one of the most powerful separation tools in studio photography sitting unused in the corner.
What Rim Light Actually Does to the Physics of a Frame
Rim lighting works by skimming light across the edge of your subject from behind, creating a thin, bright outline that optically lifts them off the background. The reason it works is contrast: your eye follows the brightest path in a frame, and a controlled rim creates a defined border between subject and background that the eye reads as depth.
Without it, especially on low-key setups with dark clothing or hair, your subject’s edges bleed into the background. The image looks flat, not moody. Flat is not the same as low-key. Flat means you lost control of depth, which is a technical failure dressed up as an aesthetic choice.
The rim also interacts differently with different surfaces. Hair separates cleanly. Shoulders on a suit jacket go almost specular. Skin picks up warmth. Understanding what texture you’re illuminating changes how you place and modify the light.
The Placement Formula I Use on Every Shoot
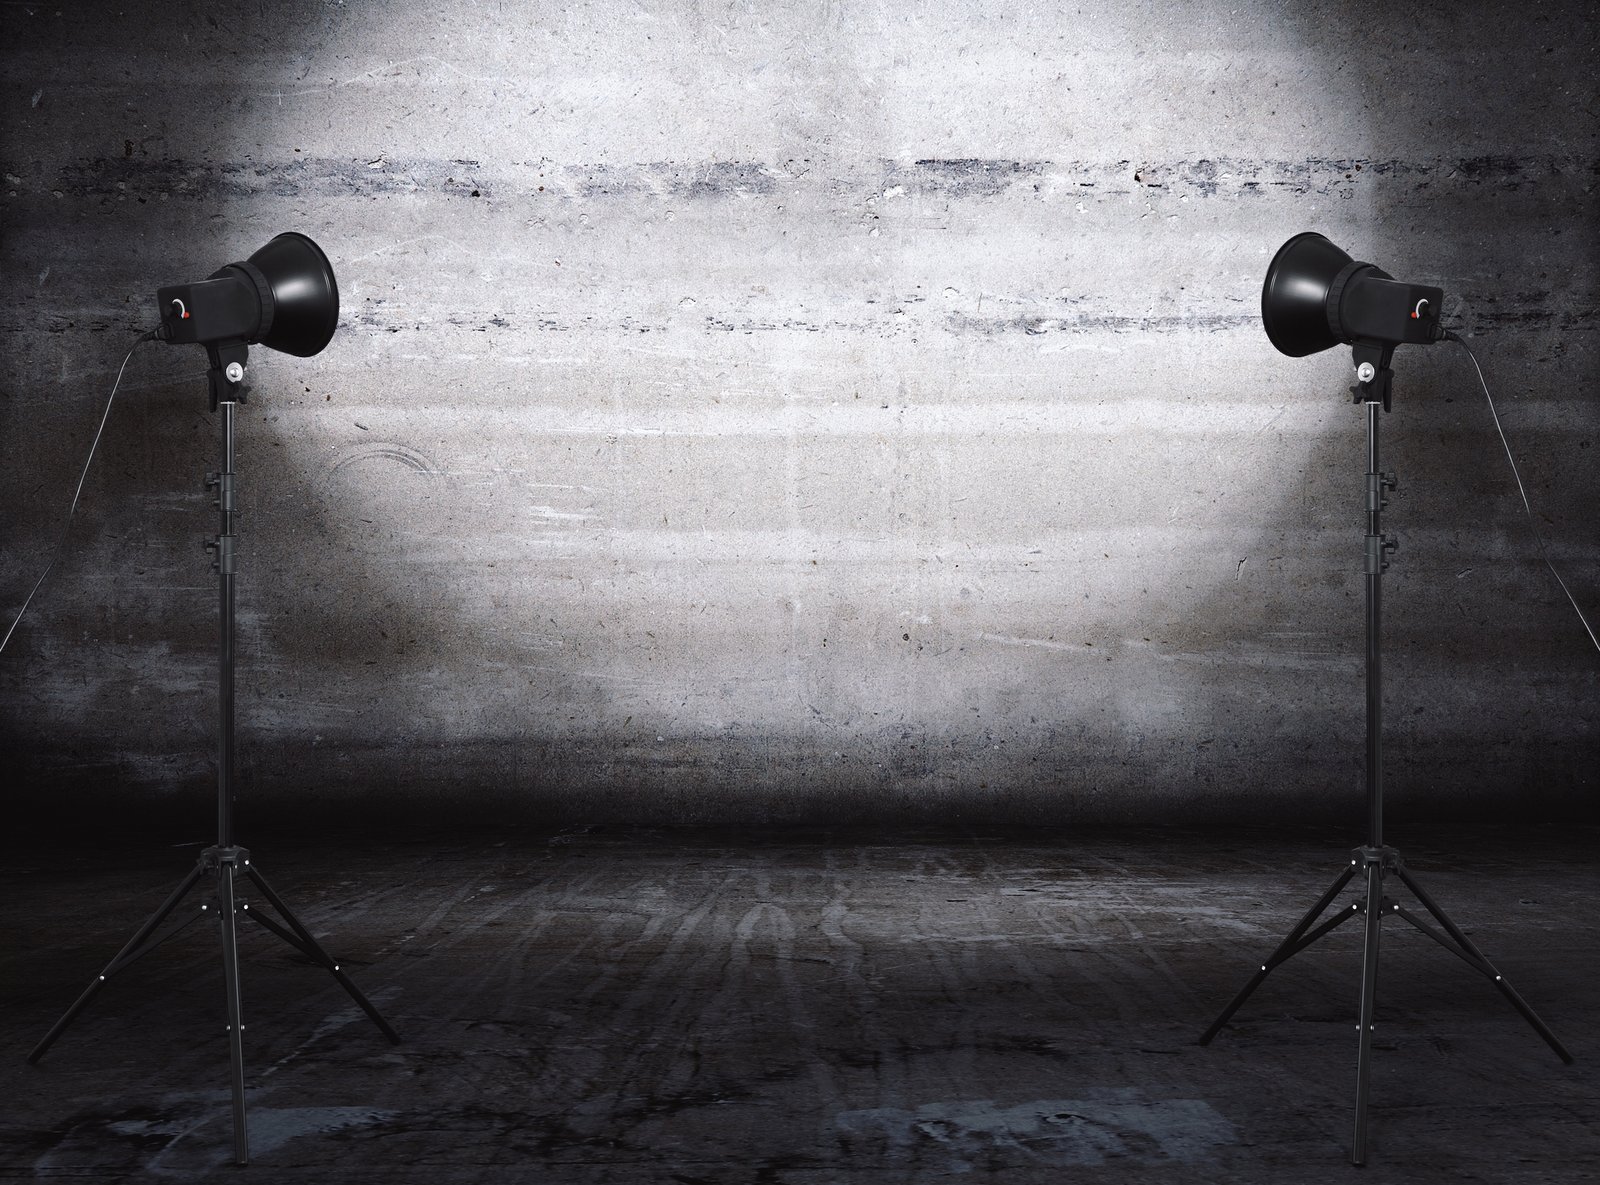
I position rim lights at roughly the 4 o’clock and 8 o’clock positions relative to the subject, at or slightly above head height, angled down about 15 to 20 degrees and pointed back toward camera. This is a starting point, not a rule, but it gives me a clean bilateral rim that I can then kill one side of if I want something more directional.
Power ratio is where most people go wrong. Your rim should read between 1 to 1.5 stops above your key light when you meter it independently at the subject’s edge. Any brighter and you’re blowing the shoulder, any dimmer and you lose the separation benefit in the final image. I use a Sekonic L-858D for all my ratio work because I want numbers, not guesses.
For modifiers, strip softboxes are the workhorses here. I run Profoto 1x3 foot strips with the inner diffusion removed for a harder, more defined edge. Hard rim on a softbox-lit face creates natural contrast between the dimensional, wrap-around key and the crisp separation line. If you want a softer, more beauty-editorial rim, keep both diffusion layers in. The choice changes the mood considerably.
On backgrounds below about 18 percent gray, I rarely need a background light in addition to the rim. The rim does enough separation work on its own. On pure white, I kill the rim entirely and work with background power to manage separation instead, because rims on white just create blown halos that look like amateur compositing.
Gear That’s Worth the Money and Gear That Isn’t
The light source matters less than its control. I’ve shot functional rim setups with Godox AD200 Pros ($300 each) and with Profoto B10s ($1,000 each). Both work. What I care about is consistent output and a tight beam control option. The Godox with a strip box does the job for editorial on a budget. For commercial beauty work where I’m stacking retouching on top, I use the Profoto system because the color consistency across multiple pops is measurably tighter and I don’t have time to correct for color drift in post.
One thing I will not compromise on: light stands for rim positions. These lights are behind the subject, often at angles, and they catch wind from HVAC systems and foot traffic. I use Avenger A635B stands with sand bags on every rim position. A falling light at the end of a shoot day is a $1,000 mistake and a safety issue. The stands cost $80 each. That math is easy.
The Journal Entry That Changed How I Think About Edge Light
I keep a lighting journal, a physical sketchbook where I diagram every setup I shoot. I’ve filled four of them. Going back through an early one from about eight years ago, I found a shoot where I had drawn a rim setup that was almost textbook correct, but I’d noted in the margin “too hot, client said it looked like a halo.” I was metering the rim power at the light head, not at the edge of the subject’s shoulder. I was off by almost a full stop because of the fall-off across the distance and the angle of incidence.
Metering at the source is a trap a lot of photographers fall into. The number at the head tells you almost nothing about what’s landing on the subject’s edge. Walk the meter to the subject, hold it at the shoulder angled back toward the rim light, and read that number. That’s the number that matters. I didn’t fully understand that until I started diagramming failures alongside successes and found the pattern myself.
When to Kill the Rim Entirely
Rim lighting isn’t always the answer. High-key setups with white or very light backgrounds already have natural separation from the luminance difference between subject and background. Adding a rim there creates a redundant, often distracting edge. Rembrandt-style portrait lighting with a very dark background sometimes reads better without a rim because the darkness is the point, the subject is emerging from shadow, not floating above it.
I also skip the rim when I’m shooting textured backgrounds like fabric or paper that I want to fall off naturally behind the subject. A rim in those situations creates a border that competes with the background texture for attention.
The single most important thing about rim lighting is this: meter it independently, every time, at the subject’s edge. Everything else, modifier choice, power, angle, is secondary to knowing exactly what that light is doing before you shoot the first frame.
Comments
Leave a Comment