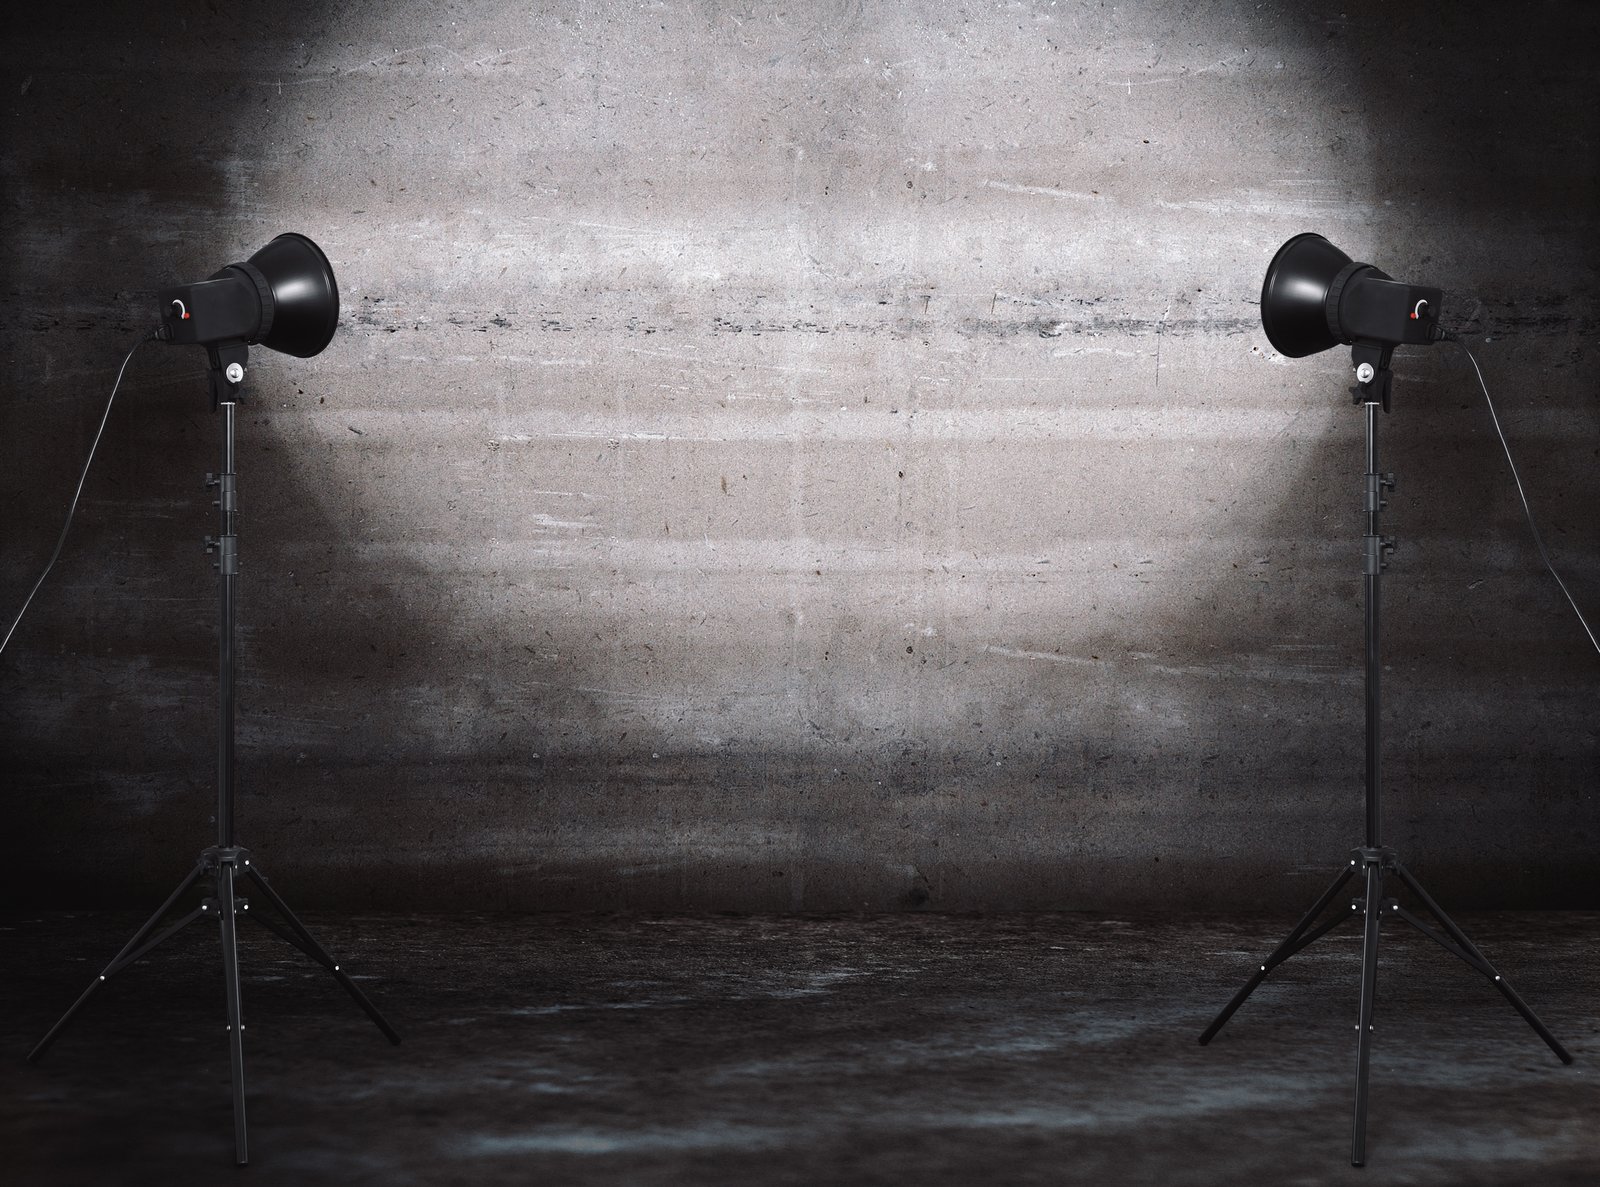
I had a fashion client a few years ago who kept asking me to make the model “pop more.” We were shooting a dark suit against a dark gray background, and the images looked flat no matter what I did to the key light. I kept chasing the problem from the front of the frame when the actual solution lived behind the subject. One rim light, placed at about 135 degrees off-axis, changed the entire image. The suit had edges again. The model had a shoulder line. The shot sold.
That experience is why I now treat rim lighting as a foundational decision, not a decorative one. You build it into the plan before the first test shot, not after you’ve exhausted everything else.
What Rim Light Actually Does to the Image
A rim light, also called a hair light or separation light, is a strobe or continuous source placed behind and to the side of the subject, aimed back toward camera. Its job is to create a thin line of highlight along the edge of the subject that visually separates them from the background.
Here’s the physics that matters: when surfaces face away from camera at a low angle to the light source, they become specular reflectors. That means the light bouncing off the shoulder, the jaw, the arm, the edge of the hair, is hitting your sensor nearly undiffused. That’s what creates the crisp, bright rim. If you diffuse the source too heavily, you destroy the geometry that makes rim lighting work. A large, soft rimlight just spills everywhere and reads as ambient pollution.
The contrast between the lit edge and the darker background behind it is what the eye reads as three-dimensional form. It’s the same reason a hard shaft of afternoon sun separating a figure from a shadowed wall works so powerfully in available light work. You’re manufacturing that moment in the studio.
Setting the Ratio Before You Touch a Light Stand
I run my rim lights at a ratio relative to the key. My starting point for most portrait and beauty work is 1:1 with the key, meaning if the key is metering at f/8, the rim is also set to f/8. That sounds counterintuitive because the rim appears brighter in the final image, but remember, the rim is not frontal light. You’re seeing its specular behavior, not its raw output, and the camera is only capturing a sliver of its angle.
For fashion work where I want a heavier, more aggressive rim, I’ll push it to 1.5 stops over the key. For beauty close-ups, especially on darker skin tones, I often pull it back to half a stop under the key so it reads as definition without flaring out.
I label every light in my studio with masking tape and a marker, including the rim positions. My tape usually reads something like “RIM L / 135 / -1 stop” so my assistant and I are never guessing mid-shoot. It takes thirty seconds and saves twenty minutes of confusion.
Gear That Actually Behaves at This Angle
The modifier choice for rim lighting is where I have strong opinions. Strip boxes work well because their narrow profile controls spill. I use a 12x55-inch strip with a grid for most of my commercial work. The grid is non-negotiable for me. Without it, light from the strip scatters toward the background and you lose the clean separation you’re after. Eggcrate grids in the 40-degree cell size are my standard.
Bare reflector dishes with a standard reflector also perform well if you need a harder, more industrial rim. I use the 7-inch reflector on my Profoto B10 Plus units for this and meter carefully, because bare reflectors at close range can spike two stops above their indicated output due to falloff behavior.
Position the light stand so the source is just outside the frame line and the edge of the modifier is not visible in the lens. A longer lens helps here. Shooting at 85mm or 105mm on a full-frame body gives you enough working distance to tuck the rim light in tight without it creeping into the frame.
The Setup That Changed How I Think About Skin
My wife is not a photographer, but she has a habit of noticing light in a way that has genuinely improved my work. She pointed out to me years ago that the rim light I was using on her during a test shoot was flattering on one side of her face and completely unflattering on the other, not because of the key, but because of how the rim was catching the transition zone between her cheekbone and her ear. On one side, the light was grazing skin texture beautifully. On the other, it was raking across her hairline in a way that emphasized texture she didn’t love.
That observation sent me back to my lighting journal to diagram exactly what was happening. The rim on the unflattering side was about ten degrees too far forward, just enough to shift from edge light to three-quarter light on that side of her face. I pulled it back to a true rear position and the problem disappeared. Since then, I do a slow walk-around of every subject before locking in rim light position. You cannot evaluate rim placement from behind the camera alone.
When to Ditch the Rim Entirely
Rim lighting is not always the right call. High-key setups with white backgrounds and heavy fill often read as muddy when you add a rim, because there’s nothing dark for the highlight edge to separate from. The rim loses its structural function entirely. I also drop it for certain editorial beauty shots where I want the subject to feel embedded in the frame rather than cut out of it.
The goal is never to use rim lighting because it looks professional. The goal is to use it when the image needs the subject’s form to be legible, when darkness behind the subject is swallowing edges that the viewer needs to read.
If the subject already has clear separation from the background, you’re adding rim light to add rim light. That’s a decorator’s instinct, not a photographer’s.
Comments (2)
Finally someone explains this in a way that actually makes sense.
Printing this out and pinning it next to my monitor. That good.
Leave a Comment