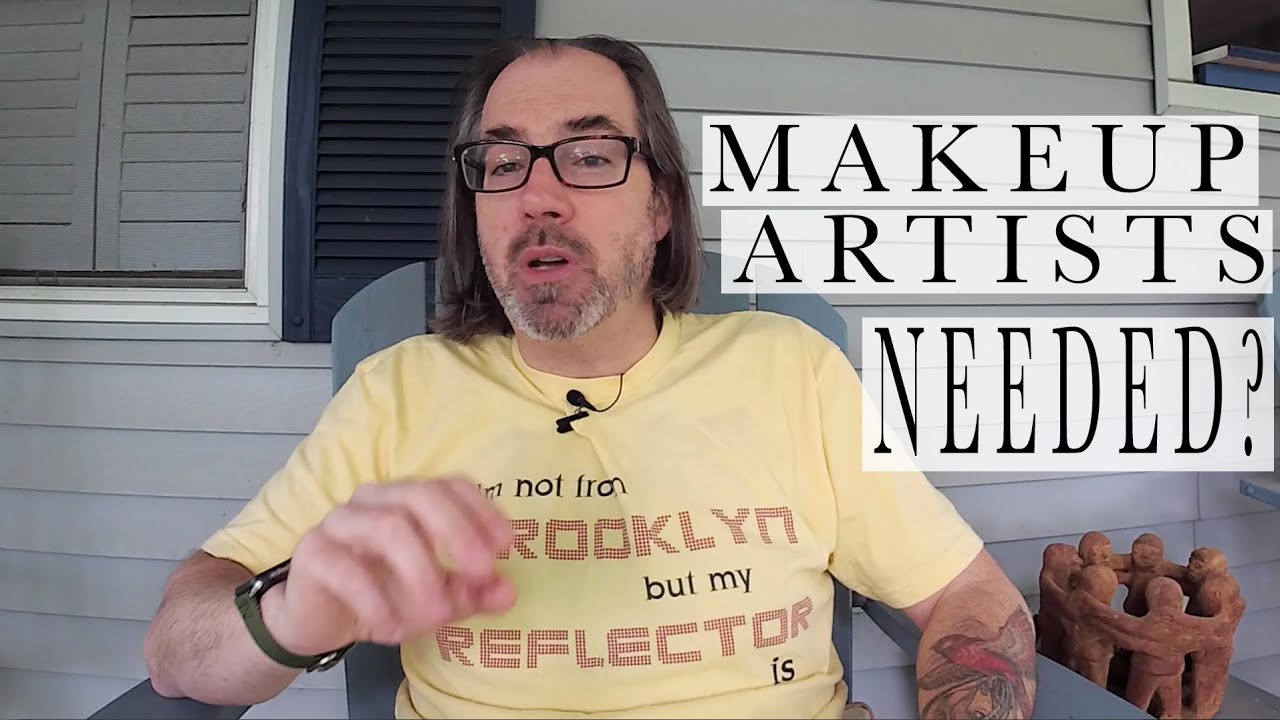
Shiny skin shows up in my work more often than I’d like to admit. Not because I don’t know how to handle it, but because clients arrive under fluorescent office lighting, sit down under a beauty dish, and suddenly every pore on their forehead is a tiny mirror pointed directly at my camera. Early in my career I would have reached for powder immediately, or worse, just planned to fix it in post. These days I treat it as a lighting problem first, because that’s almost always what it is.
Watch the full tutorial on YouTube
In this Daniel Norton Photographer tutorial, Norton responds to a DM from a photographer who was frustrated with shiny subjects and wondering if hiring a makeup artist was the missing piece. Norton’s answer is “yes and no,” and the reasoning behind that answer is genuinely useful for anyone doing corporate headshots, editorial portraits, or beauty work. He doesn’t dismiss the makeup artist. He just insists you understand what your light is doing first. I’ve sketched this kind of workflow in my lighting journal more times than I can count, and Norton lays it out in a way that’s clean and practical.
Step 1: Identify Shine as a Specular Highlight Problem, Not a Skin Problem
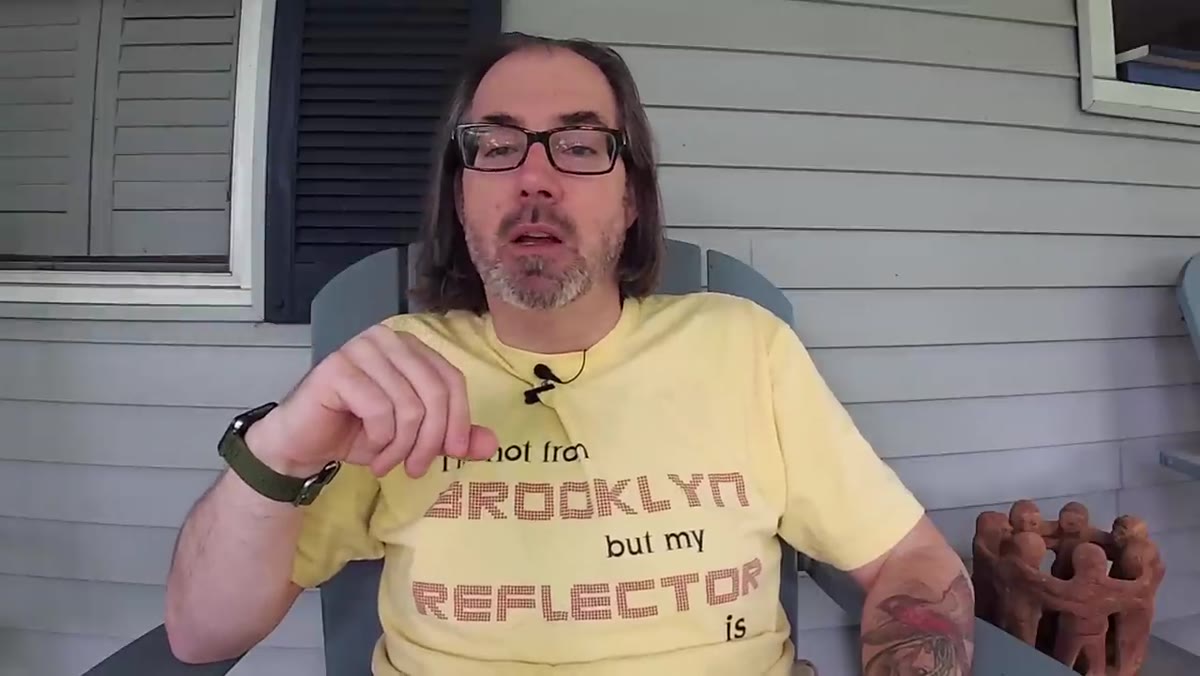 Presenter explaining specular highlights and angle of incidence
Before you touch a modifier or pick up a powder puff, reframe what you’re actually looking at. Shine on skin is a specular highlight, which means it is a direct reflection of your light source bouncing off the surface of the skin. The physics are the same as a mirror: the angle of incidence equals the angle of reflection. Once you think of it that way, the solutions become obvious and they all involve either the light, the subject, or both.
Presenter explaining specular highlights and angle of incidence
Before you touch a modifier or pick up a powder puff, reframe what you’re actually looking at. Shine on skin is a specular highlight, which means it is a direct reflection of your light source bouncing off the surface of the skin. The physics are the same as a mirror: the angle of incidence equals the angle of reflection. Once you think of it that way, the solutions become obvious and they all involve either the light, the subject, or both.
This framing matters because it stops you from treating a lighting problem like a cosmetics problem. If you powder someone down without adjusting the light, you may reduce the reflection, but you’ve done nothing to understand your setup. Next client, same problem. Get clear on the cause first.
Step 2: Adjust the Angle of the Subject or the Light
 Presenter demonstrating moving subject relative to light source
The fastest fix is also the simplest: change the angle. Because specular reflections depend on the relationship between the light source, the subject’s skin surface, and your lens, even a small rotation of the subject’s face or a slight reposition of the light can move that hot spot out of frame entirely. Norton uses glasses as a relatable example. Nobody panics when they see a reflection in glasses because everyone intuitively knows you just tilt the frames until it disappears. Skin works the same way.
Presenter demonstrating moving subject relative to light source
The fastest fix is also the simplest: change the angle. Because specular reflections depend on the relationship between the light source, the subject’s skin surface, and your lens, even a small rotation of the subject’s face or a slight reposition of the light can move that hot spot out of frame entirely. Norton uses glasses as a relatable example. Nobody panics when they see a reflection in glasses because everyone intuitively knows you just tilt the frames until it disappears. Skin works the same way.
In practice I’ll ask my subject to turn their chin slightly, or I’ll shift my key light a few inches laterally. I label every light in my studio with masking tape, and I keep a note of the exact position that solved the problem for a given subject type. That reference saves me setup time on repeat clients.
Step 3: Use a Larger or More Diffused Light Source
 Presenter discussing effect of larger light source on reflections
If repositioning isn’t an option because you’re locked into a specific background, a specific shooting angle, or a specific lighting pattern for a client’s brand, then the next tool is size. A larger light source spreads the specular reflection across a wider area of skin. Because the total amount of light stays roughly the same but it’s now distributed across a bigger surface, the highlight becomes softer and less concentrated.
Presenter discussing effect of larger light source on reflections
If repositioning isn’t an option because you’re locked into a specific background, a specific shooting angle, or a specific lighting pattern for a client’s brand, then the next tool is size. A larger light source spreads the specular reflection across a wider area of skin. Because the total amount of light stays roughly the same but it’s now distributed across a bigger surface, the highlight becomes softer and less concentrated.
Push that far enough and the specular highlight transitions into what Norton calls a diffuse highlight, and a fully diffuse highlight eventually becomes indistinguishable from the midtone neutral of the skin. In modifier terms, this means swapping a small reflector for a larger softbox, adding a front diffusion panel, or pulling the light source closer to increase its apparent size relative to the subject. I test every new modifier the day it arrives, and this relationship between size, diffusion, and specular control is the first thing I map out.
Step 4: Recognize When You’ve Hit the Limits of Lighting Alone
 Presenter acknowledging when lighting adjustments are not sufficient
There are situations where you genuinely cannot fix shine with light. You might be matching a specific look the client has approved, working in a location where you can’t move the source, or shooting with a lighting pattern that inherently creates a narrow specular angle on oilier skin types. Norton is honest about this point. Lighting is the first line of defense, not the only one.
Presenter acknowledging when lighting adjustments are not sufficient
There are situations where you genuinely cannot fix shine with light. You might be matching a specific look the client has approved, working in a location where you can’t move the source, or shooting with a lighting pattern that inherently creates a narrow specular angle on oilier skin types. Norton is honest about this point. Lighting is the first line of defense, not the only one.
When I’m on a corporate shoot and someone comes in with particularly oily skin, I’ll try the angle adjustment and a larger modifier first. If the highlight is still distracting after two or three tweaks, I don’t keep chasing it with the lights. I accept that this is the edge of what light can do and move to the next step.
Step 5: Use Blotting Papers or Powder as a Targeted Tool, Not a Default
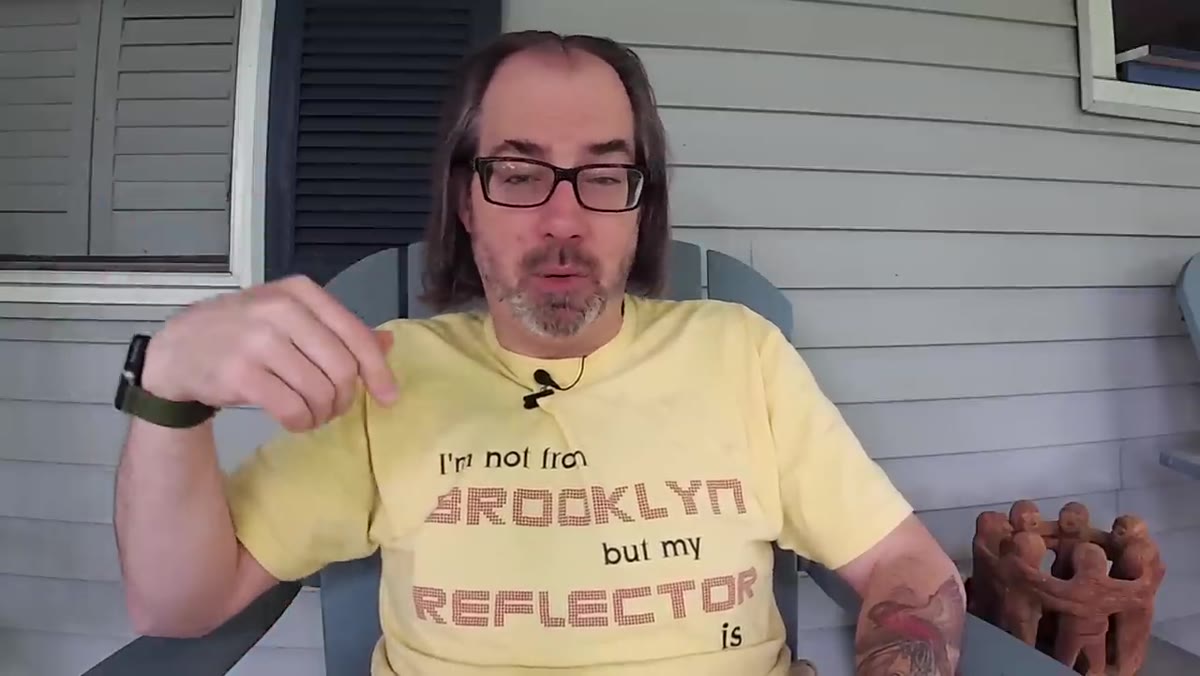 Presenter describing blotting paper and powder as practical on-set tools
Norton mentions keeping rice paper blotting sheets on him during corporate and magazine shoots. These are thin sheets with a small amount of neutral powder built in. You peel one off and press it against the skin to absorb surface oil without disrupting existing makeup. For subjects who already wear foundation or powder, a quick dab with their own compact often does the same job.
Presenter describing blotting paper and powder as practical on-set tools
Norton mentions keeping rice paper blotting sheets on him during corporate and magazine shoots. These are thin sheets with a small amount of neutral powder built in. You peel one off and press it against the skin to absorb surface oil without disrupting existing makeup. For subjects who already wear foundation or powder, a quick dab with their own compact often does the same job.
The distinction Norton is drawing is important: this is a targeted, situational tool, not the starting point. A makeup artist on a production shoot brings an entire kit and the expertise to rebuild a look. A packet of blotting papers in your camera bag handles the working photographer’s everyday version of the same problem. Know which situation you’re in before you decide which resource you need.
What I’d Add: The Makeup Artist Is a Creative Collaborator, Not a Fixer
I’ve shot enough beauty campaigns to know that a skilled makeup artist changes what’s possible in front of the camera, not just what’s manageable. When I bring a makeup artist onto a shoot, I’m not doing it because I can’t control shine. I’m doing it because their work creates texture, contrast, and color that I can then sculpt with light in ways that weren’t available to me with an unprepared subject. My wife, who works in fashion, taught me early on to pay attention to how makeup interacts with directional light. Matte foundation kills specular highlights but can also flatten form. A subtle highlight placed on the cheekbone by a makeup artist can do more for a portrait than a 48-inch octabox.
The question isn’t “do I need a makeup artist?” The question is “what do I want this image to do, and what combination of light and preparation gets me there?”
The single most important takeaway from Norton’s tutorial is this: shine is information. It tells you exactly where your light is, at what angle, and how the subject’s skin is responding to it. Treat it as data and you’ll solve it faster every time. Treat it as a problem that needs to be covered up and you’ll keep running into it.
Watch the full tutorial on YouTube
Comments
Leave a Comment