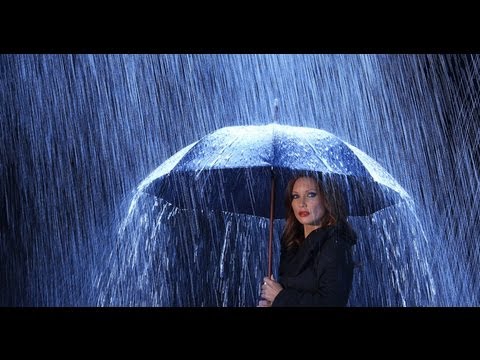
There is a specific kind of shoot that makes commercial photographers nervous: the hybrid job where the client wants both video footage and hero stills from the same session. I have done enough of those to know that the moment you optimize your shutter speed for beautiful video, your stills start going soft. Optimize for crisp stills, and the video looks like a slideshow. For a long time I treated that tension as an unsolvable problem and just hired a separate stills shooter alongside the video unit. That is an expensive workaround, and it falls apart on tight-budget jobs.
In this The Slanted Lens tutorial, Watch the full tutorial on YouTube, Jay P. Morgan uses the Canon 1DC’s 4K capability to attack that exact problem head-on. He shoots a rain scene on location, runs methodical shutter speed tests, and shows the results side by side so you can see exactly what each setting does to both the motion and the still frames pulled from the footage. The setup is creative and the technical reasoning is rigorous. Here is how the whole thing works, step by step.
Step 1: Understand the Core Tradeoff Before You Touch a Camera
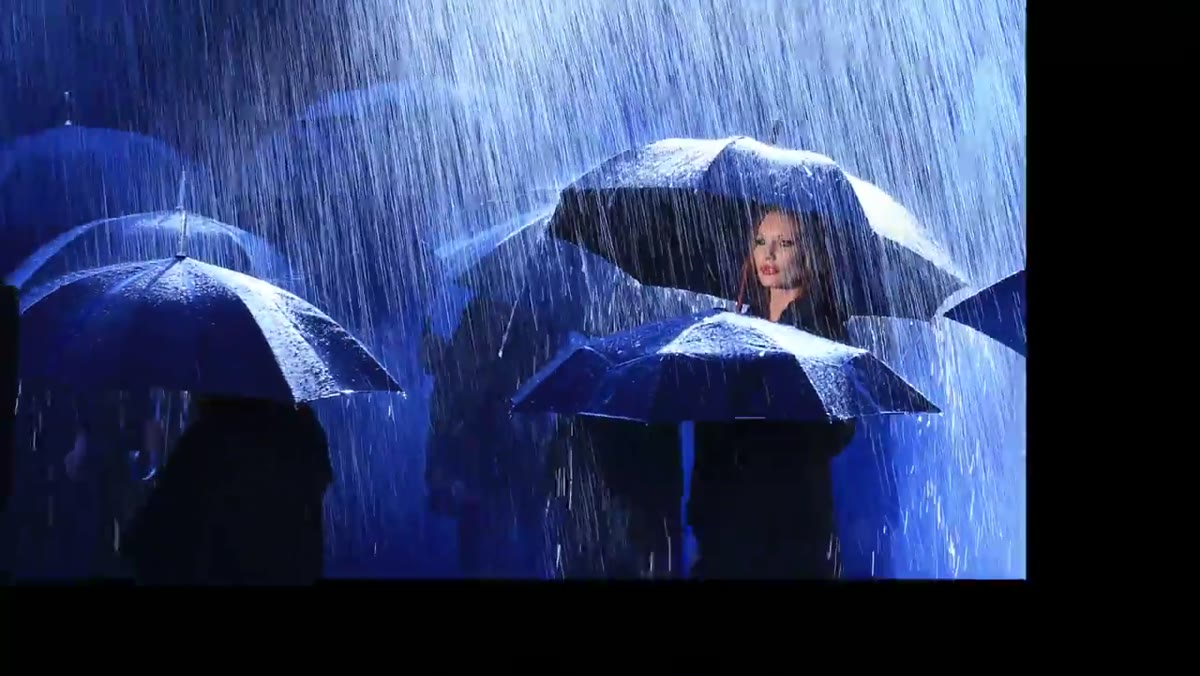 Technical explanation of video frames versus still images
Video is a sequence of single exposures run together fast enough that the blur between frames reads as smooth motion. Stills are single frames where you want as little motion blur as possible. The shutter speed that makes video look cinematic, roughly twice the inverse of your frame rate, is often the same speed that makes a still frame of a moving subject look mushy. At 24 frames per second, the standard shutter speed is 1/50th of a second. That is long enough to introduce meaningful blur into any frame you try to lift as a standalone still. Knowing that going in means you are not chasing a problem you caused accidentally. You are managing a known constraint.
Step 2: Build a Background That Sells the Scenario
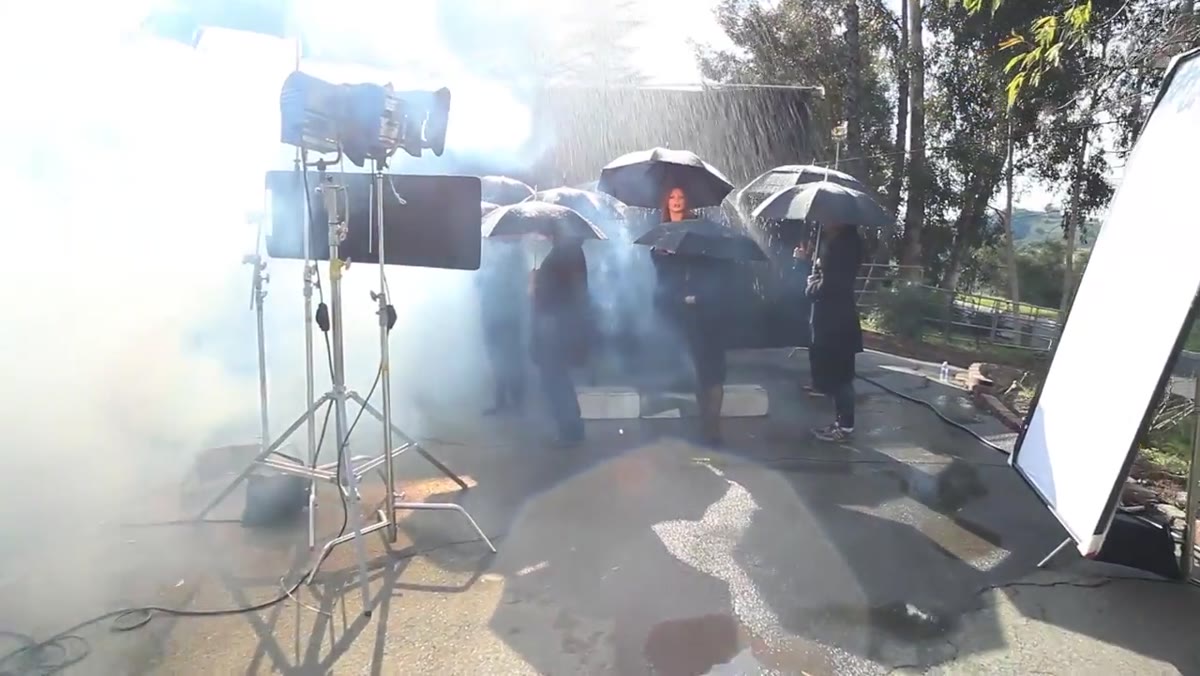 Two 12x12 duvetyn panels positioned as black backdrop
Two 12x12 panels of duvetyn, laid side by side, form the black background here. Duvetyn is a dense, light-absorbing fabric that simply does not bounce light back at the camera. For a night-scene simulation in the middle of the afternoon, that matters enormously. Without a non-reflective background, ambient daylight bounces back into your frame and immediately kills the illusion. Before placing the panels, Jay P. uses a sun-tracking app to identify the sun’s position between 2 and 4 PM and orients the duvetyn so the sun functions as a backlight and rim light during that window. Planning around the sun as a free light source rather than fighting it is exactly the kind of location discipline that separates organized shoots from chaotic ones.
Step 3: Create Practical Rain with Fan Spray Nozzles
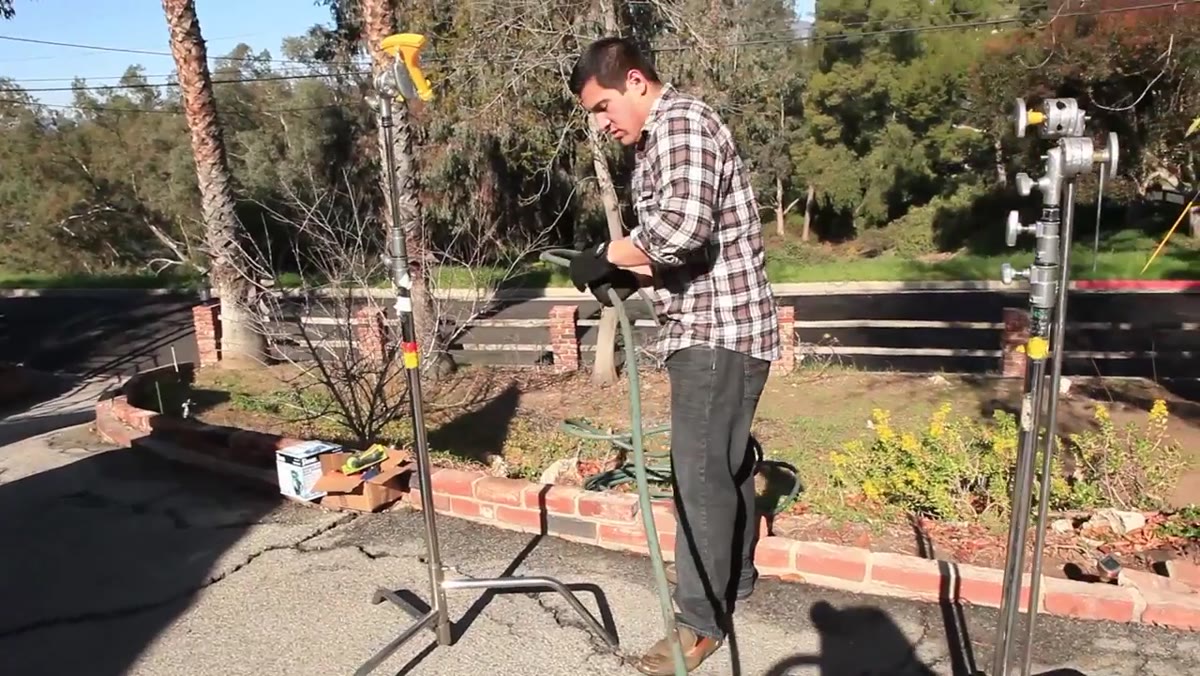 Fan spray nozzles positioned on camera-right side of frame
The rain effect comes from fan spray nozzles mounted on the camera-right side of the frame, angled upward so the water arcs naturally downward into the shot. Two nozzles cover the relatively tight frame without leaving dry patches. The shoot is positioned outside so the runoff flows down the driveway and away from the electrical equipment. That detail sounds minor until you have soaked a cable on a location shoot and lost two hours. The nozzles produce a consistent, controllable rainfall that you can repeat take after take, which matters when you are running shutter speed tests and need the rain to behave the same way across all of them.
Step 4: Set Color Balance to Tungsten to Manufacture Night
 Canon 1DC color balance set to tungsten, 3200K
Setting the Canon 1DC’s white balance to tungsten, which is 3200 Kelvin, is the single move that transforms a bright afternoon exterior into something that reads as night. Daylight coming through at roughly 5500 to 6500 Kelvin gets shifted dramatically blue when the camera is calibrated for a much warmer source. That cool-blue spill on the background and rain looks like the kind of ambient city light you would see on a wet evening street. I learned the color temperature lesson the hard way on an early editorial job where I mixed sources without compensating and ended up with a lead image that was half green from a practical fluorescent. Calibrating the camera to a fixed color temperature before lights go up is now the first item on my location checklist, every time.
Step 5: Layer the Artificial Lighting to Compete with the Sun
 1K Fresnel positioned camera-left on subject’s face
The tungsten sunlight works as a rim and backlight. The problem is that your subject’s face is now in relative shadow, which is the wrong place to be in a commercial image. The first light added is a 1K Fresnel on the camera-left side, aimed directly at the subject’s face. Because it is a tungsten source and the camera is balanced for tungsten, it renders neutral on her skin, while the sunlight outside goes blue. That color separation is what makes the lighting read as dimensional rather than flat. When the 1K alone proves insufficient to compete with the sun’s intensity, a 2K is added to the same side. On camera-right, a Photoflex P22 with a large umbrella acts as fill. The umbrella is covered in plastic sheeting to protect the light from the rain. Big golf umbrella, plastic wrap, gaffer tape. That is location problem-solving.
Step 6: Run the Shutter Speed Tests and Study the Results
 Side-by-side video comparison at different shutter speeds
All tests run at 24 frames per second and f/13. The sequence moves from 1/50th up through 1/100th, 1/200th, and beyond. At 1/50th, the rain streaks are long and bleed beautifully between frames, giving the video a natural, cinematic look. The tradeoff is that pulled stills of the subject show softness when she moves. At 1/100th, the rain becomes shorter dashes. The video starts to feel less fluid and the stills are still not clean enough to use as hero images. At 1/200th, the rain appears as small, almost disconnected droplets in each frame, the video looks choppy, and the stills of the rain itself lack the visual drama that makes a rain image compelling. The honest conclusion the tutorial lands on is that there is no perfect setting. The sweet spot depends on how much you are willing to compromise each output.
My Caveat: Know Which Output Is Primary Before You Shoot
I would add one thing that the tutorial implies but does not state outright. Before you run any shutter speed test, decide with your client which deliverable is primary. If the stills are what gets licensed or runs in print, bias toward the faster shutter speed and accept choppier video. If the video is the main asset and the stills are supplemental content, stay closer to the 1/50th standard and pick still frames during moments when your subject is stationary. Trying to split the difference perfectly usually means both outputs are mediocre. Making a deliberate choice means at least one of them is excellent.
The single most useful thing this tutorial demonstrates is that shutter speed in video is not just a creative tool, it is a direct control over the quality of any still you pull from that footage. If you are doing any hybrid shooting, that relationship needs to be in your head before the camera goes up. Watch the full tutorial on YouTube to see the side-by-side shutter comparisons and the full rain setup in action. The visual evidence is worth more than any description of it.
Comments
Leave a Comment