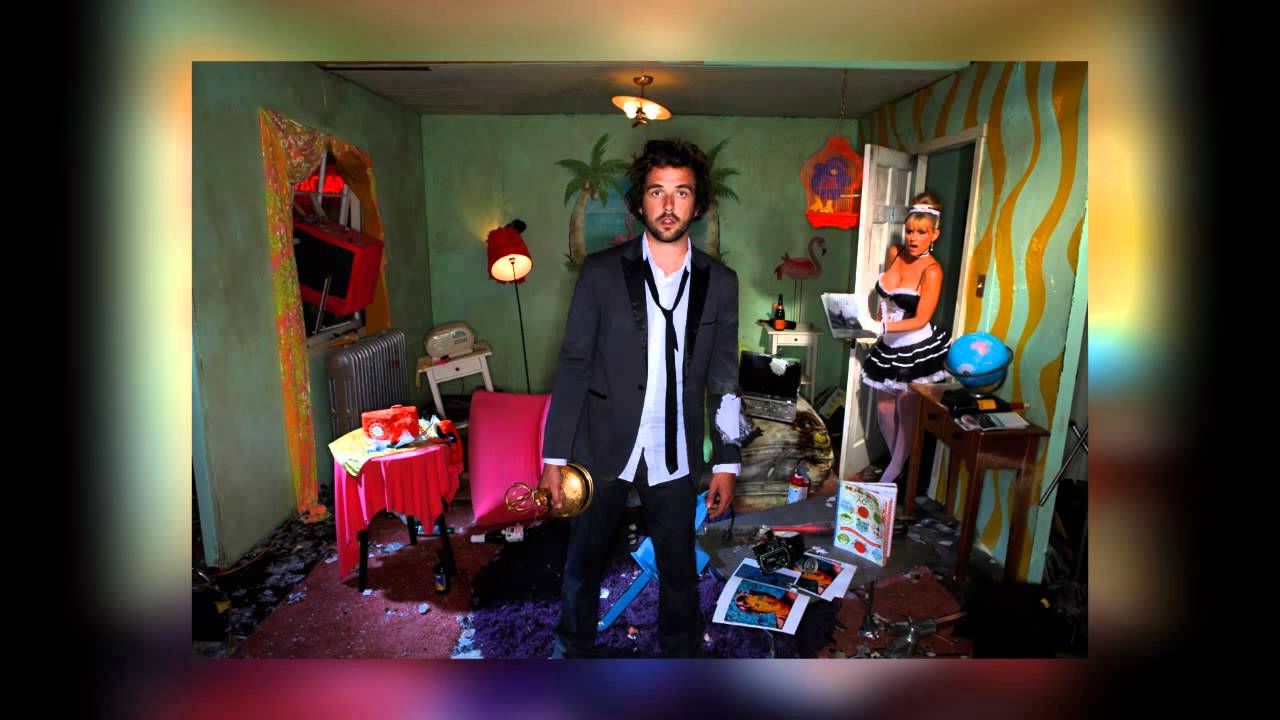
There is a specific problem I run into on location editorial work that no amount of prep fully solves: how do you build a lighting setup that feels like it belongs in the room? Not dropped onto the room from outside. Not obviously “lit.” Practical lights on their own are almost never enough, but the moment you add a strobe without thinking it through, the whole scene reads as fake. Getting those layers to coexist convincingly is the thing most photographers underestimate when they move from a clean white studio into a real environment.
Watch the full tutorial on YouTube
In this The Slanted Lens tutorial, photographer JP shoots MTV personality Darren McMullen for a new website, using a low-end motel room as the set. The concept is a deliberate, image-by-image “trashing” of the room, building toward a finale shot. What makes this worth studying is not the concept itself but the lighting breakdown at the end, where JP walks through every light in the final setup in the order it was added. That sequential approach is how I think about every multi-light build, and it is rarely explained this clearly.
I sketched the full setup into my lighting journal after watching it twice. Below is what I took from it, rewritten as a step-by-step build you can follow on your own location shoot.
Step 1: Read the Practical Lights First
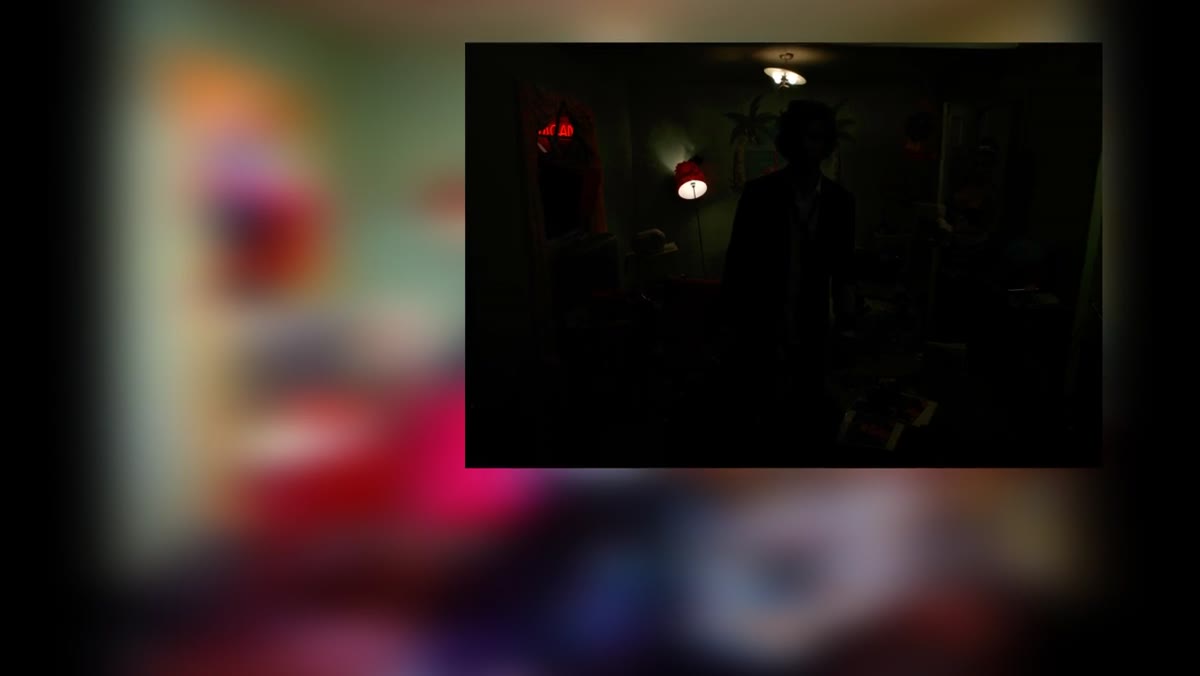 Hotel room with only practical lights switched on
Before adding a single strobe, JP shows what the room looks like with only its existing light sources on: a corner lamp, an overhead fixture, and a vacancy sign glowing through the window. This is the step most people skip. I label these sources on a sticky note and tape it to my light stand bag at the start of every shoot. The practical lights tell you the color temperature story of the room, where the natural shadows fall, and which sources your strobes need to complement rather than fight.
Hotel room with only practical lights switched on
Before adding a single strobe, JP shows what the room looks like with only its existing light sources on: a corner lamp, an overhead fixture, and a vacancy sign glowing through the window. This is the step most people skip. I label these sources on a sticky note and tape it to my light stand bag at the start of every shoot. The practical lights tell you the color temperature story of the room, where the natural shadows fall, and which sources your strobes need to complement rather than fight.
The vacancy sign through the window is doing real work here. It is providing a subtle colored kick from outside that becomes part of the final mood. Take a test frame with only practicals on. Expose for the ambient. That frame becomes your reference for everything that follows.
Step 2: Place a Ring Light as Your Fill Base
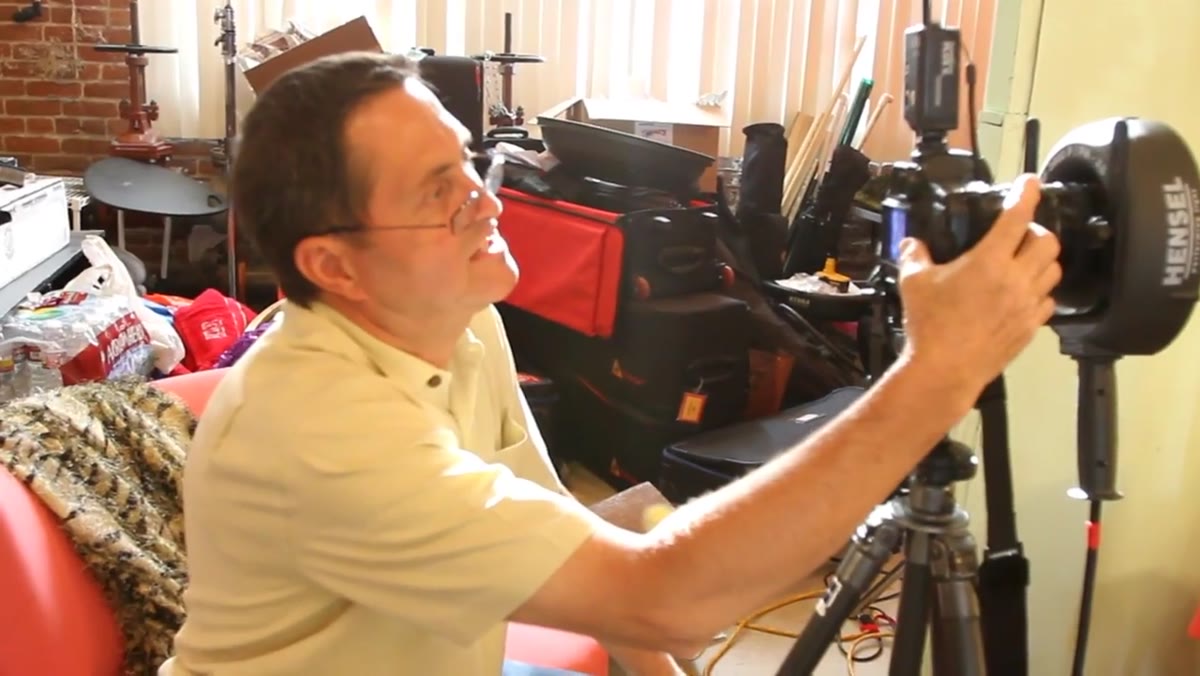 Ring light positioned as fill in hotel room
The first strobe added is a ring light, used as a fill source. What JP notes here is worth writing down: the ring light gives you options that a standard softbox does not. Pulled back, it functions as a broad, even fill that wraps the subject without creating a dominant shadow direction. Pushed in close to the lens, it becomes a ring light effect with the characteristic catchlight. One piece of equipment, two distinct tools depending on distance.
Ring light positioned as fill in hotel room
The first strobe added is a ring light, used as a fill source. What JP notes here is worth writing down: the ring light gives you options that a standard softbox does not. Pulled back, it functions as a broad, even fill that wraps the subject without creating a dominant shadow direction. Pushed in close to the lens, it becomes a ring light effect with the characteristic catchlight. One piece of equipment, two distinct tools depending on distance.
For fill, keep the power low enough that it is not the dominant source in the frame. You want it to lift shadows, not flatten the scene. I typically start at about one and a half stops under my key and adjust from there.
Step 3: Add a Rim Light on the Telephone Side
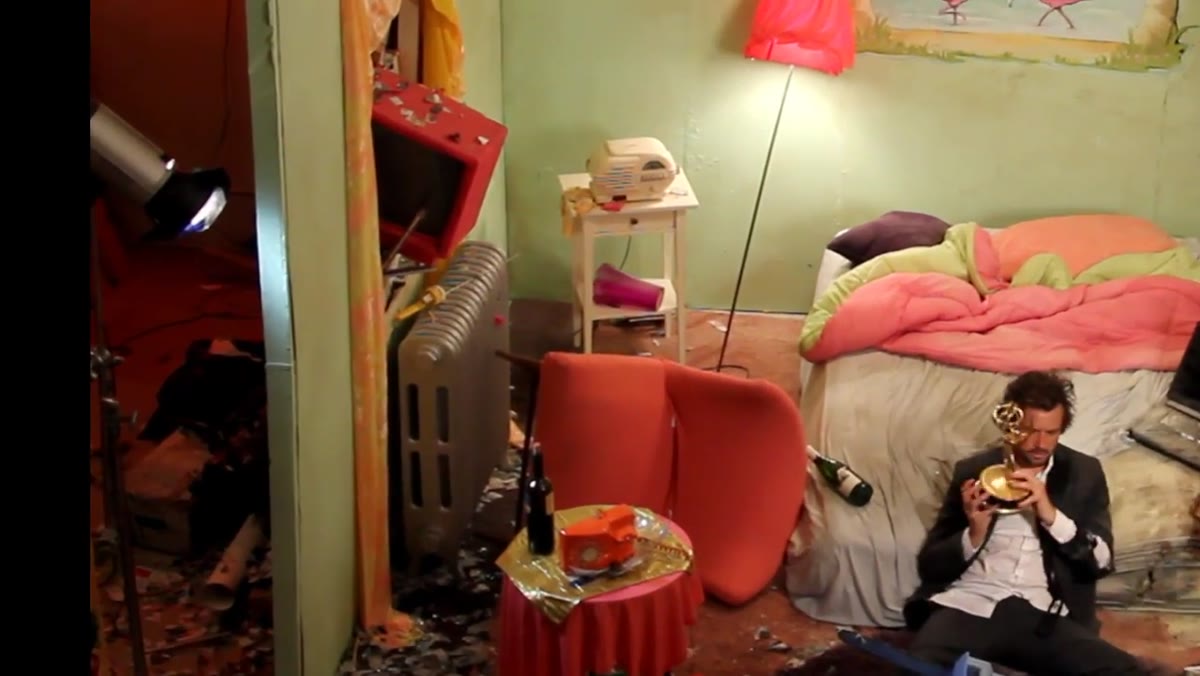 Monoblock positioned camera left as rim light
A monoblock placed on camera left, just clearing the top of the set wall, throws a rim highlight onto the telephone and the area around it. This is a detail light, not a character light. Its job is to separate an object from the background and give that part of the frame some dimensionality. JP shoots it over the wall rather than through a gap, which means the light angle is steep and the spread is controlled without needing a grid.
Monoblock positioned camera left as rim light
A monoblock placed on camera left, just clearing the top of the set wall, throws a rim highlight onto the telephone and the area around it. This is a detail light, not a character light. Its job is to separate an object from the background and give that part of the frame some dimensionality. JP shoots it over the wall rather than through a gap, which means the light angle is steep and the spread is controlled without needing a grid.
If you do not have a convenient wall to shoot over, a snoot or a tight grid on the head achieves a similar result. The key is keeping the spread narrow so it is not spilling onto your subject and competing with your key.
Step 4: Warm the Doorway Light to Match the Hallway
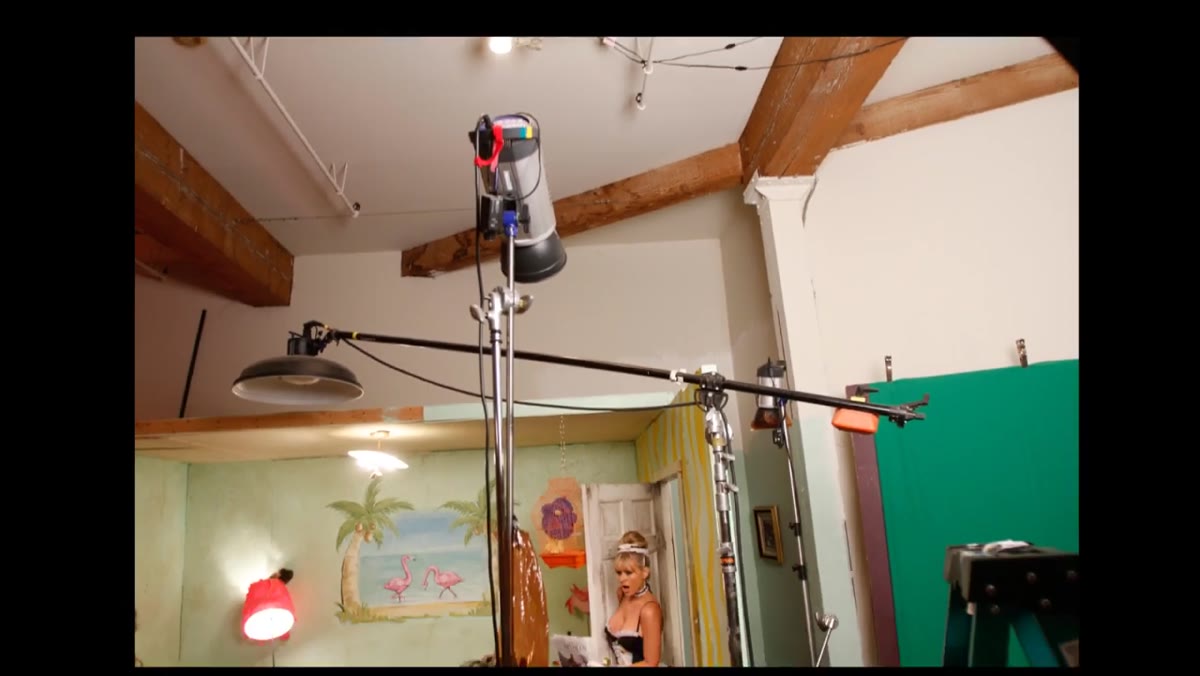 Monoblock with warming gel aimed at actress in doorway
A second monoblock, this one fitted with a warming gel, is aimed at the actress entering through the door. The reasoning is direct: if the hallway is going to have warm light in it, anything illuminated by that hallway light needs to match in color temperature. A maid stepping through a doorway lit by a cool strobe while standing in a warm hallway reads as wrong even to viewers who cannot explain why.
Monoblock with warming gel aimed at actress in doorway
A second monoblock, this one fitted with a warming gel, is aimed at the actress entering through the door. The reasoning is direct: if the hallway is going to have warm light in it, anything illuminated by that hallway light needs to match in color temperature. A maid stepping through a doorway lit by a cool strobe while standing in a warm hallway reads as wrong even to viewers who cannot explain why.
This is the kind of decision that keeps location work from looking like a studio cutout pasted onto a background. Color temperature consistency between adjacent light sources is something I check with a color checker before I ever fire a strobe. My first big editorial job had a mixed-temperature disaster that I had to fix entirely in post, and it cost me four hours I did not have. Gel your light to match the environment, not to correct the environment to match your light.
Step 5: Simulate a Hall Overhead with a Steep Downward Angle
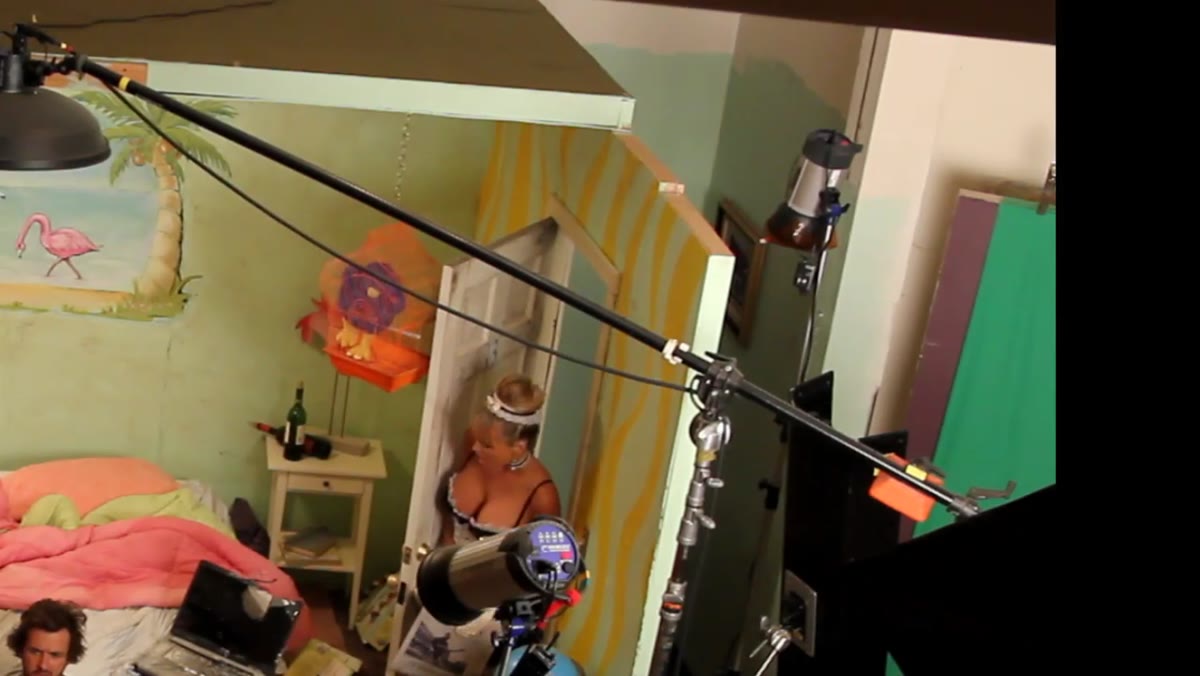 Monoblock aimed downward in hallway to simulate ceiling fixture
In the hallway itself, JP places a monoblock aimed almost straight down toward the floor, mimicking the look of a practical ceiling fixture. The steep angle does two things: it creates the natural top-down shadow pattern of overhead institutional lighting, and it throws a highlight onto the door frame that helps separate the actress visually as she enters the shot.
Monoblock aimed downward in hallway to simulate ceiling fixture
In the hallway itself, JP places a monoblock aimed almost straight down toward the floor, mimicking the look of a practical ceiling fixture. The steep angle does two things: it creates the natural top-down shadow pattern of overhead institutional lighting, and it throws a highlight onto the door frame that helps separate the actress visually as she enters the shot.
The word “almost” matters here. Straight down creates a highlight with no throw. A slight offset back from vertical gives you that door-frame separation. Experiment in increments of five to ten degrees and check the shadow placement on the floor before you bring your subject in.
Step 6: Use a Beauty Dish Overhead as Room Fill
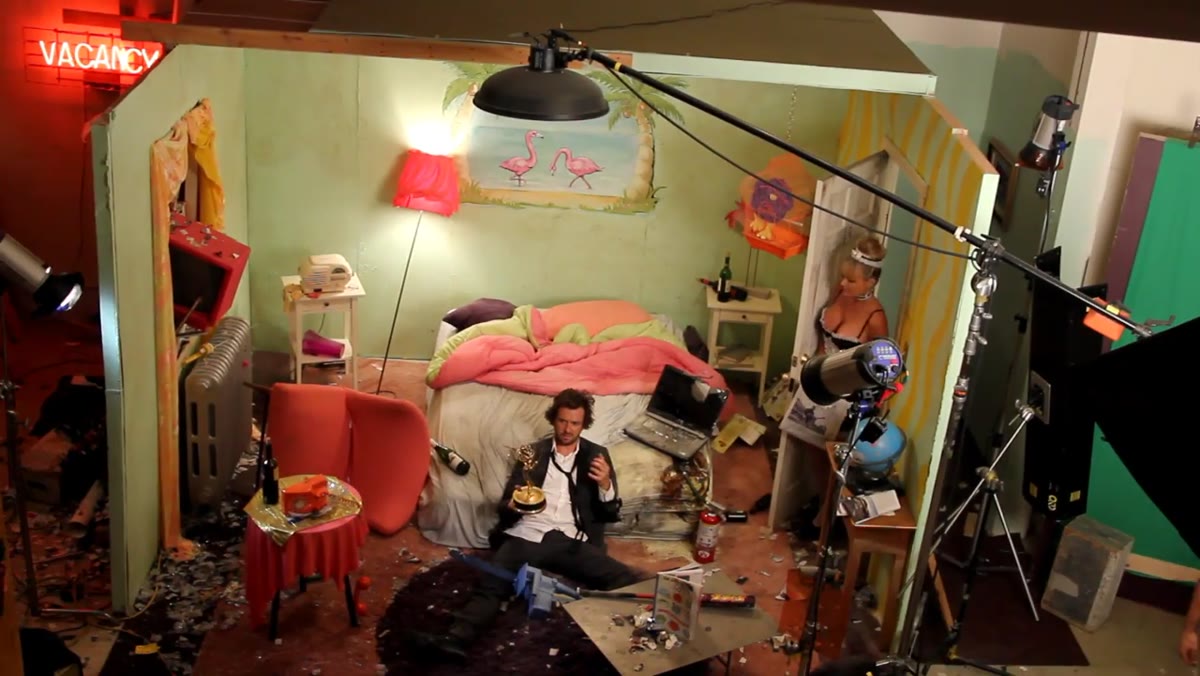 Beauty dish positioned overhead as room fill source
Rather than using a beauty dish in its conventional front-facing portrait role, JP mounts it overhead and angles it straight down to simulate a room light. He notes that it gives an open, even fill to the room overall while also producing a slight rim effect on the subject from above. The beauty dish spread is wider and harder-edged than an equivalent softbox, which reads as more believable for an overhead practical source.
Beauty dish positioned overhead as room fill source
Rather than using a beauty dish in its conventional front-facing portrait role, JP mounts it overhead and angles it straight down to simulate a room light. He notes that it gives an open, even fill to the room overall while also producing a slight rim effect on the subject from above. The beauty dish spread is wider and harder-edged than an equivalent softbox, which reads as more believable for an overhead practical source.
I use a 22-inch beauty dish for this and power it low. The dish does not need to be the dominant light. It is there to give the room air, to make it feel occupied by light rather than just illuminated in patches.
Step 7: Lock a Gridded Head onto Your Moving Subject
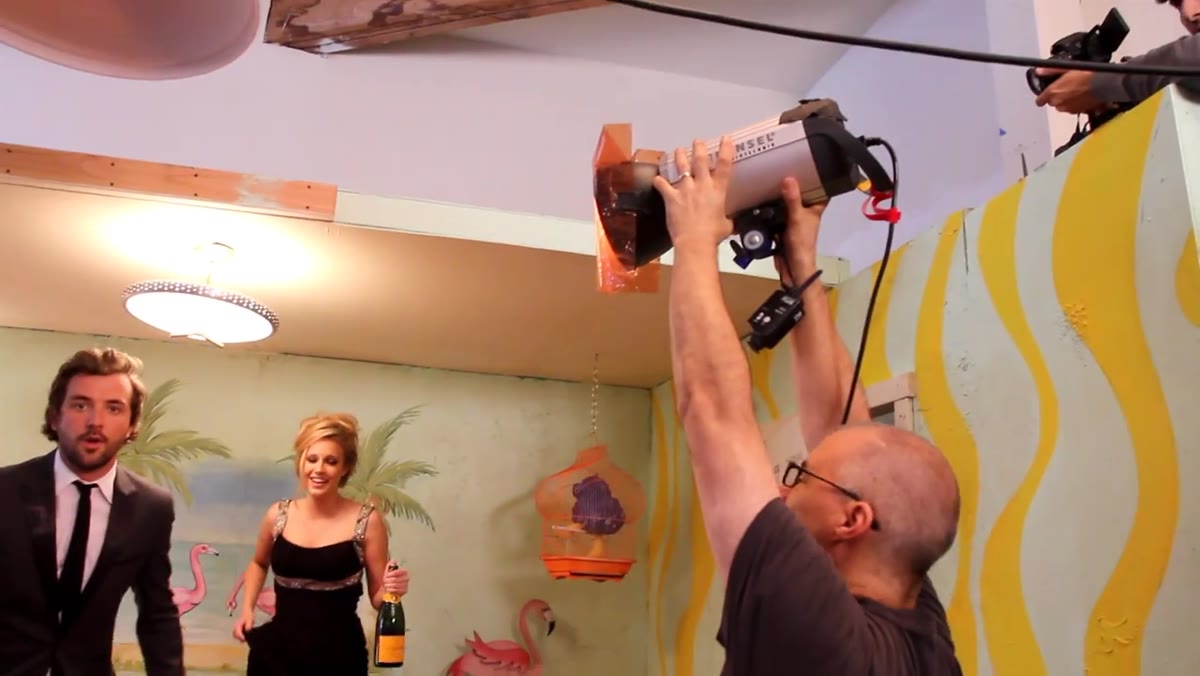 Assistant tracking subject with gridded strobe head
The final light is a gridded head operated by an assistant, who keeps it aimed at Darren as he moves through the room. A grid limits the spread so the light stays on the subject without contaminating the carefully balanced background. This is your subject-specific key, layered on top of everything else.
Assistant tracking subject with gridded strobe head
The final light is a gridded head operated by an assistant, who keeps it aimed at Darren as he moves through the room. A grid limits the spread so the light stays on the subject without contaminating the carefully balanced background. This is your subject-specific key, layered on top of everything else.
This setup requires communication. Your assistant needs to know the shot before the shot happens. I walk every handheld light operator through the anticipated blocking before we roll. A light that chases the subject a half-second late shows up in the image.
What I Would Do Differently
JP uses Hensel monoblocks throughout, ranging from 500 to 1000 watt-seconds depending on placement. That is a solid, reliable kit. For photographers working with lower-power battery strobes on location, the approach translates directly, but you will need to prioritize your power budget. The hallway overhead and the background separation light will need the most output. The fill and the gridded subject light can run at lower power because they are closer to their targets.
I would also add a second color temperature check after step four. Once the warming gel is in, your Kelvin balance shifts and your neutral fill may read cooler by comparison than it did before. A quick test frame and an eye on the histogram usually catches this before it becomes a problem in post.
The single most important thing this tutorial demonstrates is that a complex location setup is just a series of simple decisions made in order. You do not build a six-light setup. You build the first light, evaluate it, add the second, evaluate it, and continue. Every strobe has a specific job, and you should be able to name that job before you fire the head.
Watch the full tutorial on YouTube to see the full shoot, the final images, and JP’s own narration of the setup. The lighting breakdown section alone is worth bookmarking.
Comments
Leave a Comment