Posing is the part of headshot work that nobody wants to admit they find difficult. Lighting, I can diagram in my sleep. I have an entire app on my phone for it. But put a real human being in front of my camera and ask me to make them look natural, relaxed, and professional all at once, and the margin for error gets very thin, very fast. It took me years of corporate headshot sessions before I developed a reliable framework I could repeat under pressure.
That’s why I keep coming back to this CreativeLive tutorial on headshot posing basics. Watch the full tutorial on YouTube - it’s one of the clearest breakdowns of the fundamentals I’ve found, and the instructor’s approach cuts through a lot of the mysticism that surrounds posing instruction. What strikes me most is how he treats posing not as an art you either have or you don’t, but as a series of learnable decisions. That reframe alone is worth your time.
The instructor is upfront that posing can feel harder depending on who you’re photographing - some photographers find men easier, others find women more intuitive - and he doesn’t pretend there’s a magic fix for that. What he does instead is give you a foundation that works across the board. Here’s how I’d walk a photographer through the same material from my own studio practice.
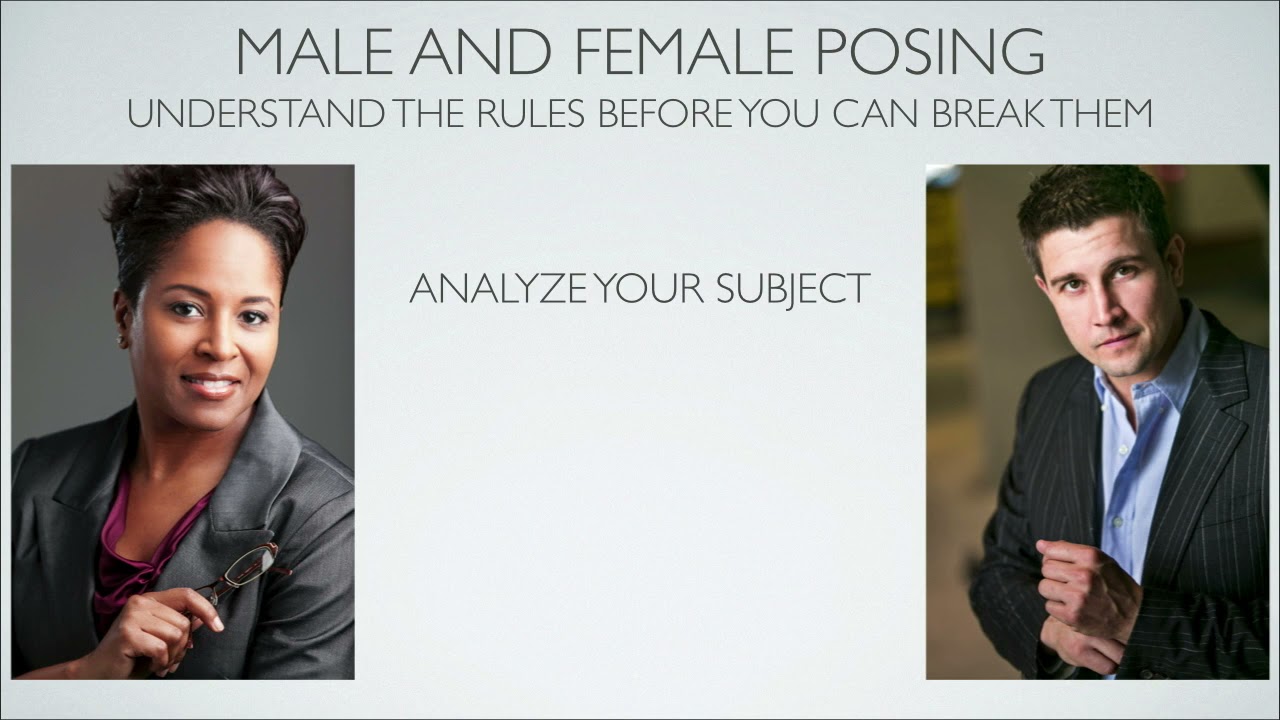
Step 1: Stop Winging It - Commit to Analyzing Your Subject First
 Instructor explaining how to read a subject’s face and body
Before you touch your shutter, take sixty seconds to actually look at your client. Not in a clinical or uncomfortable way, but the way you’d study a lighting problem. Where does the light want to go? Where does the face want to go? Every face has asymmetries - one eye slightly higher, a nose that tilts a few degrees, ears at different heights. These aren’t flaws you need to hide from your client. They’re information you use to make better decisions about angle, tilt, and which side of the face to lead with.
Instructor explaining how to read a subject’s face and body
Before you touch your shutter, take sixty seconds to actually look at your client. Not in a clinical or uncomfortable way, but the way you’d study a lighting problem. Where does the light want to go? Where does the face want to go? Every face has asymmetries - one eye slightly higher, a nose that tilts a few degrees, ears at different heights. These aren’t flaws you need to hide from your client. They’re information you use to make better decisions about angle, tilt, and which side of the face to lead with.
The instructor makes a point I think is quietly important: don’t ask your clients what they’re insecure about. That conversation derails a session fast and makes people self-conscious in ways that read straight through the lens. Instead, train yourself to see it and solve it without narrating the problem. That skill - reading a face before you shoot - is what separates photographers who get referrals from photographers who get one-time bookings.
Step 2: Build the Pose From the Ground Up
 Instructor pointing downward, explaining foot placement as the starting point
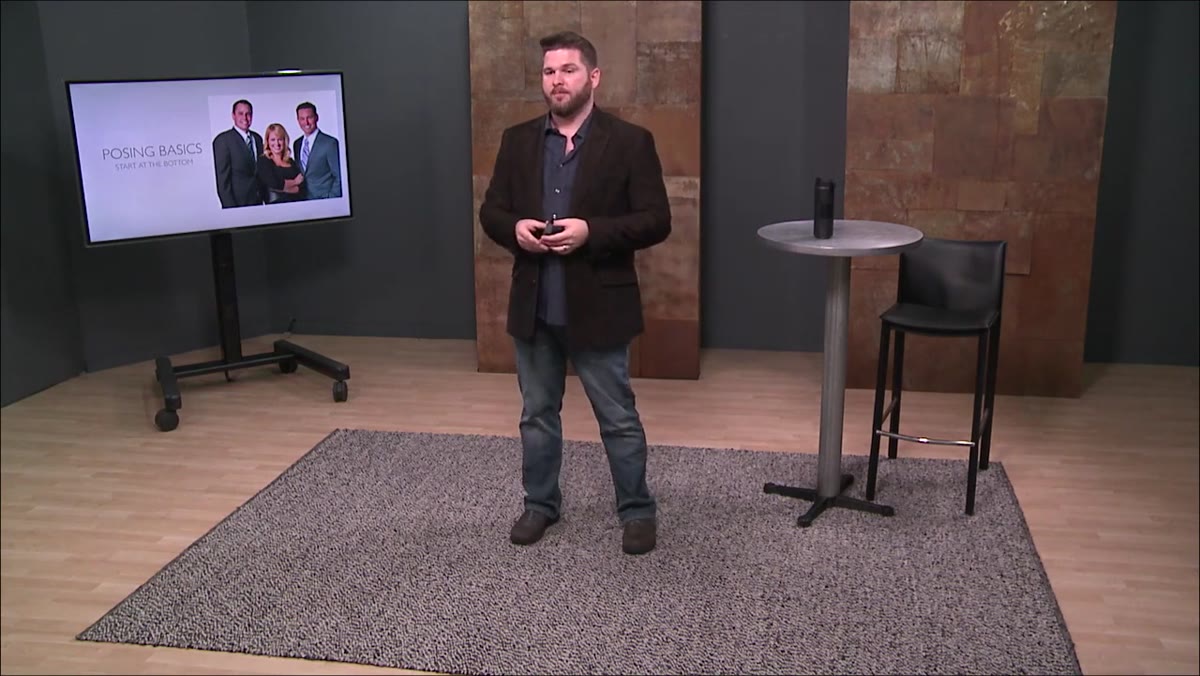
This is the single most practical piece of advice in the tutorial, and it’s the one I now give every assistant who works in my studio: even when you’re shooting a headshot, you start the pose at the feet. Not the face. Not the shoulders. The feet.
Instructor pointing downward, explaining foot placement as the starting point
This is the single most practical piece of advice in the tutorial, and it’s the one I now give every assistant who works in my studio: even when you’re shooting a headshot, you start the pose at the feet. Not the face. Not the shoulders. The feet.
When a subject’s feet are planted square and parallel, the whole body locks up. The shoulders square off, the torso goes flat, and by the time you get to the face, you’re fighting the rigidity that started from the floor. Shift one foot back or angle them at roughly 45 degrees and the hips follow, the shoulders follow, and the head finds a more natural resting position with almost no additional instruction. The body works as a connected system. If you try to fix the top without addressing the bottom, you’ll spend the entire session micromanaging.
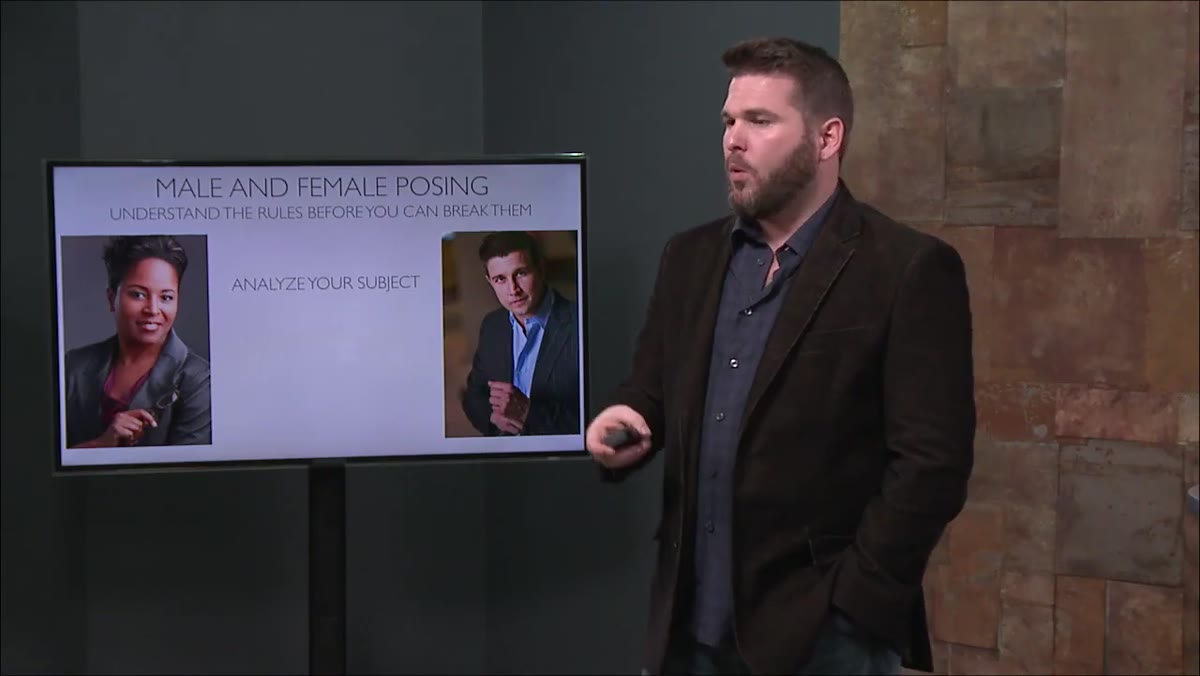
Step 3: Understand the Difference Between Traditional Male and Female Posing - Then Know When to Ignore It
 Instructor discussing gender-based posing distinctions and exceptions
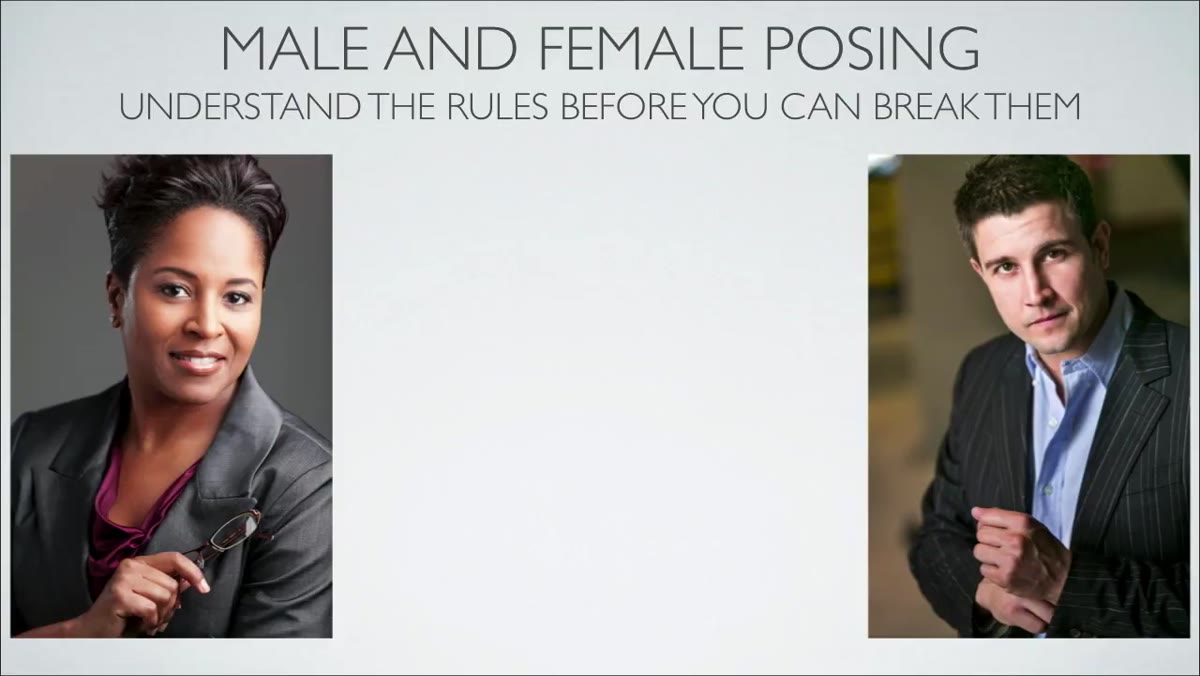
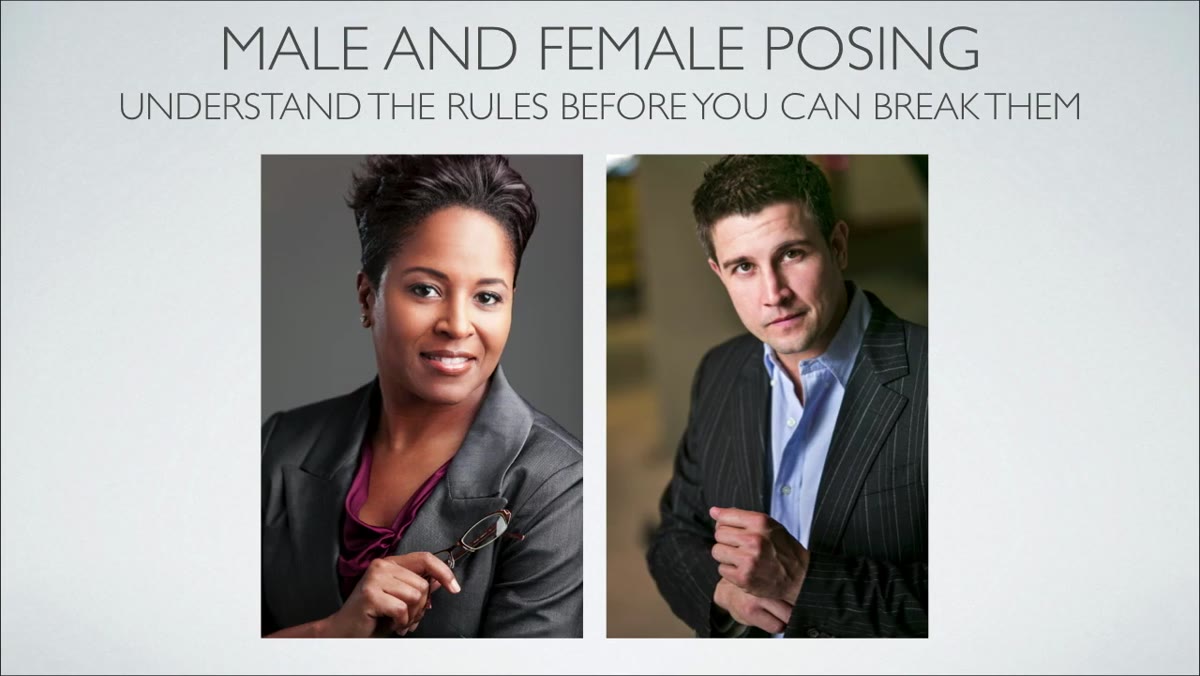
There are conventional differences in how masculine and feminine poses are constructed - open versus closed body language, weight distribution, the angle of the jaw relative to the camera. The instructor covers these distinctions but he’s careful to frame them as tendencies, not rules. Some women look stronger and more confident in what’s traditionally considered a masculine pose. Some men are simply more at ease in a softer, more relaxed stance. Your job is to serve the person in front of you, not the category they belong to.
Instructor discussing gender-based posing distinctions and exceptions
There are conventional differences in how masculine and feminine poses are constructed - open versus closed body language, weight distribution, the angle of the jaw relative to the camera. The instructor covers these distinctions but he’s careful to frame them as tendencies, not rules. Some women look stronger and more confident in what’s traditionally considered a masculine pose. Some men are simply more at ease in a softer, more relaxed stance. Your job is to serve the person in front of you, not the category they belong to.
In my studio, I’ve started thinking about this in terms of the client’s professional context rather than their gender. A woman who runs a construction company may want a pose that reads very differently from a woman who works in wellness or hospitality. Let the brief and the person guide you. Keep your posing toolkit broad enough that you’re not locked into one mode.
Step 4: Use Symmetry Awareness to Make Stronger Decisions About Camera Angle
 Instructor discussing facial symmetry and how it relates to attractiveness perception
The instructor brings up something most posing guides skim over: the connection between facial symmetry and how we perceive attractiveness. It’s not about whether someone is conventionally good-looking. It’s that slight asymmetries, which every human face has, become more or less visible depending on which angle you’re shooting from and how you position the face relative to the camera.
Instructor discussing facial symmetry and how it relates to attractiveness perception
The instructor brings up something most posing guides skim over: the connection between facial symmetry and how we perceive attractiveness. It’s not about whether someone is conventionally good-looking. It’s that slight asymmetries, which every human face has, become more or less visible depending on which angle you’re shooting from and how you position the face relative to the camera.
In practice, this means it’s worth shooting a quick test frame or two from slightly different angles before you commit to a setup. Ask your client to turn their face a few degrees left, then right. Look at which side presents a cleaner line along the jaw, which eye appears more open, which ear sits lower in the frame. These are small adjustments but they compound. I keep a lighting journal where I sketch every setup from a shoot, and I’ve started adding a small note about which side of the face I led with and why. After a few dozen sessions, patterns emerge that sharpen your instincts considerably.
What I’d Add From My Own Sessions
The tutorial focuses on posing mechanics, which is exactly what it should do. But in a headshot session, posing and energy are inseparable. You can get the feet right, the angle right, and the symmetry right, and still get a stiff image because the subject is holding their breath waiting for you to tell them what to do next.
My fix for this is constant, low-key narration while I work. Not direction - just talk. “I’m going to adjust the light slightly, give me one second.” “That’s exactly where I want you, just hold that.” It keeps the subject in a state of relaxed attention rather than nervous waiting. The pose you’ve built with all this technical care only pays off if the face on top of it is alive. Posing sets the structure. Your presence as the photographer keeps it from going rigid.
The single most important takeaway here is deceptively simple: build every pose from the feet up, and analyze your subject before you start directing them. Those two habits alone will make your headshot sessions faster, more consistent, and more flattering to a wider range of clients. Everything else is refinement on top of that foundation.
Watch the full tutorial on YouTube to see these principles demonstrated in real time - watching the instructor work through the posing with an actual subject makes the foot-placement concept click in a way that’s hard to convey in text alone.
Comments
Leave a Comment