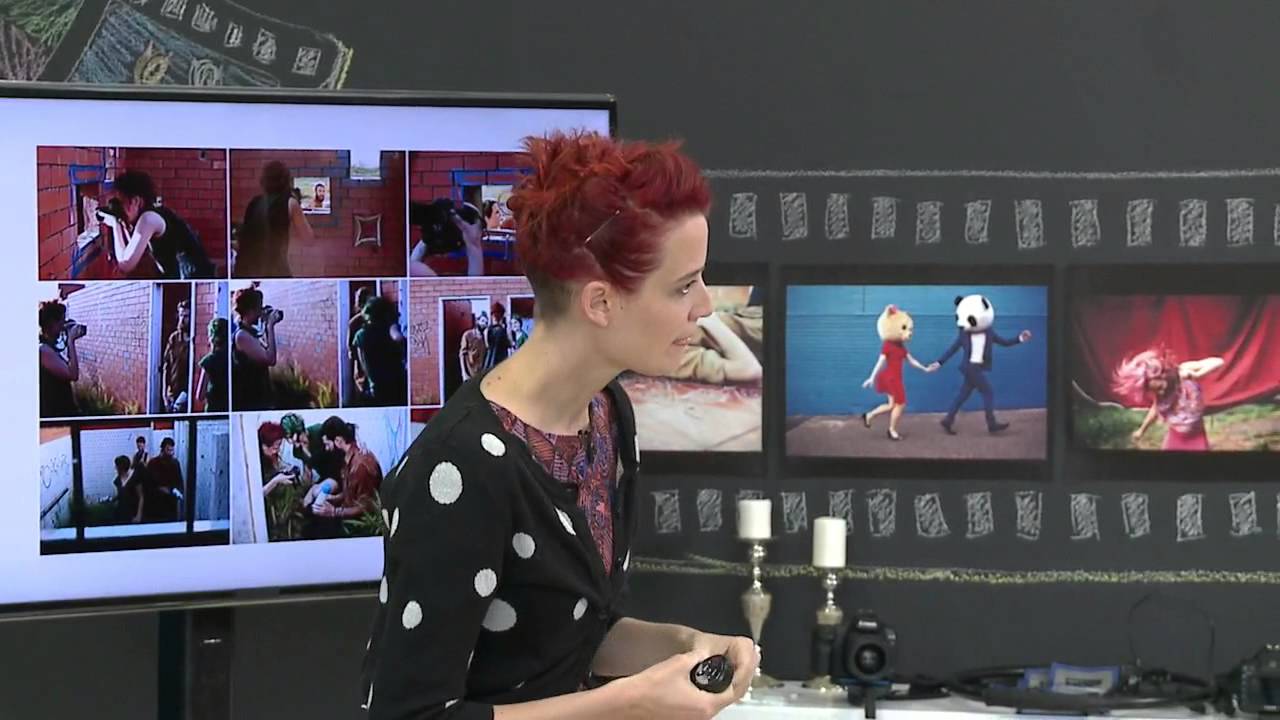
Most photographers I know are brilliant at selling other people through their images and completely hopeless at selling themselves. The portfolio sits on a website, static and silent, and potential clients scroll past it the same way they scroll past everything else. What actually stops people is motion, narrative, personality. A well-made showreel does what a grid of images can never do: it puts a viewer inside the experience of working with you.
That is the gap this technique fills, and it is why I spent time studying this CreativeLive tutorial on building a fusion video showreel combining stop-motion photography with video elements. Watch the full tutorial on YouTube before or after you read this. Either way, what follows is the working breakdown I wish someone had handed me when I first started thinking about video marketing for my studio.
The premise is disarmingly simple: you do not need a cinema rig, a second shooter, or a production budget. You need a DSLR, a fast lens, a memory card, and a story worth telling. Here is how to build it.
Step 1: Choose a Location That Has Visual Energy
 Photographer describing an inspiring derelict shoot location
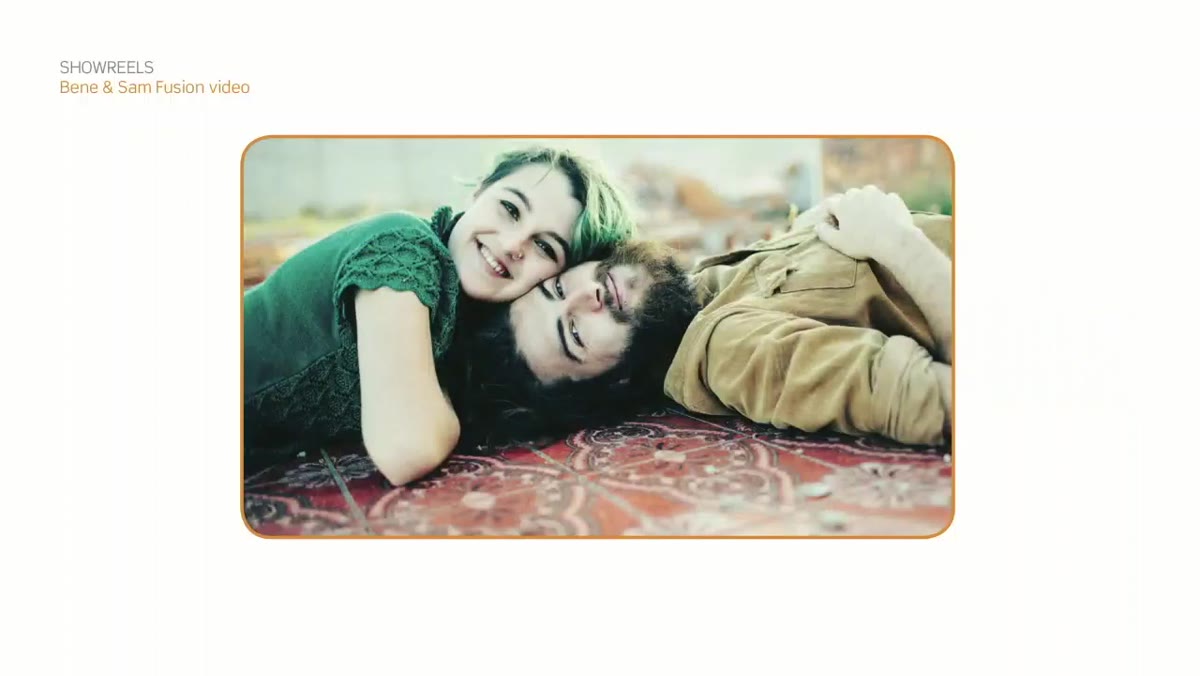
Before you think about camera settings or shot sequences, find a place that makes you want to shoot immediately. The presenter describes discovering a partially demolished building while scouting and booking the shoot within a week, only to find half the location had been torn down by the time she arrived. That urgency is the lesson. If a location grips you, act on it fast. Photograph everything on your phone the moment you find it: floors, textures, architectural frames, light sources. These reference images become the raw material for your shot list and storyboard later.
Photographer describing an inspiring derelict shoot location
Before you think about camera settings or shot sequences, find a place that makes you want to shoot immediately. The presenter describes discovering a partially demolished building while scouting and booking the shoot within a week, only to find half the location had been torn down by the time she arrived. That urgency is the lesson. If a location grips you, act on it fast. Photograph everything on your phone the moment you find it: floors, textures, architectural frames, light sources. These reference images become the raw material for your shot list and storyboard later.
What you are looking for in a location for this kind of video is not perfection. Imperfection is better. Peeling walls, unusual light, interesting geometry. All of it translates into visual contrast that makes a stop-motion sequence feel alive rather than sterile.
Step 2: Build a Shot List, Not Just a Vague Plan
 Presenter explaining her written shot list approach over storyboarding
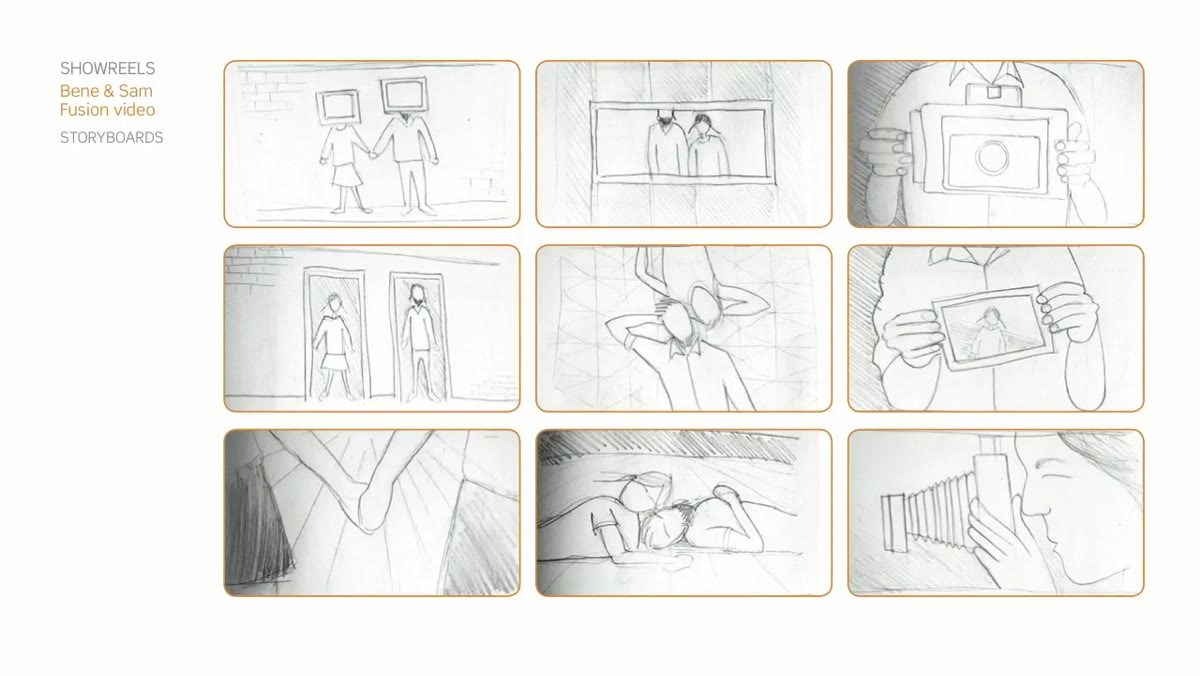
A storyboard is ideal if you can draw. If you cannot, a written shot list works just as well, provided it is specific enough to jog your memory on set without needing to explain itself to anyone else. The presenter is honest about this: her own shot lists were written for herself alone and were nearly incomprehensible to her team. The point is that the list exists, that you have committed specific ideas to paper before you arrive, and that you have enough material to pivot when something does not work.
Presenter explaining her written shot list approach over storyboarding
A storyboard is ideal if you can draw. If you cannot, a written shot list works just as well, provided it is specific enough to jog your memory on set without needing to explain itself to anyone else. The presenter is honest about this: her own shot lists were written for herself alone and were nearly incomprehensible to her team. The point is that the list exists, that you have committed specific ideas to paper before you arrive, and that you have enough material to pivot when something does not work.
List your shots by angle and intent. “Overhead couple on tiled floor” is more useful than “floor shot.” “Through window frame, subject centred” is more useful than “window.” When you are on location, moving fast and managing talent, these anchors keep you from losing the ideas that excited you when you first found the space.
Step 3: Incorporate Practical Props That Add Interaction
 Presenter showing a vintage Polaroid Land Camera and film pack
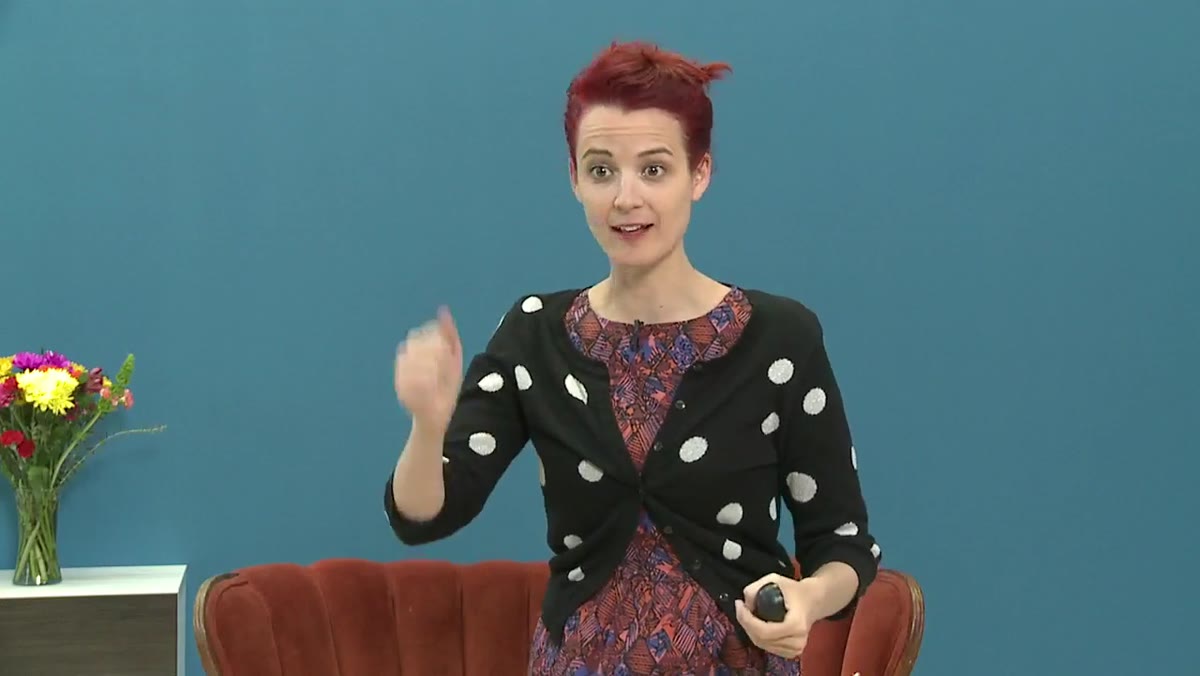
One of the strongest techniques in this tutorial is the use of a prop camera, specifically a vintage Polaroid Land Camera, to create an authentic layer of interaction between the subjects. The presenter handed the camera to the couple and filmed them photographing each other with it. The result is a moment that looks genuinely unposed because it is genuinely unposed. The subjects have a task, they forget about your camera, and you capture real behavior.
Presenter showing a vintage Polaroid Land Camera and film pack
One of the strongest techniques in this tutorial is the use of a prop camera, specifically a vintage Polaroid Land Camera, to create an authentic layer of interaction between the subjects. The presenter handed the camera to the couple and filmed them photographing each other with it. The result is a moment that looks genuinely unposed because it is genuinely unposed. The subjects have a task, they forget about your camera, and you capture real behavior.
For studio photographers, this principle translates directly. Give your subjects something to do with their hands and their attention. It does not need to be a Polaroid camera. A prop relevant to your brand or your client’s world works just as well. The Polaroid is useful partly because it produces physical output, a print that appears in the sequence and gives the edit a visual punctuation mark. If you can find one, the Polaroid Land Camera 230 shoots black-and-white film that is still commercially available, and a few test rolls is all it takes to get consistent results.
Step 4: Shoot the Stop-Motion Sequences With Intentional Movement
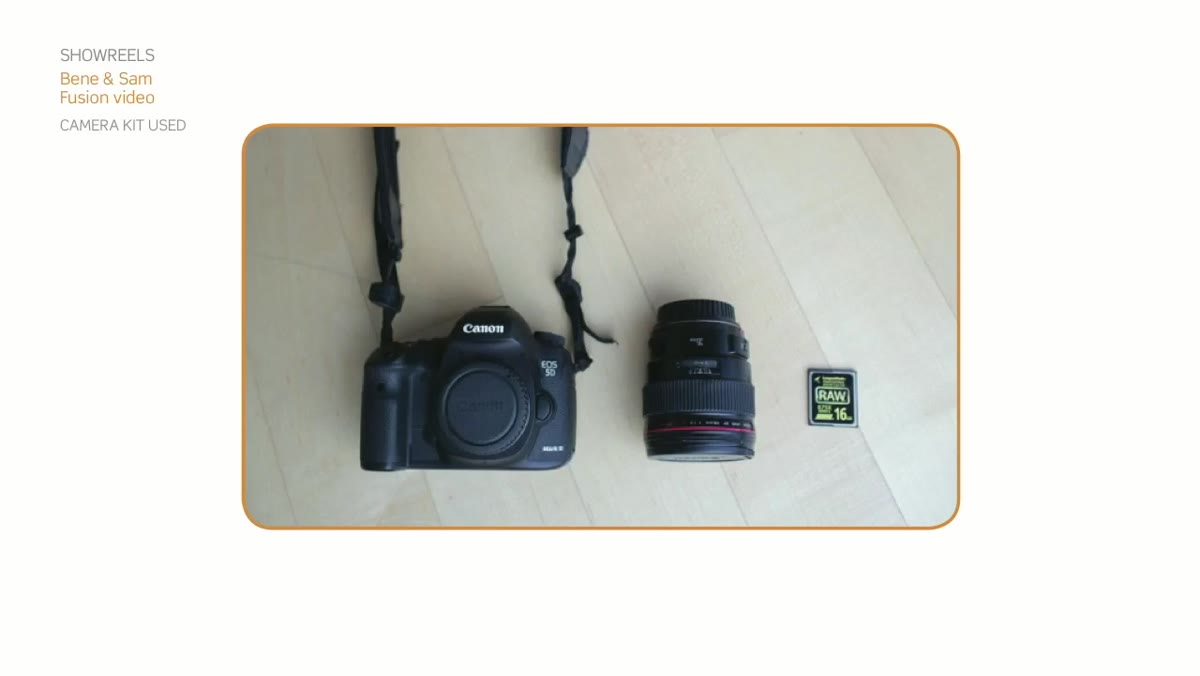 Camera gear laid out: Canon 5D Mark II, 35mm lens, CF card
The equipment used here is a Canon 5D Mark II with a 35mm lens, and nothing else. That is the entire kit. For stop-motion, you are shooting individual stills in rapid sequence and assembling them in post to create the illusion of motion. The 35mm focal length at that sensor size gives you a field of view that is close to natural human vision, which keeps the sequences feeling grounded rather than distorted.
Camera gear laid out: Canon 5D Mark II, 35mm lens, CF card
The equipment used here is a Canon 5D Mark II with a 35mm lens, and nothing else. That is the entire kit. For stop-motion, you are shooting individual stills in rapid sequence and assembling them in post to create the illusion of motion. The 35mm focal length at that sensor size gives you a field of view that is close to natural human vision, which keeps the sequences feeling grounded rather than distorted.
The key to stop-motion that does not look amateurish is controlled, incremental movement between frames. Whether you are moving the subjects, the camera, or both, the change from frame to frame needs to be consistent. On a tripod with subjects moving themselves, brief the talent clearly on how much to move between each shot. Handheld stop-motion can work for a looser, more energetic feel, but requires more frames and more patience in the edit to smooth out.
Step 5: Blend Video Clips With the Still Sequences in the Edit
 Presenter introducing the fusion concept combining still and video elements
The fusion part of a fusion video is where most photographers hesitate, because editing video feels foreign. The approach here is additive, not complicated. You are cutting between passages of stop-motion, which you have assembled into short sequences, and short clips of genuine video footage. The video clips function as breathing room, moments of real time that contrast with the stylized motion of the stop-motion sections and give the viewer’s eye a place to rest.
Presenter introducing the fusion concept combining still and video elements
The fusion part of a fusion video is where most photographers hesitate, because editing video feels foreign. The approach here is additive, not complicated. You are cutting between passages of stop-motion, which you have assembled into short sequences, and short clips of genuine video footage. The video clips function as breathing room, moments of real time that contrast with the stylized motion of the stop-motion sections and give the viewer’s eye a place to rest.
In practical terms: assemble your stop-motion sequences first in your editing software, set your frame rate so that the movement reads clearly but does not drag, then drop your video clips at natural pause points in the narrative. The edit does not need to be elaborate. The material itself carries the interest.
A Note on Using Instagram as a Pre-Visualization Tool
The presenter’s habit of photographing locations on her phone before a shoot is something I have done for years without ever naming it properly. I keep a lighting journal where I sketch every setup from every shoot, and the phone-scout images serve the same function for locations. They capture the quality of light at that time of day, the sight lines, the textures. When you sit down to write your shot list the night before, you are not trying to reconstruct a memory. You are looking at evidence.
For studio shooters, this applies even to your own space. Walk your studio at different times of day with your phone and photograph how natural light falls across your shooting area. You will notice angles and times you have been ignoring.
The single most valuable idea in this tutorial is also the most uncomfortable one for photographers who have built an identity around technical precision: you do not need better gear to make a compelling showreel. You need a clear location, a genuine interaction, and enough pre-production that you are not improvising from scratch on the day. The camera in this tutorial is nearly fifteen years old. The footage is compelling. Those two facts belong in the same sentence.
Watch the full tutorial on YouTube and pay particular attention to how she describes the relationship between her Instagram location scouts and her final shot list. That workflow alone is worth the hour.
Comments (1)
Great breakdown. The step-by-step approach really helps.
Leave a Comment