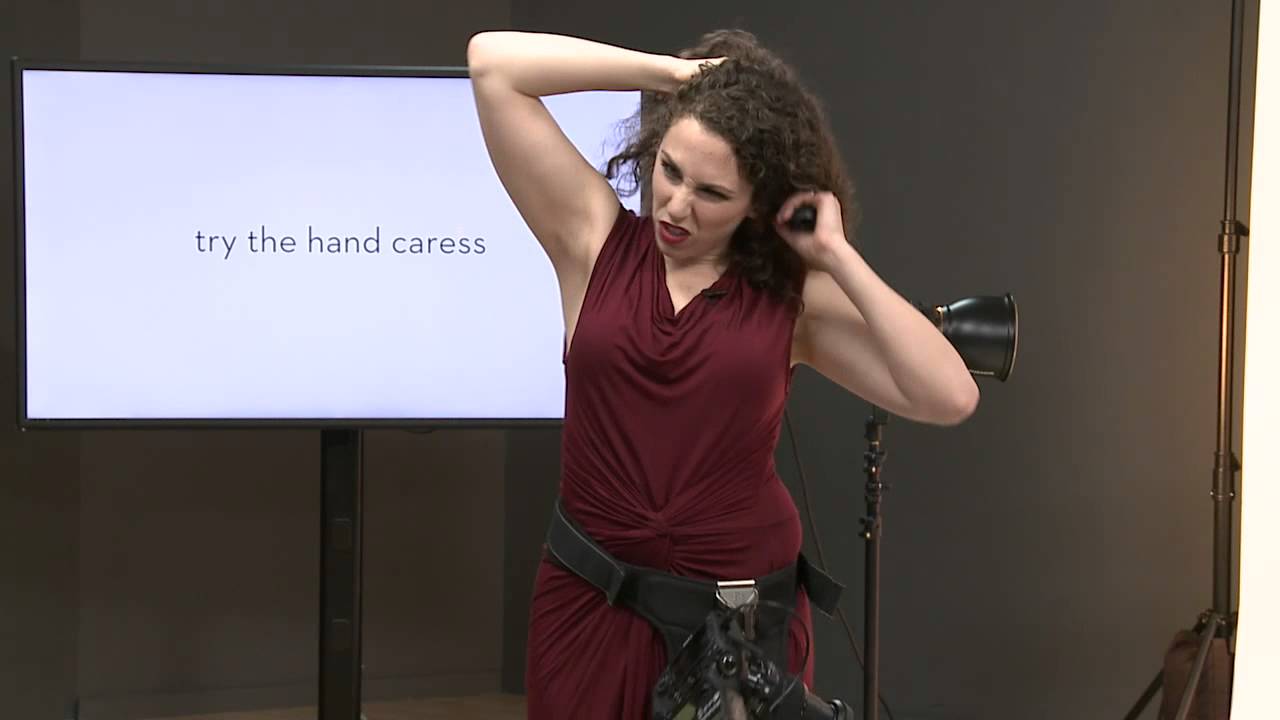
Hands wreck more portraits than bad lighting does. I’ve said that to assistants in my studio more times than I can count, and I still believe it. You can nail your key-to-fill ratio, dial in a perfect catch light, and choose exactly the right modifier for your subject’s skin tone – and then one stiff, flat-palmed hand near the face kills the entire frame. It’s the detail that separates a portrait that feels real from one that feels like a DMV photo with better light.
That’s why I keep coming back to Lindsay Adler’s hand-posing breakdown from CreativeLive. Watch the full tutorial on YouTube – it runs lean, it’s dense with practical technique, and Adler demonstrates everything live on a subject rather than just describing it. What follows is my own working breakdown of her method, expanded with the details I think studio photographers specifically need to internalize.
The core insight Adler builds everything around is this: in real life, people don’t place their hands. They trace them. The moment you give a subject the instruction “put your hand on your face,” you’ve already lost, because they will do exactly that – flatten their palm against their cheek like they’re checking for a fever. The fix isn’t better instruction. It’s a completely different category of instruction.
Step 1: Fix Your Subject’s Posture Before You Touch the Hand Problem
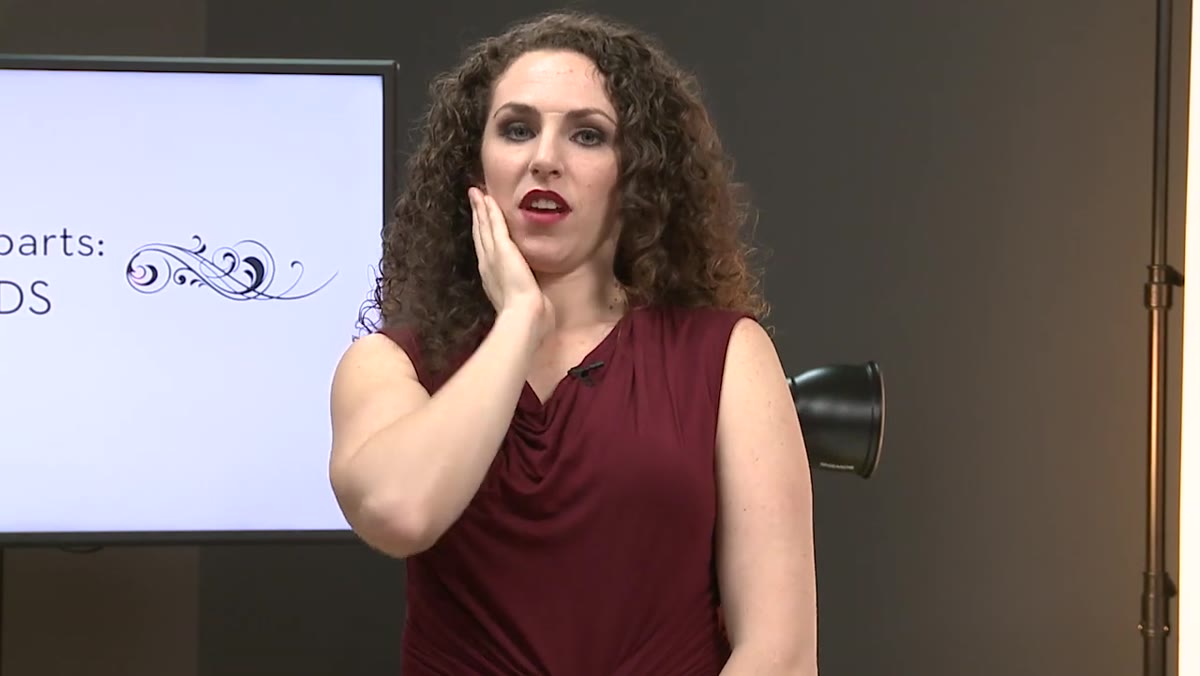 Subject leaning forward demonstrating how arm position changes with posture
Adler opens with something that has nothing to do with hands, and everything to do with hands: posture. When a subject sits back and places a hand near their face, the elbow juts toward the camera and suddenly you’re photographing an arm, not a portrait. Having your subject lean forward into the camera shifts the geometry. The hand stays near the face, but the elbow drops back, and the whole composition flattens out in the right way.
In my studio, I address this before I ever touch posing. I think of it like setting up a lighting modifier – the support structure determines what the light actually does. If the posture isn’t right, any hand position you build on top of it is compromised from the start.
Step 2: Use Movement to Arrive at the Position, Not Placement
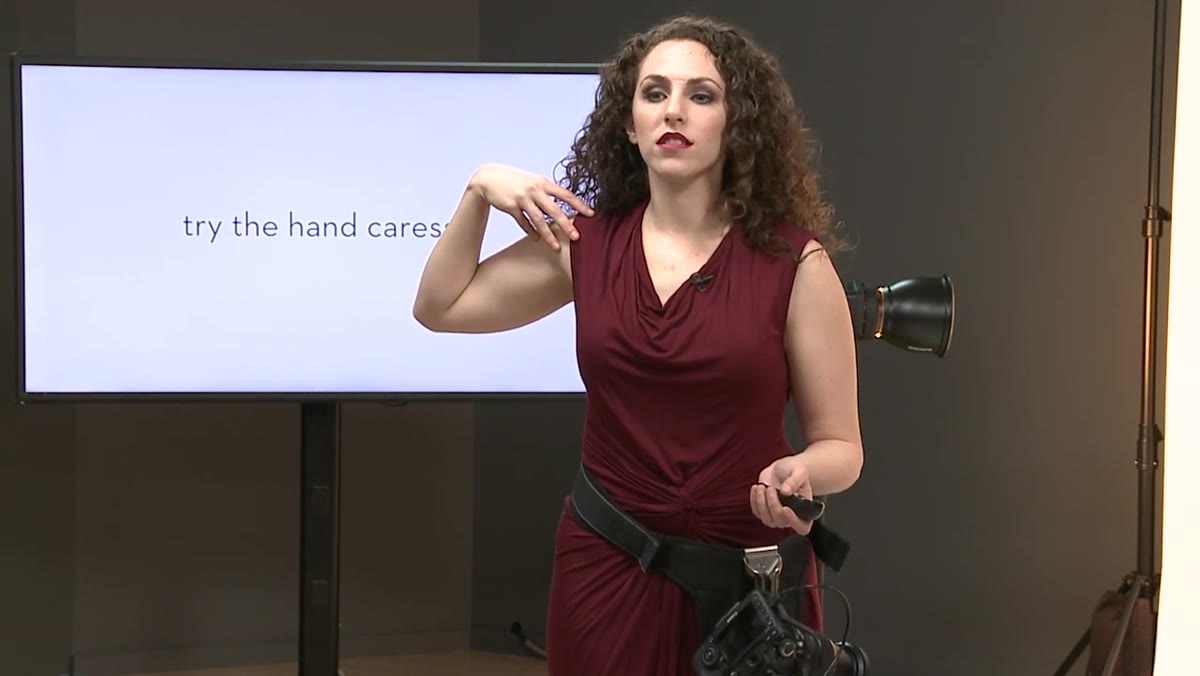 Lindsay demonstrating dragging hand across chest to shoulder on subject
The central technique here is what Adler calls the “hand caress” – and the word caress is doing a lot of work. Instead of telling a subject where to put their hand, you give them a path to travel. Want the hand on the shoulder? Ask them to drag it slowly across their chest until it arrives there. Want the hand in the hair? Ask them to trace one finger along the side of their face and let it rest naturally at the hairline.
The reason this works is biomechanical. When someone moves their hand through space with intention and then stops, the fingers stay in their natural traveling curve. When someone places a hand, they tense up and straighten out. The movement creates the softness automatically, without you having to describe what soft fingers should look like – which is nearly impossible to do verbally anyway.
Step 3: Uncurl Stiff Fingers with the Wiggle Reset
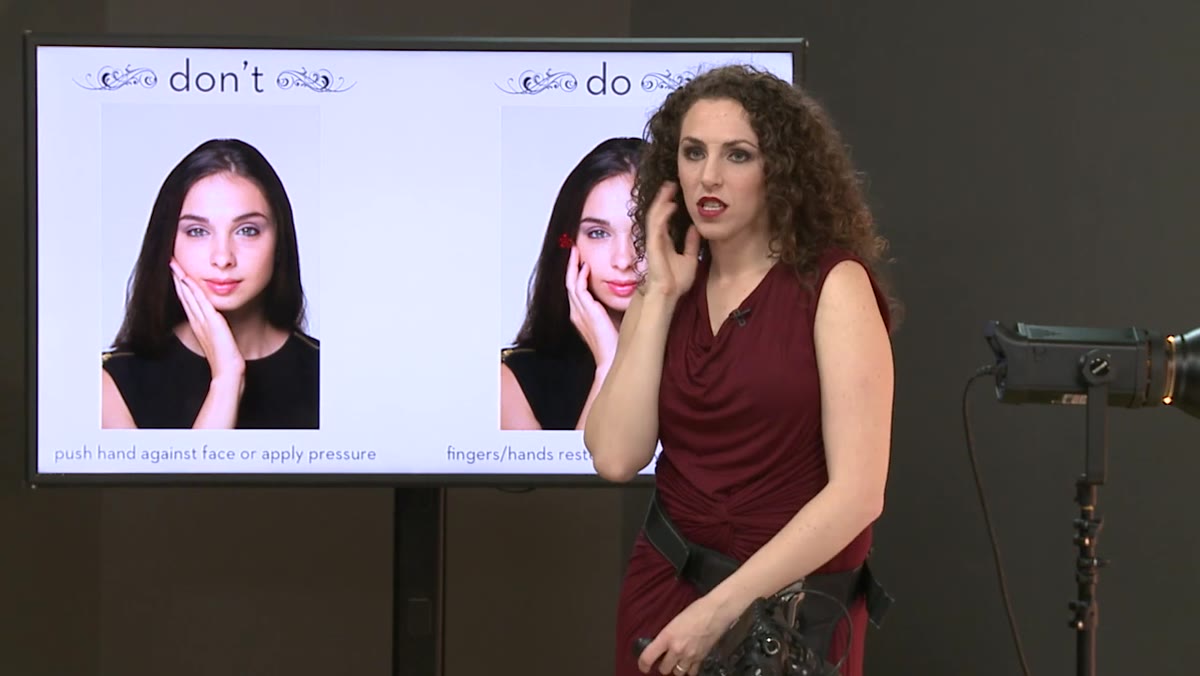 Closeup demonstration of finger wiggle technique before repositioning hand
Even when you use the tracing approach, you’ll still get subjects who tense up mid-movement and arrive with rigid, straight fingers. Adler’s fix is disarmingly simple: tell them to wiggle their fingers, then trace again. The wiggle breaks the neuromuscular lock that stress causes in the hand. After a good wiggle, ask them to set the hand back down slowly and softly.
I’ve started using this as a reset at any point in a shoot when I notice hands going stiff – not just at the beginning. It also has a secondary benefit: it slightly interrupts the subject’s self-consciousness. They feel a little silly wiggling their fingers, they laugh or smirk, and you get a more relaxed face into the bargain. It’s a two-for-one.
Step 4: Keep the Jawline Clear
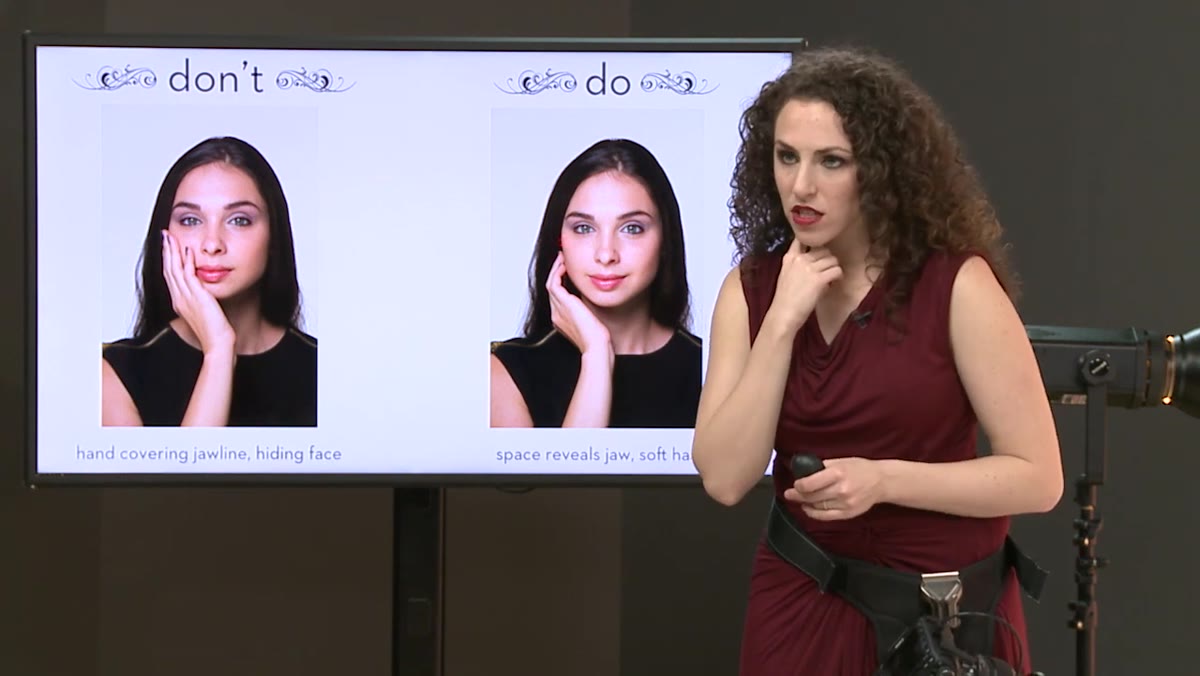 Subject demonstrating hand cupping jaw, obscuring jawline from camera angle
This is the error Adler flags that I see constantly in my own editorial work – subjects cupping the jaw in a way that completely hides the jawline from the camera’s perspective. The jaw defines the lower third of the face and creates the structure that makes a portrait look clean rather than soft and undefined. When a hand cups the jaw flat, that structure disappears.
The correction has two parts. First, lower the hand slightly – just below the jaw rather than against it. Second, don’t let it sit flat. A light natural cup in the fingers, with the hand barely grazing the skin, keeps the jawline visible and the hand looking like it belongs there. Adler’s instruction to “soften and lower” is the kind of two-word direction you can drop mid-shoot without breaking the subject’s flow.
Step 5: Avoid Straight Fingers at All Costs
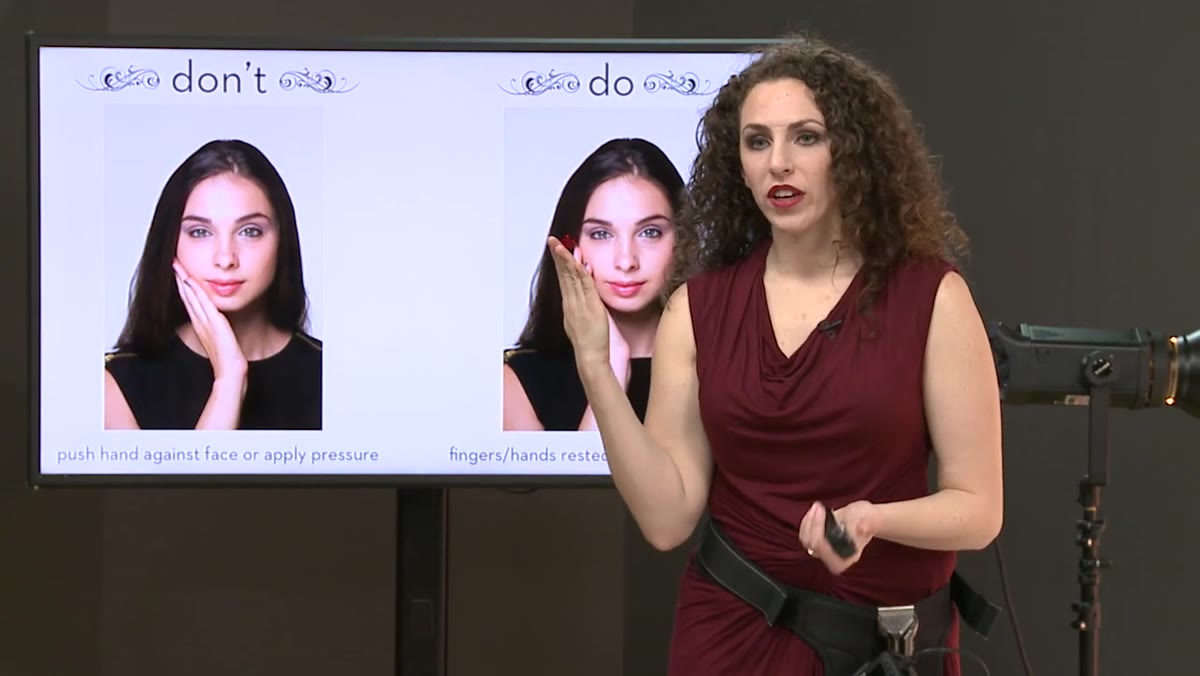 Exaggerated demonstration of straight “robot fingers” versus soft natural curve
Adler describes this as the “robot finger” problem, and once she labels it you can’t unsee it in your own work. Fingers at rest have a natural, slight curve to them. Straight fingers read as artificial and stiff in photographs because they don’t reflect how hands actually exist in the world.
The cure is built into the tracing technique – moving fingers stay curved. But it’s worth checking for this specifically when you’re culling. I’ve started flagging any frame where I can see a subject’s fingers are fully extended as a low-priority pick, regardless of how the rest of the image looks. That one detail signals tension, and tension reads.
Step 6: Give Men’s Hands a Job Entirely
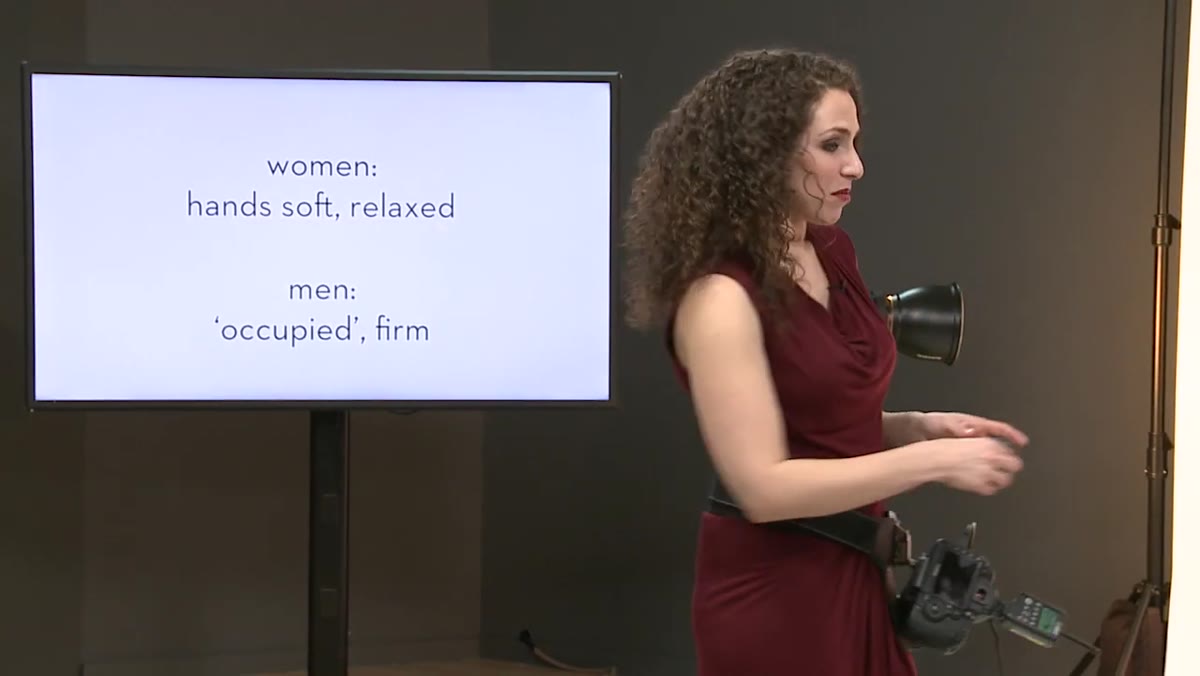 Discussion segment about how men default to awkward hand positions without direction
Adler makes a quick but important distinction here: for women, the goal is soft and relaxed. For men, the primary goal is simply occupation. Men who don’t know what to do with their hands will find somewhere uncomfortable to put them. Give them something to hold, something to grip, or a specific task – and the problem mostly solves itself.
This distinction matters for studio work because the toolkit is different. For women, you’re sculpting. For men, you’re often just eliminating dead space.
From My Own Studio: Build a Reference Sheet for Each Modifier
I’ve taken Adler’s framework and added one layer for my own practice: I keep a reference sheet in my lighting journal with hand positions that photograph well under each modifier I use regularly. Soft boxes produce a different falloff on the hand than a beauty dish does, and a hand that looks elegant under one can look flat or harsh under another. This isn’t something Adler covers – it’s specific to studio work where you’re controlling the light rather than finding it.
If you’re shooting with a harder light source, check your hand positions more carefully. Hard light exaggerates the lines of knuckles and finger joints in ways that soft boxes don’t, and a position that reads as relaxed in natural light can read as tense under a bare strobe.
The single most transferable takeaway from Adler’s tutorial is the tracing principle. Stop giving subjects destinations. Give them journeys, and let the hand arrive where it’s supposed to be. The softness takes care of itself.
Watch the full tutorial on YouTube to see Adler demonstrate all of this live – seeing the before-and-after on a real subject in real time makes the corrections click faster than any description can.
Comments (5)
This is the kind of content that keeps me coming back.
Excellent tutorial. I'd add that from a landscape standpoint, this technique is incredibly versatile.
Never thought of approaching it this way. Really creative.
Clear and practical. No fluff. Appreciate that.
Love this. I referenced a similar technique in one of my recent posts. Always good to see other perspectives.
Leave a Comment