There’s a specific kind of panic that hits when you’re on a location shoot and the light starts moving faster than your brain. The sun drops, your background goes muddy, your strobes suddenly look nuclear against a dark sky, and the client is standing ten feet away checking their watch. I’ve been there more times than I’d like to admit. The fix isn’t faster reflexes. It’s a system you build before the sun starts moving, so you’re only adjusting one variable when it does.
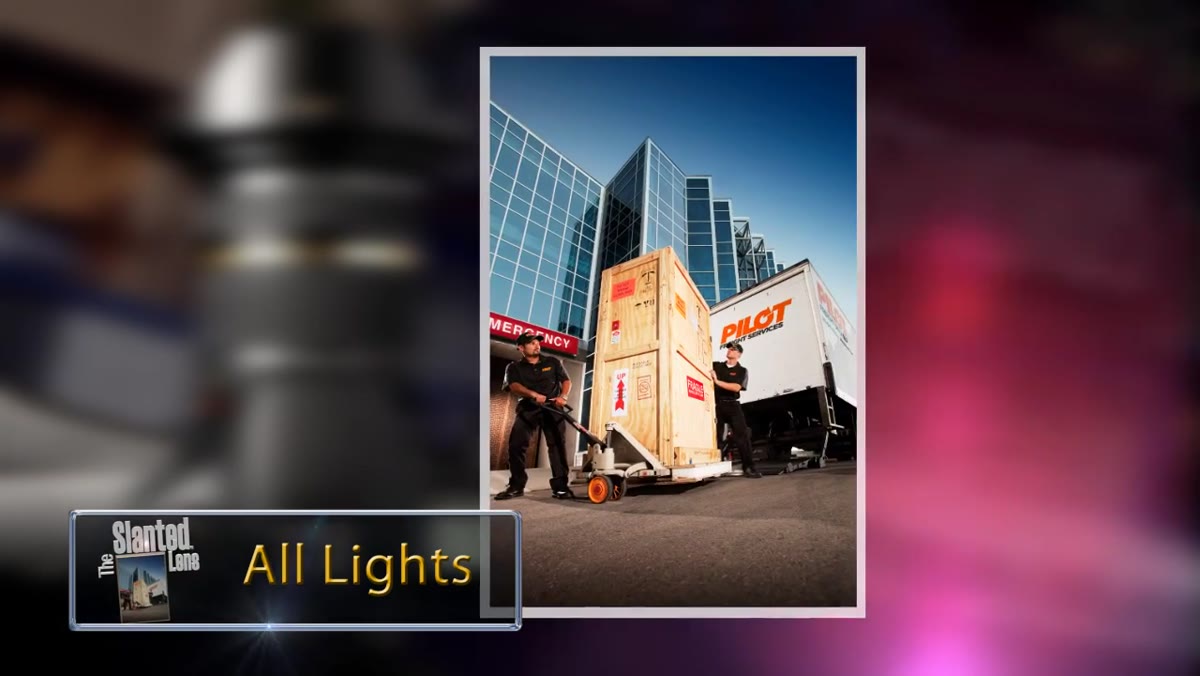
That’s exactly what J.P. Morgan demonstrates in this The Slanted Lens tutorial, filmed on location at Universal Studios during a late-afternoon shoot on a New York street set. Watch the full tutorial on YouTube before or after reading this breakdown. What he’s teaching isn’t a trick. It’s a way of thinking about the exposure triangle that separates strobe control from ambient control, and once it clicks, it changes how you plan every outdoor shoot.
I’ve sketched this kind of setup in my lighting journal a dozen times, but watching someone execute it in real time against a building facade, with actual shadows moving, made the logic land differently. Here’s the full walkthrough.
Step 1: Decide What Role the Strobes Are Playing
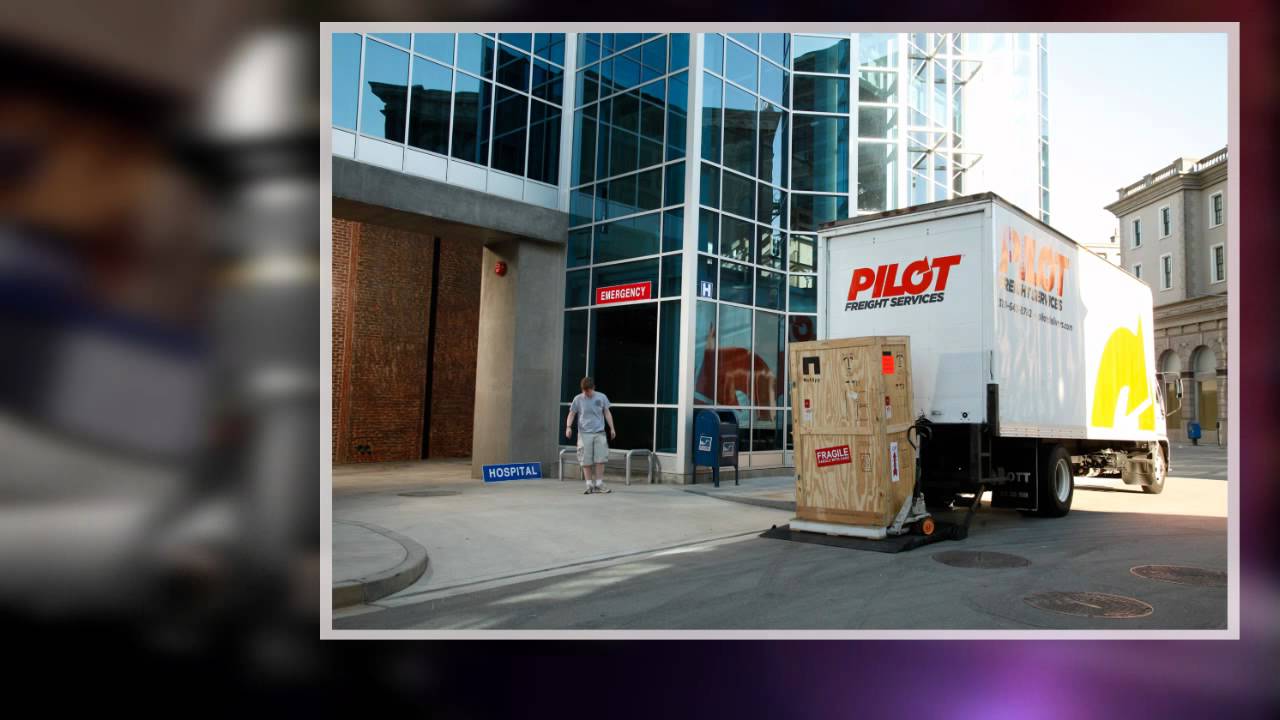
 Exterior street set at Universal Studios, ambient light only
Before you touch a light stand, you need to answer one question: are your strobes the main light, or are they supporting the available light? On most of my outdoor commercial work, the answer is the latter. Strobes fill harsh shadows, add rim separation when the scene goes flat, or punch a little life into an overcast setup. Rarely am I trying to overpower the sun entirely. That distinction matters because it determines how you meter, how you position, and how aggressively you power your lights.
Exterior street set at Universal Studios, ambient light only
Before you touch a light stand, you need to answer one question: are your strobes the main light, or are they supporting the available light? On most of my outdoor commercial work, the answer is the latter. Strobes fill harsh shadows, add rim separation when the scene goes flat, or punch a little life into an overcast setup. Rarely am I trying to overpower the sun entirely. That distinction matters because it determines how you meter, how you position, and how aggressively you power your lights.
Morgan frames it the same way: he’s not fighting the sun, he’s working alongside it. That’s a more sustainable approach on long shoots, and it’s kinder to your equipment. Running strobes at full power for three hours to kill ambient is a battery drain and a heat problem. Running them at half power to complement it gives you headroom to adjust.
Step 2: Lock Your Camera in Manual and Establish Your Aperture First
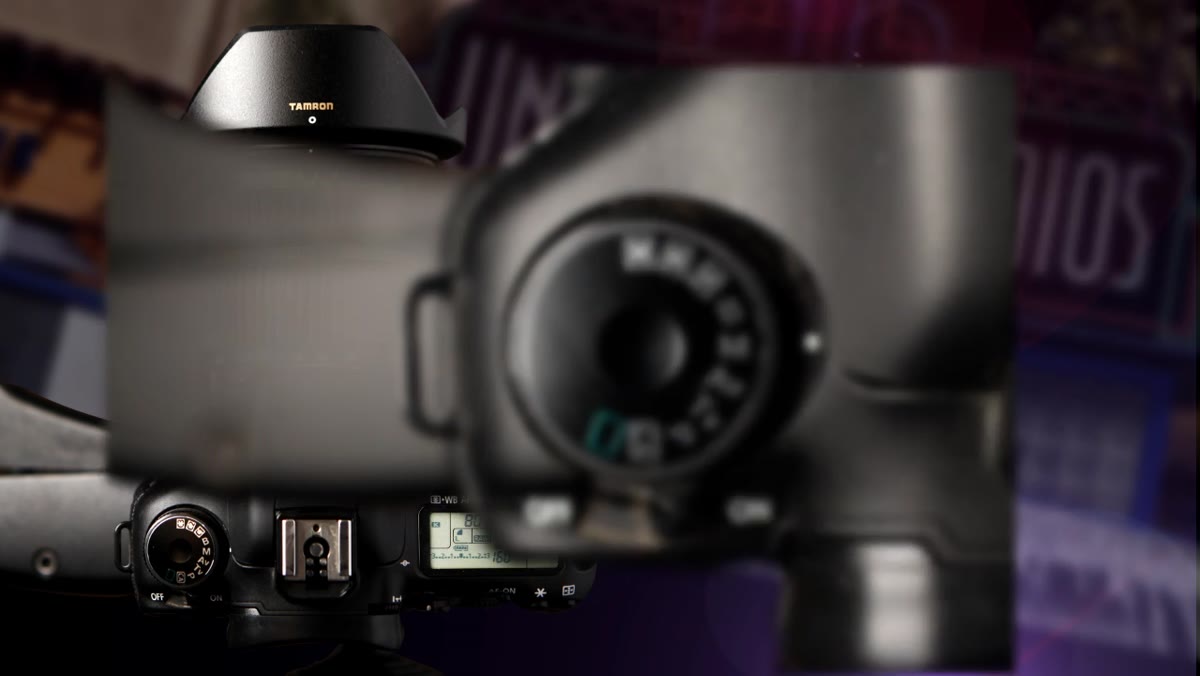 Camera controls set to manual mode, aperture at F8
Manual mode is non-negotiable for this technique. Auto modes will chase the changing light and create inconsistent exposures across a shoot that might span ninety minutes of sunset. Morgan sets his aperture to F8 and holds it there for the entire session. This is the key move: aperture controls your strobe exposure, so once you’ve dialed your lights to look right at F8, you don’t touch it again.
Camera controls set to manual mode, aperture at F8
Manual mode is non-negotiable for this technique. Auto modes will chase the changing light and create inconsistent exposures across a shoot that might span ninety minutes of sunset. Morgan sets his aperture to F8 and holds it there for the entire session. This is the key move: aperture controls your strobe exposure, so once you’ve dialed your lights to look right at F8, you don’t touch it again.
Start at ISO 160, which keeps noise low and gives you a clean baseline. With F8 and ISO 160, meter the ambient light to find your starting shutter speed. In the tutorial, that lands at 1/30 second. Write those numbers down or, if you’re me, tape them to your light stand so you don’t second-guess yourself mid-shoot.
Step 3: Use a Sun Tracking App to Plan Your Window
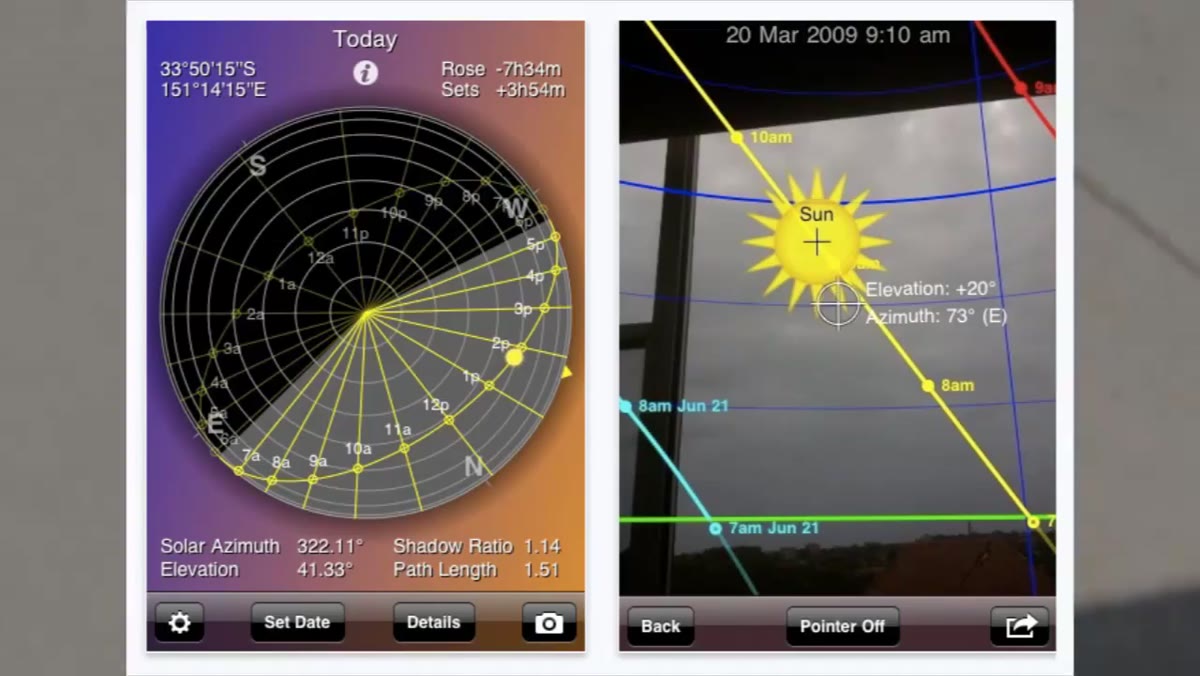 iPhone displaying Sun Seeker app with sun position arc
This is one of those small professional habits that separates a smooth shoot from a scramble. Morgan uses an app called Sun Seeker to find the exact moment the sun will drop behind a building on the set. He knows before the shoot starts that he has until 5:00 PM before the direct light clears his scene. That’s not luck. That’s pre-production.
iPhone displaying Sun Seeker app with sun position arc
This is one of those small professional habits that separates a smooth shoot from a scramble. Morgan uses an app called Sun Seeker to find the exact moment the sun will drop behind a building on the set. He knows before the shoot starts that he has until 5:00 PM before the direct light clears his scene. That’s not luck. That’s pre-production.
On any outdoor shoot, I pull up a sun position app during the scout. Knowing whether you have twenty minutes or ninety minutes of usable light changes how you set up, how many setups you attempt, and how you talk to your client about the schedule. If you’re shooting in Los Angeles in November, the sun moves faster than you expect and your window is shorter than it looks at noon.
Step 4: Place Your Strobes for Structure, Not Just Fill
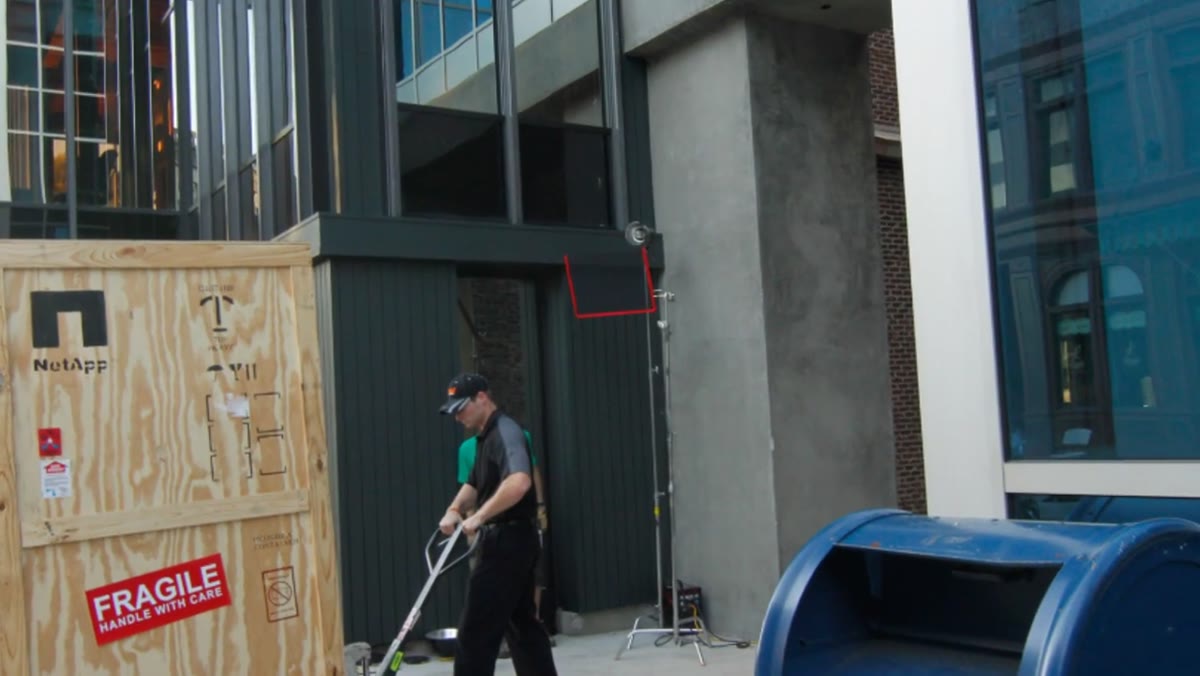 First strobe positioned left of camera aimed at model’s edge
Morgan’s lighting plot for this shoot is worth studying. His first strobe sits just past a doorway to the left of camera, aimed to skim the edge of the model and create rim separation from the background. A second strobe goes deeper into the alley to add depth to the brick wall behind the subject. These aren’t fill lights in the flat sense. They’re adding dimensionality to a scene that would otherwise compress into a single plane.
First strobe positioned left of camera aimed at model’s edge
Morgan’s lighting plot for this shoot is worth studying. His first strobe sits just past a doorway to the left of camera, aimed to skim the edge of the model and create rim separation from the background. A second strobe goes deeper into the alley to add depth to the brick wall behind the subject. These aren’t fill lights in the flat sense. They’re adding dimensionality to a scene that would otherwise compress into a single plane.
When the sun finally clears the truck in the frame, two additional strobes go up to light the vehicle’s side and give the scene visual weight on that side. A final background light adds interest to the far wall. Each light has a specific job, and none of them are doing the same thing. I label every light in my studio with masking tape before I shoot, just to keep the logic straight. On location, I sketch the plot in my phone before I fire the first test.
Step 5: Chase the Sunset with Shutter Speed Alone
 Photographer adjusting shutter speed as ambient light drops
Here’s where the system pays off. As the sun drops and the ambient light gets softer, Morgan adjusts only his shutter speed, incrementally, in one-third stop steps. When the outside light falls by a third of a stop, he slows the shutter by a third of a stop to compensate. Aperture stays at F8. Strobe power stays constant. ISO stays at 160.
Photographer adjusting shutter speed as ambient light drops
Here’s where the system pays off. As the sun drops and the ambient light gets softer, Morgan adjusts only his shutter speed, incrementally, in one-third stop steps. When the outside light falls by a third of a stop, he slows the shutter by a third of a stop to compensate. Aperture stays at F8. Strobe power stays constant. ISO stays at 160.
This works because shutter speed has no effect on strobe exposure. Strobes fire faster than any practical shutter speed you’d use outdoors. So slowing from 1/30 to 1/20 to 1/15 lets more ambient light into the frame without changing how the strobes are hitting the subject. The balance between flash and daylight shifts gradually and stays consistent shot to shot. It’s an elegant solution to what feels like a chaotic problem.
What I’d Add from My Own Experience
The one thing Morgan doesn’t address, which I’ve learned the hard way, is color temperature drift. As the sun drops, the ambient light warms significantly, moving from daylight into golden hour tones. Your strobes, dialed to daylight-balanced output, will start to read cooler relative to the background as the shoot progresses. If your strobes are your key light on the subject, their skin can look slightly cool against a warm scene.
I carry a set of CTO gels in quarter and half stops and I start adding warmth to my key strobe maybe thirty minutes before full sunset. It’s a minor adjustment but it keeps skin tones cohesive from the first frame to the last. I ruined an early editorial shoot by ignoring color temperature entirely and had to fight the images in post. Now it’s part of the setup checklist, right next to checking sync cables.
The single most important idea in this tutorial is the clean separation of two variables: aperture for strobe, shutter for ambient. Once you internalize that, outdoor strobe work stops feeling like guesswork and starts feeling like something you can actually plan. Watch the full tutorial on YouTube to see the actual frames Morgan captures and how the lighting evolves across the shoot. The still descriptions only go so far. Seeing the before-and-after at each stage makes the logic immediate.
Comments
Leave a Comment