I spent years accumulating grip. C-stands, baby pins, 40-pound bags of clamps I touched twice a decade. When you work commercially, the instinct is to own every solution before a problem shows up on set. The problem is you end up hauling a rolling warehouse to every job and spending 20 minutes digging for an A-clamp buried under a sand bag. What actually changed my thinking was watching working professionals talk honestly about what lives in their kit versus what sits on a shelf. In this Daniel Norton Photographer tutorial on minimalist studio gear, Norton walks through exactly that conversation. Not a gear review. Not a sponsored rundown. A real-world audit of what a busy New York studio photographer reaches for repeatedly and what he’s learned to leave behind.
Watch the full tutorial on YouTube
Norton’s core argument is simple and easy to agree with once you’ve wasted enough money ignoring it: grip is a long-term investment, not a shopping list you clear all at once. Most grip, bought thoughtfully, lasts the length of a career. That changes how you should approach building your kit. Buy less. Buy what you’ll reach for constantly. Let the edge cases wait until they become actual recurring problems.
Step 1: Redefine What “Grip” Actually Means
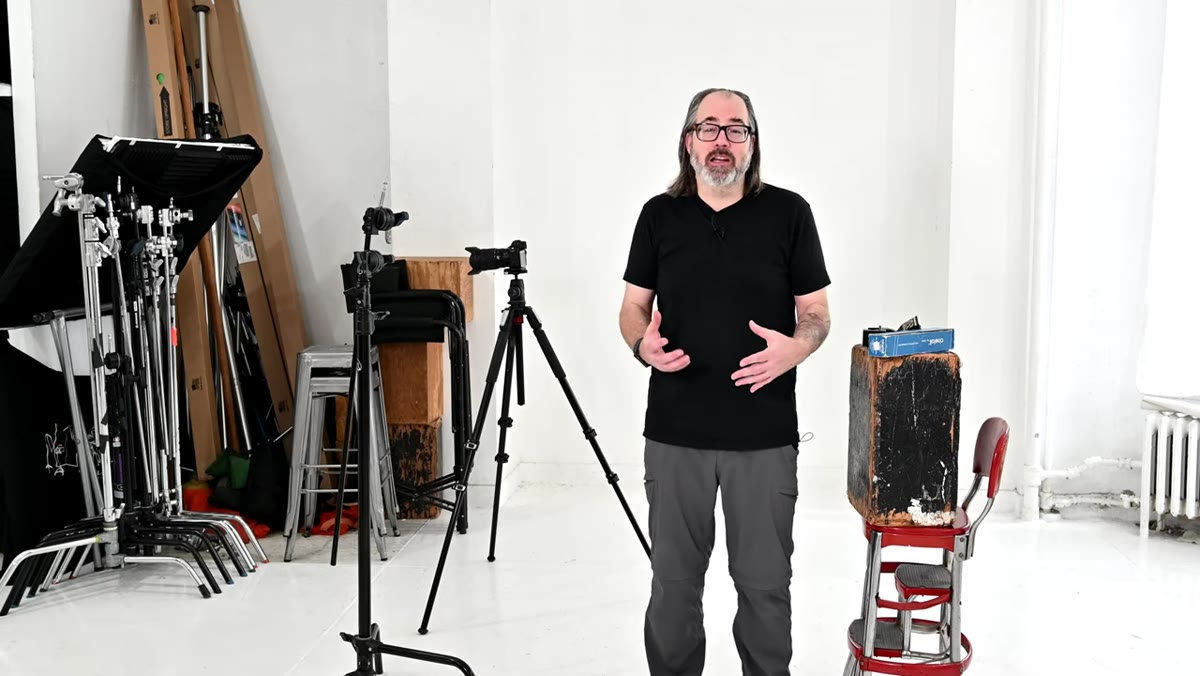 Daniel Norton holding assorted grip items explaining the category
Before you buy a single item, get clear on the category. Norton’s definition of grip is broader than most photographers assume. It isn’t just clamps. It includes apple boxes, cinefoil, tape, gels, clothespins, and stands. Basically, anything that supports, modifies, holds, or positions your light or subject without being a light itself. Once you think about grip this way, you stop shopping for “clamps” and start thinking about the full system of control you’re building around your lights and camera.
Daniel Norton holding assorted grip items explaining the category
Before you buy a single item, get clear on the category. Norton’s definition of grip is broader than most photographers assume. It isn’t just clamps. It includes apple boxes, cinefoil, tape, gels, clothespins, and stands. Basically, anything that supports, modifies, holds, or positions your light or subject without being a light itself. Once you think about grip this way, you stop shopping for “clamps” and start thinking about the full system of control you’re building around your lights and camera.
This framing matters practically. When I prep for a shoot, I don’t think in categories like “stands” and “clamps” separately. I think about what I need to hold, where, and at what angle. Norton’s broader definition pushes you to think the same way, which makes your packing list smarter and your kit lighter.
Step 2: Start With C-Stands If You Work in a Studio
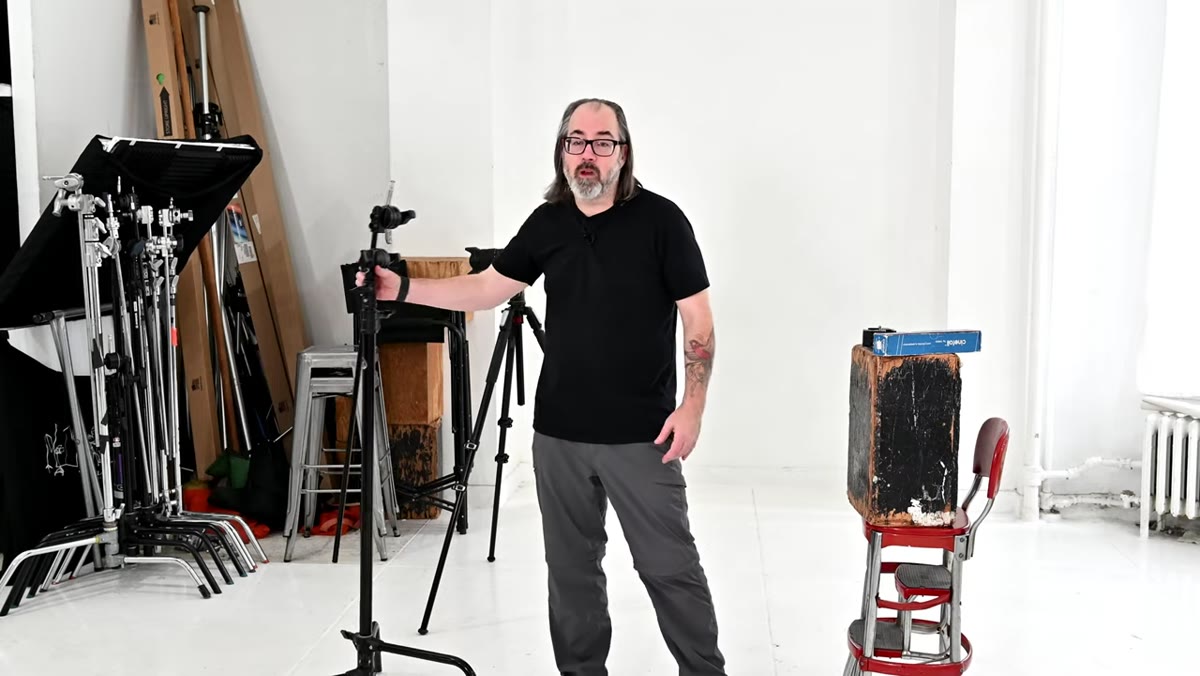 C-stand with arm extended in Norton’s New York studio
If you have a dedicated studio space, even a small one, the C-stand should be the foundation of your support system. Norton uses them exclusively in his studio. The reasons are practical. C-stands have a small footprint relative to how much weight they can support. They accept a gobo arm, which lets you position a light or flag at angles a regular light stand simply cannot reach. And they’re built to last decades with basic care.
C-stand with arm extended in Norton’s New York studio
If you have a dedicated studio space, even a small one, the C-stand should be the foundation of your support system. Norton uses them exclusively in his studio. The reasons are practical. C-stands have a small footprint relative to how much weight they can support. They accept a gobo arm, which lets you position a light or flag at angles a regular light stand simply cannot reach. And they’re built to last decades with basic care.
For studio-based photographers, C-stands also become part of your permanent installation. Norton mentions having his camera rigged from an arm and clamp system attached to overhead pipe. That kind of fixed rigging only works reliably with hardware rated for the load. A $25 light stand is not that hardware. Invest once in C-stands and you stop thinking about them.
Step 3: Carry A-Clamps for Fast, Temporary Fixes
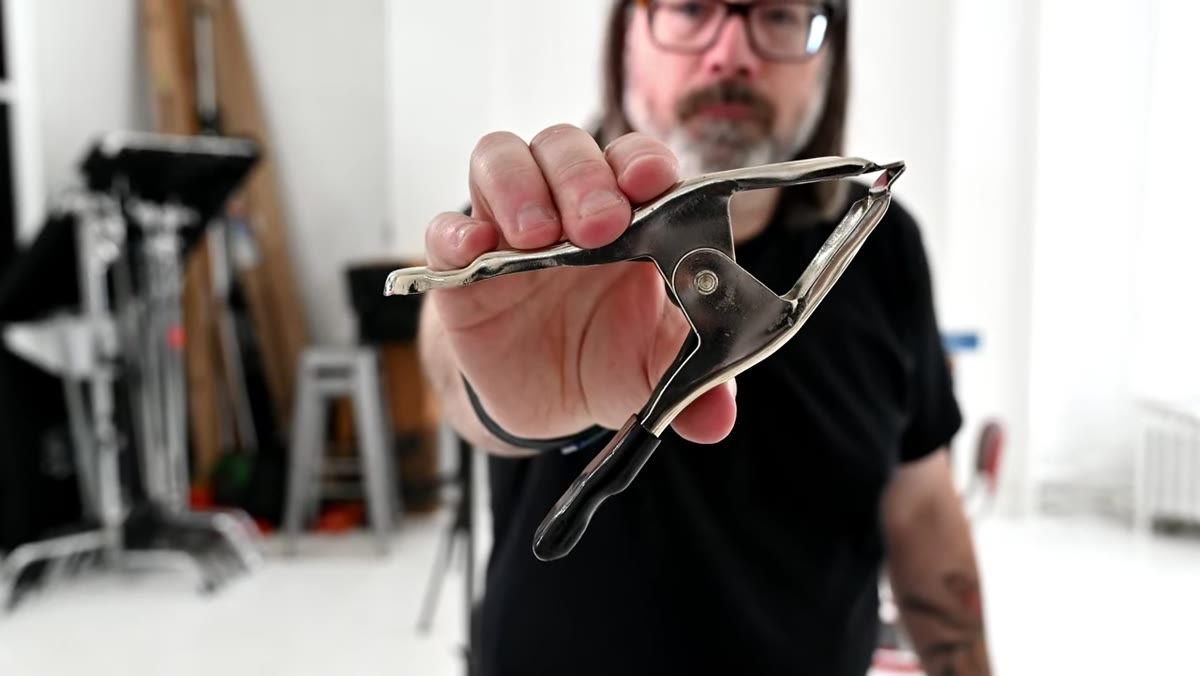 A-clamps shown on a table, compared to super clamps
A-clamps are the duct tape of grip. They’re cheap, available everywhere (not just photo stores), and fast to apply. Norton is clear that they’re not meant for permanent or long-duration rigging. They’re for quick, on-the-spot solutions: holding a reflector in place, pinning a backdrop corner, keeping a flag from drifting. The speed of an A-clamp is the point.
A-clamps shown on a table, compared to super clamps
A-clamps are the duct tape of grip. They’re cheap, available everywhere (not just photo stores), and fast to apply. Norton is clear that they’re not meant for permanent or long-duration rigging. They’re for quick, on-the-spot solutions: holding a reflector in place, pinning a backdrop corner, keeping a flag from drifting. The speed of an A-clamp is the point.
Buy a handful and throw them in every bag you own. You’ll use them constantly and they cost almost nothing. The mistake is treating them as your primary clamp. They’re a reflex tool, not a rigging solution.
Step 4: Invest in Super Clamps for Anything Semi-Permanent
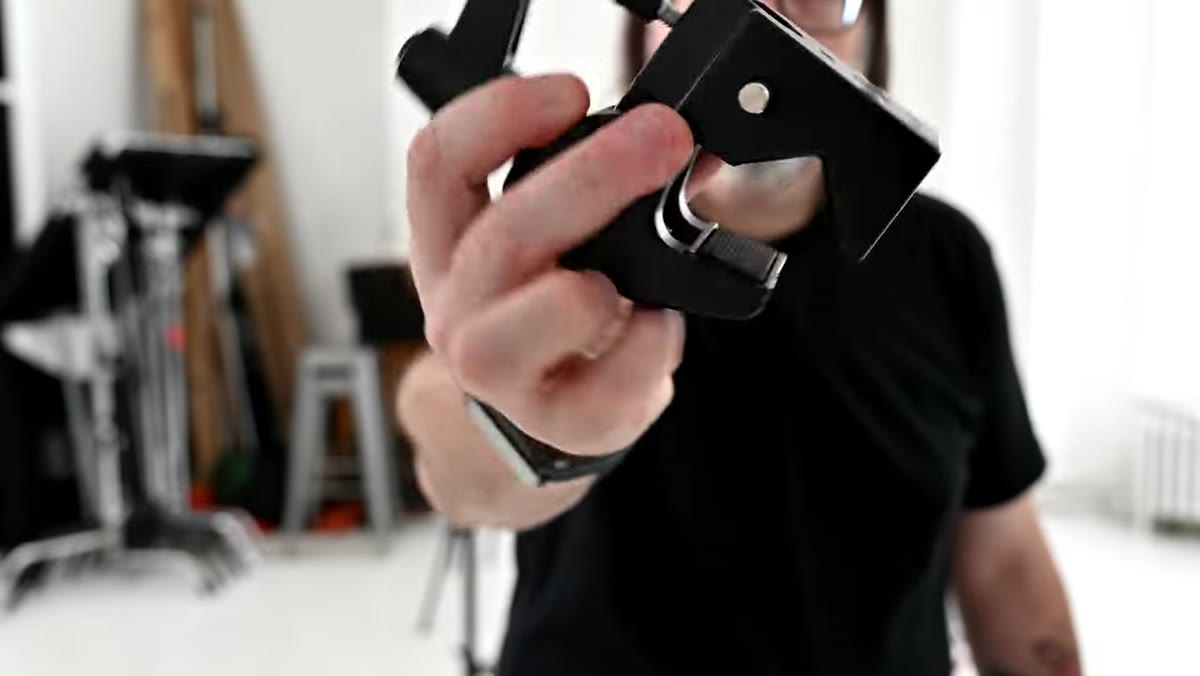 Super clamp holding a camera arm on a studio pipe
The super clamp is where you actually spend money and trust it. Norton keeps these deployed on his overhead pipe rigs at both his studio and home setup, handling his streaming camera and lights. Unlike an A-clamp, a super clamp is designed to hold weight reliably over time and attach to round or flat surfaces with real security.
Super clamp holding a camera arm on a studio pipe
The super clamp is where you actually spend money and trust it. Norton keeps these deployed on his overhead pipe rigs at both his studio and home setup, handling his streaming camera and lights. Unlike an A-clamp, a super clamp is designed to hold weight reliably over time and attach to round or flat surfaces with real security.
If you’re building any kind of fixed rig in your studio, whether that’s an overhead camera position, a hair light arm, or a flag mount, super clamps are the correct tool. Norton still carries a few in his case for location work, because they can attach a spigot fixture or an arm to almost any surface you find on location. One super clamp and one arm can solve problems that would otherwise require a full additional stand.
Step 5: Treat Tape as a Core Consumable, Not an Afterthought
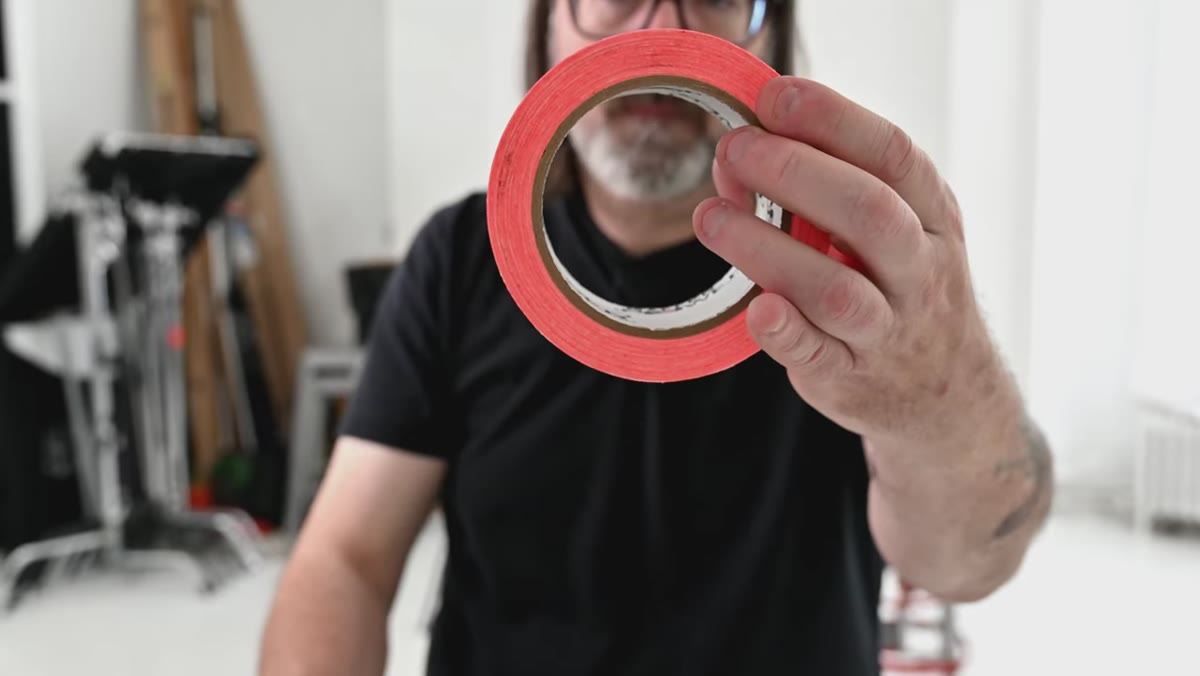 Multiple rolls of tape including gaffer and paper tape on a shelf
Tape is grip. That’s not a metaphor. Norton keeps multiple types: gaffer tape, paper tape, double-sided tape. Each does something the others can’t. Gaffer tape holds cleanly and removes without residue from most surfaces. Paper tape is lighter and gentler on delicate fabrics or skin. Double-sided tape handles wardrobe and styling fixes invisibly.
Multiple rolls of tape including gaffer and paper tape on a shelf
Tape is grip. That’s not a metaphor. Norton keeps multiple types: gaffer tape, paper tape, double-sided tape. Each does something the others can’t. Gaffer tape holds cleanly and removes without residue from most surfaces. Paper tape is lighter and gentler on delicate fabrics or skin. Double-sided tape handles wardrobe and styling fixes invisibly.
The minimalist lesson here is about consumables: buy them, use them, replace them when they run out. Don’t hoard half-spent rolls of tape from 2017 because you feel like you’re wasting money replacing them. On the other hand, don’t buy specialty tape for a job and then throw away what’s left. These rolls live in your kit and get used gradually. Tape is always working.
Step 6: Keep Gels and Clothespins Together
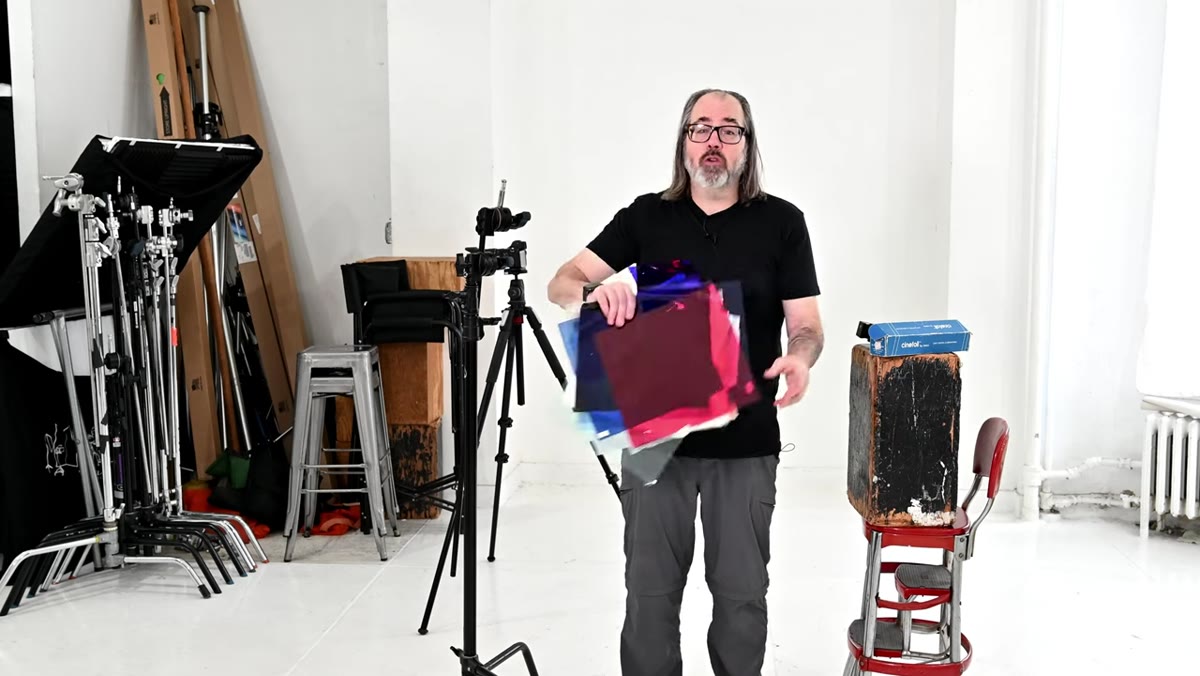 Gel packs and clothespins laid out on a work surface
Gels are another consumable that photographers tend to either obsess over or completely neglect. Norton’s position is sensible: keep a working selection in various sizes, use them until they’re worn through or faded, then replace them. Gels that are taped over, torn, or discolored affect your color quality. They’re inexpensive enough that holding onto degraded ones isn’t worth it.
Gel packs and clothespins laid out on a work surface
Gels are another consumable that photographers tend to either obsess over or completely neglect. Norton’s position is sensible: keep a working selection in various sizes, use them until they’re worn through or faded, then replace them. Gels that are taped over, torn, or discolored affect your color quality. They’re inexpensive enough that holding onto degraded ones isn’t worth it.
Clothespins, which the industry calls C47s for reasons that are mostly historical and partly a running joke, are how you attach gels to barn doors or flagging hardware without melting plastic clips. Keep a bag of them in your kit. They cost almost nothing and you will absolutely need them the moment you don’t have them.
What I’d Add From My Own Kit
Norton’s list matches closely with what I’ve landed on after years of paring down. The one thing I’d add that doesn’t get mentioned enough: a roll of black wrap, also called cinefoil. It’s heavy-duty matte aluminum foil that blocks light completely. I use it to flag off spill from a light that I don’t want a full flag blocking, wrap around a bare bulb to create a snoot, or block a light leak on a modifier. It conforms to any shape, holds with tape or by bending it around hardware, and it weighs almost nothing. One roll goes a long way and it will solve problems on set faster than almost any other grip item in your bag.
The real takeaway from Norton’s tutorial is this: grip accumulates whether you manage it or not. The minimalist approach isn’t about deprivation. It’s about building a short list of items you trust completely and reach for on every job, so you stop second-guessing your kit and start actually shooting. Audit what you actually used in the last six months. Everything else is probably just weight.
Watch the full tutorial on YouTube
Comments
Leave a Comment