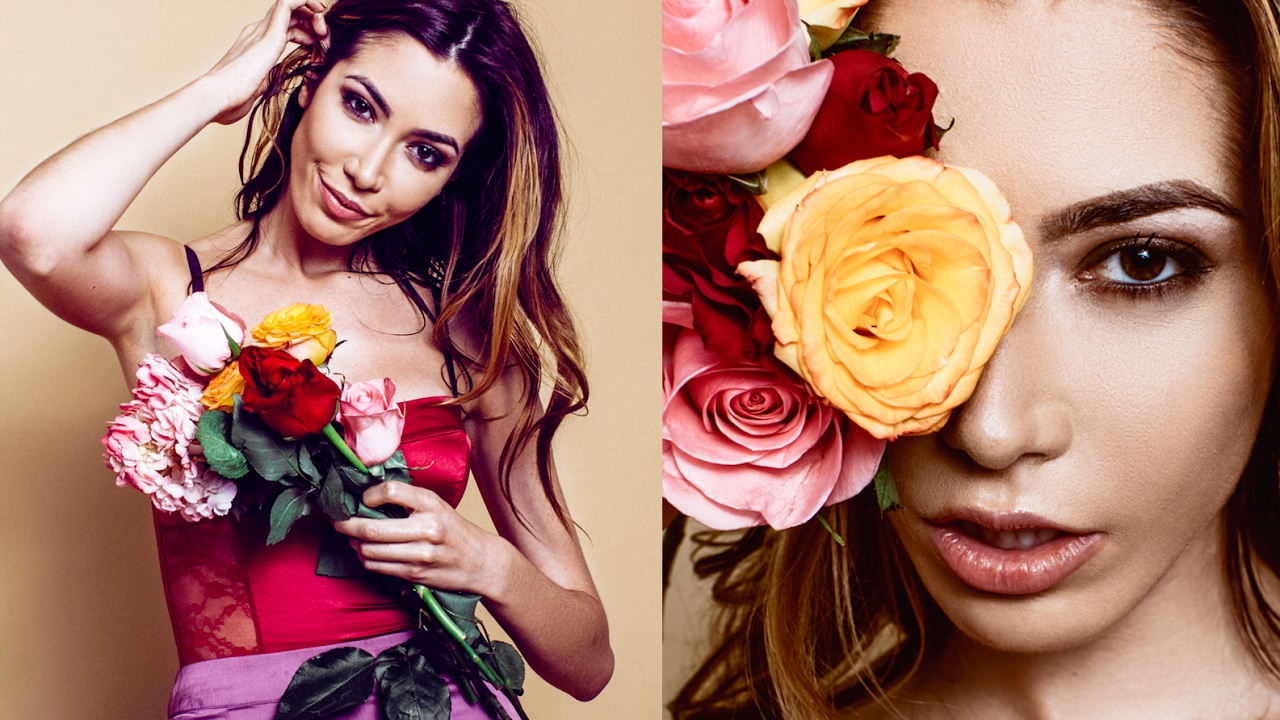
Valentine’s Day shoots have a reputation problem. Clients come in expecting something romantic and editorial, and what they get is a red backdrop, a prop heart, and a pose that looks lifted from a greeting card. I’ve shot enough of them to know the session usually falls apart not because of the lighting setup but because of the energy on set. When the subject is stiff, no amount of careful modeling from a softbox saves you.
That’s why I kept coming back to Watch the full tutorial on YouTube - this Jessica Kobeissi Valentine’s Day studio session. Kobeissi is a commercial portrait photographer with a sharp eye for authentic movement, and what she captures in this behind-the-scenes isn’t just a finished image. It’s a working methodology. The way she runs her set tells you as much as any technical breakdown ever could.
What struck me immediately was how much of the creative problem-solving happened before the camera was even raised. Styling decisions, prop editing, the physical loosening of the subject - these are the variables most photographers treat as someone else’s department. Kobeissi treats them as hers. If you’ve been separating “the photography part” from “everything else,” this session is a good argument for stopping.
Step 1: Let Styling Decisions Happen in Real Time
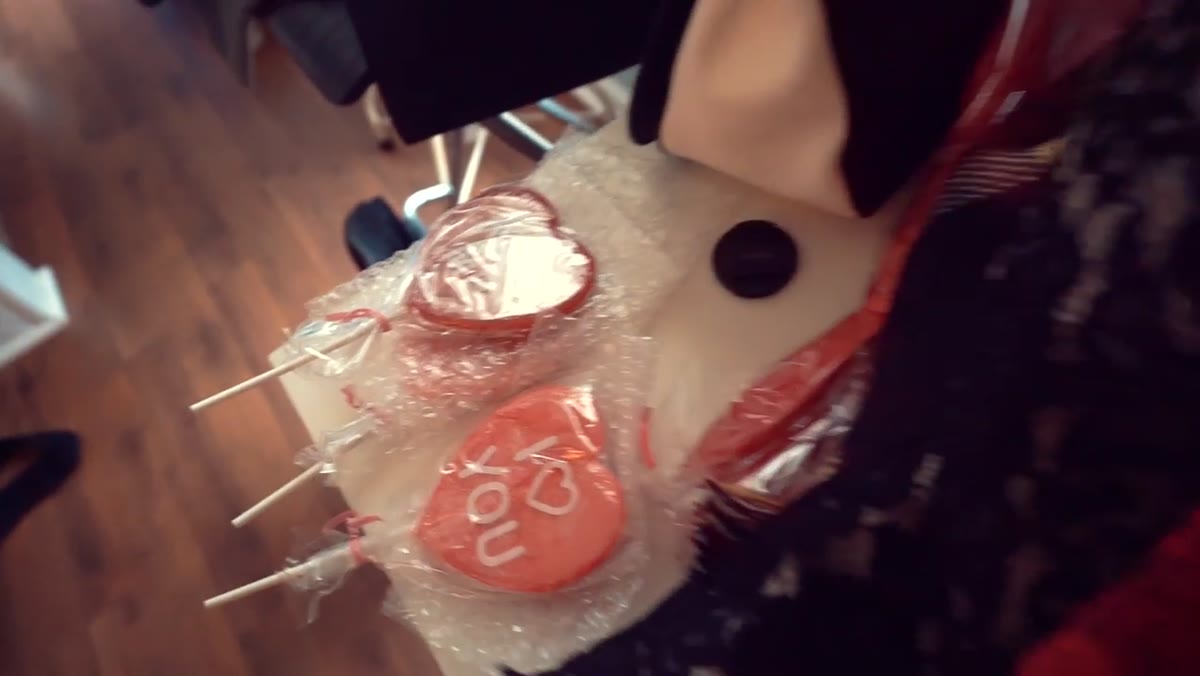 Photographer and subject discovering garment works differently than expected
The shoot opens with a wardrobe moment where the intended function of a garment gets improvised on the spot. What was planned as one thing becomes another, and rather than grinding the session to a halt, it gets folded into the look. This is not accidental. Experienced photographers build buffer time into the front end of a session precisely because wardrobe always reveals something unexpected.
In my own work, I keep a small styling kit in the studio: double-sided tape, a steamer, spare belts, neutral accessories. Not because I’m a stylist, but because a stuck zipper or a collar that won’t lie flat can kill twenty minutes and the subject’s confidence along with it. The practical lesson here is to stay solution-oriented when clothing behaves unexpectedly. The best looks often come from the workaround.
Step 2: Edit Your Props Before You Shoot, Not During
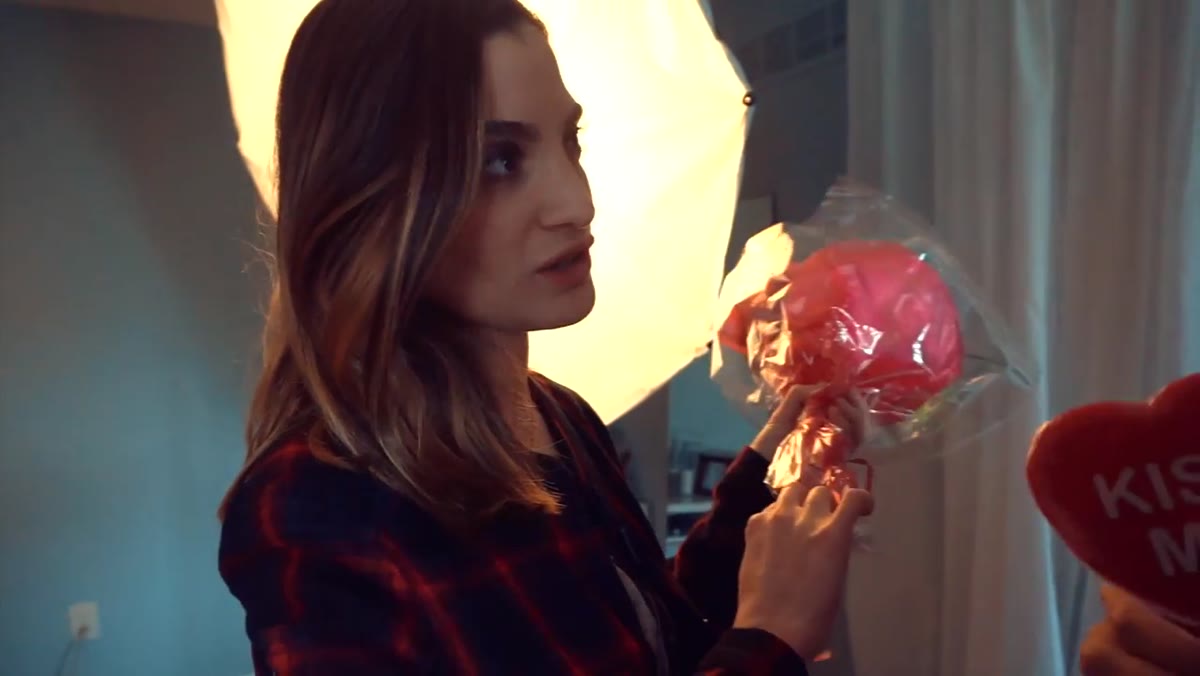 Unwanted bouquet element being separated from intended floral prop
Kobeissi makes a clear call about her floral props early - she wants specific elements from an arrangement, not the whole thing. It’s a small decision but it signals something important: props should serve the image, not decorate it. A full bouquet reads differently than a handful of loose blooms, and knowing that distinction before the shutter fires saves you from solving a composition problem in post.
When I’m prepping a themed shoot, I photograph my props against a white wall the day before. That sounds excessive, but it forces me to look at each piece in isolation. Half the time I cut something I thought I needed. A Valentine’s session is especially prone to prop overload - too many hearts, too much red, and suddenly you’ve built a set that looks like a department store display rather than an image with intent. Restraint is the move.
Step 3: Use Movement to Break Initial Stiffness
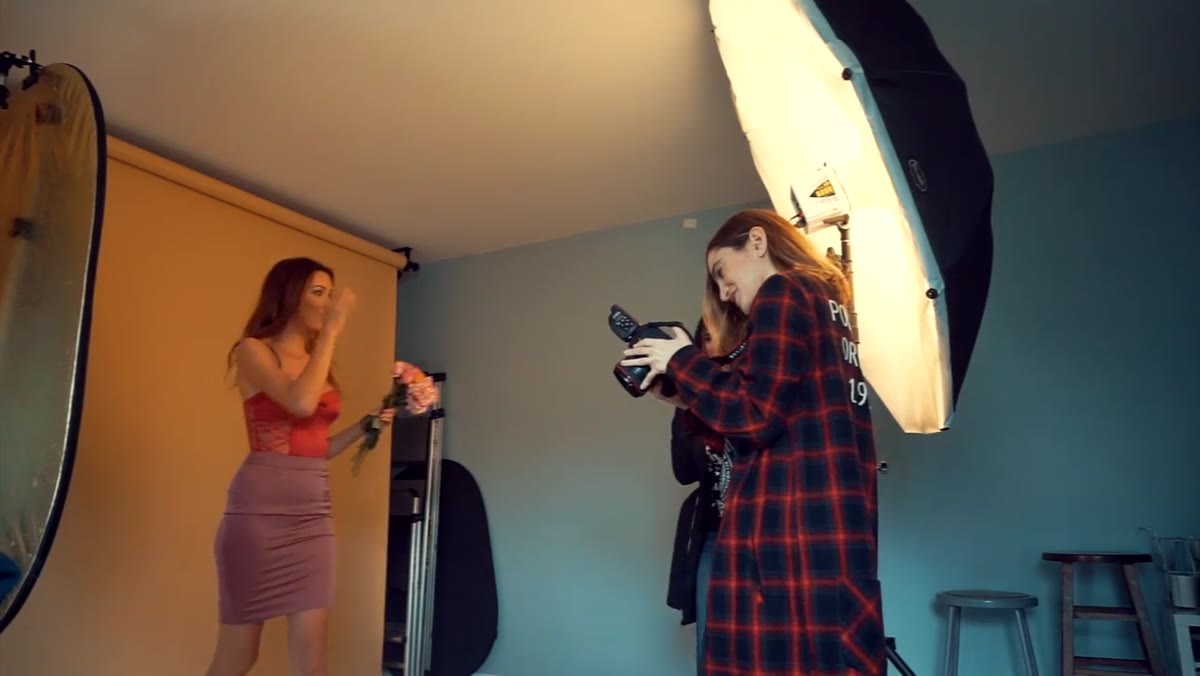 Subject transitioning between poses with visible momentum and energy
Midway through the session, there’s a clear shift in how the subject is moving. What was more considered and static becomes fluid. Kobeissi is directing with energy rather than just position, and you can see the subject responding to it. This is one of the most transferable techniques in portrait work: when someone freezes up, don’t give them a pose to hold. Give them something to do.
I use a simple progression in my own sessions. I ask subjects to walk toward me, then past me, then turn back. I ask them to shake out their hands between frames. I’ll play music at a volume that’s slightly too loud to talk comfortably over, which forces physical expression instead of verbal negotiation about where to put their arms. The goal is to photograph someone mid-thought, mid-movement - not braced for a photo.
Step 4: Keep the Camera Rolling Through the Transitions
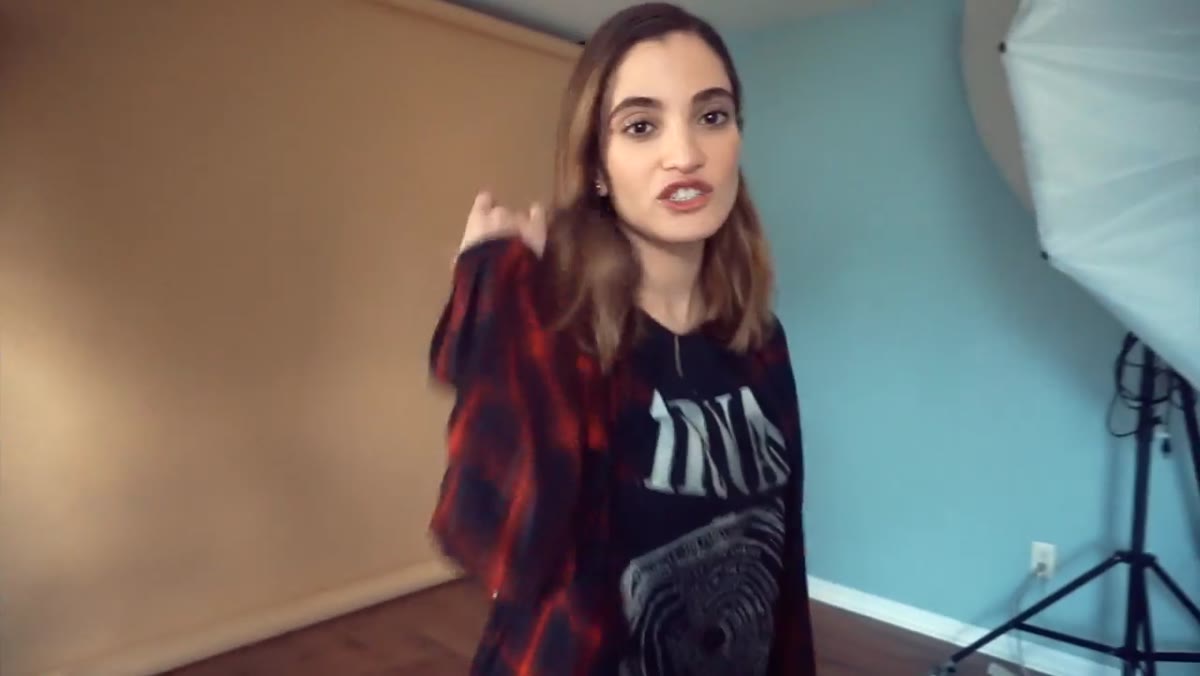
 Active shooting during subject movement between setups
One of the more instructive things Kobeissi does throughout this session is shoot through the moments that most photographers would treat as downtime. The between-poses transitions, the spontaneous reactions, the seconds when a subject forgets the camera exists - that’s often where the best frames live. You have to be ready for them.
This requires a specific discipline with your autofocus and exposure settings. I run continuous AF during movement-heavy sessions and I’ll often have my exposure dialed slightly brighter than I’d want for the final image, knowing I can pull it back in Lightroom faster than I can recover a moment I missed because I was chimping. During a shoot like this, the camera should feel like it’s always on.
Step 5: Introduce Unscripted Elements Late in the Session
 Candid off-camera moment with subject reacting naturally to new presence
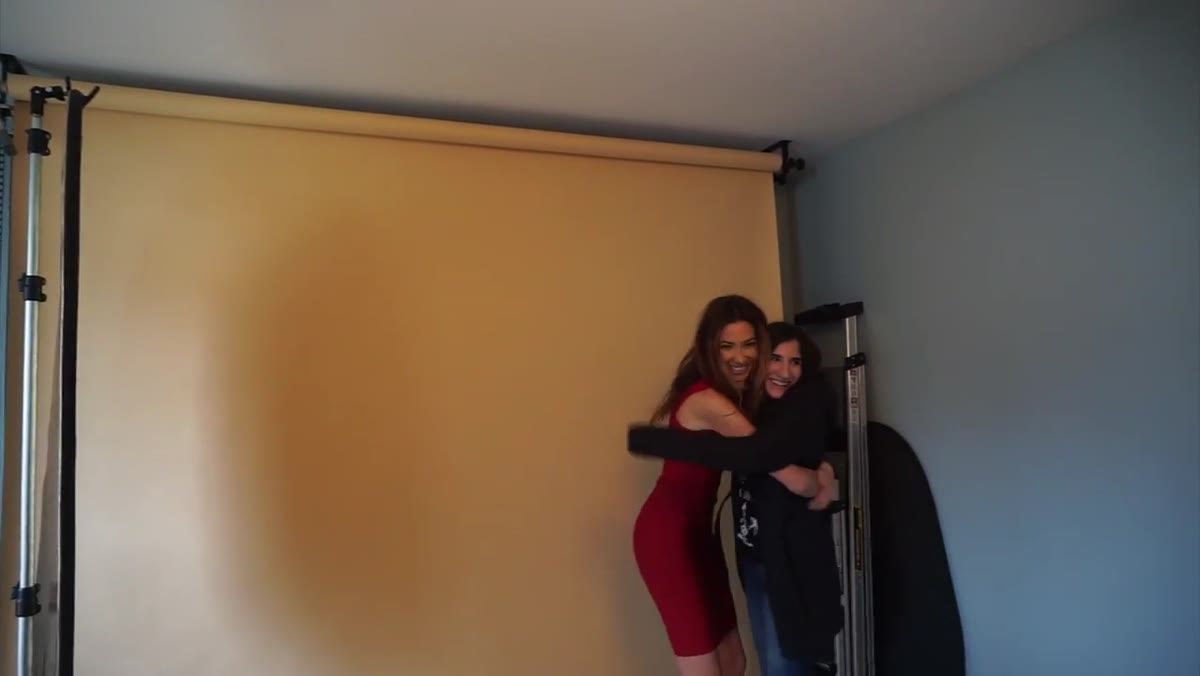
Near the end of the session, an unscripted element enters the frame and produces a genuinely natural reaction from the subject. Kobeissi captures it. This is a technique I’ve started using deliberately: I’ll introduce something unexpected - a second person entering the room, a funny prop swap, even just a change in music - about two-thirds of the way through a session when the early spontaneity has been replaced by performance fatigue.
The subject has been “on” for an hour. They’re tired of smiling for the camera. Introducing something genuinely new resets their attention, and for about ninety seconds they stop performing and start reacting. Those ninety seconds are gold. Plan for them.
What I’d Add from My Own Experience
The one thing I’d layer onto Kobeissi’s approach is a lighting calibration step before any themed shoot. Valentine’s sessions almost always involve warm colors - deep reds, pinks, burgundy fabrics - and these tones interact with your light source in ways that can destroy skin tones if you’re not checking your white balance against a gray card before the first subject steps on set. I learned this expensively on an editorial job years ago. Red bounce from a fabric backdrop can shift a subject’s skin into territory that looks like a processing error, not an artistic choice.
I also sketch every setup in a small notebook I keep in my kit. After a session like this, where the energy is loose and improvisational, having a record of what the light was actually doing - not what I thought it was doing - keeps me honest when I’m trying to recreate results.
The single most important thing Kobeissi demonstrates in this session is that great portrait photography is mostly set management. Your lighting can be technically perfect and your images will still be flat if your subject isn’t genuinely engaged. The photographer’s job is to engineer the conditions for real expression, then be ready when it arrives.
Watch the full tutorial on YouTube and pay particular attention to how Kobeissi moves through the set. The camera technique matters less than you’d think. The energy she brings to the room matters more than almost anything else.
Comments
Leave a Comment