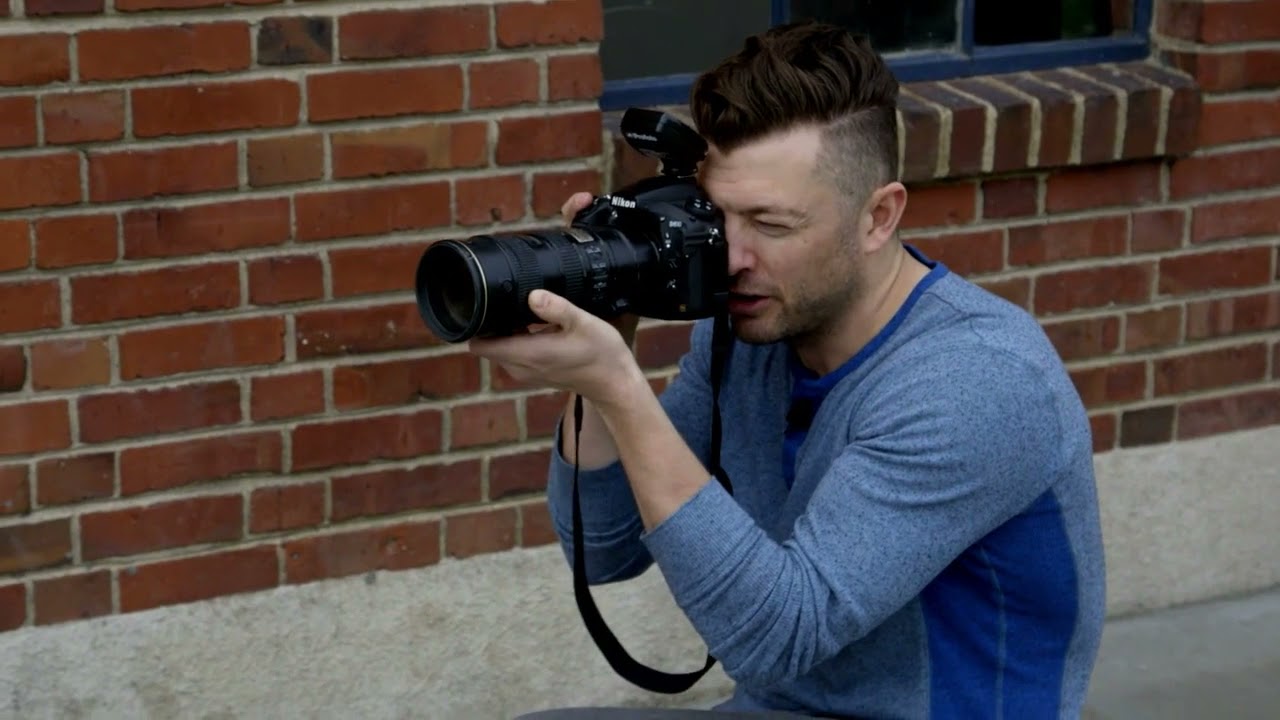
Every time I pack a strobe into a location kit, I think about the photographers who trained themselves to leave all that hardware at home because outdoor shoots felt too unpredictable. I understand the impulse. Ambient light shifts. Backgrounds are messy. You can’t control who walks through your frame. But when you learn to treat the sun as a second light source rather than your only one, the whole equation flips. Location work stops being a compromise and starts being a tool.
In this CreativeLive tutorial on outdoor location lighting, the photographer works through two back-to-back shoots at what looks like a beachside setting, first with a ballet dancer named Anna balanced on driftwood logs, then with a subject named Noah on concrete in a more urban wardrobe. Watch the full tutorial on YouTube. What makes this tutorial worth studying isn’t the drama of the location. It’s the methodical way the photographer thinks through exposure relationships, modifier choices, and directional cues before a single frame is taken. That’s a working process, and it translates directly to any outdoor shoot you’ll run.
Step 1: Decide What You Want the Background to Do
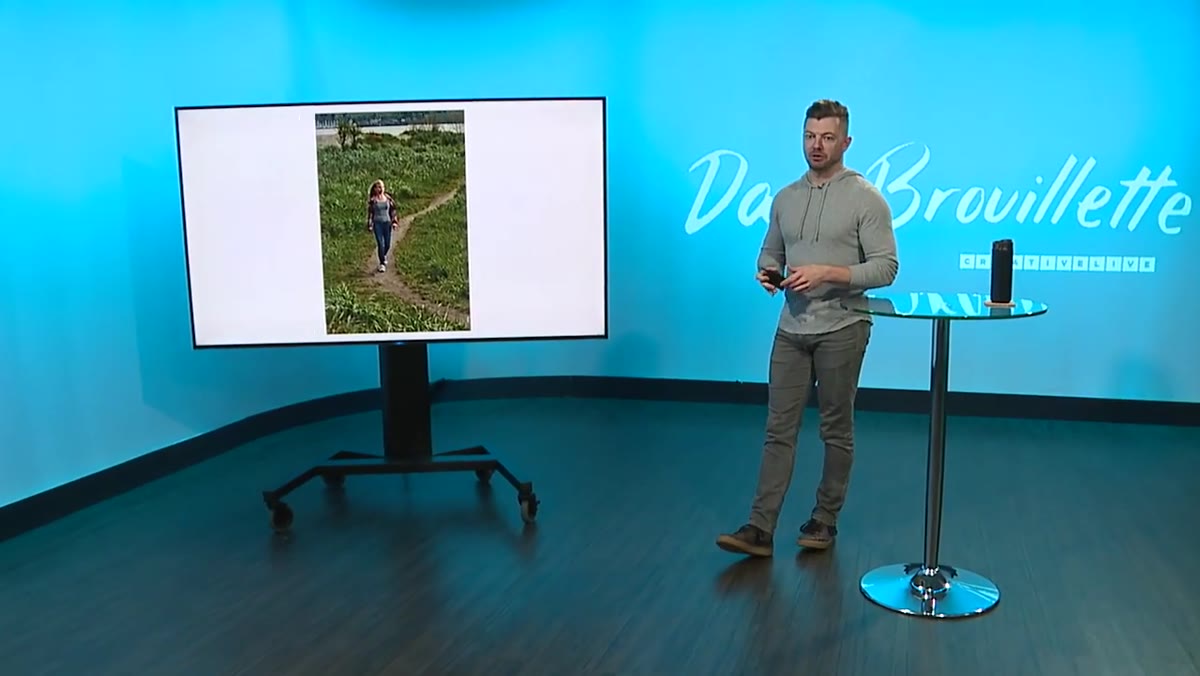
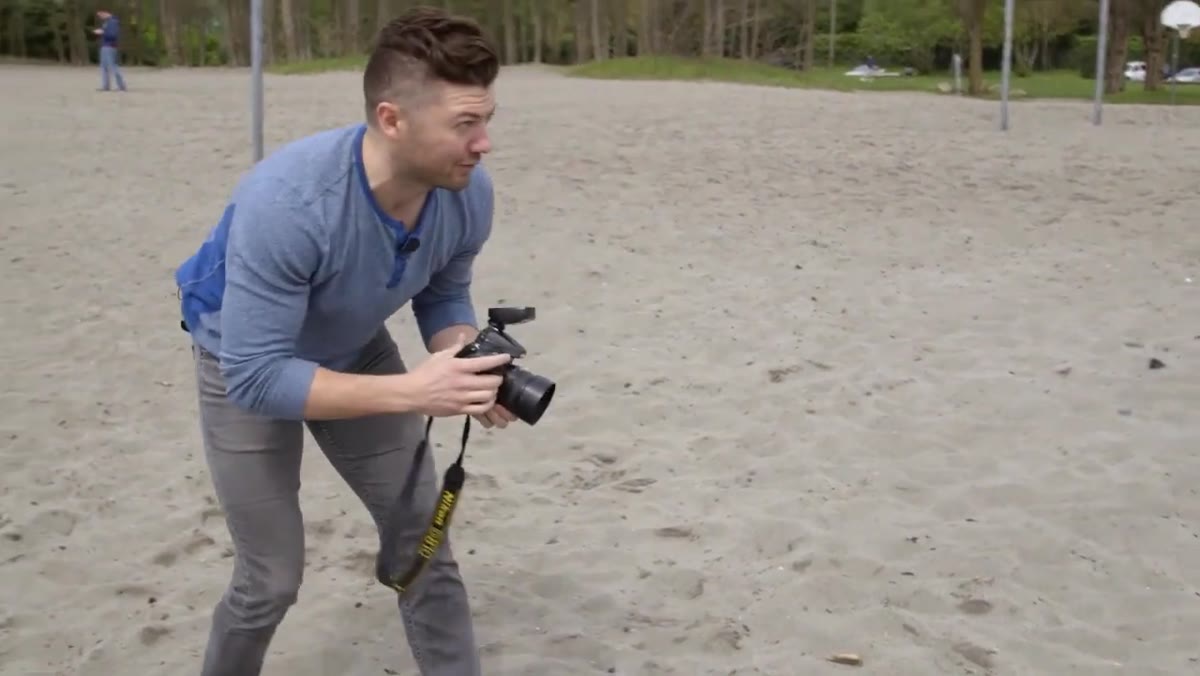 Photographer describing F11 exposure setting outdoors
Before you touch your strobe dial, make a creative decision about your background. In this shoot, the photographer chooses to push the background darker and more dramatic rather than letting it read naturally. That’s an artistic call, and it drives every technical decision that follows. Neutral backgrounds can feel flat in outdoor work. Darkening them slightly by overexposing relative to ambient gives your subject a polished, almost editorial separation that would take significant effort to replicate in post.
Write that intention down before you meter anything. It sounds obvious, but I’ve watched photographers spend twenty minutes adjusting power and scratching their heads because they never decided whether they wanted the background bright, neutral, or dark. Once you know what you want, the math tells you what to do.
Step 2: Set Your Ambient Exposure First, Then Adjust for Drama
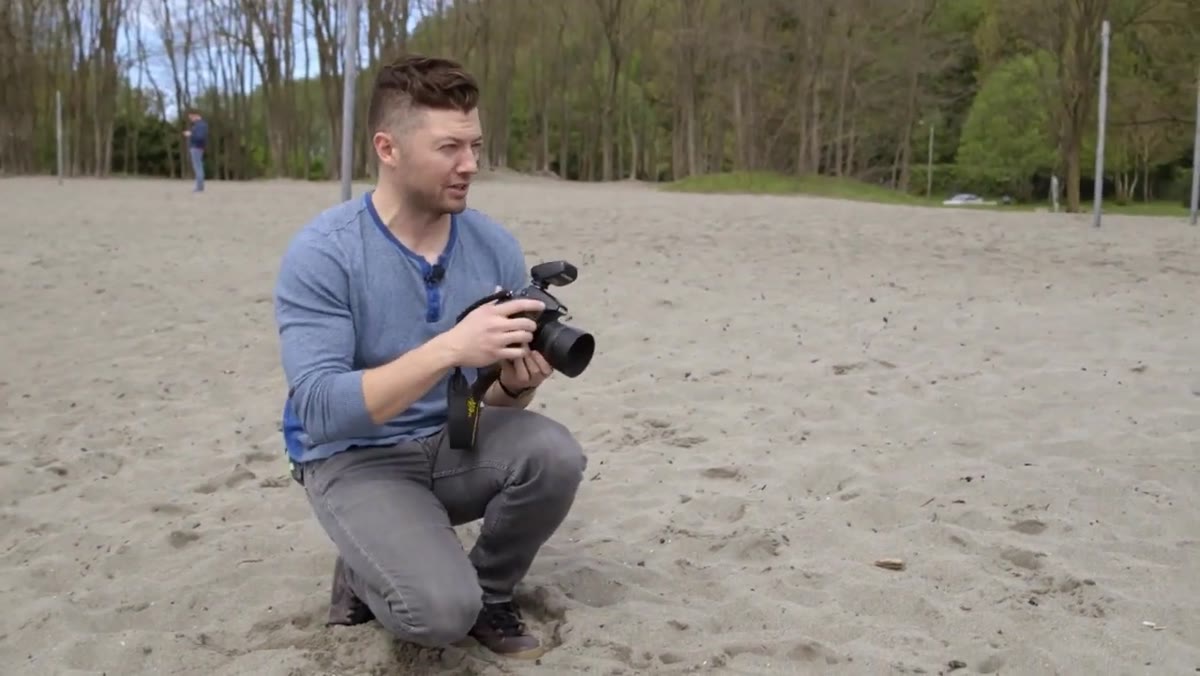 Camera settings discussed: 1/200s, ISO 100, F11 outdoors
For the Anna sequence, the photographer lands at 1/200th of a second, ISO 100, and f/11. The key detail is that f/11 is approximately one stop over the ambient light exposure. That means if you removed the strobe entirely and shot those settings in natural light, the frame would be underexposed. The background goes darker. Then the strobe fills the subject back to correct exposure. Your subject pops. The background reads moody.
For the Noah sequence, the settings shift slightly to 1/160th at f/9, which puts the exposure at about a third of a stop over ambient. That’s a subtler relationship. The background doesn’t go as dark, but the subject still has that lit-from-a-source quality that reads as intentional. Memorize both ratios. One stop over ambient for dramatic separation. A third of a stop for a more natural, editorial feel. I keep both noted in my lighting journal so I don’t have to recalculate on the fly when a client is standing in front of me waiting.
Step 3: Choose Your Modifier Based on the Quality of Light You Need
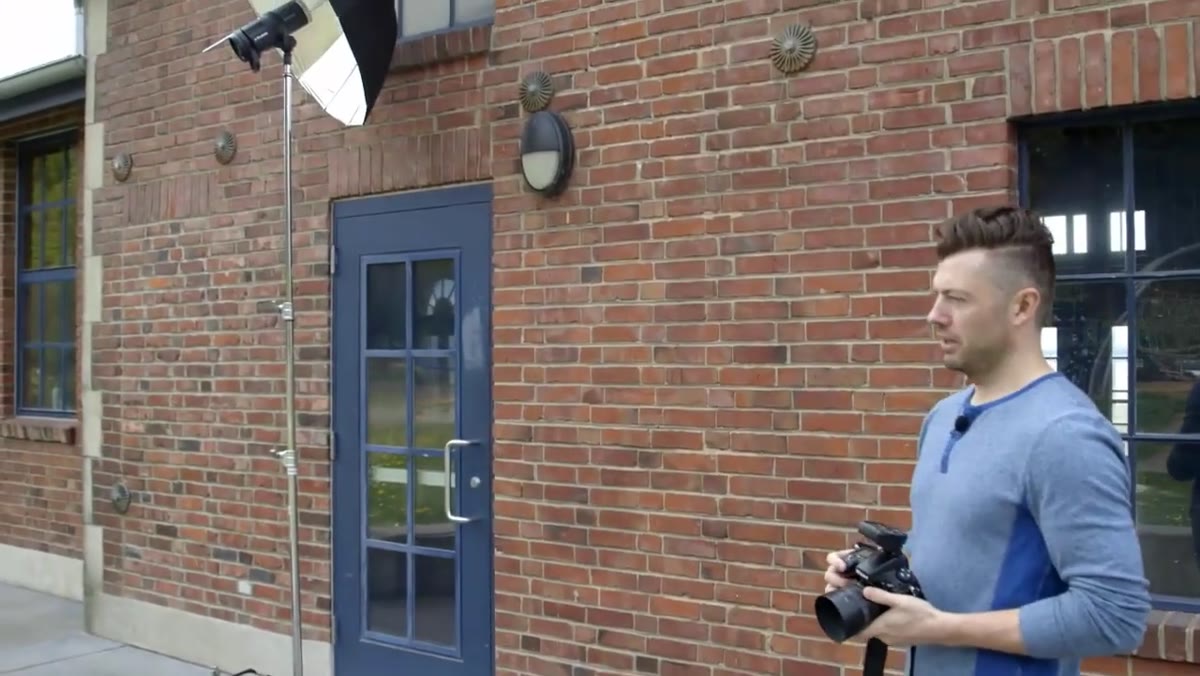 Silver Profoto umbrella set up outdoors for Noah’s shoot
The photographer uses two different modifiers across the two sequences. A white beauty dish for Anna, then a silver Profoto umbrella for Noah. The reasoning is direct: the silver umbrella produces a slightly more specular, harder-edged quality of light compared to the softer wrap of the white beauty dish. For a dancer in a natural setting, soft and flattering makes sense. For an urban wardrobe with boots and a coat, that edge gives the light more character.
This is a modifier conversation worth having on every shoot. I test every new modifier the day it arrives specifically so I know the quality and spread before I need it on location. A silver umbrella and a white umbrella look interchangeable in your bag and wildly different on a face. Know your tools before the client shows up.
Step 4: Define a Light Zone and Let Your Subject Move Inside It
 Photographer describing the “sweet spot” where light hits the subject
One of the most practical techniques in this tutorial is the concept of mapping out a “sweet spot” before directing. The photographer positions the strobe and identifies the zone where the light consistently hits the subject well. Within that zone, the subject has free range to move, adjust, and find natural shapes without stepping into dead light or overexposed hot spots.
This works especially well with subjects who move organically, like dancers, athletes, or anyone who struggles with static posing. You set the technical boundaries, then give the subject creative latitude inside them. The camera stays responsive. The light stays consistent. You stop chasing and start capturing.
Step 5: Direct Movement, Not Positions
 Photographer giving subtle movement cues to subject on bench
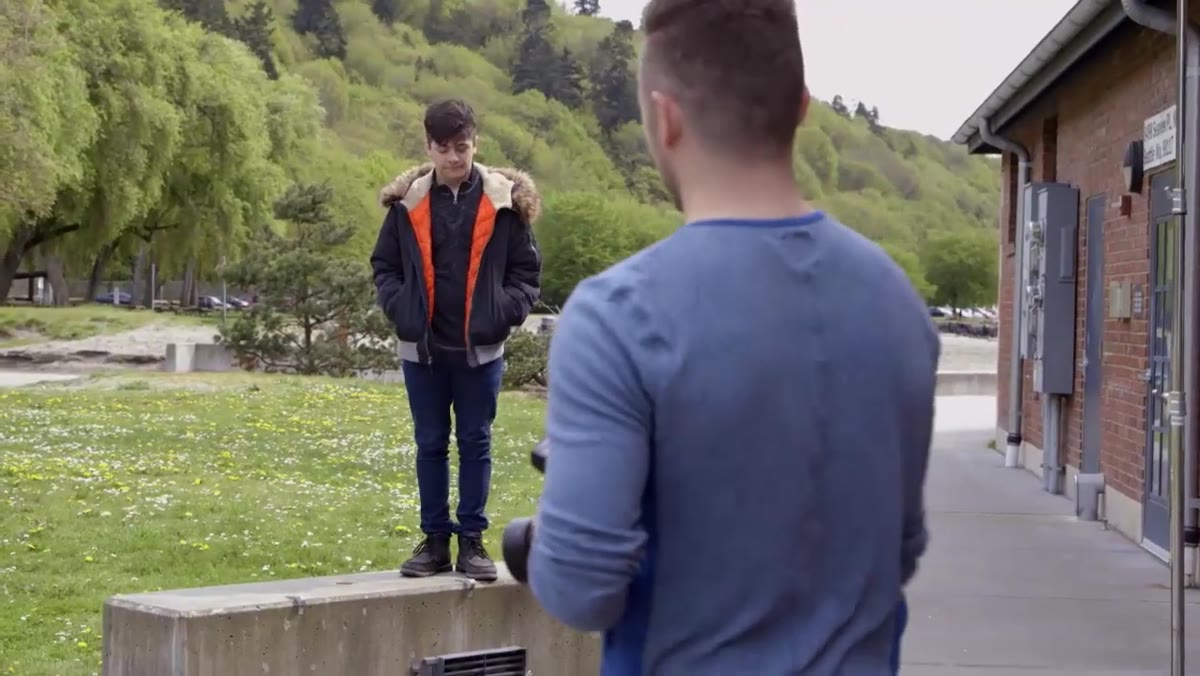
Both sequences in this tutorial use movement as the primary posing tool. With Noah in the pre-shoot segment, the photographer keeps him walking along a concrete bench, giving small physical prompts about his feet and his jacket. Zip it up. Take it off. Put it back on. Those aren’t poses. They’re tasks, and tasks produce natural body language that static direction rarely achieves.
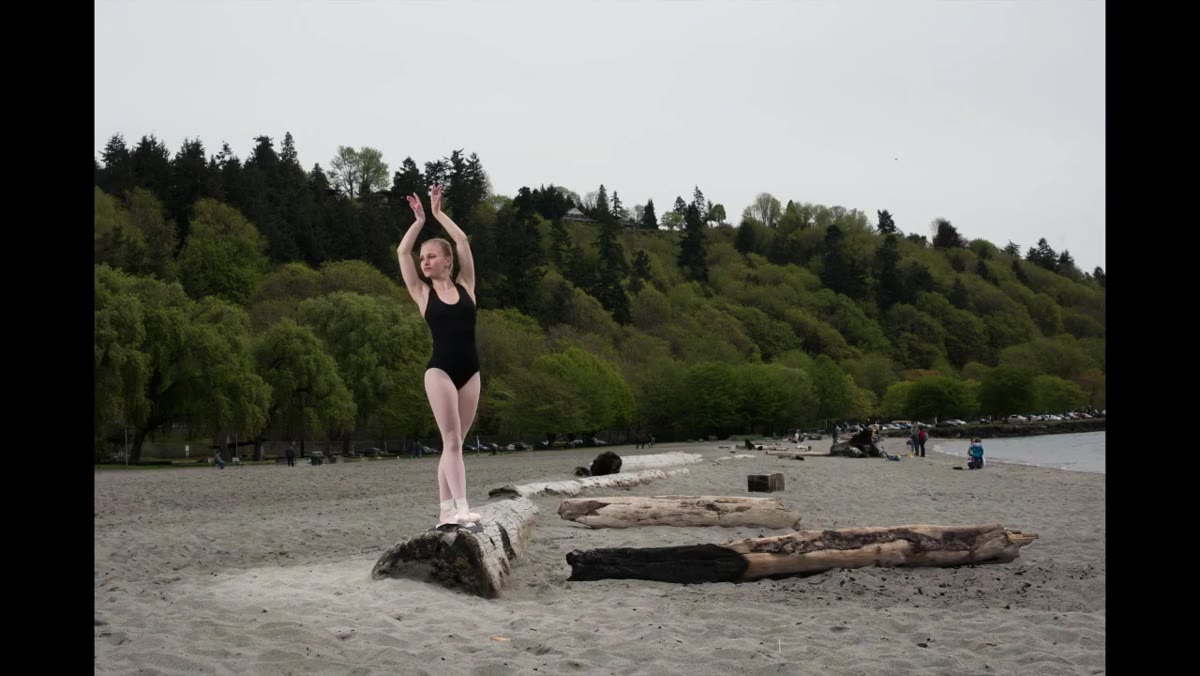
With Anna on the logs, the photographer asks her to move between orientations and simply flags when a position reads well on camera. He’s not sculpting her body. He’s redirecting her attention and letting her training take over. That collaborative approach is much faster than pose-by-pose instruction, and it produces frames that look lived-in rather than arranged.
Step 6: Use a Longer Lens to Compress the Background
 Photographer switching from 50mm to 70-200mm lens on location
Midway through Anna’s sequence, the photographer switches from a 50mm to a 70-200mm. The reason is compression. At 70-200mm, the background elements stack together and appear closer to the subject, which makes the environment feel richer and more enveloping. The logs, the trees, and the beach all read with more weight in the frame.
Note that switching to a longer focal length requires stepping back to maintain your framing. That distance also changes the light falloff slightly, so check your exposure after repositioning. A quick test shot before you continue is worth the five seconds.
What I’d Add From My Own Experience
The one thing this tutorial doesn’t dwell on is direction of light relative to the subject’s face. Both sequences emphasize keeping the subject oriented toward the light source, which is the right call for flattering results. But I’d push further: observe how the light crosses the planes of your subject’s face before you start shooting. High cheekbones catch light differently than softer facial structure. My wife pointed that out to me years ago while I was setting up a portrait of her in our kitchen, and it was more useful than anything I’d read in a technique book. The light angle that looks great on one face can flatten another entirely. Spend sixty seconds walking the light around your subject before you commit to a position.
The core lesson from this tutorial is that outdoor strobe work is an exposure relationship, not a guessing game. Set your ambient exposure deliberately darker than natural, match your strobe to fill your subject back to correct exposure, map your light zone, and then get out of your subject’s way. That sequence works on a beach, in a parking lot, or on a rooftop. Once you internalize it, you stop being afraid of taking your studio lighting outside.
Watch the full tutorial on YouTube to see the full shoot unfold in real time.
Comments
Leave a Comment