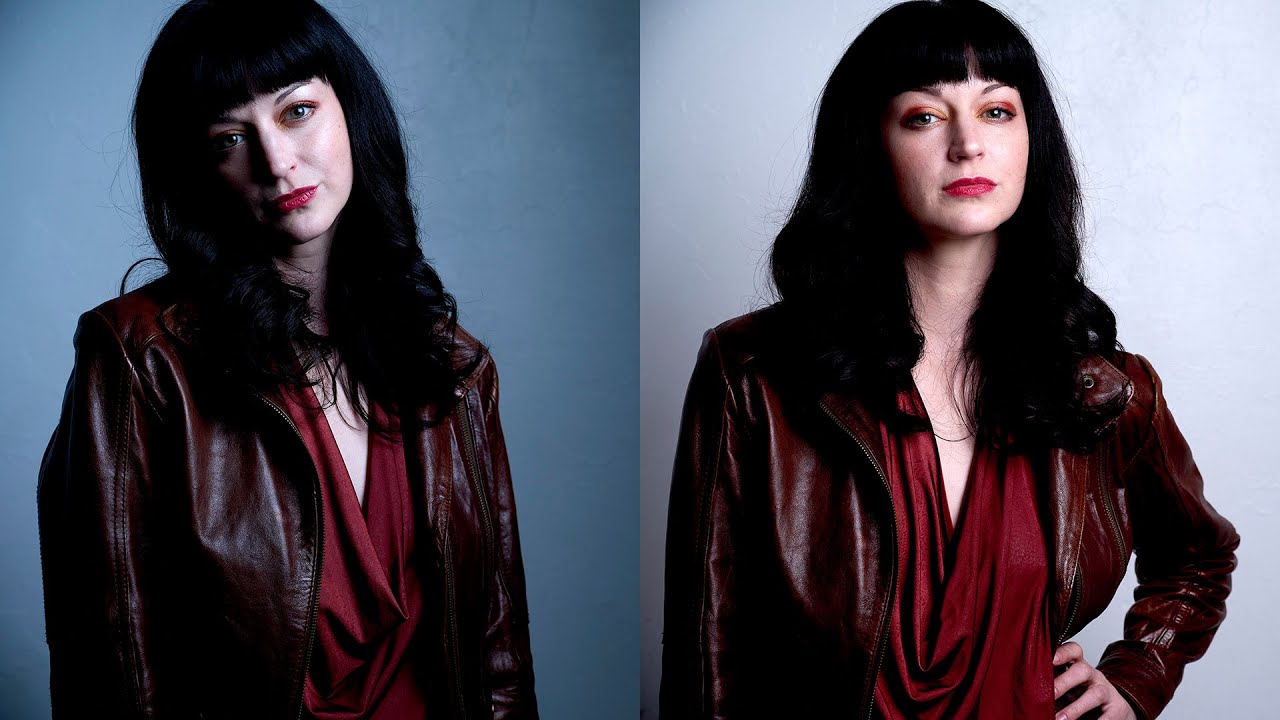
Every studio photographer eventually lands on a workhorse setup. The light they reach for first, the one they’d build a whole shoot around if they had to. For me, the 3-foot octabox has been that modifier for years. It wraps light without going too soft, it’s manageable in tight spaces, and it produces a falloff that flatters almost every subject I put in front of it. But I’ll be honest: I was slow to experiment with adding a grid to it. Grids felt like extra steps, extra gear bags, extra time on set when clients are watching the clock.
Then I sat down with this Daniel Norton Photographer tutorial, Watch the full tutorial on YouTube, and watched him methodically demonstrate what a grid actually does to that modifier, side by side, with no guesswork. It reframed how I think about the combination. Not as a specialty technique for a specific look, but as a second mode for a light I already own and already trust.
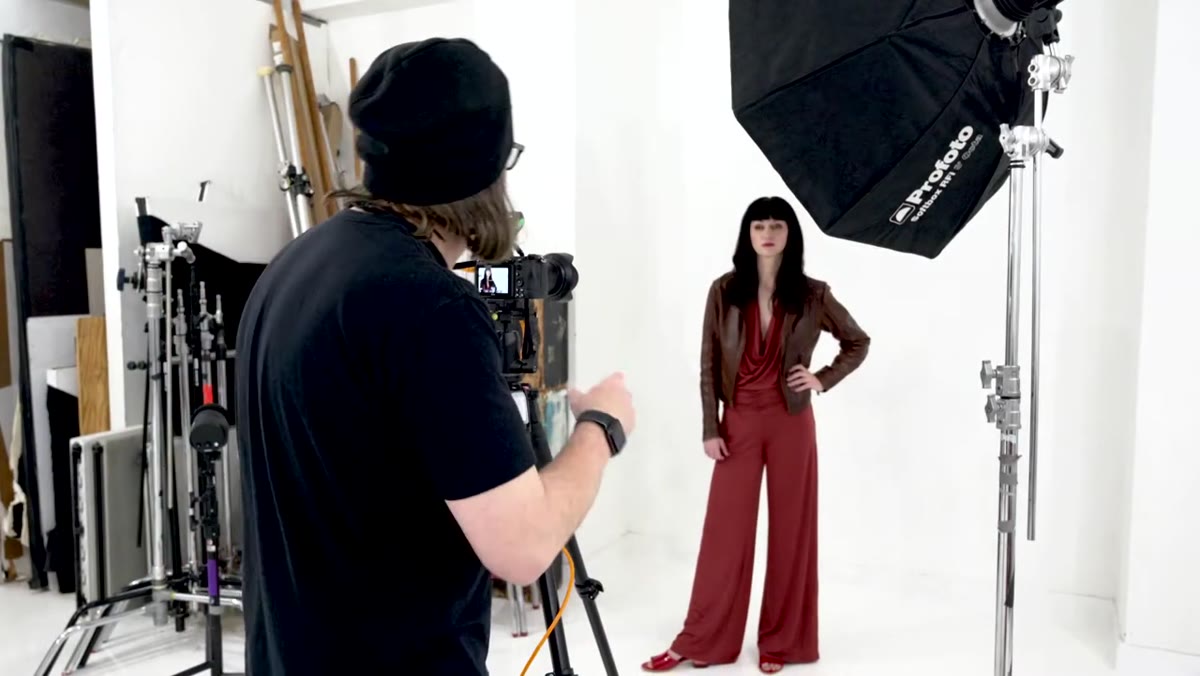
What Norton demonstrates here is practical and precise. He shoots against a white wall, which is a brutal test environment. White bounces light everywhere and exposes every weakness in your setup. If a grid can prove its value in that scenario, it’ll prove its value on any set.
Step 1: Establish Your Baseline Shot Without the Grid
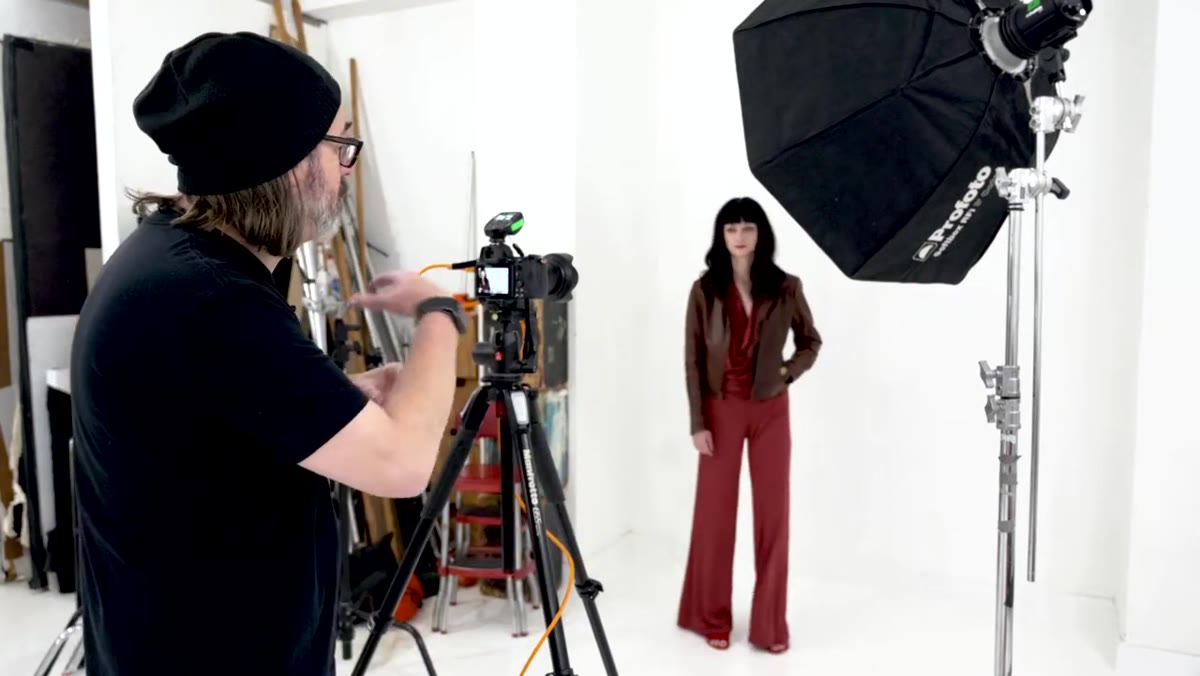 Softbox without grid, model against white wall
Start with the octabox alone. No grid. Norton shoots his first frame in TTL mode and finds immediately that the camera underexposes because TTL meters for neutral gray and a white wall reads brighter than gray, pushing the exposure down. This is a useful reminder: TTL is not wrong in that situation, it’s doing its job. But your job is to compensate. Norton switches to manual and adds roughly eight tenths of a stop to bring the exposure where he wants it.
Softbox without grid, model against white wall
Start with the octabox alone. No grid. Norton shoots his first frame in TTL mode and finds immediately that the camera underexposes because TTL meters for neutral gray and a white wall reads brighter than gray, pushing the exposure down. This is a useful reminder: TTL is not wrong in that situation, it’s doing its job. But your job is to compensate. Norton switches to manual and adds roughly eight tenths of a stop to bring the exposure where he wants it.
Take note of two things in this baseline frame: how the background reads, and how light falls across your subject’s skin. The 3-foot octa at close range produces a smooth, even spread with a gentle rolloff at the edges. That’s what we’re comparing against. If you skip this step and go straight to the grid, you lose the reference point that makes the comparison meaningful.
Step 2: Understand What a Grid Actually Does Before You Attach One
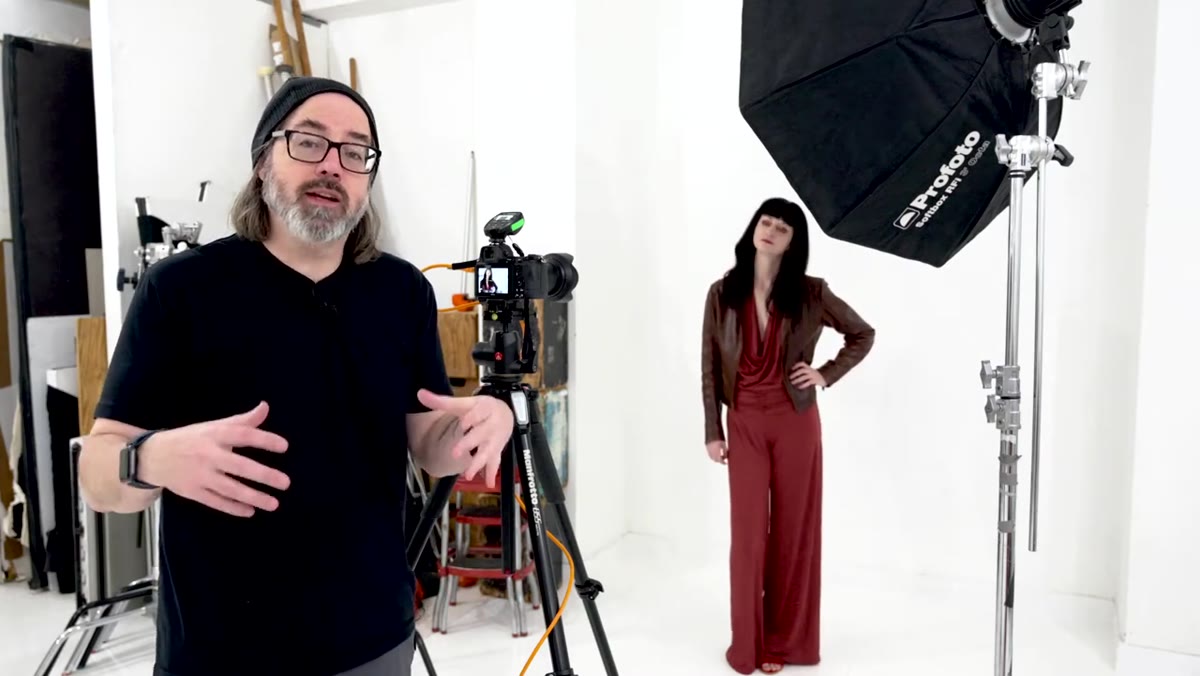 Grid held up, egg crate structure visible
Before you put the grid on the light, understand the physics. Norton is clear about two common misconceptions. First, a grid does not focus light. Focusing implies increased intensity at the center, like a Fresnel or a spotlight. A grid only narrows the angle of spread. Second, a grid does not produce a hard circle on your background like a snoot does. The effect is feathered and organic, which means it blends more naturally into the frame.
Grid held up, egg crate structure visible
Before you put the grid on the light, understand the physics. Norton is clear about two common misconceptions. First, a grid does not focus light. Focusing implies increased intensity at the center, like a Fresnel or a spotlight. A grid only narrows the angle of spread. Second, a grid does not produce a hard circle on your background like a snoot does. The effect is feathered and organic, which means it blends more naturally into the frame.
What a grid does do, beyond narrowing the spread, is add contrast. When a large softbox is close to a subject, the white surface of that modifier reflects back into the skin and surrounding area. A grid absorbs more of that stray light, effectively reflecting black rather than white from the modifier’s face. That absorbed light removes some of the fill that was softening your shadows, and the result is a punchier image with more separation between highlights and midtones.
Step 3: Attach the Grid and Keep Everything Else Identical
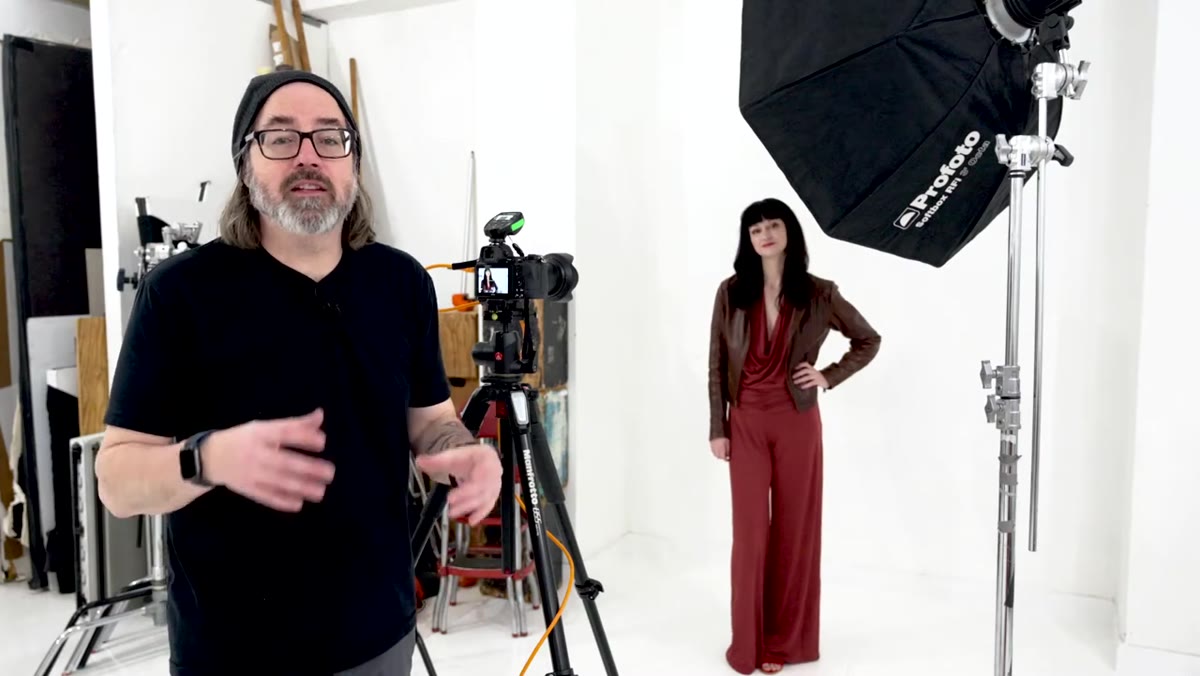 Grid being attached to the front of the octabox
Attach the grid and resist the urge to move anything. Same light position, same distance to subject, same camera settings you used for the baseline. You want to see exactly what the grid changes without introducing other variables. Norton does this deliberately, and it’s the right call. When you change one thing at a time, you actually learn something. When you change three things, you just get a different picture.
Grid being attached to the front of the octabox
Attach the grid and resist the urge to move anything. Same light position, same distance to subject, same camera settings you used for the baseline. You want to see exactly what the grid changes without introducing other variables. Norton does this deliberately, and it’s the right call. When you change one thing at a time, you actually learn something. When you change three things, you just get a different picture.
The first thing you’ll notice at this stage, before you even look at the frame, is that the light output drops. The grid eats light. How much depends on the grid depth and the modifier size, but expect at least a stop of loss, sometimes more.
Step 4: Compensate for Light Loss and Compare Directly
 Side-by-side comparison on camera, grid vs. no-grid shots
After your first grid shot, the image will look underexposed relative to your baseline. Add power at the strobe, not by moving the light closer. Moving the light changes your light-to-subject distance and alters the quality of the light, which defeats the purpose of the comparison. Norton increases power at the pack to bring the exposure back in line, and then takes the comparison shot.
Side-by-side comparison on camera, grid vs. no-grid shots
After your first grid shot, the image will look underexposed relative to your baseline. Add power at the strobe, not by moving the light closer. Moving the light changes your light-to-subject distance and alters the quality of the light, which defeats the purpose of the comparison. Norton increases power at the pack to bring the exposure back in line, and then takes the comparison shot.
Now pull up both images side by side on your camera’s playback or tether. What you’re looking for is not just exposure, it’s background falloff and skin contrast. With the grid, the background drops significantly faster toward the edges of the frame. That separation is what gives the subject a sense of volume and presence in the frame. The highlights on the face read at nearly the same value in both shots, but the shadows in the grid shot are noticeably deeper.
Step 5: Read the Result and Know When to Reach for Each Version
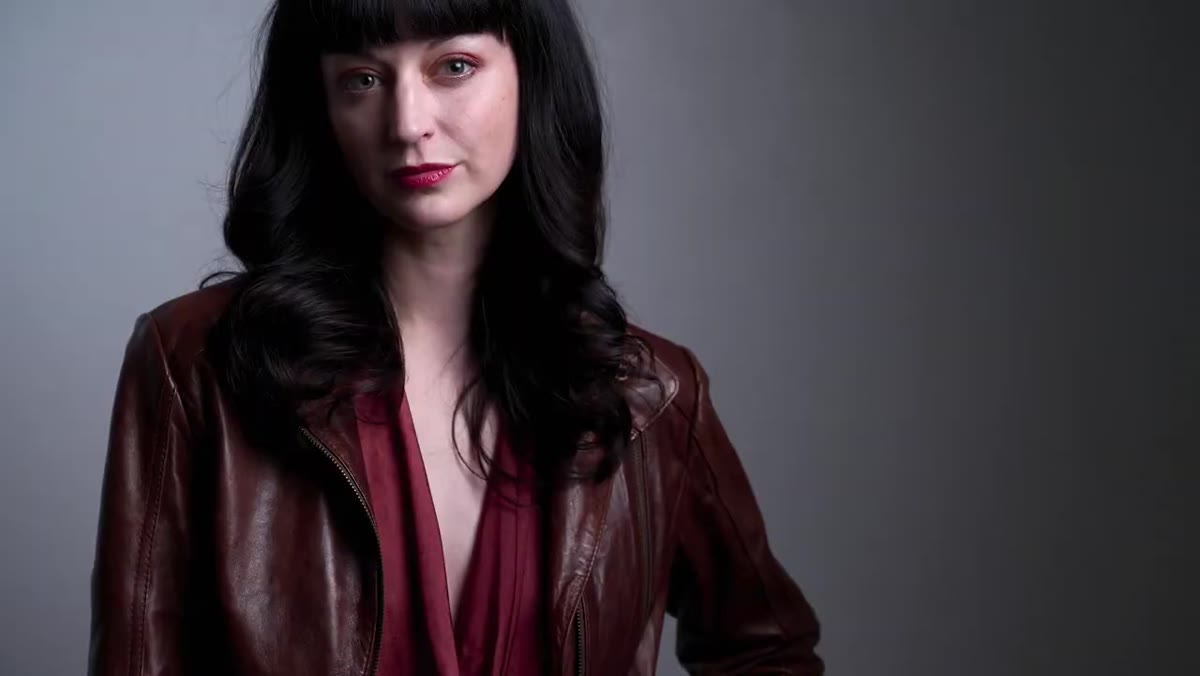 Final grid shot showing background falloff and skin contrast
The non-grid shot gives you broad, even coverage. It’s ideal when you want a cleaner, airier look, or when your subject needs to feel integrated with the background. It works well for beauty shots where you want maximum detail in the skin without deep shadows.
Final grid shot showing background falloff and skin contrast
The non-grid shot gives you broad, even coverage. It’s ideal when you want a cleaner, airier look, or when your subject needs to feel integrated with the background. It works well for beauty shots where you want maximum detail in the skin without deep shadows.
The grid shot gives you drama. The background falls off faster, your subject pops forward, and the skin has that three-dimensional contrast that reads well in editorial and commercial work. If I’m shooting a corporate portrait and the client wants the subject to feel authoritative and grounded, the grid version almost always gets selected. Norton’s side-by-side makes this distinction obvious in a way that a written description alone never could.
What I’d Add From My Own Sets
I keep a lighting journal, a sketchbook where I diagram every setup I use on a real shoot. I started noting grid vs. no-grid as a specific variable after watching this tutorial, and a pattern showed up quickly. On shoots where I had more than 12 feet of distance between subject and background, the grid’s background falloff effect became more dramatic. On tighter sets, the falloff was present but subtler. So if you’re in a small space and not seeing the separation Norton demonstrates, try backing your subject further from the wall before you write off the technique.
I’d also suggest testing your specific grid with a light meter before your first production shoot with it. Grid depth varies between manufacturers, and so does the actual stop loss. I’ve seen grids that cost half as much eat twice the light. Knowing your exact loss number means you’re not fumbling with power compensation on set in front of a client.
The single most important thing Norton demonstrates here is this: a grid is not just a light-shaping tool, it’s a contrast tool. That reframing is what changes how you use it. You’re not just controlling where the light goes. You’re changing the quality of the shadows it leaves behind, and that difference is visible in the final image.
Watch the full tutorial on YouTube and pay attention to the side-by-side comparison Norton builds around the three-minute mark. That single frame tells you more about what a grid does than a month of reading about light modifiers.
Comments
Leave a Comment