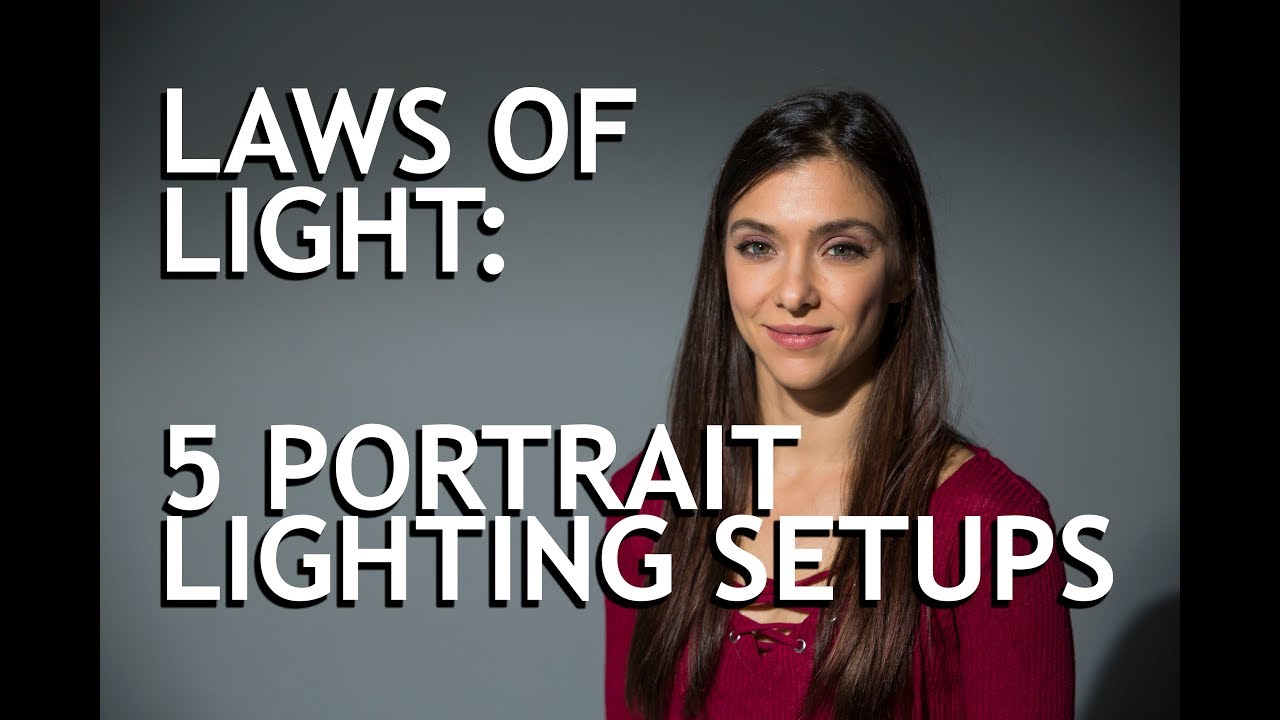
I keep a lighting journal. Every setup from every shoot gets a sketch, a note on the modifier, and a quick read on what worked and what didn’t. After years of filling those pages, I can tell you that nearly every diagram traces back to one of five foundational positions. Knowing them isn’t optional if you want to light with intention rather than accident. They are the grammar of portrait lighting, and without them you’re just guessing.
When a client brief lands on my desk and I need to decide where the key light goes before a single stand is assembled, I’m running through these five positions in my head. That’s why I found myself nodding through this tutorial from Jay P. Morgan at The Slanted Lens. Jay has a way of cutting through the noise and showing you exactly what’s happening on a face and why it matters. Watch the full tutorial on YouTube and come back here to use this breakdown as your working reference.
What I want to do is give you the bones of each position with enough specificity that you can replicate it in your own space, whether you’re in a rented studio or a garage with one strobe. Jay covers two positions in depth in this video, Rembrandt and split, and the way he explains the transition between them is worth more than most lighting workshops I’ve paid to attend. Here’s how to put it into practice.
Step 1: Understand Why These Positions Exist Before You Touch a Light
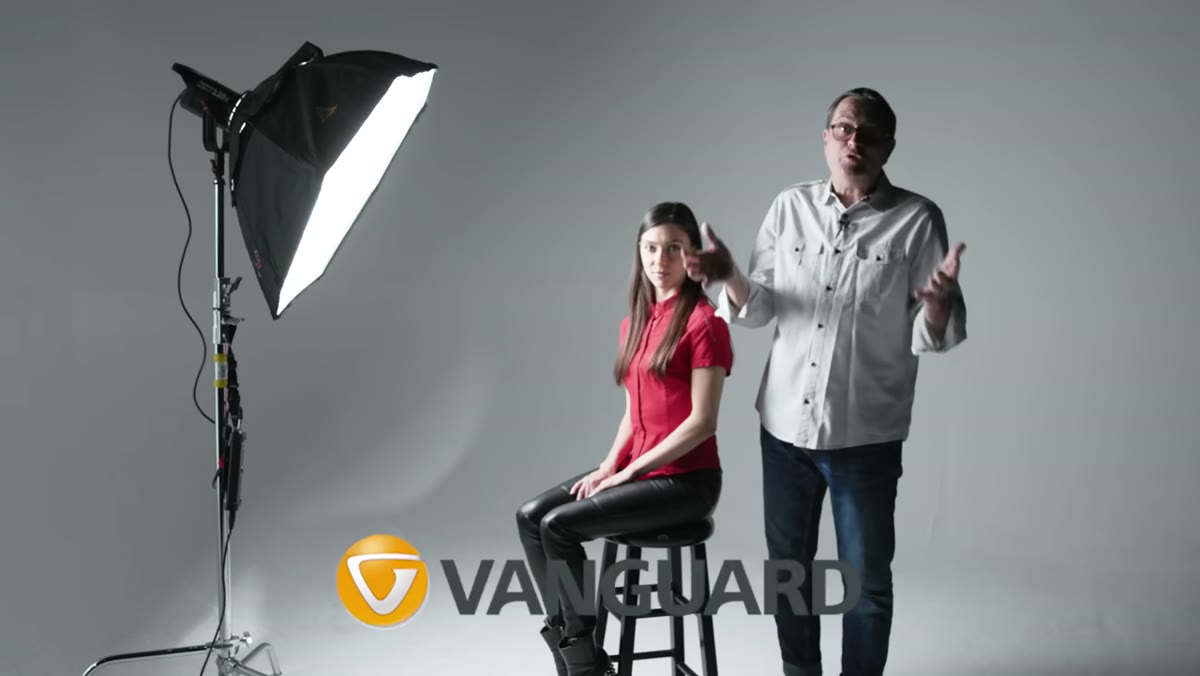 Jay explaining five positions as the foundation for all lighting
Before you move anything, accept this premise: these five positions are not stylistic options you rotate through randomly. They describe where light falls on a face relative to the camera, and each one produces a predictable, repeatable result. Jay frames it this way early on, and I’d underline it twice. When I started shooting commercial work, I wasted enormous energy trying to be creative before I’d learned to be consistent. These positions give you consistency first. Creativity follows.
Jay explaining five positions as the foundation for all lighting
Before you move anything, accept this premise: these five positions are not stylistic options you rotate through randomly. They describe where light falls on a face relative to the camera, and each one produces a predictable, repeatable result. Jay frames it this way early on, and I’d underline it twice. When I started shooting commercial work, I wasted enormous energy trying to be creative before I’d learned to be consistent. These positions give you consistency first. Creativity follows.
The modifier you put on your light, whether that’s a large octodome, a strip box, or a bare bulb, doesn’t change the position. Hard light in a Rembrandt position is still a Rembrandt. Soft light in a split position is still a split. Lock that distinction in and you’ll stop confusing the quality of light with the direction of light.
Step 2: Set Up Rembrandt Lighting
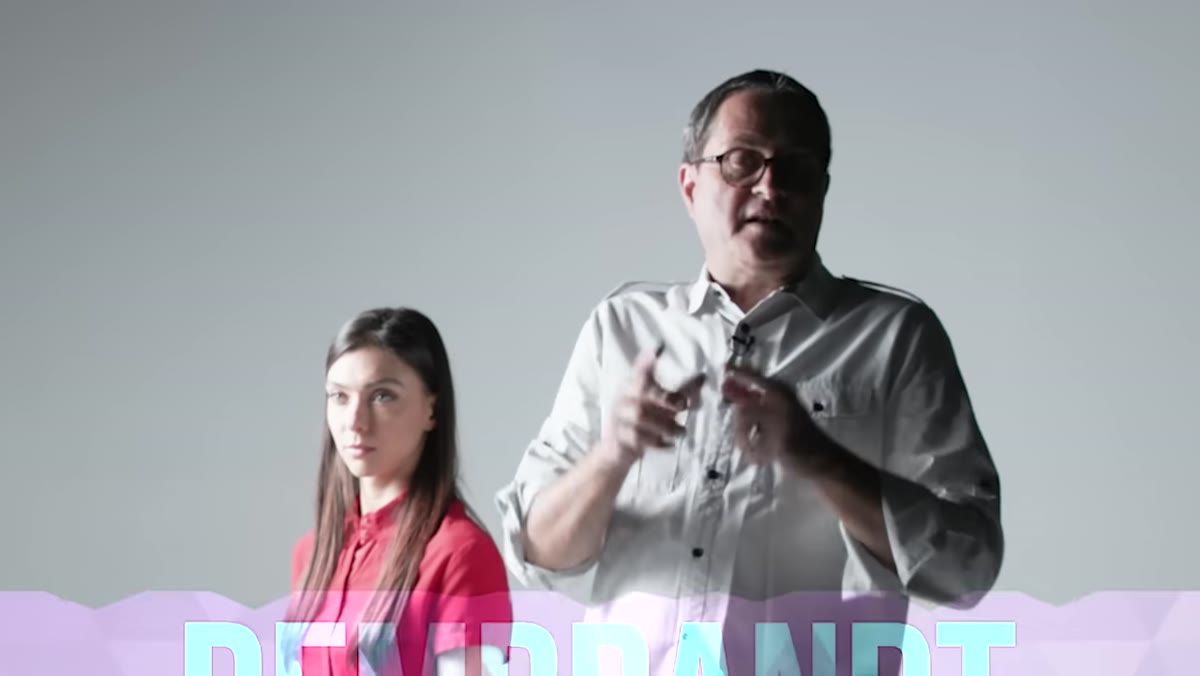 Light positioned high and angled down, creating triangle shadow on cheek
Rembrandt is the first position Jay works through, and it’s the one I reach for most often in beauty and editorial work. The setup is straightforward: your subject turns their body away from the light source, then rotates their head back toward the camera. The light sits high and to one side, angled down toward the face.
Light positioned high and angled down, creating triangle shadow on cheek
Rembrandt is the first position Jay works through, and it’s the one I reach for most often in beauty and editorial work. The setup is straightforward: your subject turns their body away from the light source, then rotates their head back toward the camera. The light sits high and to one side, angled down toward the face.
The critical detail Jay emphasizes is the height. Too low and you get a muddy shadow with no shape. The light needs to be elevated enough that the subject’s nose casts a shadow that connects with the shadow on their cheek, forming a closed triangle on the side of the face opposite the light. That triangle is the signature. If it isn’t closed at the bottom, lift the light. If the triangle disappears entirely, the light has gone too far above eyeline. Spend time finding that sweet spot. It’s narrower than you’d expect.
Step 3: Adjust the Shadow to Control the Mood
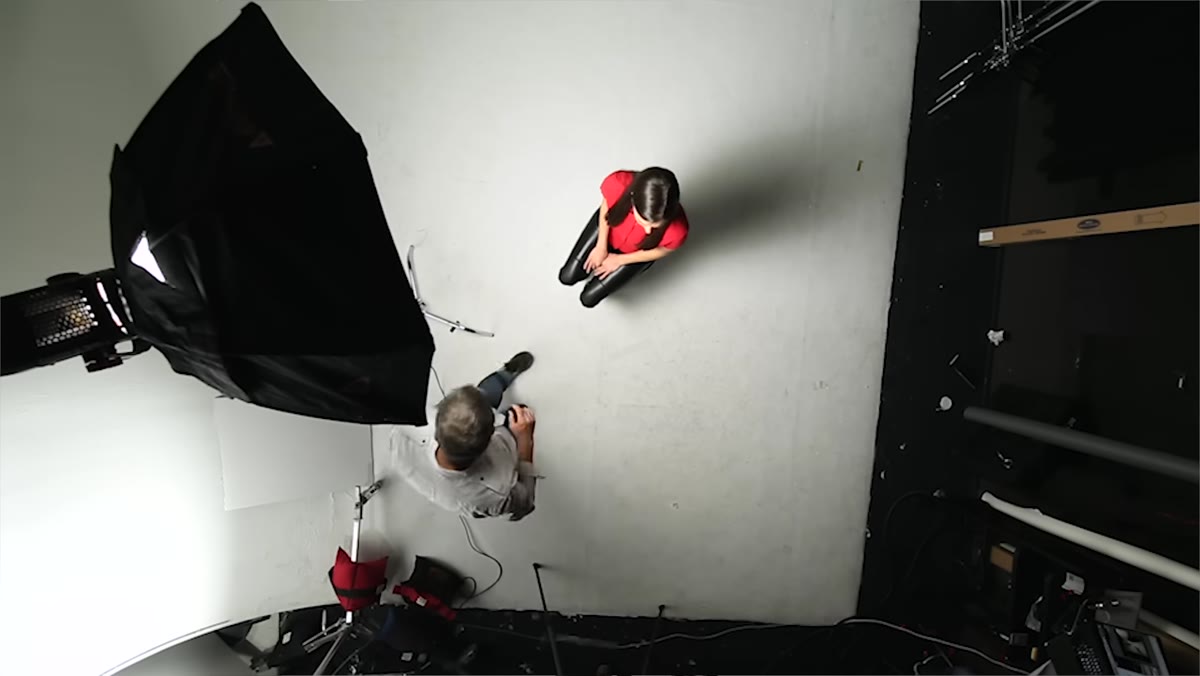 Jay demonstrating fill light options from different angles
Once your triangle is clean, you have three real choices about what to do with the shadow side. You can leave it dark for a dramatic, high-contrast result. You can add a reflector or a low-powered fill light to open it up without flattening the shape. Or you can add a subtle fill from behind the subject to introduce a hint of hair or rim separation.
Jay demonstrating fill light options from different angles
Once your triangle is clean, you have three real choices about what to do with the shadow side. You can leave it dark for a dramatic, high-contrast result. You can add a reflector or a low-powered fill light to open it up without flattening the shape. Or you can add a subtle fill from behind the subject to introduce a hint of hair or rim separation.
I keep a collapsible silver reflector on a boom arm in my studio for exactly this reason. Dialing in fill on a Rembrandt without committing to a second light gives me speed and flexibility on set. On commercial shoots where turnaround is tight, that matters. The fill isn’t a separate decision from the position. It’s the last half-stop of control that makes the difference between a portrait that reads as moody and one that reads as underlit.
Step 4: Transition Into Split Lighting
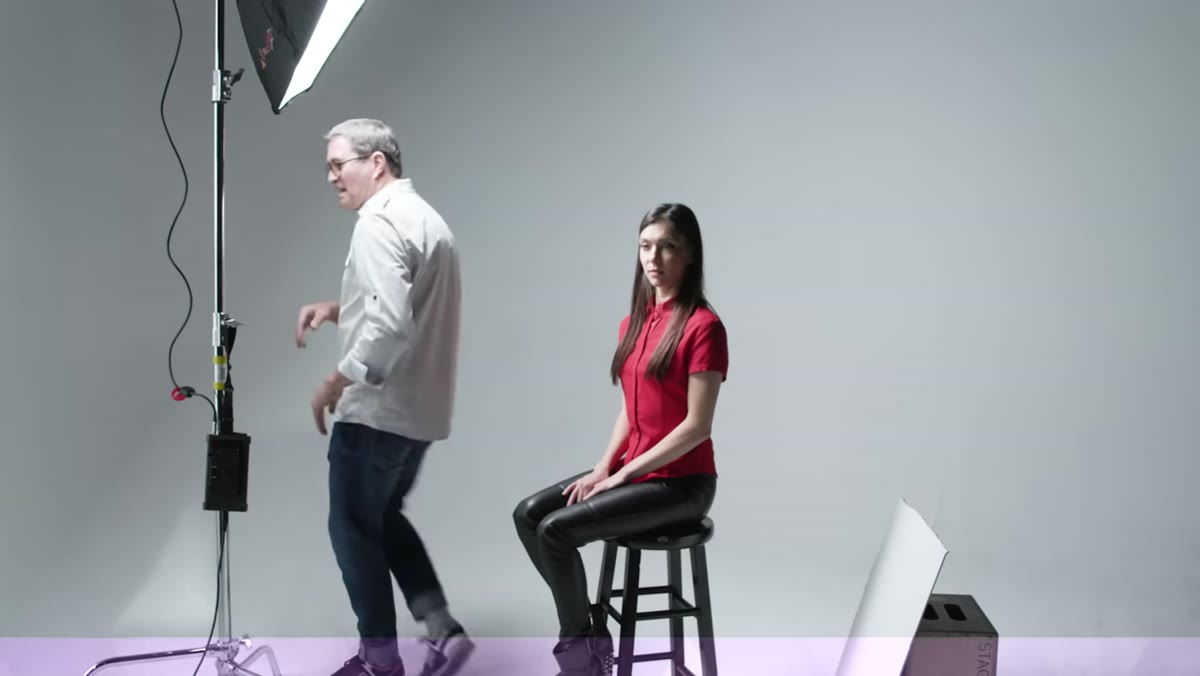 Light moved to the side of the subject, splitting face into highlight and shadow
Split lighting is what happens when you take that same light and drag it further around the subject until it sits almost directly to the side. The face divides cleanly down the center: one half in full light, one half in shadow. Jay shows this transition happening as the subject stays in place and the light moves, which is a great way to see how continuous the relationship is between these positions.
Light moved to the side of the subject, splitting face into highlight and shadow
Split lighting is what happens when you take that same light and drag it further around the subject until it sits almost directly to the side. The face divides cleanly down the center: one half in full light, one half in shadow. Jay shows this transition happening as the subject stays in place and the light moves, which is a great way to see how continuous the relationship is between these positions.
The tell-tale sign that your split is dialed in is that there is no spill of light wrapping around onto the shadow cheek. If you see light bleeding across the nose and onto the far side of the face, the light is still too far forward. Pull it behind the subject’s nose line until that shadow side goes clean. Jay also makes a point about catchlights here: he prefers round modifiers like octodomes because the reflection in the eye reads as a natural, circular light source. I’ve tested enough modifiers to agree. A round catchlight sits more comfortably in a portrait than a rectangular one in most cases, though for certain editorial looks the rectangle works.
Step 5: Practice the Transition Between Positions
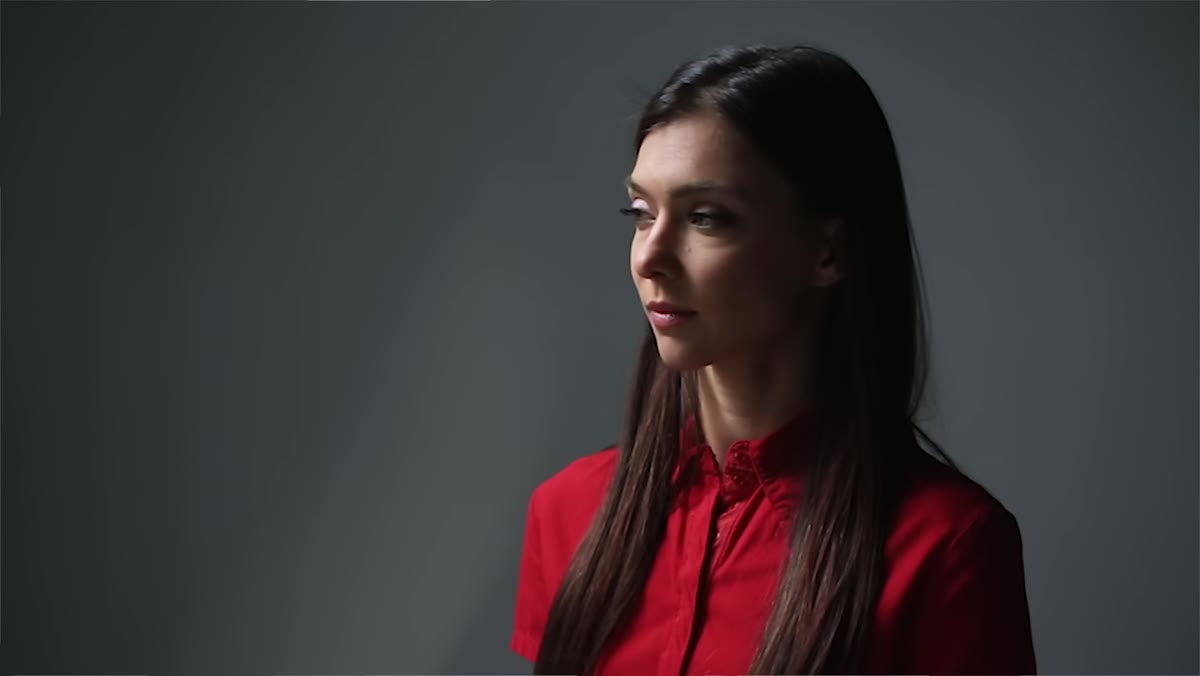 Subject turning head from split to Rembrandt position mid-demo
Jay’s most practical demonstration in the tutorial is asking his subject to rotate her face from the split position toward the light. As she turns, a Rembrandt triangle forms. Turn a little further, and the light starts to wrap. This is not just a demo trick. It’s a workflow.
Subject turning head from split to Rembrandt position mid-demo
Jay’s most practical demonstration in the tutorial is asking his subject to rotate her face from the split position toward the light. As she turns, a Rembrandt triangle forms. Turn a little further, and the light starts to wrap. This is not just a demo trick. It’s a workflow.
When I’m on set and I’m not certain which position serves the shot, I have the subject make small turns while I watch the shadow on their face move. I’m looking for the shadow to either firm up into a triangle or open flat. That live movement shows me exactly where the transition lives on this particular person’s face, because bone structure changes where the positions land. High cheekbones pull the triangle lower. A wider nose bridge affects the shadow shape. No lighting diagram accounts for an individual face the way your own eyes can.
What I Do Differently in Practice
I extend this five-position framework by shooting a test frame at each position at the start of any new subject session. I used to go straight to the position I’d planned in pre-production, but I learned the hard way that a lighting diagram built on one face doesn’t always translate to the next. Now my first ten minutes on set are spent walking through positions quickly and comparing the frames. I flag the one that reads best for this person’s face and build the final look from there. It adds time to setup and saves far more time during the actual shoot.
If you shoot tethered, this process is even faster. You can evaluate the positions side by side on a monitor with your client or art director in the room. It turns a technical decision into a collaborative one, and clients appreciate seeing the logic behind the choices.
The single most important thing these five positions teach you is that controlling light means controlling shadow. Light placement determines where the shadow falls on a face. Shadow shape tells the story. Every other decision, modifier size, light power, fill ratio, comes after you know where you’re putting the key.
Watch the full tutorial on YouTube and watch it with your light on a stand in front of you. The positions click into place the moment you start moving a source rather than just watching someone else do it.
Comments
Leave a Comment