The Architecture of Posing: Building Flattering Shapes with Intention
I’ve watched too many talented photographers waste exceptional lighting setups on mediocre poses. A $5,000 ring light won’t save a subject standing flat-on to the camera with their arms at their sides. Posing isn’t an afterthought—it’s the skeleton upon which your lighting and composition hang. I approach every pose like I’m building a geometric structure. Each angle, each line, each negative space serves a purpose.
The Foundation: Never Shoot Straight-On
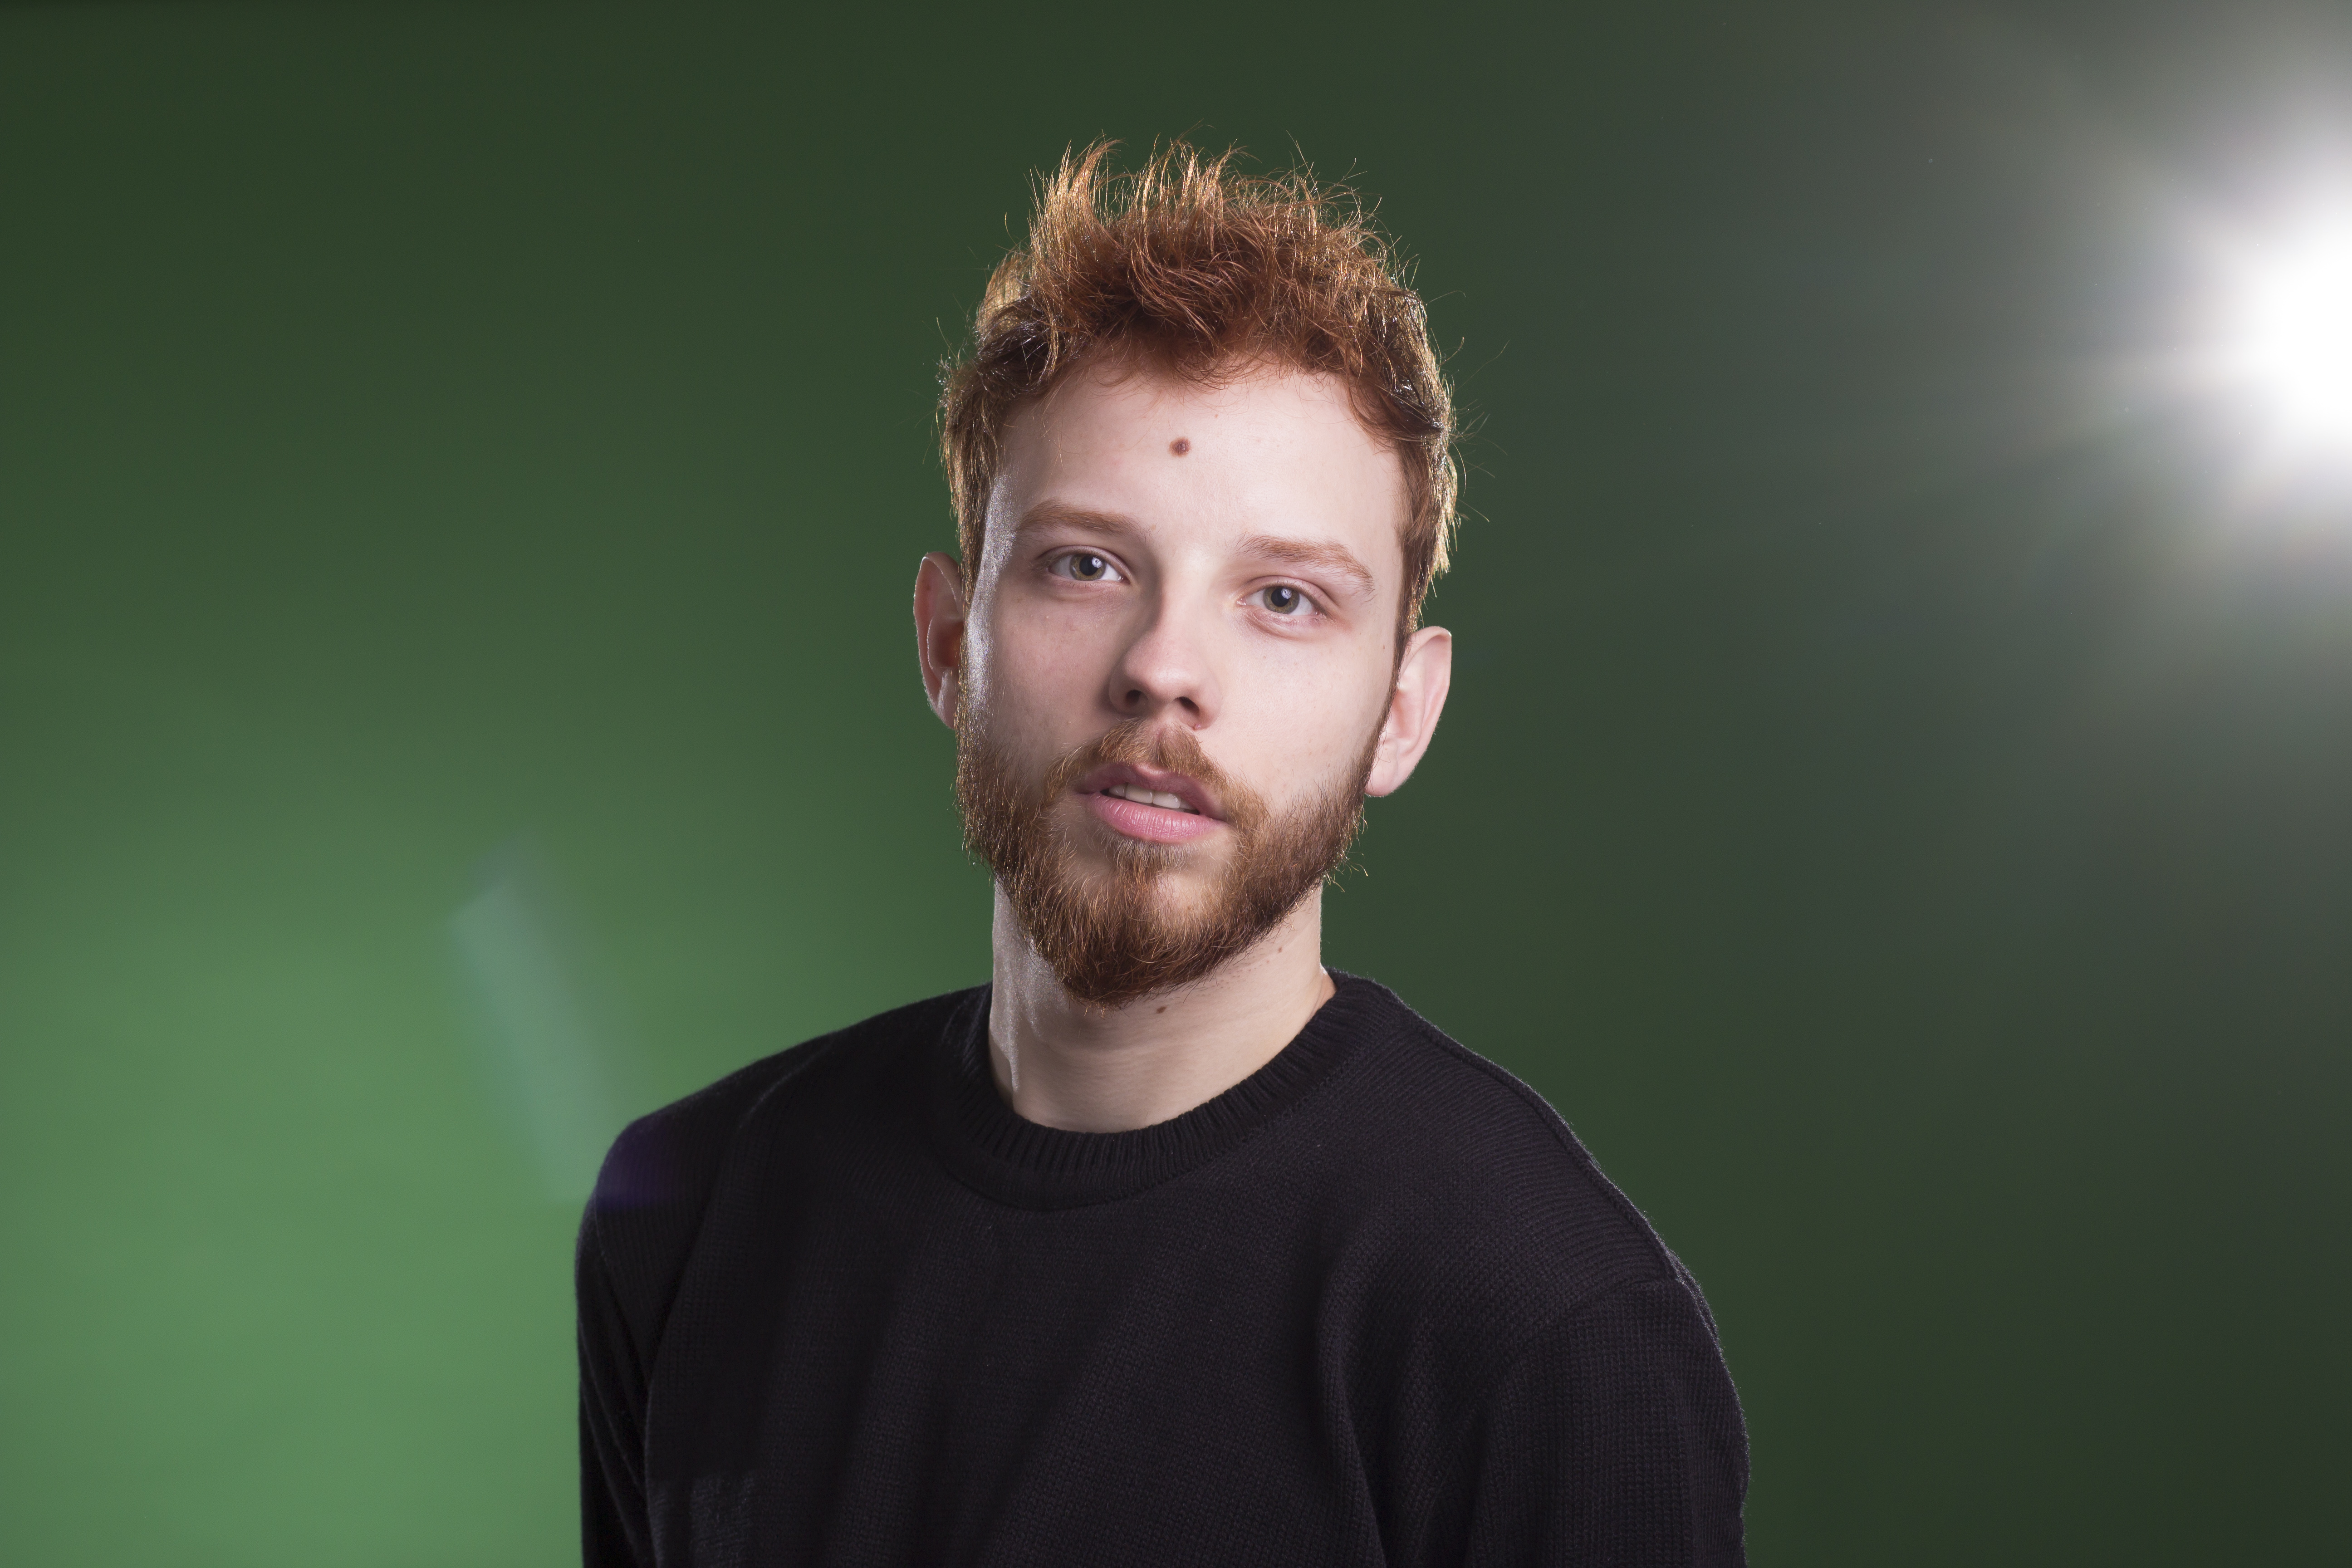
Let me be direct: your subject should rarely face the camera directly. When someone stands perpendicular to the lens, they look wider, flatter, and less interesting. Instead, I position my subjects at 45 degrees to the camera—what I call the “power angle.” This accomplishes three things simultaneously.
First, it compresses the body slightly, creating a slimming effect without requiring any post-processing intervention. Second, it presents the shoulders at an angle that naturally narrows the silhouette. Third, it creates a clear line from the subject’s body to the camera, establishing depth and dimension that flat, head-on framing can’t achieve.
The shoulders-back position is non-negotiable in my studio. Have your subject rotate their hips away from the camera first, then turn their shoulders slightly toward the lens. This creates tension in the pose—literally and visually—that reads as confidence and intentionality.
The Rule of Thirds in Body Positioning
I treat the body like I would a landscape. Avoid dead-center positioning. When shooting a three-quarter length pose, position your subject in the left or right third of the frame, leaving negative space in front of their face. This gives their gaze somewhere to “look into” and creates compositional breathing room.
The same principle applies to limb placement. If an arm is bent at 90 degrees, it creates a harsh corner. Bend it at 70 degrees or 110 degrees instead. Soft angles photograph better than perfect right angles. This isn’t guesswork—it’s the difference between a pose that looks natural and one that looks like your subject was told to stand a certain way.
Hands: The Details That Betray Careless Photographers
Hands are where precision separates professional work from amateur snapshots. Never let hands lie flat against the body—they flatten the entire silhouette and look unnatural. Separate hands from the torso by placing them in pockets, on the subject’s leg, or holding an object.
If there’s nothing for hands to do, have your subject place one hand on their hip with the elbow bent, creating a triangular negative space. The other hand can rest on a knee or table. Fingers should rarely be fully extended and together—they look like claws. Spread them slightly, with a gentle curve, like they’re about to gesture.
Creating Lines and Curves
The human body should contain lines, not blocks. Avoid symmetry. If both feet are parallel and planted, the pose looks stiff. Have your subject shift weight to one leg, bending the other slightly. This creates a natural S-curve that’s infinitely more flattering than a static stance.
Diagonal lines are your allies. Diagonal arm positions, diagonal leg positioning, diagonal torso angles—these create visual momentum and prevent the “mug shot” appearance that kills studio work.
Practice With Purpose
I don’t adjust poses randomly. Every movement serves the lighting, the composition, and the subject’s geometry. Before your session, review reference poses with the specific goal of understanding why each works. Study how shadows fall differently based on shoulder angle. Watch how limb placement either compresses or expands apparent width.
Your lighting can be perfect. Your camera settings can be flawless. But without deliberate, purposeful posing, your work will never rise above competent. Make posing your foundation, and everything else becomes easier.
Comments (4)
Been doing this wrong for years apparently. Thanks for the wake-up call.
Bookmarked. Coming back to this one for sure.
Just used this on a wedding shoot edit. Client was thrilled.
I've been looking for exactly this kind of tutorial. Perfect timing.
Leave a Comment