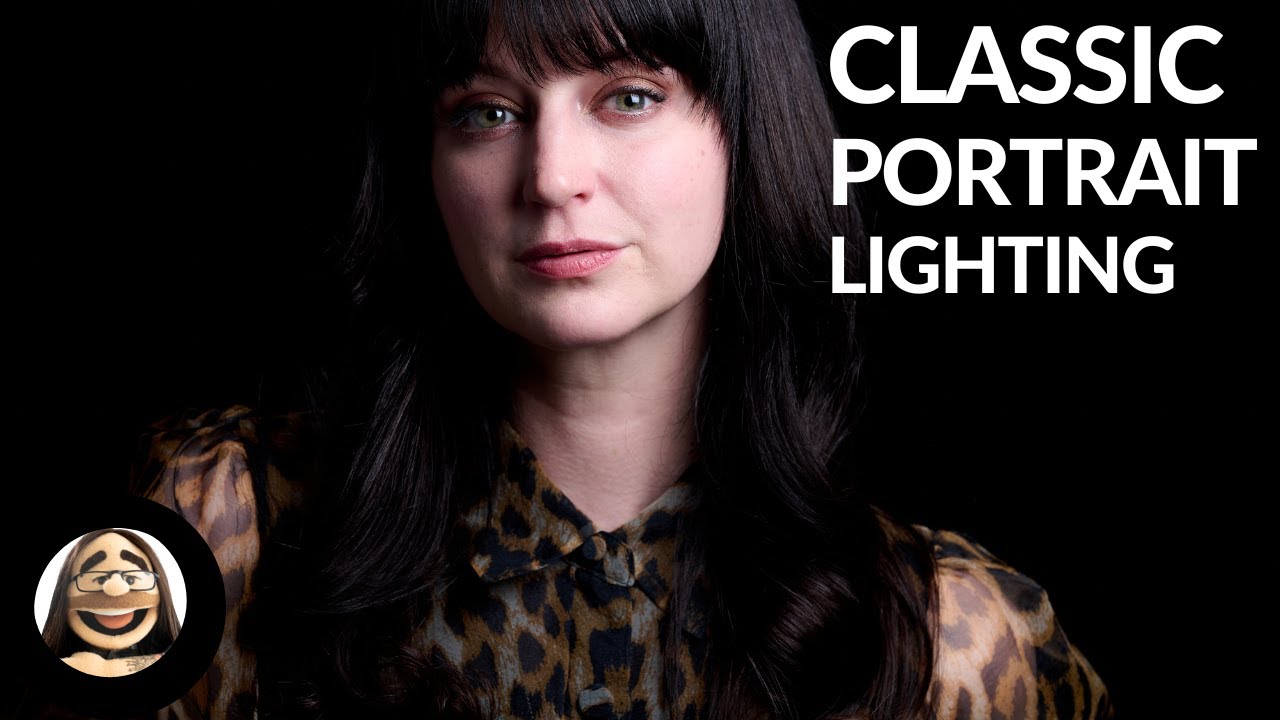
Every time I take on a new assistant or bring an intern into my studio here in Los Angeles, I watch where they put the key light. Without fail, they either shove it right next to the camera and wonder why the face looks flat, or they swing it so far to the side that half the subject disappears into shadow. There is a middle ground, and it has a name. It is called the classic 45, and it is the first lighting position I make anyone learn before they touch another modifier in my space.
I keep a lighting journal - a physical notebook where I sketch every setup I use on a shoot. The classic 45 appears in it more than any other configuration, and not because I am lazy. It appears there because it works on almost every face, in almost every context, for almost any client who needs to look like a real human being rather than a sculpture. When I came across this tutorial by Daniel Norton Photographer, I watched it twice and then sketched the setup before I even reached for my camera. Watch the full tutorial on YouTube - it is worth your time. What follows is my breakdown of the technique with the details you need to actually run this in your own studio.
Step 1: Choose a Soft Source and Get It Close
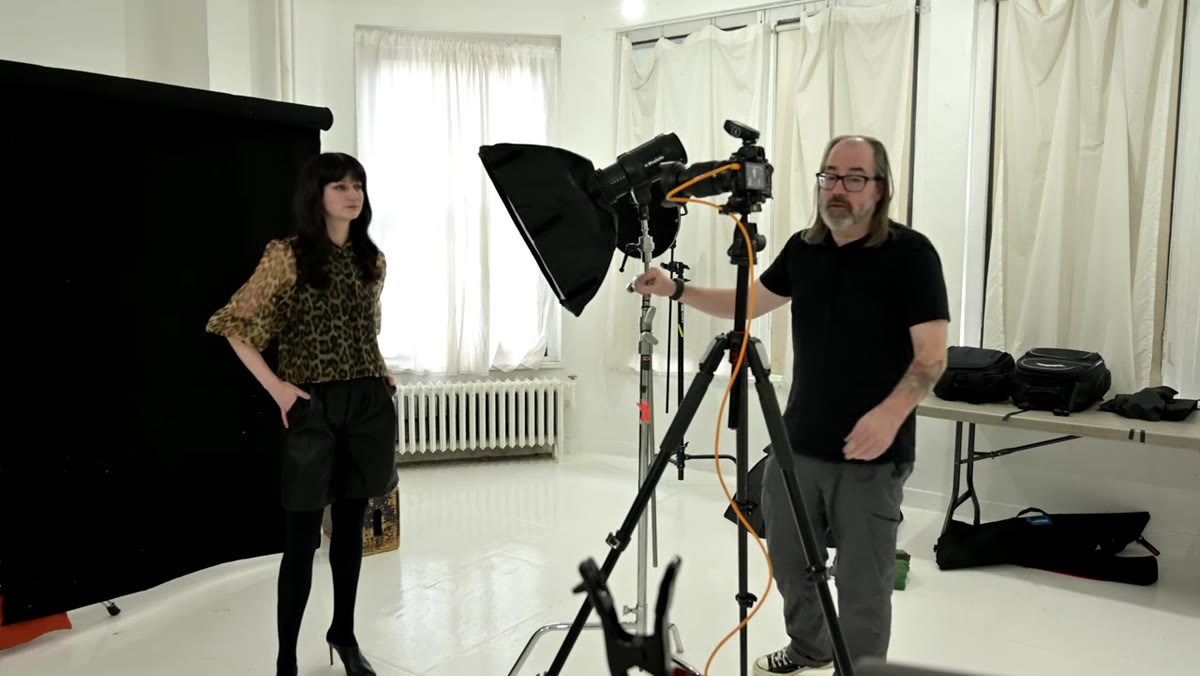 Large softbox positioned close to the subject’s face
Softness in light comes from one variable: the size of the source relative to your subject. A large softbox ten feet away is a small, hard light. That same softbox at two feet is a large, soft light. Before you think about angle or height, commit to getting your modifier as physically close to your subject as your composition allows. For a head-and-shoulders portrait, I typically start with the edge of my softbox no further than three feet from the subject’s face. At that distance, even a 24-inch octabox becomes a genuinely soft source.
Large softbox positioned close to the subject’s face
Softness in light comes from one variable: the size of the source relative to your subject. A large softbox ten feet away is a small, hard light. That same softbox at two feet is a large, soft light. Before you think about angle or height, commit to getting your modifier as physically close to your subject as your composition allows. For a head-and-shoulders portrait, I typically start with the edge of my softbox no further than three feet from the subject’s face. At that distance, even a 24-inch octabox becomes a genuinely soft source.
Daniel Norton makes this point cleanly, and it is one that gets skipped over in a lot of “beginner” breakdowns that obsess over degrees and diagrams before the fundamentals are set. Get the light close. Everything else is adjustment.
Step 2: Set the Height - Center of the Softbox Above Eye Level
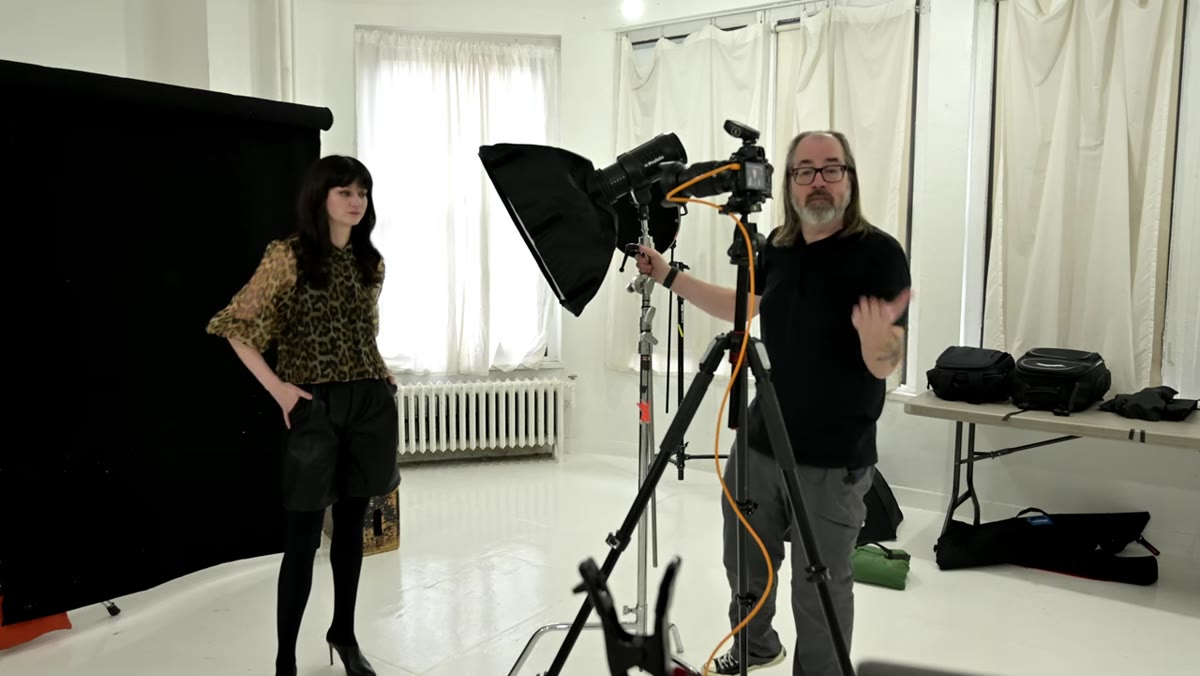 Softbox tilted downward, center raised above subject’s eye line
People expect light to come from above. We are wired for it - the sun, overhead fixtures, windows near the ceiling. When you place a light at or below eye level, something reads as wrong even if the viewer cannot name what it is. The rule Norton demonstrates here is simple: raise the softbox until the center of the modifier sits above your subject’s eye line, then tilt the face of the softbox down slightly so the light is still directed at the subject.
Softbox tilted downward, center raised above subject’s eye line
People expect light to come from above. We are wired for it - the sun, overhead fixtures, windows near the ceiling. When you place a light at or below eye level, something reads as wrong even if the viewer cannot name what it is. The rule Norton demonstrates here is simple: raise the softbox until the center of the modifier sits above your subject’s eye line, then tilt the face of the softbox down slightly so the light is still directed at the subject.
This is not a dramatic overhead angle. You are not carving out eye sockets with a harsh top light. You are mimicking the natural relationship between a person and a light source that exists higher than they are. The result is gentle shadow under the nose and chin that adds dimension without drama.
Step 3: Place the Light at Roughly 45 Degrees from the Camera Axis
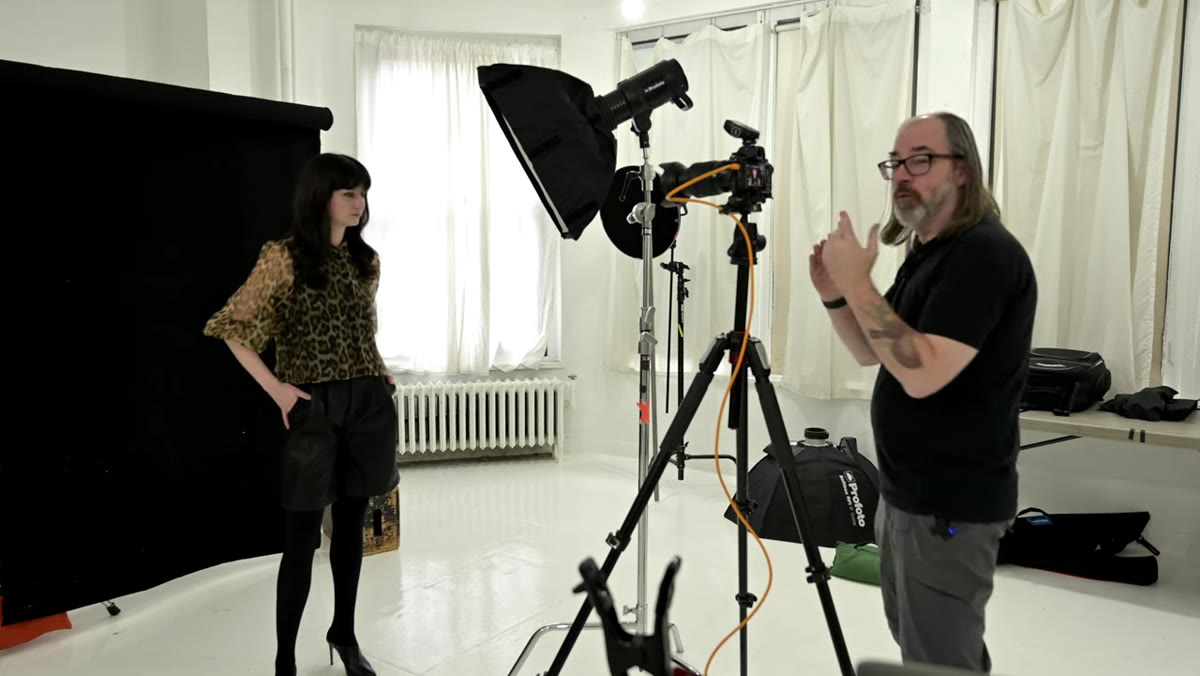 Overhead view implied; light moved to 45-degree position from camera
With your height established, rotate the light around the subject until it sits at approximately 45 degrees off the camera axis. You are measuring this from the camera’s perspective, not a protractor. Stand behind your camera, look at the scene, and imagine a clock face centered on the subject. The camera is at 6 o’clock. You are placing the light at roughly 4:30 or 7:30 depending on which side you prefer.
Overhead view implied; light moved to 45-degree position from camera
With your height established, rotate the light around the subject until it sits at approximately 45 degrees off the camera axis. You are measuring this from the camera’s perspective, not a protractor. Stand behind your camera, look at the scene, and imagine a clock face centered on the subject. The camera is at 6 o’clock. You are placing the light at roughly 4:30 or 7:30 depending on which side you prefer.
At this position, the light hits the front of the face and the side closest to the source, while the far side of the face begins to fall into shadow. That transition - from highlight to midtone to shadow - is what gives a face three-dimensionality in a photograph. Without it, you have a passport photo.
Step 4: Use the Frame Edge to Find Your Final Position
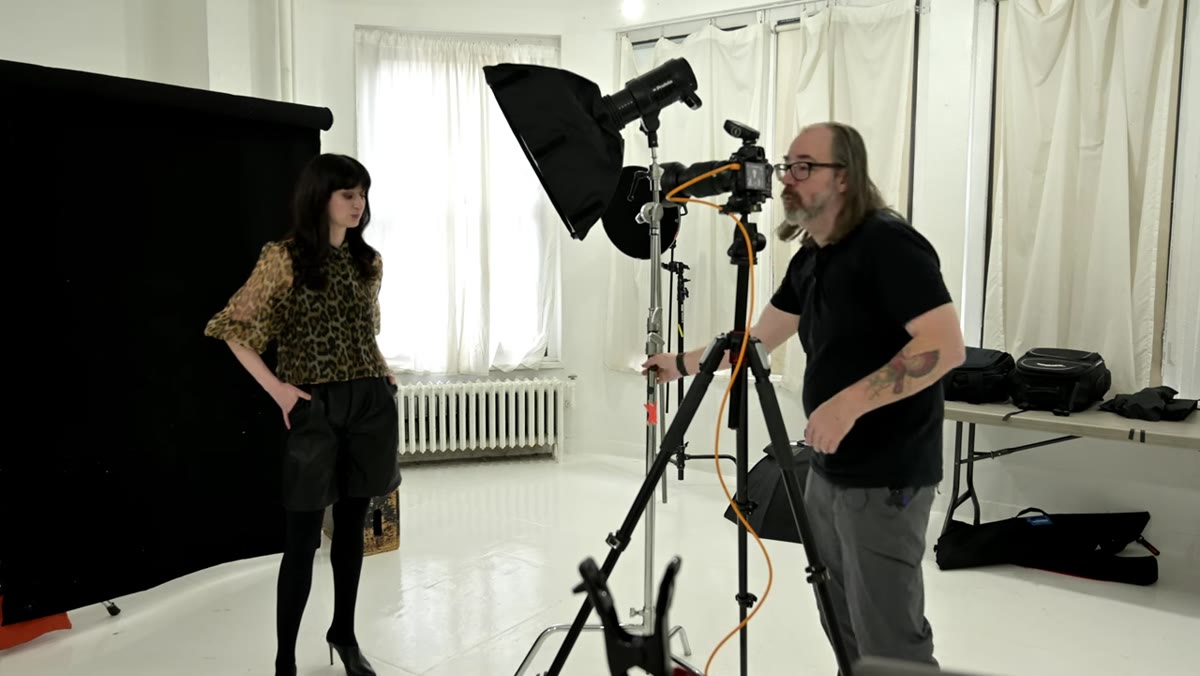 Photographer’s fingers at the edge of the camera frame as a positioning guide
Here is a practical framing trick I have since added to my own process. Once the light is at 45 degrees, bring it in toward the subject until you can see the edge of the softbox just entering the frame in your viewfinder. Then pull it back until it disappears - just barely. Your fingertips at the edge of the frame are your guide.
Photographer’s fingers at the edge of the camera frame as a positioning guide
Here is a practical framing trick I have since added to my own process. Once the light is at 45 degrees, bring it in toward the subject until you can see the edge of the softbox just entering the frame in your viewfinder. Then pull it back until it disappears - just barely. Your fingertips at the edge of the frame are your guide.
This gives you the closest possible position without the modifier appearing in your shot. Closer means softer, and softer almost always means more flattering for portrait work. This is one of those techniques that sounds too simple until you realize you have been placing your lights six inches further away than necessary for years.
Step 5: Add a Fill Card to Control Shadow Density
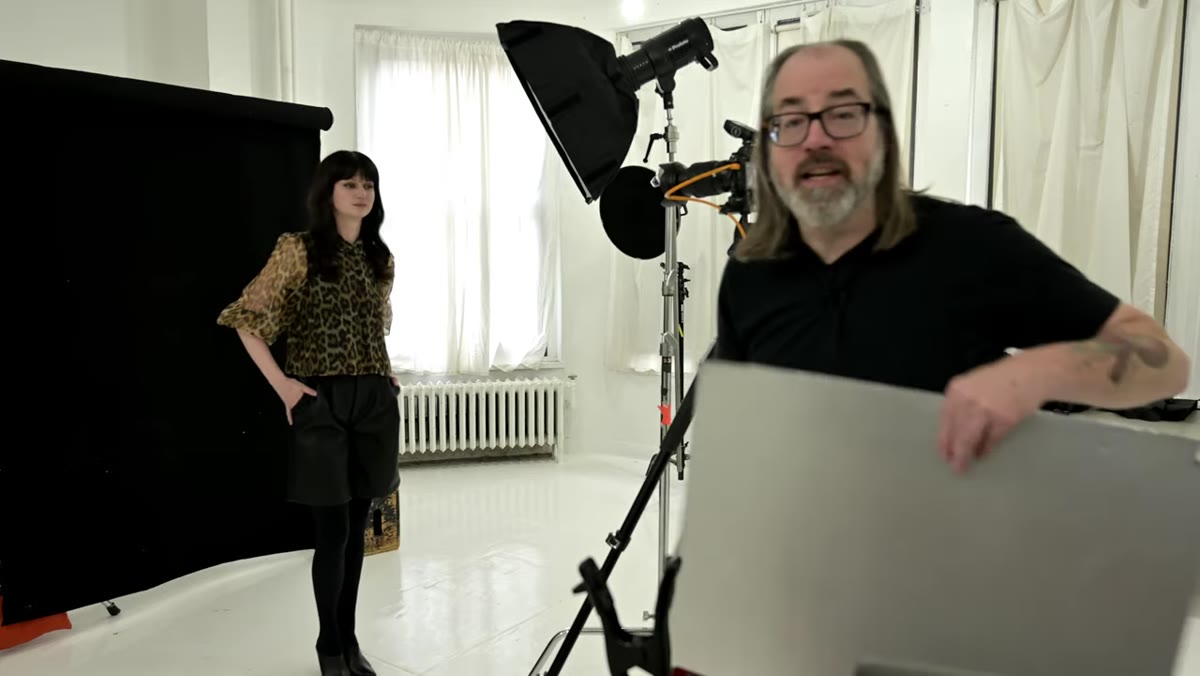 White reflector card brought in to fill shadow side of face
The 45-degree position creates shadow on the side of the face opposite the light. That shadow is an asset, not a problem - but you get to decide how deep it goes. A white foam core fill card placed on the shadow side of the subject bounces the key light back in and lifts those shadows without adding a second catchlight or creating a competing light source.
White reflector card brought in to fill shadow side of face
The 45-degree position creates shadow on the side of the face opposite the light. That shadow is an asset, not a problem - but you get to decide how deep it goes. A white foam core fill card placed on the shadow side of the subject bounces the key light back in and lifts those shadows without adding a second catchlight or creating a competing light source.
Norton demonstrates this with a simple reflector, and I want to reinforce the point: the fill card is not a correction. It is a creative control. Move it closer and your shadows go lighter. Move it away and your contrast increases. The range between “moody and directional” and “clean and commercial” lives entirely in how far that card sits from your subject’s face.
Step 6: Use a Longer Focal Length to Move the Light Closer
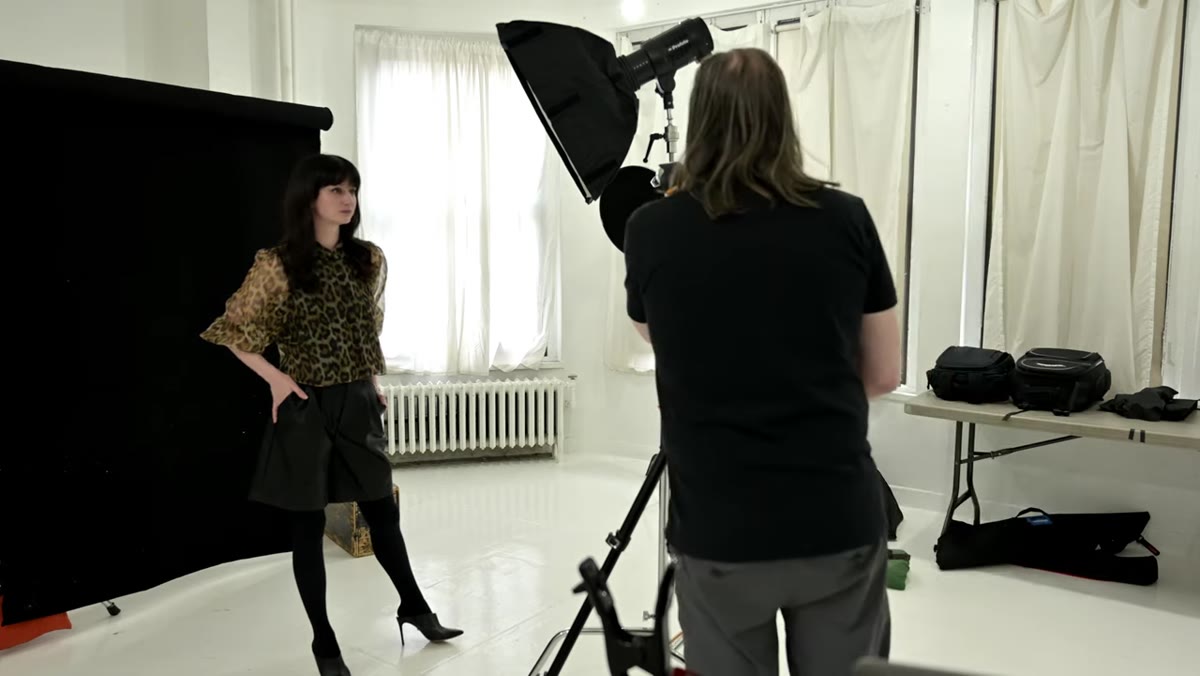 Photographer backs up and switches to longer focal length, then moves light closer
If you want more drama - a brighter highlight side against a deeper shadow - you need the light closer to the subject. The problem is that moving the light in may put it inside your frame. The solution is a longer focal length. Zoom out to 85mm, 105mm, or longer, back up to maintain your framing, and now the space between the light and the subject has effectively expanded without you touching the light stand. The softbox can move in, the contrast increases, and the modifier stays out of the shot.
Photographer backs up and switches to longer focal length, then moves light closer
If you want more drama - a brighter highlight side against a deeper shadow - you need the light closer to the subject. The problem is that moving the light in may put it inside your frame. The solution is a longer focal length. Zoom out to 85mm, 105mm, or longer, back up to maintain your framing, and now the space between the light and the subject has effectively expanded without you touching the light stand. The softbox can move in, the contrast increases, and the modifier stays out of the shot.
I use this move constantly on beauty work where I want to separate the lit side of the face from the shadow side. It is also why I never shoot portraits below 70mm when I have a full studio to work with. Compression is your friend in more ways than one.
What I Do Differently After Years of Running This Setup
I add a strip light or a small gridded source behind the subject aimed at the background whenever I run the classic 45. Not to create a gradient - just to separate the subject’s shadow side from the background so the dark edge of the face does not disappear. Norton’s tutorial focuses on the key and fill relationship, which is exactly right for learning the pattern. But in commercial work, losing that separation costs retouching time later.
I also always check the shadow under the nose before I fire a single frame. The shape of that nose shadow tells me immediately if the light is too low, too high, or rotated too far to the side. It is faster than checking my lighting diagram app and more reliable than eyeballing the stand position. If the nose shadow points cleanly toward the corner of the mouth, the light is close to right. If it stretches toward the jaw, the light has drifted too far to the side.
The single most important thing to take away from this technique is that the classic 45 is not a compromise position. It is a deliberate choice that creates a specific, flattering quality of light that works because of how geometry interacts with a human face - not in spite of a lack of creativity. Learn it until you can set it up in the dark, and then every deviation from it becomes intentional rather than accidental.
Watch the full tutorial on YouTube to see Daniel Norton demonstrate the setup and the results in real time.
Comments (3)
Tried this technique this morning. Game changer for real.
This is going in my reference folder. Incredibly useful.
Well explained. I think my audience would really benefit from this — mind if I link to it?
Leave a Comment