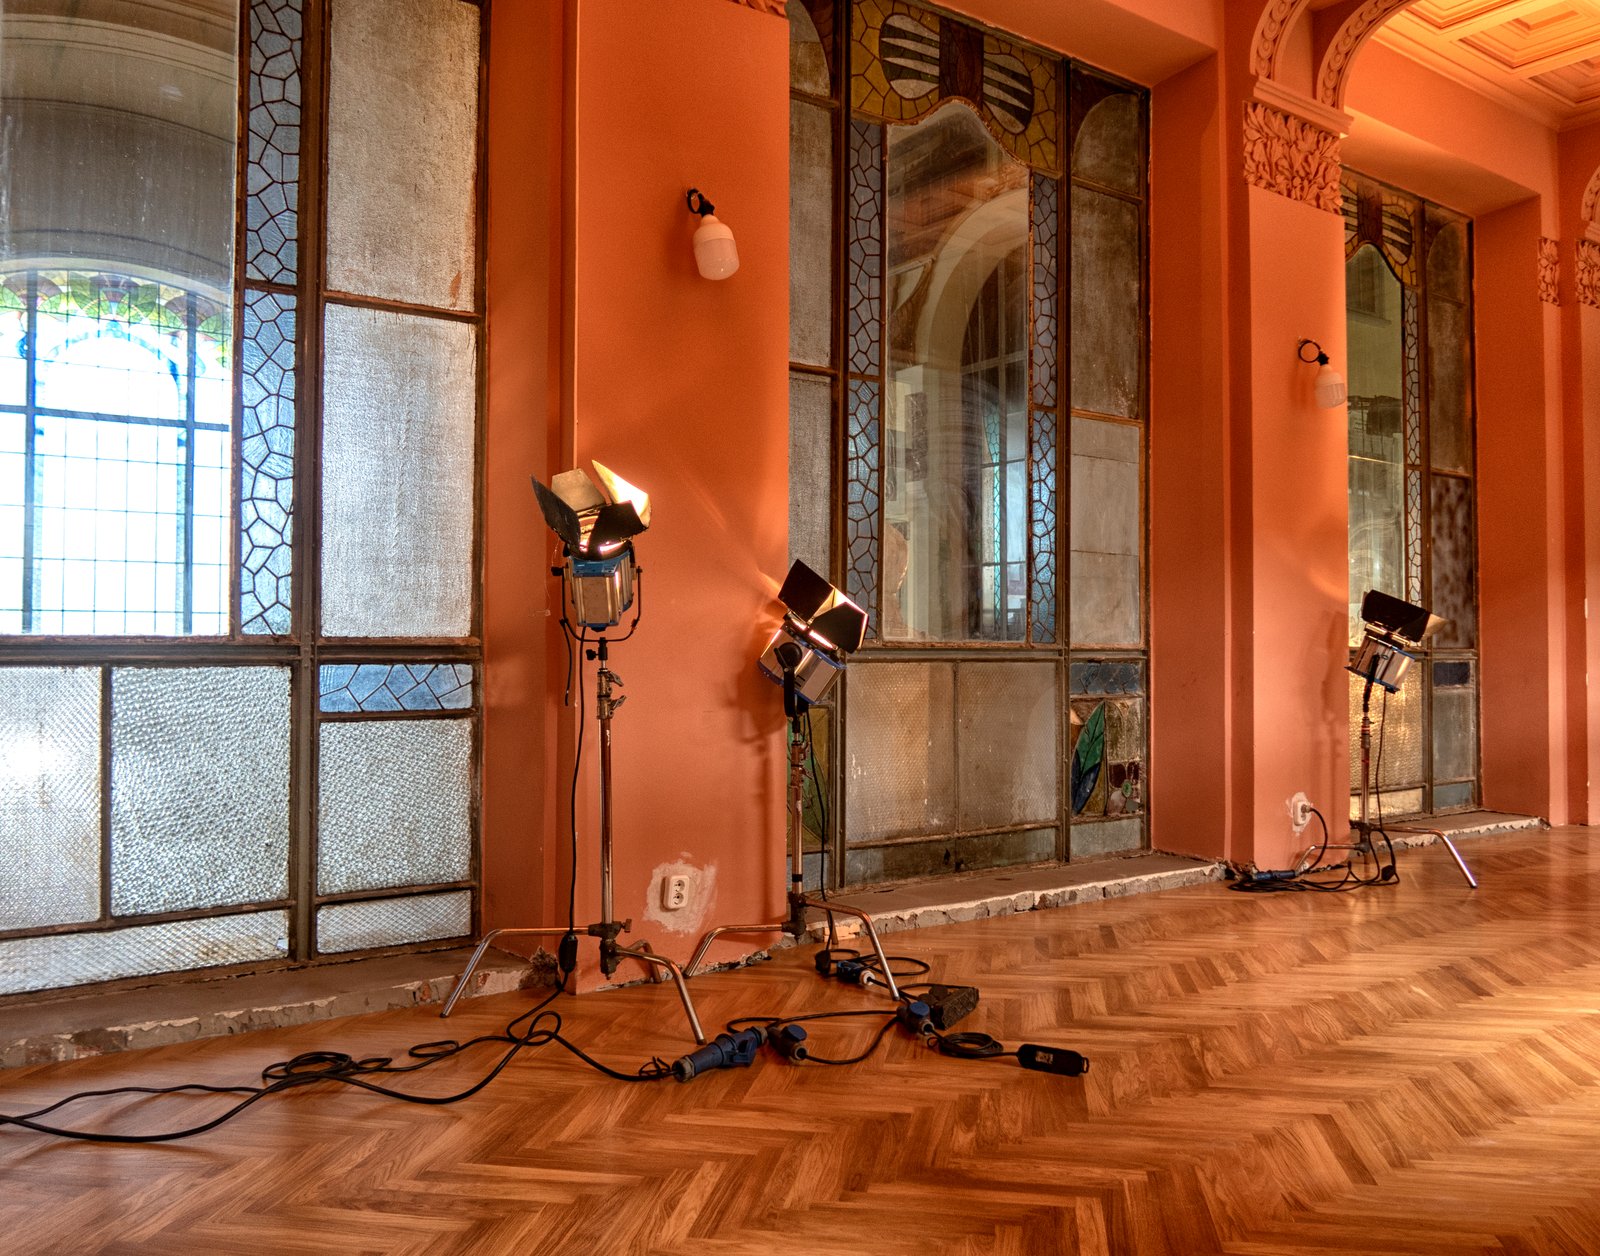
I keep a lighting journal. Every shoot, before I break down the set, I sketch the layout in a small Leuchtturm1917 notebook. Key light position, fill ratio, background distance, modifier choice. After fifteen years of commercial and editorial work, I have dozens of these notebooks stacked on a shelf in my studio. The reason I started doing it wasn’t discipline. It was embarrassment. I kept building setups I had already built, couldn’t remember what had worked, and was essentially relearning the same five lessons on the clock.
Those five lessons are the five foundational portrait lighting patterns. If you work in a studio and you’re still treating these as suggestions or rough concepts, you’re improvising when you should be cooking from a recipe. These patterns aren’t creative constraints. They’re the grammar of portrait lighting, and fluency in them is what separates a photographer who gets re-booked from one who doesn’t.
Why Pattern Matters Before Modifier or Power
Light doesn’t care about your strobe brand. What shapes a face is the angle and position of the key light relative to the subject’s facial plane, and the shadow that placement creates. Before you touch a modifier, before you set a power level, the pattern determines the story the light tells.
Each of the five patterns, Rembrandt, loop, split, butterfly, and broad, describes a specific shadow relationship. That shadow determines perceived face width, depth, skin texture, and mood. A 1.2-meter Profoto octabox placed two feet from your subject and a 60-centimeter Godox softbox placed ten feet away can produce the same pattern. The pattern is geometry, not gear.
That said, the modifier absolutely controls quality. Harder sources sharpen shadow edges. Larger, closer sources wrap light around contours and soften transitions. I’ll be specific about modifier choices below because I think vague advice about “soft light” is useless.
The Two You’ll Use Eighty Percent of the Time
Loop lighting is my everyday workhorse for beauty and commercial work. The key light sits slightly above eye level and roughly 30 to 45 degrees off the subject’s nose. The defining characteristic is a small, downward-sloping shadow cast by the nose that loops toward, but doesn’t connect with, the corner of the mouth. It’s flattering on a wide range of face shapes, reads as natural and approachable, and is forgiving when subjects aren’t perfectly still. I shoot loop with a 90-centimeter octabox at a 2:1 ratio for most corporate headshots. That’s one stop of fill on the shadow side, usually bounced from a 5-in-1 reflector placed low.
Rembrandt lighting is loop lighting pushed further. Move the key light past 45 degrees toward the shadow side until you create a small triangle of light on the subject’s cheek, below the eye, on the shadow side of the face. That triangle, roughly the size of a postage stamp, is the tell. It requires a longer nose and higher cheekbones to work correctly, which is why I assess bone structure before I commit to it. I use it on roughly one in four of my editorial portraits. For this pattern, a harder modifier, something like a 60-centimeter deep parabolic, gives the shadow edges the definition they need. Shoot it at a 3:1 ratio, sometimes 4:1 if the talent can carry it and the story warrants it.
Split, Butterfly, and Broad: When and Why
Split lighting places the key light directly to the side of the subject’s face, 90 degrees off axis, dividing the face exactly in half. It’s dramatic, it’s directional, and it reads as serious or confrontational. I reach for it in fashion editorial work where I want sculptural shadows, almost never for beauty or corporate work. Bare strobe or a gridded parabolic at 150 watt-seconds is usually right. Fill, if any, sits at a 5:1 ratio or deeper.
Butterfly lighting, also called paramount lighting, positions the key light directly in front of the subject and high enough to cast a shadow directly beneath the nose in the shape of a butterfly wing. It was the go-to for Hollywood glamour portraits because it emphasizes cheekbones and flattens skin texture. It’s genuinely unflattering on rounder or flatter facial structures, so I use it deliberately, mostly for fashion clients with strong bone structure. A 100-centimeter beauty dish centered and placed about 60 centimeters above eye level is my standard setup for this.
Broad lighting turns the subject so their lit side faces camera. It widens faces, which makes it useful for narrower face shapes. Most photographers use it too rarely. I use it specifically when a client’s face reads as too thin or angular on camera, and it corrects that in-camera rather than in post.
The Ratio Is the Volume Knob
Every pattern is adjustable by changing the lighting ratio, the difference in stops between key and fill. A 2:1 ratio is barely dramatic, almost shadowless. A 4:1 ratio starts to feel cinematic. Beyond 5:1, shadow detail begins to disappear, which may be exactly what you want.
My general rule: beauty clients get 2:1 or 3:1, editorial and fashion clients get 3:1 to 5:1, and anything moody or character-driven goes 5:1 or deeper. I measure ratios with an incident meter, not by eye. A Sekonic L-308X reads consistently in about two seconds and removes the guesswork entirely.
The Modifier Changes the Sentence, Not the Subject
My wife, who is not a photographer, once told me that the light in a painting we were looking at felt like it was “leaning on” the subject’s face. She meant that the shadows had weight, that the light wasn’t just illuminating but pressing in from one direction. It took me a moment to understand she had just described the difference between a broad, close, soft source and a narrow, distant, hard one more clearly than most lighting textbooks do.
The pattern determines where the shadows fall. The modifier determines how hard they land. Learn both, in that order.
If you take one thing from this, it’s that lighting patterns are not aesthetic preferences. They’re technical positions, and each one has predictable, repeatable results. Build the pattern first, then shape it with your modifier. Your setups will stop being mysteries you can’t reproduce and start being recipes you can cook from memory.
Comments (2)
This saved me so much time on my last edit. Wish I'd found this sooner.
This is exactly what I needed today. Been struggling with this for weeks.
Leave a Comment