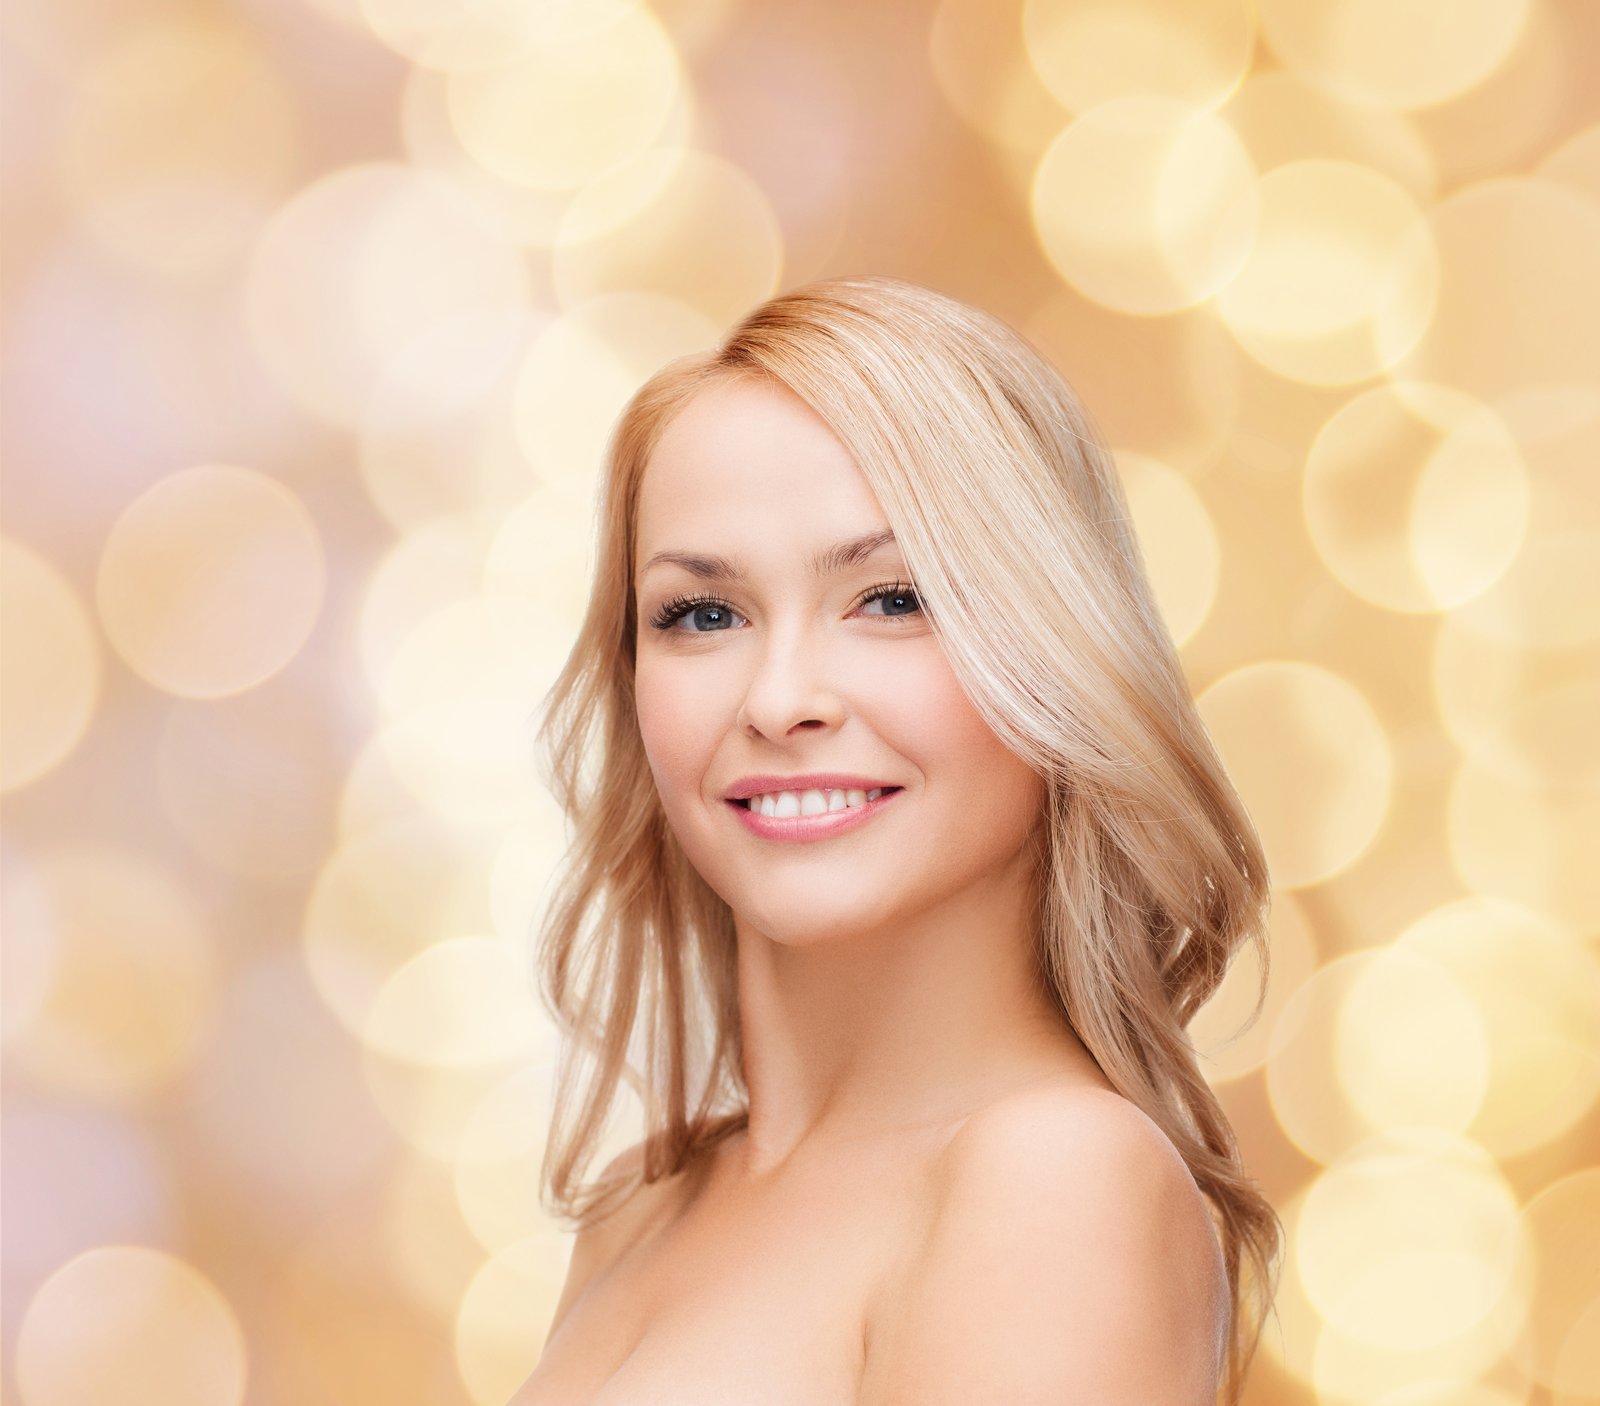
I once watched a photographer spend forty minutes adjusting their background and zero minutes thinking about where their key light was going. The resulting portraits had a beautifully lit gray seamless and a subject who looked like she’d been photographed under a parking garage fluorescent. The background was not the problem.
Portrait lighting patterns are not decorative choices. They are structural decisions that determine how dimensional a face looks, how flattering the image is to a specific face shape, and whether shadows are working for you or against you. There are five that matter, and if you can execute all five consistently and deliberately, you can solve almost any portrait lighting problem that comes through your studio door.
What a Lighting Pattern Actually Does to a Face
Before walking through the patterns themselves, it helps to understand what we’re actually controlling. The human face is a three-dimensional object with planes that catch and reject light at different angles. The position of your key light relative to the subject’s face determines which planes are illuminated and which fall into shadow. Those shadows are what give a portrait depth and structure.
The nose shadow is your primary diagnostic tool. Watch where it falls. That shadow tells you almost everything about your key light angle. Cheekbone definition, jawline weight, under-eye shadow behavior, all of it follows from where that key light sits. Change the key light, change the face.
The Five Patterns, in Order of Increasing Drama
Butterfly (Paramount) lighting is a key light placed high and directly in front of the subject, aimed slightly downward. It creates a small shadow directly beneath the nose that resembles, not by accident, a butterfly. This is classic Hollywood glamour lighting. It flatters high cheekbones and works beautifully on symmetrical faces. I use a 47-inch octabox at roughly a 45-degree downward angle for this, positioned about five feet from the subject’s face.
Loop lighting moves the key light slightly to the side and keeps it elevated, creating a small loop-shaped shadow that drops from the nose toward the corner of the mouth without connecting to the cheek shadow. This is probably the most versatile pattern I use in commercial work. Flattering, dimensional, and forgiving across a wide range of face shapes. Key light sits at roughly a 30 to 45-degree angle from the subject’s axis, elevated about 15 to 30 degrees above eye level.
Rembrandt lighting moves the key light further to the side, 45 degrees or more, and elevates it more steeply. The defining feature is a small triangle of light on the shadow-side cheek, formed when the nose shadow meets the cheek shadow. It requires the subject’s face to be turned slightly toward the light. The ratio between key and fill matters enormously here. I typically work at a 3:1 or 4:1 ratio, meaning the key is outputting roughly 1.5 to 2 stops more light than the fill.
Split lighting places the key light directly to the side of the subject, at 90 degrees, lighting exactly half the face and leaving the other half in shadow. This is dramatic, directional, and not universally flattering. I use it for character portraits, musicians, and editorial work where mood is the priority. It punishes asymmetrical faces and requires careful fill control if you want any detail on the shadow side at all.
Broad and short lighting are not separate patterns but rather two ways of applying the patterns above. Broad lighting means the key light illuminates the side of the face turned toward the camera, which widens the face visually. Short lighting means the key illuminates the side turned away, which narrows it. For most portrait work, short lighting is the default. I switch to broad intentionally, usually for subjects with narrow or angular faces.
Ratios, Modifiers, and Why Your Gear Matters
A lighting pattern without a controlled ratio is a guess. I meter every setup with a Sekonic L-858D and record both the key and fill readings before I fire a single frame. For corporate headshots, I’m almost always at a 2:1 ratio. For beauty work, sometimes as flat as 1.5:1. Editorial can push to 5:1 or beyond.
Modifier choice changes how a pattern behaves. A 7-inch silver reflector produces hard-edged shadows that make Rembrandt and split patterns look graphic and defined. A 60-inch parabolic umbrella produces soft gradients that make loop lighting feel almost like window light. I keep six modifiers labeled with masking tape on my studio wall, each one flagged for which patterns it serves best. It sounds obsessive, and it is, but it means I’m not guessing during a shoot.
For a basic three-light portrait setup, I’m usually running two Profoto B10 heads as key and fill, and a third as a hair or separation light. Total output range on the B10 is 1 to 250 watt-seconds, which gives me enough range to work at f/4 or f/11 depending on how much depth of field the shot needs.
The Session That Changed How I Think About Skin
My wife has what I’d call a technically challenging face to light, not because it isn’t beautiful but because it has strong planes and asymmetry that pattern lighting either flatters heavily or punishes. Early in my career, I lit her with a large, flat softbox because I wanted to be safe. The result looked like a driver’s license photo. She looked at the screen and said, “the light isn’t touching my cheekbones.”
She was right, and she has never studied photography. She could see that the shadow structure was wrong before I could articulate why. I switched to loop lighting with a 3:1 ratio and a small silver reflector as fill, and the portrait looked like a completely different person. That session is sketched in my lighting journal with the exact modifier, distance, and ratio noted. I still refer back to it.
The most important thing I can tell you about portrait lighting patterns is this: choose the pattern before you set up the light, not after. Every adjustment you make after the fact is a correction, and corrections compound into confusion.
Robert Kessler is a commercial and editorial photographer based in Los Angeles.
Comments
Leave a Comment