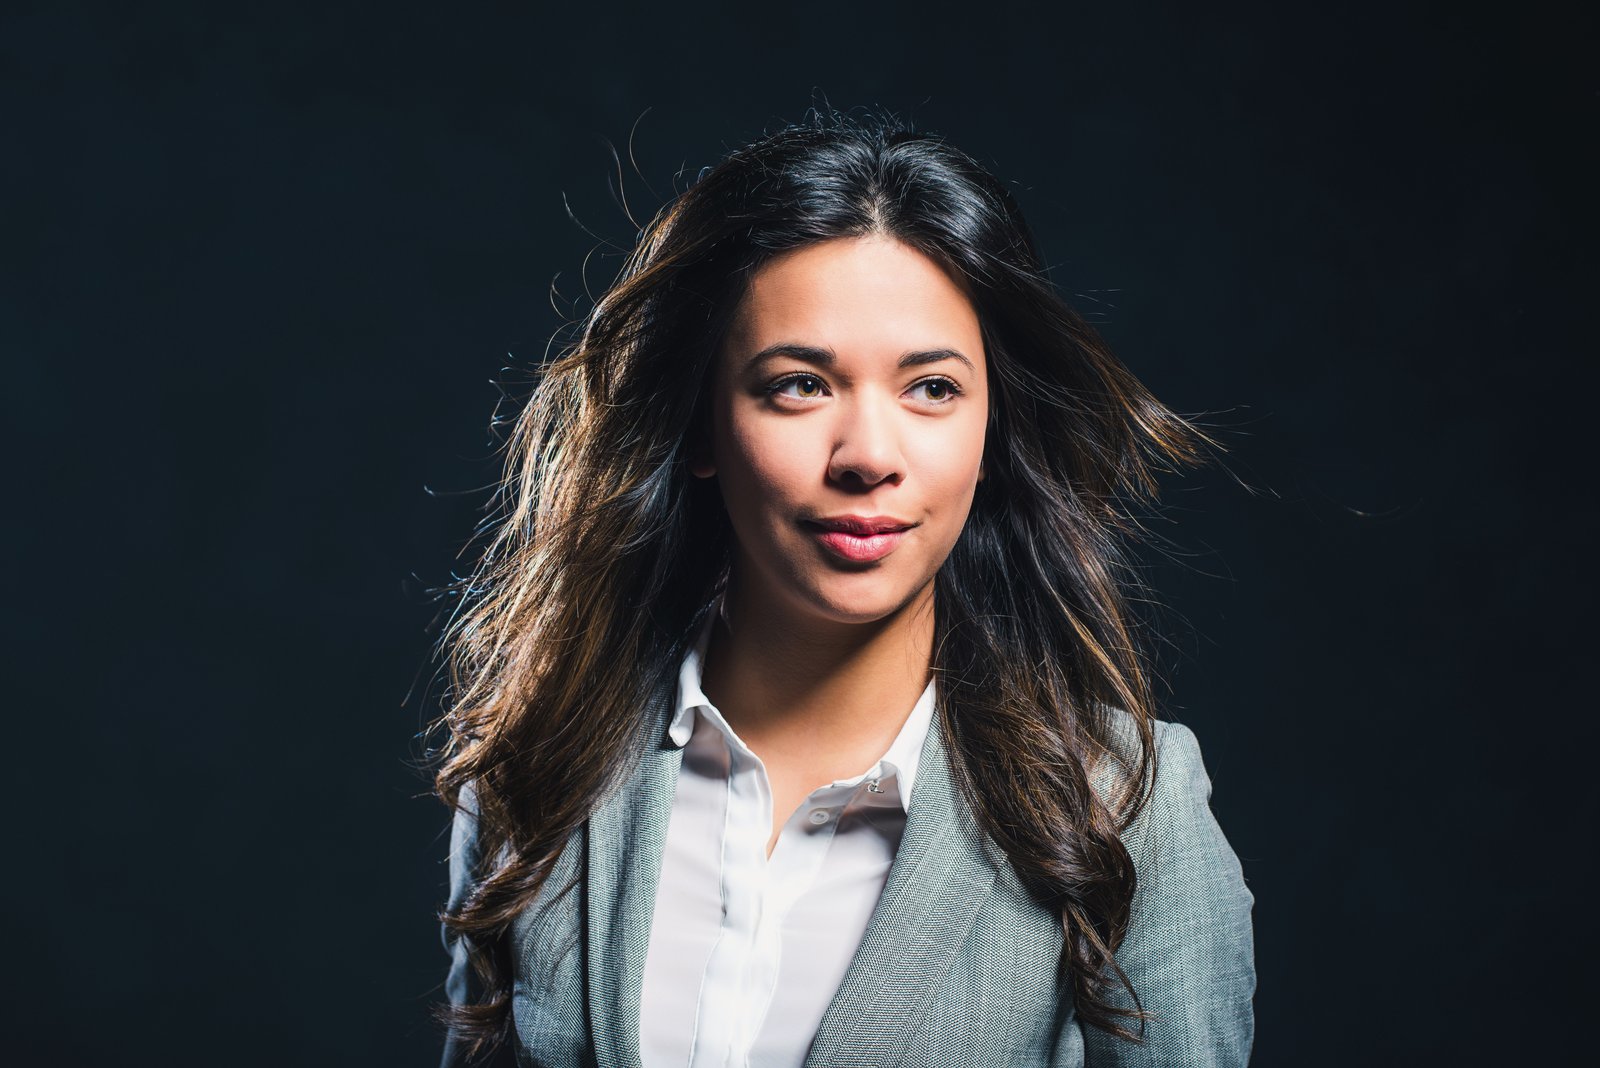
When a Client Asks for “Dramatic” — You Need a Blueprint, Not a Guess
Last spring I had a beauty client sit down in my chair, hand me a reference image torn from a magazine, and say “like that.” The image was moody, directional, with deep shadow carving the left side of the model’s face. No lighting diagram. No EXIF data. Just a glossy rectangle and an expectation.
I knew immediately it was split lighting pushed slightly toward loop. I knew because I had sketched a nearly identical setup in my lighting journal three months earlier on a test shoot. I dialed it in within two frames. That is the entire argument for understanding portrait lighting patterns at a mechanical level: when you know the recipe, you cook fast.
There are five foundational patterns. Every commercial portrait you have ever admired came from one of them, or a deliberate hybrid. Here is how they work, why they work, and how to execute each one with precision.
The Geometry Underneath the Light
Before touching a modifier, you need to understand what you are actually controlling. Portrait lighting patterns are about shadow placement on the nose, cheek, and eye socket. Full stop. The catchlight is a bonus. The shadow is the signal.
Your main light position relative to the subject’s face determines the pattern. Height affects under-eye shadow depth. Distance controls falloff rate. Source size controls shadow edge hardness. A 7-inch reflector at 6 feet gives you a crisp, defined shadow. A 60-inch Photek Softlighter II at the same distance gives you a graduated, feathered transition. Both can create the same pattern name while producing completely different emotional textures. Pattern is geometry. Quality is physics.
Butterfly, Loop, and Rembrandt: The Workhorse Trio
Butterfly lighting places the main light directly in front of the subject, elevated at roughly 45 degrees above eye level. The nose shadow drops straight down, creating a small butterfly shape below the nose. This is the classic beauty and fashion light. For beauty work, I run a 24x36-inch Elinchrom Rotalux softbox at f/8, 1/200s, ISO 100, positioned about 4 feet from the subject. Add a white V-flat below the chin to fill shadows under the jaw and you have the setup used on half the skincare campaigns you scroll past on Instagram.
Loop lighting is a 30-45 degree rotation of that same source off-center, dropping the nose shadow diagonally toward the corner of the mouth. It is the most universally flattering pattern for a wide range of face shapes. I default to this on corporate headshots because it works on nearly everyone without adjustment. Same softbox, rotated to camera left, main light at a 4:1 ratio to the fill, meaning the fill is two stops down.
Rembrandt lighting pushes the source to 45 degrees or more to the side and raises the height until a small triangle of light appears on the shadow-side cheek. That triangle is the diagnostic marker. If it is not there, you do not have Rembrandt, you have bad loop lighting. This pattern needs a harder source to read properly. I use a 48-inch octabox rather than a softbox, at f/11, with no fill. The contrast ratio runs 8:1 or higher. It reads immediately as editorial.
Split and Broad: When You Want to Make a Statement
Split lighting places the source exactly 90 degrees to the subject’s face. Half in light, half in shadow, with the nose shadow merging into the cheek shadow on the dark side. This is the most dramatic of the five patterns and also the least forgiving. Skin texture reads hard and three-dimensional. I use a 10-degree grid on a Paul C. Buff Einstein E640 at f/16 for split portraits. The grid prevents light from spraying onto the background and keeps the shot looking precise rather than sloppy.
Broad lighting turns the lit side of the face toward camera. It widens the perceived shape of the face. I use it almost never because most subjects want to look slimmer, not wider, but it is genuinely useful for subjects with very narrow faces, or when a client specifically wants an expansive, powerful read. Same rules apply as loop, just flip which cheek faces camera.
The Test I Run Before Every New Modifier Arrives
When a new modifier shows up at my studio, I label it with masking tape on the speed ring, date it, and run a controlled test before I ever use it on a client. I shoot all five patterns at a fixed distance of 5 feet, f/8, with my Canon R5 at ISO 100 and a Sekonic L-478DR meter in my hand. I shoot a gray card frame first for white balance reference. Then I sketch the setup in my lighting journal with the modifier specs written in the margin.
That process sounds excessive until you are mid-shoot and need to know exactly how a modifier behaves at 3 feet versus 7 feet. I have that data. I do not have to guess.
The anecdote I remember most clearly here: my wife sat for a test shoot years ago and pointed at her cheek where a transition from highlight to shadow was happening, and said “that right there is where it goes from looking real to looking flat.” She was describing the shadow edge quality I had been chasing conceptually for two years. Watching light fall on someone you actually know, and having them tell you what it feels like from the other side of the lens, is worth more than any workshop.
The Single Variable That Separates Competent from Confident
Every one of these patterns can be executed badly by a photographer who does not understand the relationship between source size and subject distance. A large modifier close to the subject produces soft, wrapping light. The same modifier moved back six feet produces light almost as hard as a bare strobe. The modifier is not the variable. The ratio of source size to subject distance is the variable.
Learn that one relationship precisely, and the five patterns stop being five separate problems. They become one system with five expressions.
Comments
Leave a Comment