Running a commercial studio in Los Angeles means I am always solving the same two problems at once: keeping the quality high and keeping the overhead from swallowing the margins. For years, the workstation question felt fixed. You bought a tower, you bolted it to a desk, and that was your anchor. When a client needed location work, you shot tethered to a laptop that could barely handle the raw files from a medium-format back without grinding. The idea that your most powerful machine could also be your most portable one never really entered the equation.
That assumption started cracking when I watched Peter McKinnon’s hands-on breakdown of the Mac Studio with the M1 Ultra chip. Watch the full tutorial on YouTube. McKinnon is not a studio photographer, but he stress-tests hardware the way I stress-test light modifiers, and his perspective on what this machine means for portable creative work made me stop and rethink the logistics of how I run shoots outside the studio. This is a walkthrough of the key points from that video, filtered through the lens of someone who bills by the day and cannot afford bottlenecks.
Step 1: Understand What the Mac Studio Actually Is
 Mac Studio sitting inside an open Pelican case
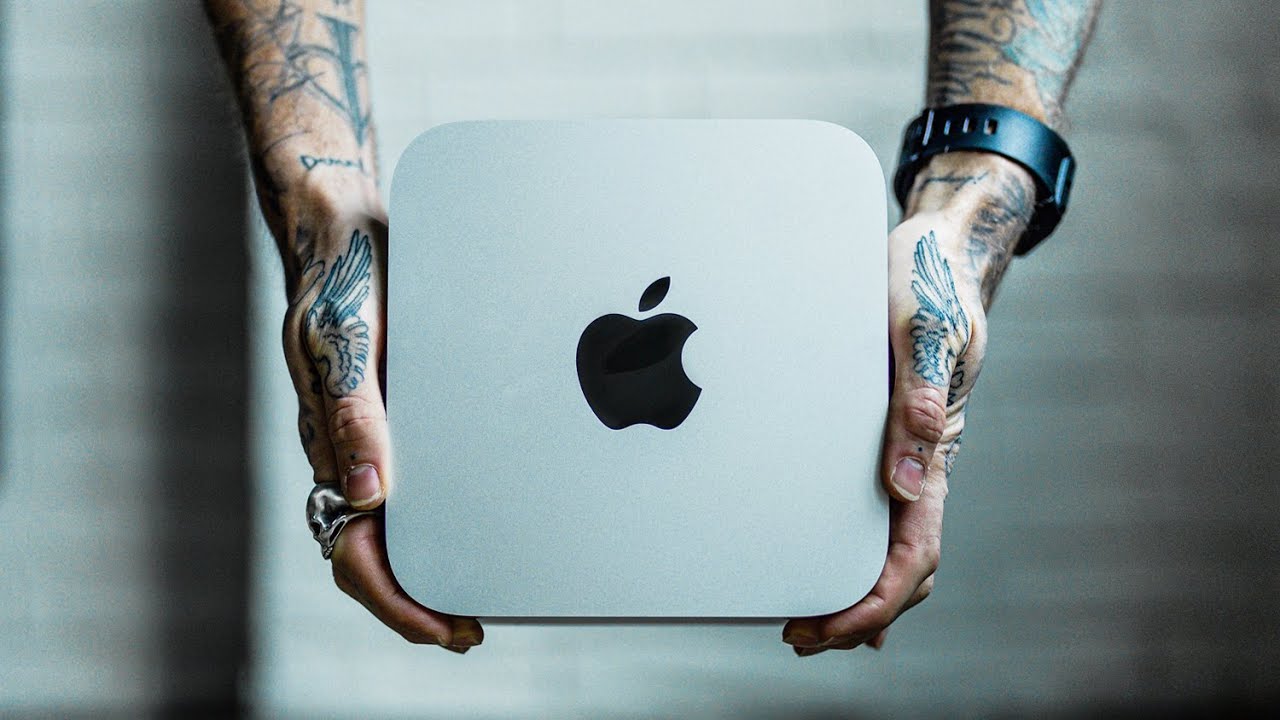
Before you can evaluate whether this machine belongs in your workflow, you need to understand what it is and, just as importantly, what it is not. The Mac Studio is a compact desktop. Not a laptop, not an all-in-one. It is a small aluminum cylinder roughly the size of a stack of three or four DVD cases. McKinnon makes the point clearly: this is currently Apple’s most powerful silicon-based system in a form factor that fits inside carry-on luggage. For a studio photographer, that framing matters. You are not looking at a compromise machine. You are looking at a desktop-class workstation that happens to be small enough to pack.
Mac Studio sitting inside an open Pelican case
Before you can evaluate whether this machine belongs in your workflow, you need to understand what it is and, just as importantly, what it is not. The Mac Studio is a compact desktop. Not a laptop, not an all-in-one. It is a small aluminum cylinder roughly the size of a stack of three or four DVD cases. McKinnon makes the point clearly: this is currently Apple’s most powerful silicon-based system in a form factor that fits inside carry-on luggage. For a studio photographer, that framing matters. You are not looking at a compromise machine. You are looking at a desktop-class workstation that happens to be small enough to pack.
Step 2: Recognize the Portability Case That Changes Everything
 Pelican 1510 carry-on case open on a desk
McKinnon demonstrates the machine sitting inside a Pelican 1510 case, which is a standard carry-on-compliant hard case used across industries for protecting sensitive gear. The Mac Studio fits with room to spare. He points out that you could add studio headphones, an iPad as a secondary monitor, and still have the case within airline size limits. For location shoots where I am doing on-the-spot culling or handing selects to an art director in real time, this is significant. My current travel setup involves a laptop that throttles under sustained Capture One load. A desktop-class chip inside a Pelican that fits under the seat in front of me is a fundamentally different proposition.
Pelican 1510 carry-on case open on a desk
McKinnon demonstrates the machine sitting inside a Pelican 1510 case, which is a standard carry-on-compliant hard case used across industries for protecting sensitive gear. The Mac Studio fits with room to spare. He points out that you could add studio headphones, an iPad as a secondary monitor, and still have the case within airline size limits. For location shoots where I am doing on-the-spot culling or handing selects to an art director in real time, this is significant. My current travel setup involves a laptop that throttles under sustained Capture One load. A desktop-class chip inside a Pelican that fits under the seat in front of me is a fundamentally different proposition.
Step 3: Review the Physical Port Layout Before You Commit to a Setup
 Front and rear ports of the Mac Studio shown clearly
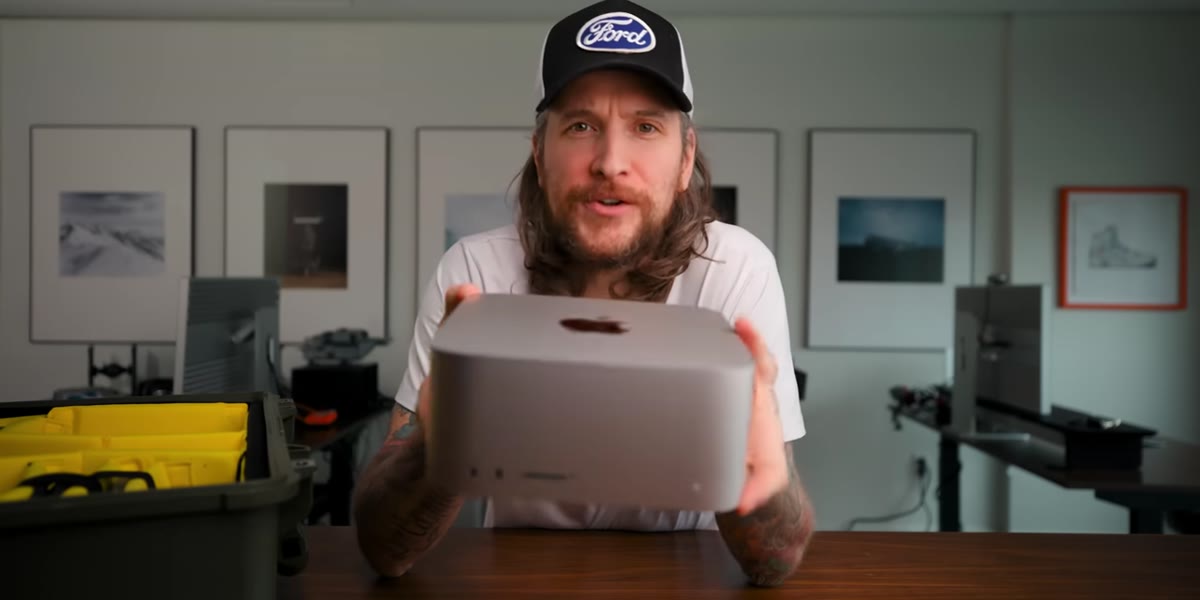
McKinnon walks through the physical hardware methodically, and this is where photographers need to pay specific attention. The front of the unit has ports for direct card reader or peripheral access, which matters when you are dumping cards quickly on set. The rear handles the heavier connectivity: display outputs, high-speed data, power. He also notes the ventilation design, with intake at the bottom and exhaust out the back, which tells you how to position the unit. Do not place it inside an enclosed cabinet or directly against a wall. On set, I would treat this the same way I treat a fan-cooled strobe pack: give it breathing room, especially during long tethered sessions where the processor is working continuously.
Front and rear ports of the Mac Studio shown clearly
McKinnon walks through the physical hardware methodically, and this is where photographers need to pay specific attention. The front of the unit has ports for direct card reader or peripheral access, which matters when you are dumping cards quickly on set. The rear handles the heavier connectivity: display outputs, high-speed data, power. He also notes the ventilation design, with intake at the bottom and exhaust out the back, which tells you how to position the unit. Do not place it inside an enclosed cabinet or directly against a wall. On set, I would treat this the same way I treat a fan-cooled strobe pack: give it breathing room, especially during long tethered sessions where the processor is working continuously.
Step 4: Know the Spec Configuration You Are Looking At
 M1 Ultra chip specs displayed or discussed on screen
The version McKinnon reviews is the fully maxed configuration: the M1 Ultra chip, which Apple built by fusing two M1 Max chips together. The result is a 20-core CPU, 64-core GPU, 128 gigabytes of unified memory, and 8 terabytes of internal storage. McKinnon is transparent that Apple provided this unit on loan. For most working photographers, the fully loaded version is overkill, but the important context he provides is that even a mid-tier configuration of the Mac Studio outperforms his existing Mac Pro, a machine that cost significantly more. That is the benchmark that matters when you are deciding where to put your capital. You are not buying the top-of-the-line for bragging rights. You are buying performance per dollar and performance per cubic inch.
M1 Ultra chip specs displayed or discussed on screen
The version McKinnon reviews is the fully maxed configuration: the M1 Ultra chip, which Apple built by fusing two M1 Max chips together. The result is a 20-core CPU, 64-core GPU, 128 gigabytes of unified memory, and 8 terabytes of internal storage. McKinnon is transparent that Apple provided this unit on loan. For most working photographers, the fully loaded version is overkill, but the important context he provides is that even a mid-tier configuration of the Mac Studio outperforms his existing Mac Pro, a machine that cost significantly more. That is the benchmark that matters when you are deciding where to put your capital. You are not buying the top-of-the-line for bragging rights. You are buying performance per dollar and performance per cubic inch.
Step 5: Compare It Against Your Current Workstation Honestly
 Mac Pro visible in the background during comparison discussion
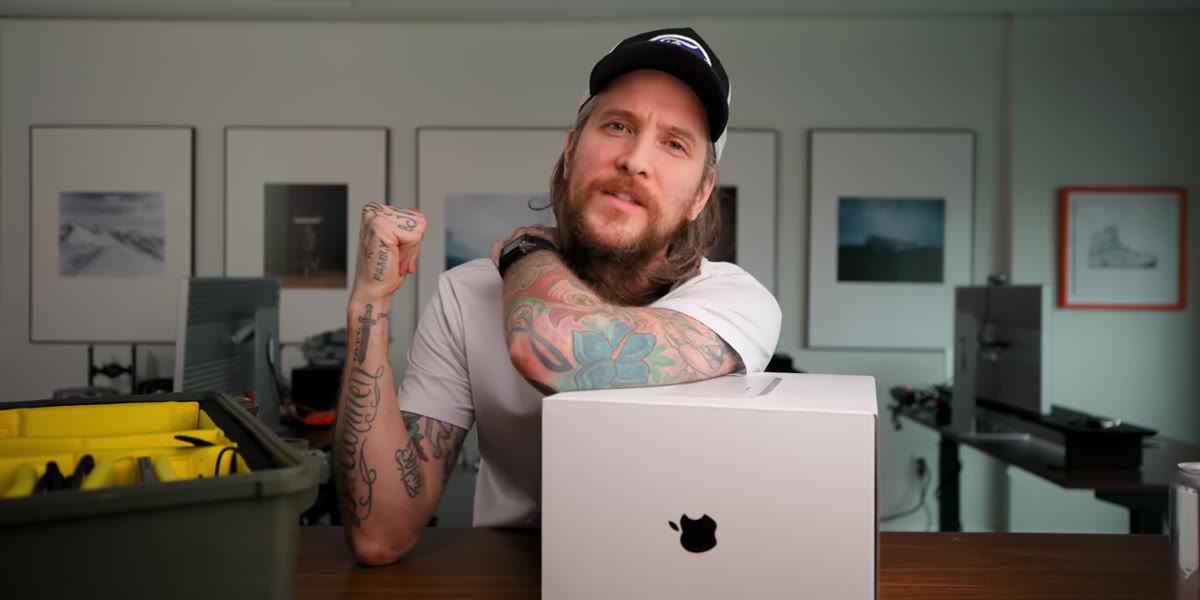
McKinnon’s comparison against his existing Mac Pro is the most practically useful part of the video. He does not run synthetic benchmarks here, but the implicit point is real: the Mac Studio’s specs on paper exceed a tower workstation that occupies far more space and cost more money. For photographers, the translation is straightforward. If you are running Capture One, Lightroom, Photoshop, or any combination of those simultaneously with large raw files, the unified memory architecture of the M1 Ultra means those applications share a fast memory pool rather than bouncing data between discrete components. That matters during heavy retouching sessions. It also matters when you are tethering and doing live adjustments while a client watches over your shoulder.
Mac Pro visible in the background during comparison discussion
McKinnon’s comparison against his existing Mac Pro is the most practically useful part of the video. He does not run synthetic benchmarks here, but the implicit point is real: the Mac Studio’s specs on paper exceed a tower workstation that occupies far more space and cost more money. For photographers, the translation is straightforward. If you are running Capture One, Lightroom, Photoshop, or any combination of those simultaneously with large raw files, the unified memory architecture of the M1 Ultra means those applications share a fast memory pool rather than bouncing data between discrete components. That matters during heavy retouching sessions. It also matters when you are tethering and doing live adjustments while a client watches over your shoulder.
Step 6: Factor the Monitor Cost Into Your Total Budget Realistically
 Pro Display XDR mentioned alongside Mac Studio pricing discussion
McKinnon points out that a Pro Display XDR, Apple’s reference monitor, lands close to ten thousand dollars after tax and shipping. He frames this as context for the Mac Studio’s price, which starts considerably lower. This is the budget decision point for studio photographers: the Mac Studio itself can be an accessible investment, but the display ecosystem around it can escalate quickly. I run color-critical work, and display accuracy is non-negotiable for fashion and beauty clients. If you are building a full Mac Studio workstation from scratch, plan the monitor budget separately and do not let the attractive entry price of the base unit obscure the full system cost.
Pro Display XDR mentioned alongside Mac Studio pricing discussion
McKinnon points out that a Pro Display XDR, Apple’s reference monitor, lands close to ten thousand dollars after tax and shipping. He frames this as context for the Mac Studio’s price, which starts considerably lower. This is the budget decision point for studio photographers: the Mac Studio itself can be an accessible investment, but the display ecosystem around it can escalate quickly. I run color-critical work, and display accuracy is non-negotiable for fashion and beauty clients. If you are building a full Mac Studio workstation from scratch, plan the monitor budget separately and do not let the attractive entry price of the base unit obscure the full system cost.
How I Would Actually Use This on a Commercial Shoot
The Pelican case idea is the one I keep coming back to. I keep a lighting journal where I sketch every setup from every shoot, and I have started adding a column for what the tethering rig looked like and where the bottlenecks hit. A portable desktop that does not throttle, fits in carry-on, and can run off a truck’s power supply changes the math on location editorial work entirely. My plan would be to pair it with a 27-inch portable monitor, keep the Pelican rigged and ready, and treat it the way I treat my light kit: always packed to the same standard, always ready to work the day you need it.
One real caveat: thermal performance under sustained load at a location is something McKinnon had not yet tested when this video was made. Before I would rely on this unit for a full-day tethered shoot in a warm exterior environment, I would want to see extended stress test data. For climate-controlled studio work, I would have no hesitation.
The single most important takeaway from McKinnon’s video is this: the constraint between power and portability has effectively been removed at the professional level. That is not a minor product update. That is a structural change in what a studio can look like and where it can go.
Watch the full tutorial on YouTube to see the unboxing, the Pelican case demonstration, and McKinnon’s full comparison discussion in real time.
Comments
Leave a Comment