The Shoot That Made Me Take Modifiers Seriously
I keep a lighting journal. Every setup, every shoot, sketched out in a small hardcover notebook I’ve been filling since 2009. Somewhere in the middle of volume three is a page I still cringe at: a fashion editorial where I used a 7-inch silver reflector dish on my key light because I wanted “drama,” and instead delivered a sweaty, blown-out mess with shadows so hard the talent looked like a crime scene photo. The client was kind about it. I was not kind to myself.
That shoot taught me something that no workshop had ever made concrete: the modifier is not decoration. It is the light. The strobe firing inside it is just electricity. The modifier is where the actual decision happens.
What a Modifier Actually Does to Photons
Every light source has two properties that matter most: size and diffusion. These two things determine whether your shadows have hard edges or soft gradients, whether skin reads as sculptural or smooth, and whether your catchlights look like a surgical lamp or a window.
The closer a light source is to your subject, and the larger it is relative to that subject, the softer the light. This is physics, not opinion. A 5-foot Octa 24 inches from a face is genuinely large relative to that face. The same modifier at 10 feet is functionally smaller, and your shadows harden accordingly. When photographers talk about “wrapping” light, they mean achieving enough angular coverage that the light hits the subject from multiple directions at once, minimizing harsh transitions.
Diffusion panels scatter the light by breaking up the concentrated beam from the strobe’s reflector. Silver-lined interiors bounce more energy and retain a specular quality. White interiors absorb some output but produce a softer, more neutral quality. Grids restrict the beam angle without changing the quality of the light itself. Understanding these four variables, size, distance, interior surface, and grid attachment, gives you a repeatable system instead of a guessing game.
The Modifier Lineup I Actually Use on Paid Work
I have twelve modifiers in my studio, and I label every single one with a strip of masking tape noting its dimensions and typical use case. Here is what actually gets pulled off the shelf:
Westcott Rapid Box Switch Octa-M (36-inch), $200. This is my most-used modifier. Close at 18-24 inches, it gives a beautiful, even spread for beauty and portrait work. It sets up in under 90 seconds, which matters on a busy half-day corporate shoot.
Profoto RFi 2x3 softbox, $330. The rectangular shape gives catchlights that read as windows, which I prefer for fashion work. The 2:3 ratio also means it’s versatile as a hair light when turned vertically. I run this at about f/8 on a two-light setup, with the key light 45 degrees camera-left at a 2:1 ratio to a large reflector panel on the opposite side.
Paul C. Buff 22-inch beauty dish with diffusion sock, $79 for the dish, $29 for the sock. Without the sock, this produces a distinctive donut-shaped catchlight and punchy midtone contrast. Add the sock and it softens enough for skincare campaigns without losing the “snap” that makes it different from a softbox. I shoot this at f/11 to f/13, centered above and slightly in front of the subject’s face at about 30 inches.
Westcott 7-inch silver reflector dish, $39. Yes, the same one that burned me years ago. Redemption came when I learned to use it at 8 to 10 feet as a rim or kicker light, not as a key. At that distance, angled sharply from behind the subject, it carves out shoulder definition on dark backgrounds with an authority no softbox can match.
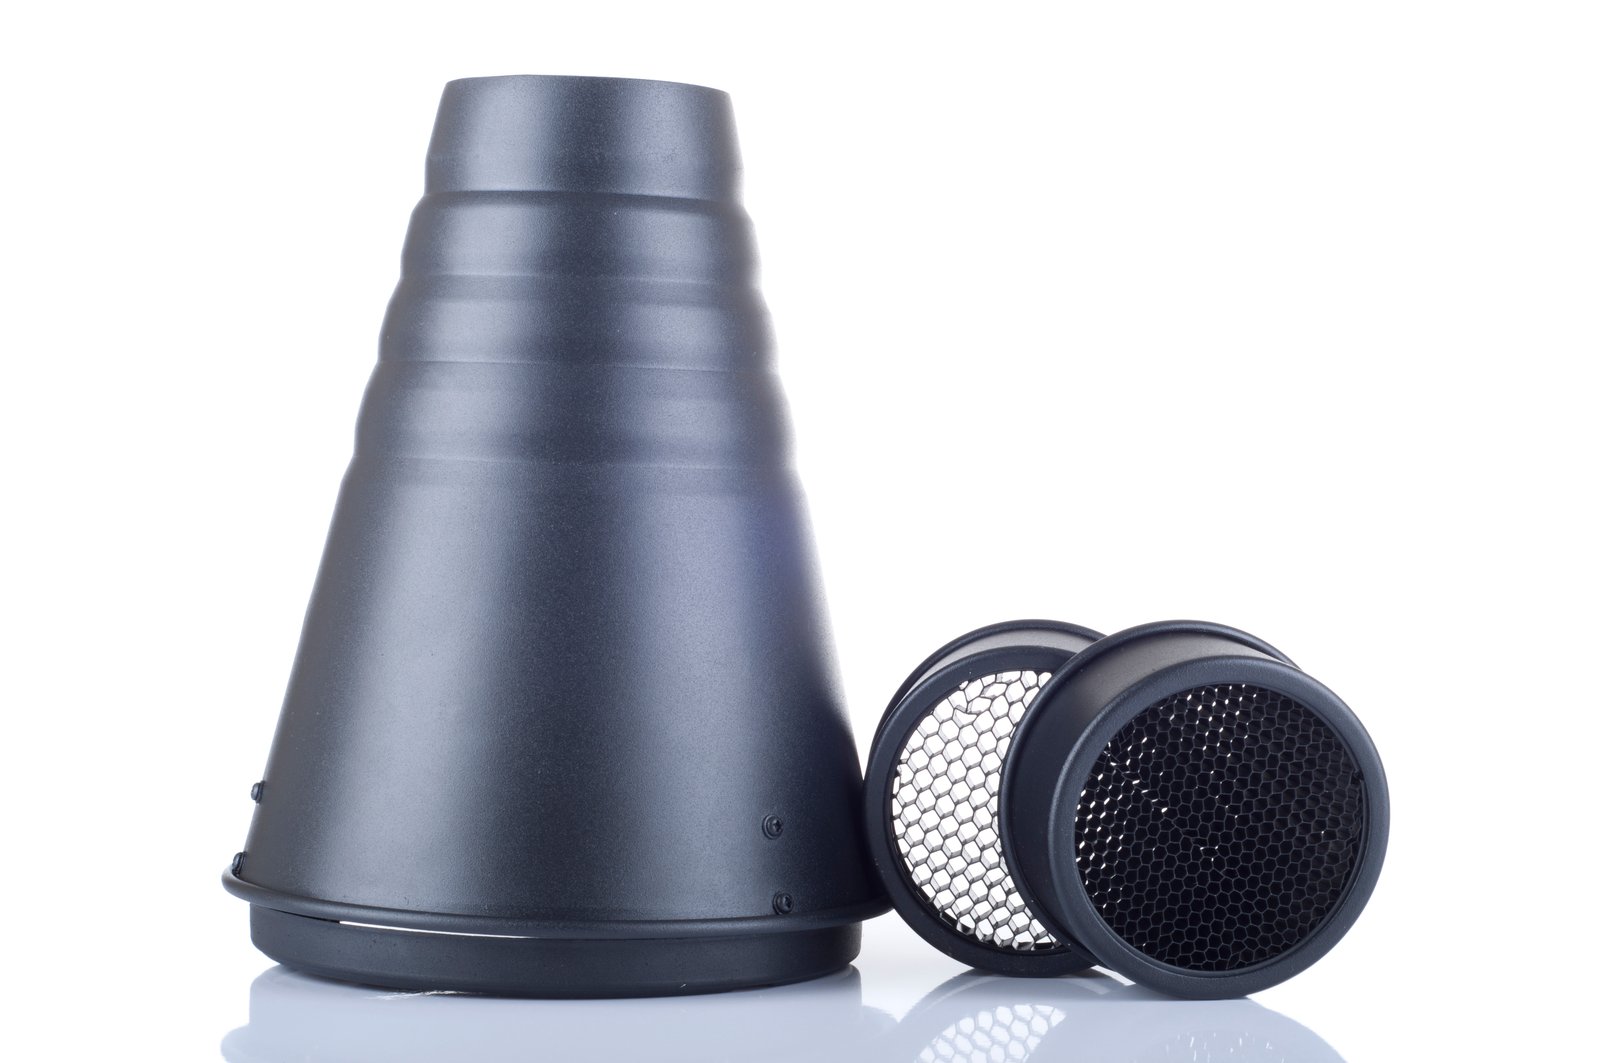
40-degree grid for the beauty dish, $45. Grids are not optional on a real set. They control spill, keep your background exposure independent of your subject exposure, and make ratios actually predictable. I run a grid on almost every modifier except when I’m deliberately trying to fill the whole scene.
The Counter-Intuitive Thing About Soft Light
There is a widespread assumption that softer is always more flattering. It is not. My wife, who I photograph constantly and who has given me more useful feedback about how light reads on skin than any course I have ever taken, put it plainly once: “Flat light makes me look tired. I want shape, not shadow.”
She was right. Completely flat, shadowless light removes the three-dimensionality that makes a face look alive. A 60-inch umbrella at a 90-degree angle to the subject, from the side, produces very soft shadows but also very dramatic ones. The softness is about the edge quality, not the placement. You can have soft-edged shadows that are still deep and directional. That distinction matters enormously in beauty work where you’re trying to show bone structure without creating harshness.
The practical implication: never choose a modifier for softness alone. Choose it for the specific shadow edge and highlight shape you need for that subject and that brief.
When to Stop Testing and Start Committing
I test every new modifier the day it arrives. I shoot a still life at f/5.6, f/8, and f/11 at three different distances, diagram the setup in my phone app, and archive the results. This takes about forty-five minutes and has saved me hours of uncertainty on actual shoots.
But the more important habit is not testing. It is committing to three modifiers and learning them completely before buying anything else. If you own a 36-inch Octa, a 22-inch beauty dish, and a simple 7-inch reflector dish, you can light almost any portrait or beauty brief a client will hand you.
The modifier you understand completely will always outperform the modifier you bought hoping it would solve a problem.
Comments (3)
Wow, I had no idea you could do this. Mind blown.
Love this. I referenced a similar technique in one of my recent posts. Always good to see other perspectives.
Great breakdown. The step-by-step approach really helps.
Leave a Comment