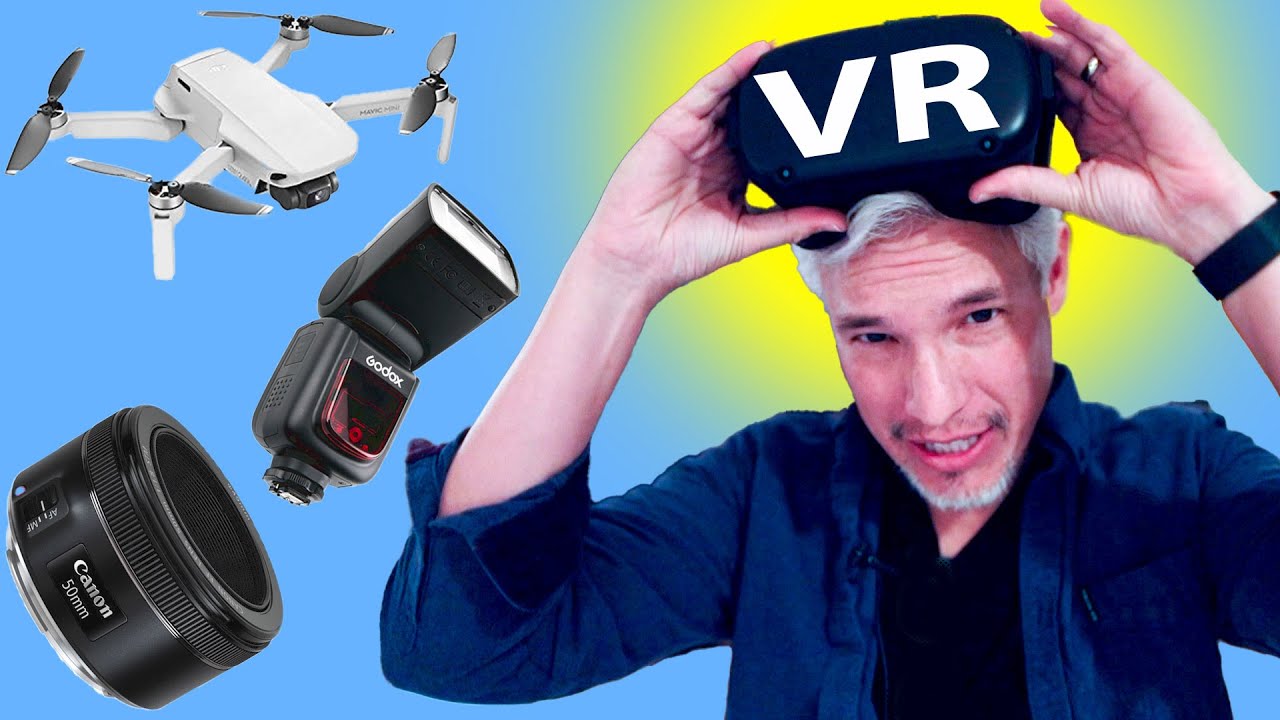
Every December I get the same texts from relatives. A blurry photo of a camera shelf at Best Buy, followed by “is this good?” The honest answer is: it depends on what your photographer actually shoots, what camera system they’re already in, and whether they need something versatile or something specialized. Most gift guides skip all of that. This one doesn’t.
In this Tony & Chelsea Northrup tutorial on holiday gifts for photographers, Watch the full tutorial on YouTube - the recommendations come from personal use, not sponsored placcements. That’s rare, and it’s worth your time. I’ve pulled out each gear category, added my own context from years of studio and commercial work, and organized it so you can shop with confidence instead of guessing.
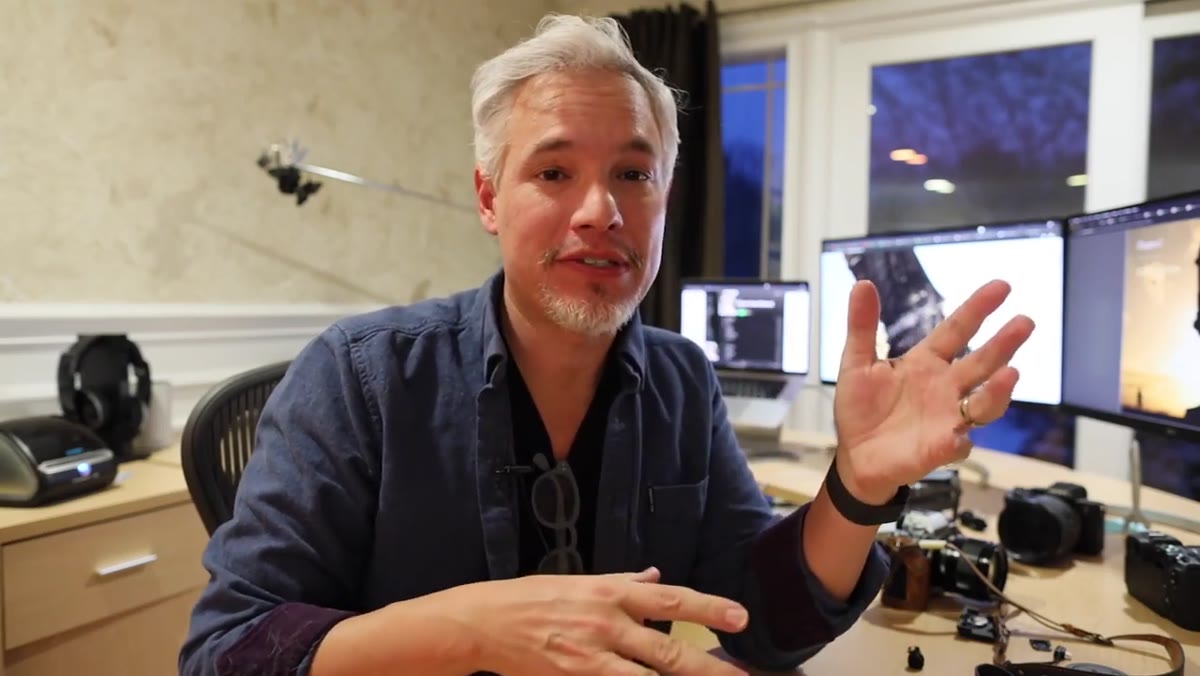
What struck me watching this is how well Tony’s picks translate to photographers who split their time between studio and location work, which describes most working pros I know in Los Angeles. The gear that earns a spot in my bag has to earn it twice over.
Step 1: Start With a Prime Lens That Has Real Bokeh
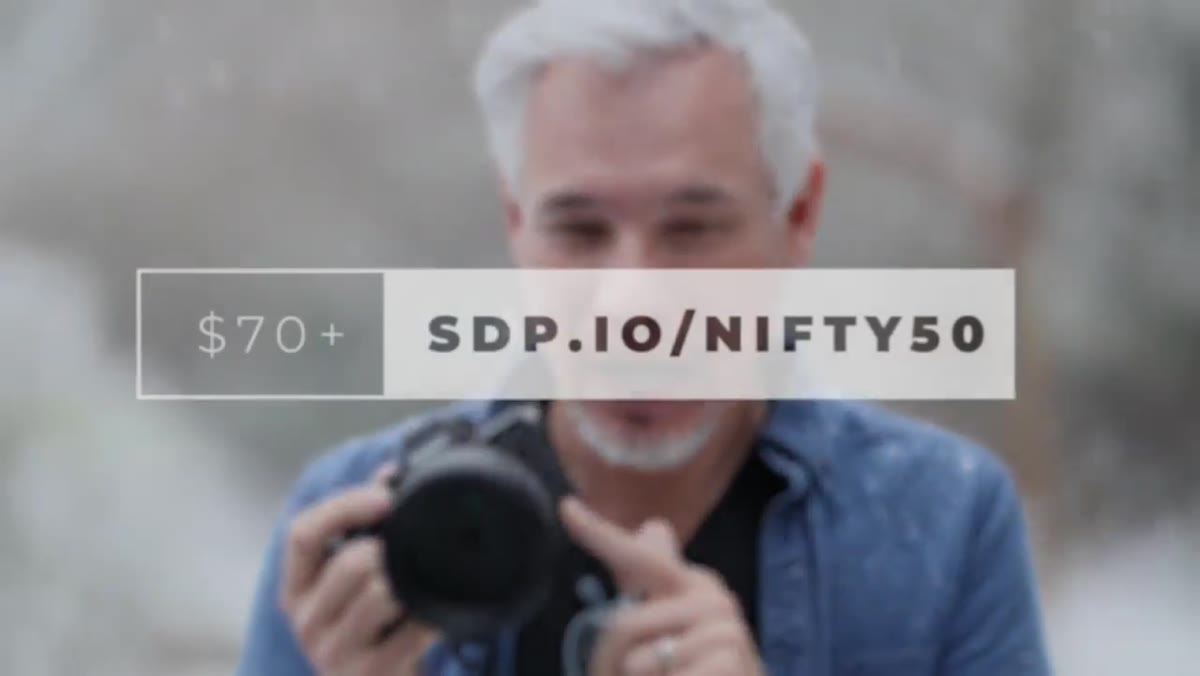 Tony holding or referencing a prime lens with bokeh
The first recommendation is a prime lens, and the entry point is the so-called “nifty fifty” - a 50mm f/1.8 available for almost every camera system at a genuinely affordable price. If the budget allows a step up, an 85mm f/1.4 changes the game entirely. Tony mentions filming the segment on an 85mm f/1.2, which tells you everything about how seriously he takes the compression and subject separation that focal length delivers.
Tony holding or referencing a prime lens with bokeh
The first recommendation is a prime lens, and the entry point is the so-called “nifty fifty” - a 50mm f/1.8 available for almost every camera system at a genuinely affordable price. If the budget allows a step up, an 85mm f/1.4 changes the game entirely. Tony mentions filming the segment on an 85mm f/1.2, which tells you everything about how seriously he takes the compression and subject separation that focal length delivers.
From a studio standpoint, the 85mm is where portraits start making sense optically. The compression flatters faces, the working distance gives your subject room to breathe, and a wide aperture means you can control background separation without needing a full lighting setup to do it for you. Check the manufacturer’s compatibility first - every major camera system has at least one excellent 85mm option - and confirm you’re buying the version built for the recipient’s mount.
Step 2: Add a Speedlight That Can Go Off-Camera
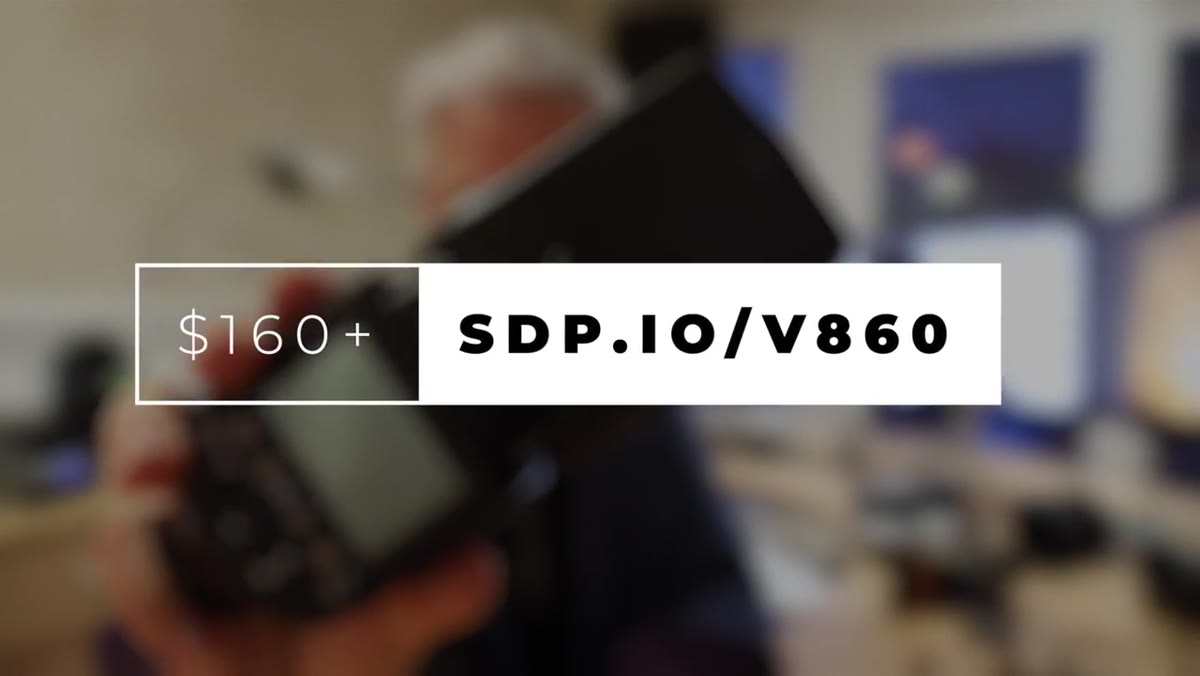 Godox V860 flash shown with wireless trigger kit
The flash recommendation here is the Godox V860, and the specific advice to buy the kit that includes the wireless trigger is the most important part of this section. A flash sitting in a hot shoe is useful. A flash sitting three feet to the left of your subject, triggered wirelessly, is a completely different tool.
Godox V860 flash shown with wireless trigger kit
The flash recommendation here is the Godox V860, and the specific advice to buy the kit that includes the wireless trigger is the most important part of this section. A flash sitting in a hot shoe is useful. A flash sitting three feet to the left of your subject, triggered wirelessly, is a completely different tool.
The V860 runs on a rechargeable lithium battery rather than AA cells, which matters more than most people realize until they’re mid-shoot swapping batteries under time pressure. Recycle times are faster, output is more consistent, and you don’t end up with a pocket full of spent AAs. When purchasing as a gift, confirm the camera brand first - Canon, Nikon, Sony, Fuji, and others each have a dedicated version - and buy the wireless trigger kit alongside it. Off-camera flash is where studio lighting thinking begins, even on location.
Step 3: Consider a Drone, But Choose the Right One for the Skill Level
 Mavic Mini drone shown next to Mavic 2 Zoom for size comparison
Tony covers two drones here and makes a clear distinction between them that deserves emphasis. The DJI Mavic Mini is genuinely capable and compact, but it lacks the obstacle avoidance and stabilization systems found on more advanced models. His advice to spend several days practicing before flying it anywhere near something you care about photographing is not hyperbole - it’s the kind of thing you learn the hard way.
Mavic Mini drone shown next to Mavic 2 Zoom for size comparison
Tony covers two drones here and makes a clear distinction between them that deserves emphasis. The DJI Mavic Mini is genuinely capable and compact, but it lacks the obstacle avoidance and stabilization systems found on more advanced models. His advice to spend several days practicing before flying it anywhere near something you care about photographing is not hyperbole - it’s the kind of thing you learn the hard way.
The Mavic 2 Zoom is his actual working drone, and the reason he prefers it over the Mavic 2 Pro is counterintuitive but sound. The zoom lens lets you create panoramas with longer focal lengths, which stacks up to significantly higher effective resolution than shooting wide and cropping. For editorial and commercial aerial work, that extra image quality has real-world value. If the person you’re buying for is experienced and will actually use it on shoots, the Mavic 2 Zoom earns its higher price point.
Step 4: Match the Camera Recommendation to the Budget
 Fujifilm X-T3 camera with leather case attached
Two camera recommendations appear here, separated by budget, and both are worth understanding on their own terms. The Fujifilm X-T3 is Tony’s personal choice when he’s shooting for enjoyment. It’s compact, beautifully designed, and produces exceptional images. He mentions a leather case that makes it look more like an attractive accessory than a piece of equipment - and there’s actually a practical argument for that. A camera that looks good on a table at dinner is a camera that travels with you instead of sitting at home.
Fujifilm X-T3 camera with leather case attached
Two camera recommendations appear here, separated by budget, and both are worth understanding on their own terms. The Fujifilm X-T3 is Tony’s personal choice when he’s shooting for enjoyment. It’s compact, beautifully designed, and produces exceptional images. He mentions a leather case that makes it look more like an attractive accessory than a piece of equipment - and there’s actually a practical argument for that. A camera that looks good on a table at dinner is a camera that travels with you instead of sitting at home.
For an unrestricted budget, the Sony A7R IV is the full recommendation. The reasoning is simple: resolution, dynamic range, autofocus performance, and lens system breadth combine to make it the most well-rounded single camera available. For commercial and editorial work where a client might want to crop aggressively or output at large print sizes, that resolution matters. It’s an investment, not an impulse buy, but it’s one that holds its value in professional contexts.
Step 5: Don’t Overlook the Bag
 Cecelia backpack open showing interior layout and top compartment
The Cecelia backpack gets specific praise over the Peak Design Everyday Bag, which is a notable comparison because the Peak Design is widely loved and genuinely well-made. Tony’s point is that the Cecelia carries more practically for travel, has a useful open top compartment for quick-access items like a phone or wallet, and has held up across multiple countries.
Cecelia backpack open showing interior layout and top compartment
The Cecelia backpack gets specific praise over the Peak Design Everyday Bag, which is a notable comparison because the Peak Design is widely loved and genuinely well-made. Tony’s point is that the Cecelia carries more practically for travel, has a useful open top compartment for quick-access items like a phone or wallet, and has held up across multiple countries.
For studio photographers who also travel for location shoots, the bag is where your entire day lives. I’ve ruined good leather bags carrying them through rain and fog on outdoor shoots, which is why I pay attention when someone with real mileage on a bag recommends the cloth version over the more fashionable leather option. Weight matters over a ten-hour shoot day, and a lighter bag means you carry more of what you actually need.
What I’d Add From the Studio Side
The one category missing from this guide, understandably given the video’s general audience, is modifiers. If you’re buying for someone who already has a flash or two and wants to develop their lighting, a quality octabox or a set of honeycomb grids will change more shoots than a new camera body ever will. I keep a lighting journal where I sketch every setup after a shoot, and flipping back through it, the upgrades that produced the biggest visible jumps in image quality were almost always modifiers and light placement, not new hardware. That said, everything in this guide is genuinely solid. None of it is a placeholder recommendation.
The single most important takeaway from this tutorial is Tony’s emphasis on wireless flash capability. Moving light off-camera is the moment photography stops being documentation and starts being craft. If the person you’re shopping for only gets one addition to their kit this year, make it a flash and a trigger.
Watch the full tutorial on YouTube for Tony’s full delivery on each pick, including specific model comparisons and package deals he references for books and bundles.
Comments
Leave a Comment