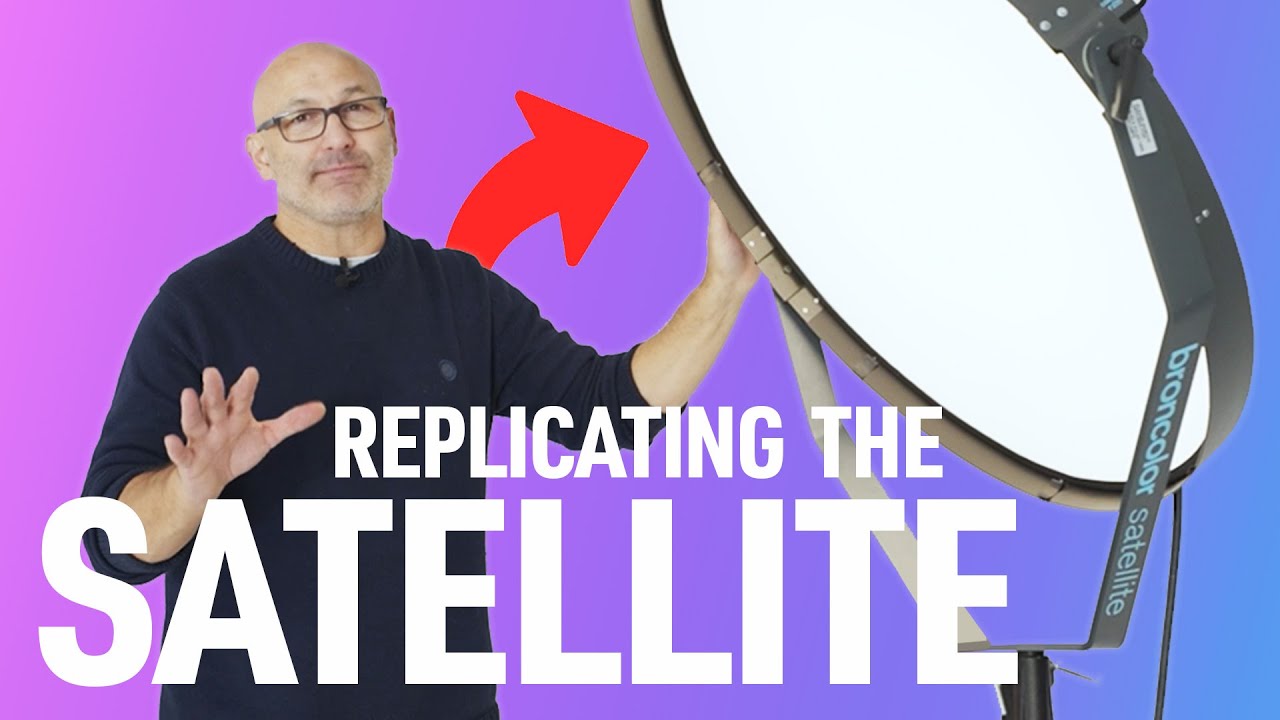
There are modifiers I reach for out of habit, and then there are the ones that genuinely change how I think about light. The Satellite Staro from Broncolor falls into the second category, even though I came to it late and even though Broncolor has since pulled it from production. I keep a lighting journal, every setup from every shoot sketched out with notes on what worked and what didn’t, and the Staro has its own dedicated page with question marks next to words like “filmic” and “tonal depth.” It produces a quality of light that is genuinely difficult to put into clinical terms, which is rare when you spend most of your career thinking about light as a technical problem to solve.
In this Visual Education tutorial, Kyle Taylor from VisualEducation.com walks through exactly what the Satellite Staro is, how it behaves, why it matters for beauty and fashion work, and, critically, how to replicate its effect without tracking down an expensive discontinued piece of gear. Watch the full tutorial on YouTube. What I appreciate about his breakdown is that he doesn’t just describe the modifier in abstract terms. He explains the physics of why it produces what it produces, which makes it actionable even if you’ve never touched one.
Step 1: Understand What You’re Actually Working With
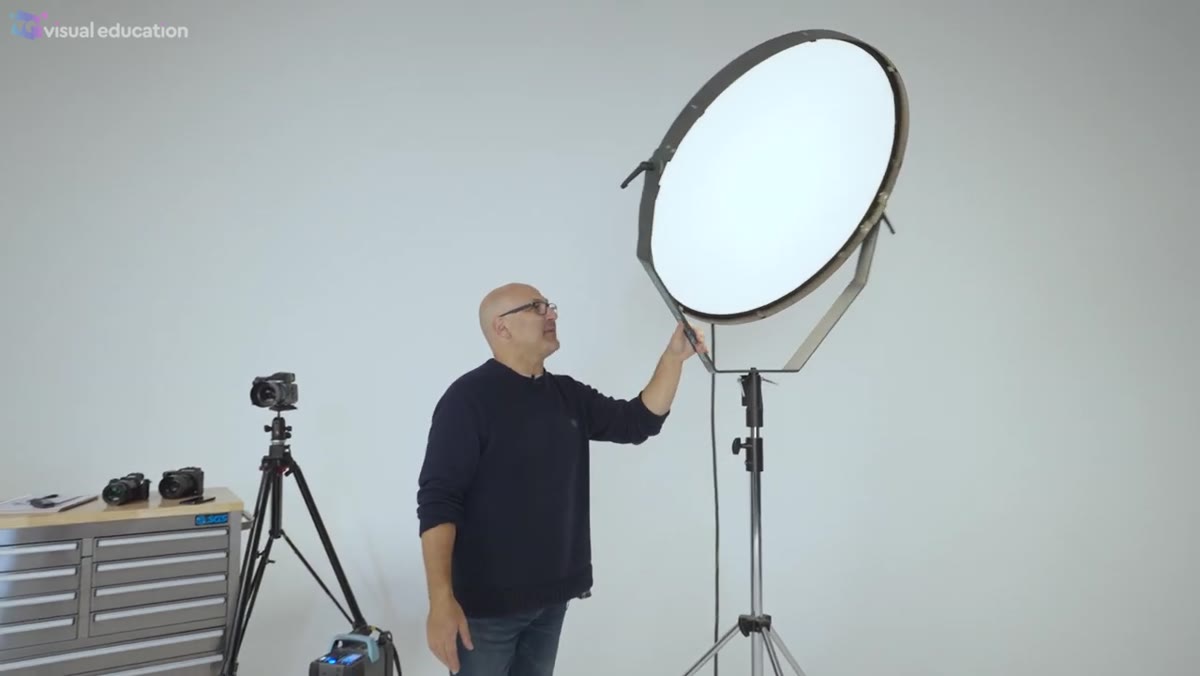 Kyle holding and presenting the Satellite Staro modifier
The Satellite Staro is a large-format circular modifier with a matte acrylic front diffusion panel. The diameter sits at roughly 92 centimeters, which puts it in legitimate large-light-source territory. A single studio flash head mounts directly to the rear fitting, and the whole unit includes adjustment handles so you can rotate it to your preferred shooting angle. It is not a softbox. It is not a beauty dish. It occupies its own category because of what that front diffusion panel does to the output.
Kyle holding and presenting the Satellite Staro modifier
The Satellite Staro is a large-format circular modifier with a matte acrylic front diffusion panel. The diameter sits at roughly 92 centimeters, which puts it in legitimate large-light-source territory. A single studio flash head mounts directly to the rear fitting, and the whole unit includes adjustment handles so you can rotate it to your preferred shooting angle. It is not a softbox. It is not a beauty dish. It occupies its own category because of what that front diffusion panel does to the output.
The key thing to understand at this stage: the matte acrylic has enough optical density to genuinely diffuse the light, but not so much that it kills the directionality. You end up with a circular, graduated output rather than a flat, even field. That distinction will drive every decision you make about placement and distance.
Step 2: Learn the Central Hot Spot Behavior
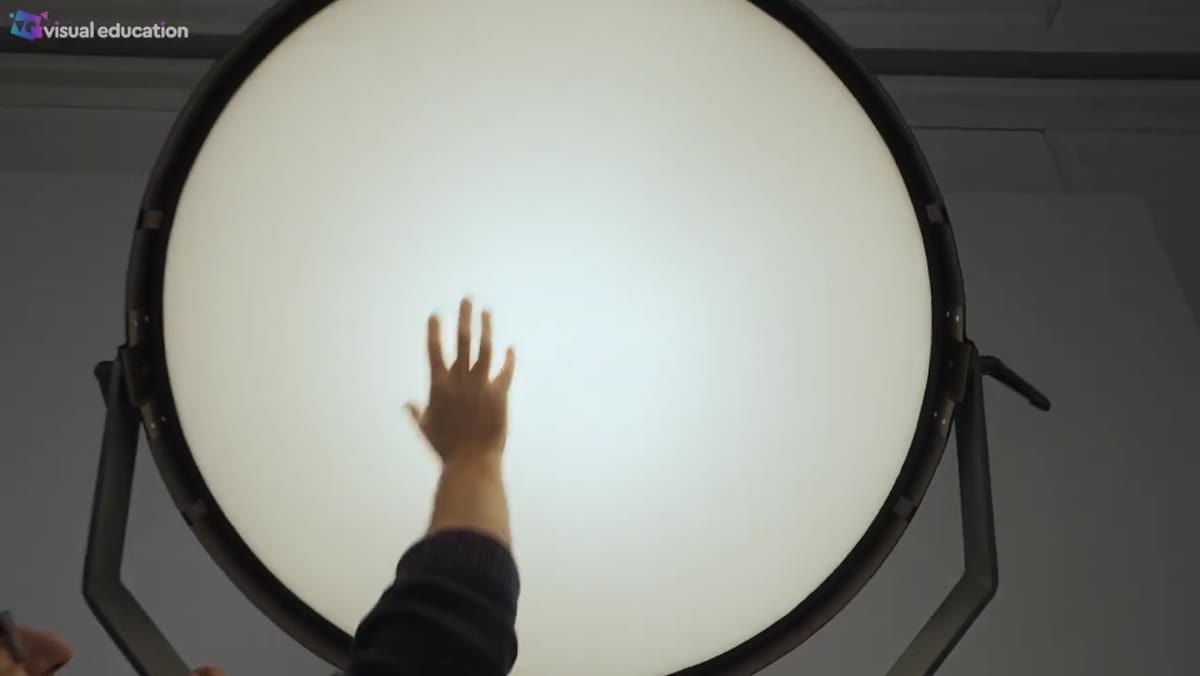 Demonstrating the graduated light output from the modifier’s front
This is where the Staro separates itself from a standard diffused source. The light concentrated forward by the rear-mounted head produces a stronger central zone that falls off gradually toward the edges of the circular face. Kyle describes it as a gradation that tapers, and that tapering is the entire character of this modifier. It is not even. It is not flat. The center is hotter, and the falloff is smooth and predictable.
Demonstrating the graduated light output from the modifier’s front
This is where the Staro separates itself from a standard diffused source. The light concentrated forward by the rear-mounted head produces a stronger central zone that falls off gradually toward the edges of the circular face. Kyle describes it as a gradation that tapers, and that tapering is the entire character of this modifier. It is not even. It is not flat. The center is hotter, and the falloff is smooth and predictable.
For beauty and fashion work, that gradation is enormously useful. Skin responds to graduated light the way a painting responds to a vignette. It creates inherent dimension without requiring you to add a second source for separation. If you have ever stared at a fashion image from the analog film era and tried to identify exactly why the lighting felt a certain way, graduated central hot spots are often the answer. They read as three-dimensional rather than clinically lit.
Step 3: Position It Like a Beauty Dish, Not a Softbox
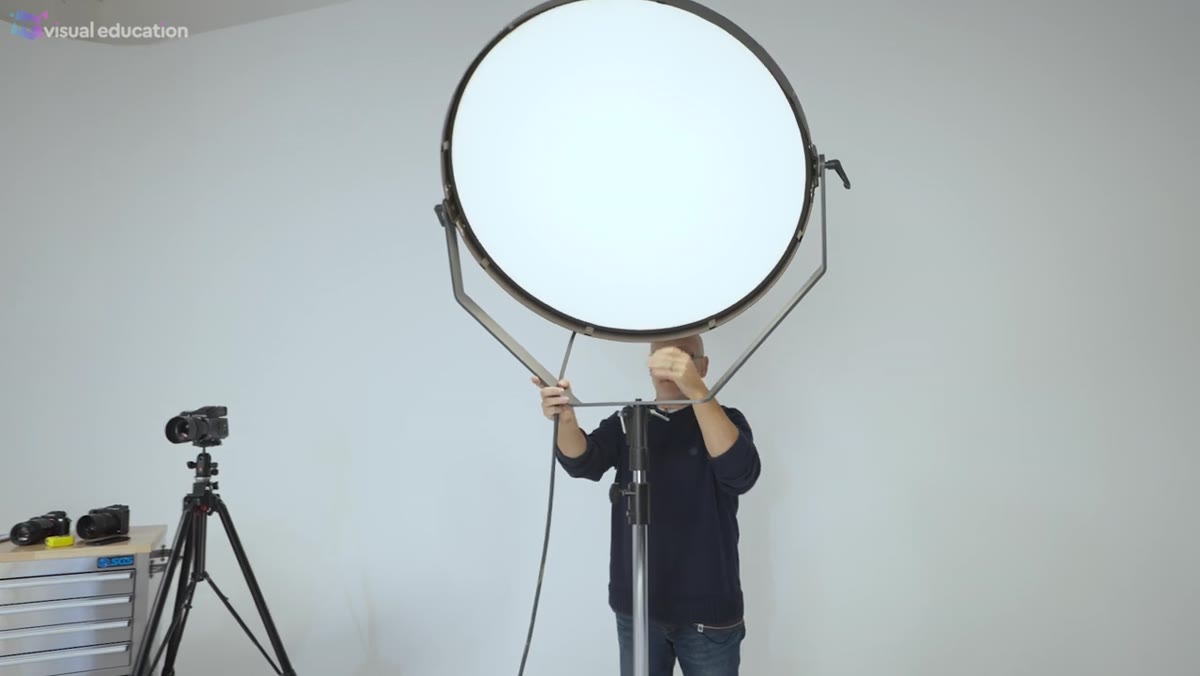 Kyle demonstrating camera shooting position through the modifier
Kyle’s preferred working position with the Staro mirrors how he would use a beauty dish or a Para 88: elevated above the subject, angled downward. The camera position is then shooting through the modifier, or from directly behind it, so the lens axis is aligned with the center of the light source. The subject stands in front at a distance consistent with beauty dish working distances, close enough to take advantage of the size and softness, far enough to let the gradation develop properly.
Kyle demonstrating camera shooting position through the modifier
Kyle’s preferred working position with the Staro mirrors how he would use a beauty dish or a Para 88: elevated above the subject, angled downward. The camera position is then shooting through the modifier, or from directly behind it, so the lens axis is aligned with the center of the light source. The subject stands in front at a distance consistent with beauty dish working distances, close enough to take advantage of the size and softness, far enough to let the gradation develop properly.
If you shoot from outside the light’s axis on a modifier like this, you lose the symmetry of the hot spot and the catch light stops being a perfect circle. Both of those are reasons to shoot on-axis. I label every light stand in my studio with masking tape notes including preferred axis angles, and for any dish-style modifier, that note always reads “on axis, always.”
Step 4: Recognize the Catch Light Advantage
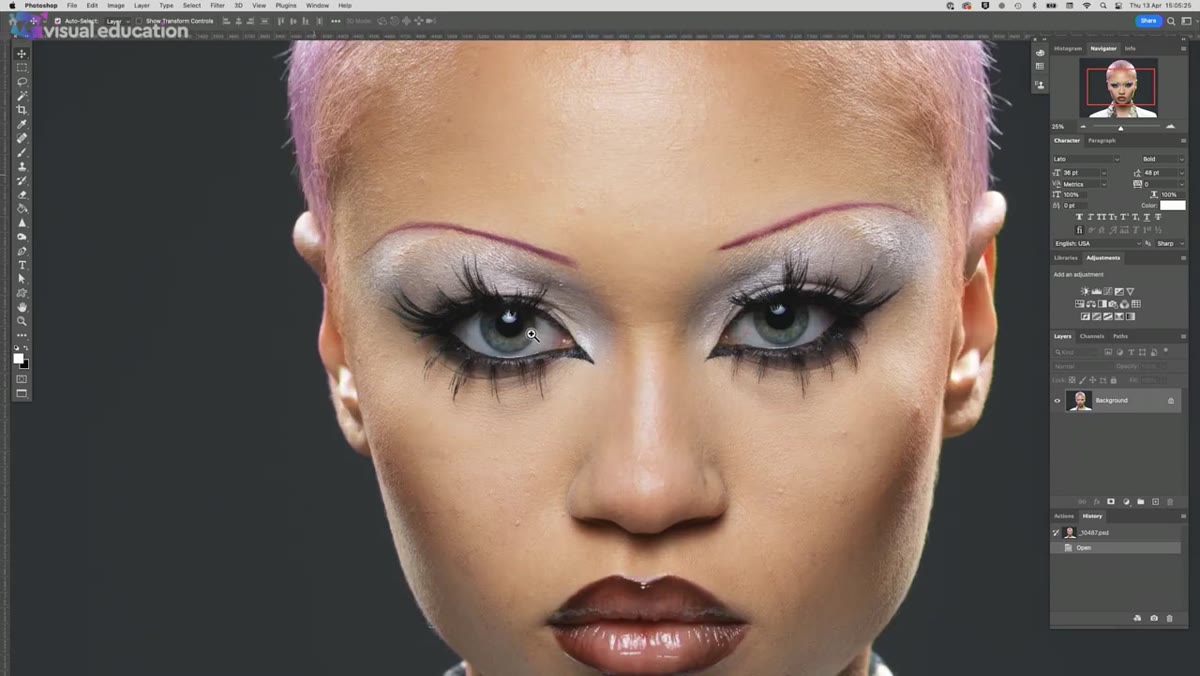 Close-up view of the circular front panel of the modifier
Because the Staro is perfectly circular, it produces a perfectly circular catch light in the subject’s eyes. Kyle flags this as one of the modifier’s clearest technical advantages, and he is right to. Catch lights are one of the first things a viewer’s eye reads in a portrait or beauty shot, even without knowing they are reading it. A circular catch light from a large, centrally graduated source reads as organic, almost like an open sky or a large window. It does not shout “studio.”
Close-up view of the circular front panel of the modifier
Because the Staro is perfectly circular, it produces a perfectly circular catch light in the subject’s eyes. Kyle flags this as one of the modifier’s clearest technical advantages, and he is right to. Catch lights are one of the first things a viewer’s eye reads in a portrait or beauty shot, even without knowing they are reading it. A circular catch light from a large, centrally graduated source reads as organic, almost like an open sky or a large window. It does not shout “studio.”
For beauty work specifically, the combination of the circular catch light and the graduated output means the modifier is doing multiple jobs at once: defining the eyes, sculpting the skin, and creating the kind of tonal contrast that used to require film stock to achieve.
Step 5: Know the Para 88 Alternative
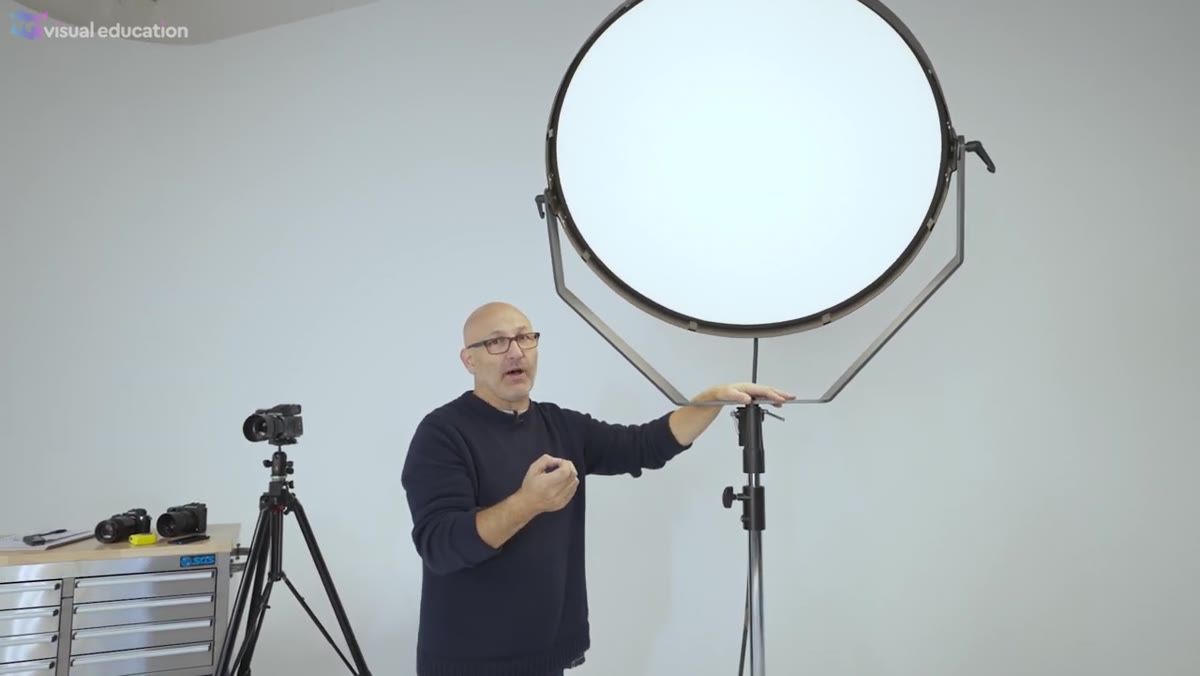 Explaining how the Para 88 with front diffusion replicates the effect
Broncolor discontinued the Satellite Staro because a modifier they already made, the Para 88, can replicate the effect with one adaptation. Fit the Para 88 with its stronger front diffusion panel and set the focusing rod toward the more focused position. What comes out of the front is no longer the columnated, parabolic output the Para 88 is typically known for. It becomes a circular, centrally graduated light source that behaves very much like the Staro.
Explaining how the Para 88 with front diffusion replicates the effect
Broncolor discontinued the Satellite Staro because a modifier they already made, the Para 88, can replicate the effect with one adaptation. Fit the Para 88 with its stronger front diffusion panel and set the focusing rod toward the more focused position. What comes out of the front is no longer the columnated, parabolic output the Para 88 is typically known for. It becomes a circular, centrally graduated light source that behaves very much like the Staro.
The physics logic here is worth understanding. Adding heavy diffusion to a focused parabolic source softens the hard columnated quality but preserves some of the central concentration because of where the output is densest before it hits the diffusion. You are not getting identical results, but Kyle’s side-by-side comparisons show the two outputs are genuinely close.
Step 6: Consider the Budget DIY Route
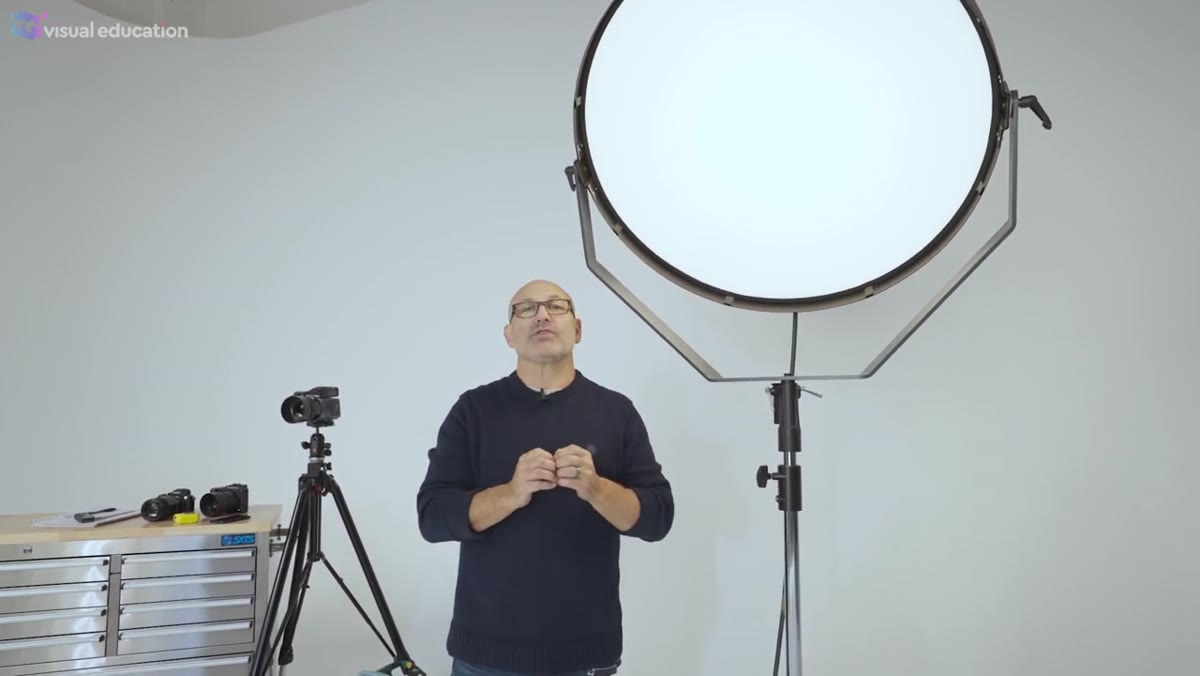 Kyle referencing the budget modifier class on VisualEducation.com
For photographers who do not own a Para 88, Kyle points to a class he built on VisualEducation.com that shows how to construct a functional approximation of the Staro’s effect for under one hundred dollars using basic materials. The goal is the same physics: a large circular diffusion surface with a centered light source and enough front density to produce graduated output rather than a flat field.
Kyle referencing the budget modifier class on VisualEducation.com
For photographers who do not own a Para 88, Kyle points to a class he built on VisualEducation.com that shows how to construct a functional approximation of the Staro’s effect for under one hundred dollars using basic materials. The goal is the same physics: a large circular diffusion surface with a centered light source and enough front density to produce graduated output rather than a flat field.
This is not a compromise-and-settle solution. It is a legitimate starting point for understanding what the modifier does before investing in the real thing. I always test a new modifier the day it arrives, including DIY builds, because the only way to understand how a light source behaves on skin is to shoot it on skin. No amount of description substitutes for a test frame.
What I’d Add From My Own Work
The “filmic” quality Kyle describes is real and hard to define, but I think it comes down to tonal compression in the mid-tones combined with a gradual highlight rolloff. The Staro does not create harsh transitions anywhere on the face. When I have shot with large, graduated circular sources, whether a Staro, a Para 88 with diffusion, or a DIY build, the images require less post-processing to feel finished. The light is doing work that retouching usually has to fix. That is the practical value underneath the aesthetic language.
If you are primarily a beauty or fashion photographer and you have been relying on flat softbox light because it is predictable and safe, a graduated circular source is the single most instructive change you can make to your modifier kit. The visual difference is immediate, and once you see it on a subject, you will understand why this modifier, even discontinued, still commands secondhand prices that suggest people know exactly what they are giving up.
The full breakdown, including the Para 88 comparison and the modifier’s physical construction, is worth watching from the beginning. Watch the full tutorial on YouTube and keep a frame open for notes.
Comments
Leave a Comment