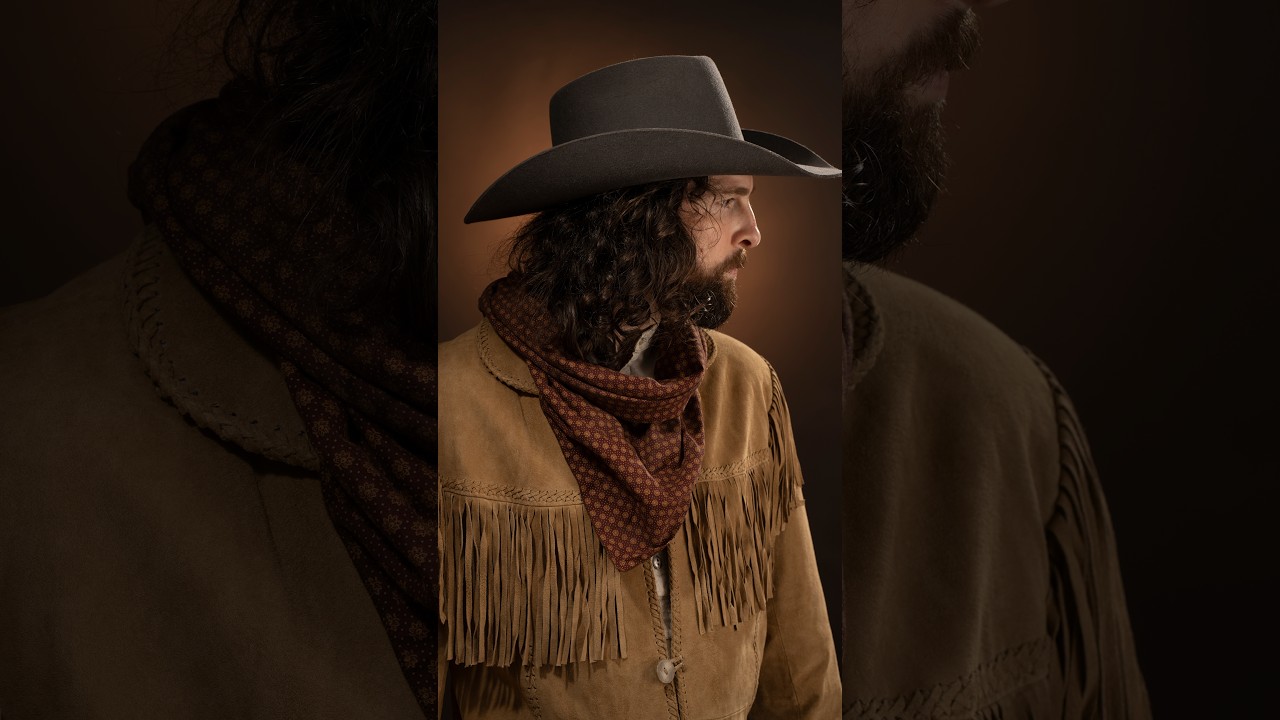
I work in a studio almost every day. Fashion clients, beauty brands, corporate headshots — the range is wide, but the foundation is almost always the same three lights. And yet I still remember a time early in my career when I thought I could wing it with a single softbox and a reflector. The results were flat, lifeless, and completely forgettable. It took me an embarrassingly long time to understand that portraiture has a structure, almost like a recipe, and once you learn it, everything else becomes a variation on that recipe.
That is exactly what The Slanted Lens lays out clearly in this tutorial. Watch the full tutorial on YouTube before or after reading this breakdown — either way, you will get more out of it. The video covers a three-light portrait system built from a key light, a rim light, and a background light. It is not a complicated setup. But understanding what each light is doing independently, and why it belongs where it does, is what separates photographers who get lucky from photographers who get consistent results.
What I want to do here is unpack each step the way I would explain it to a photographer shadowing me on a shoot. Not just the mechanics, but the reasoning behind the choices.
Step 1: Start With the Key Light and Nothing Else
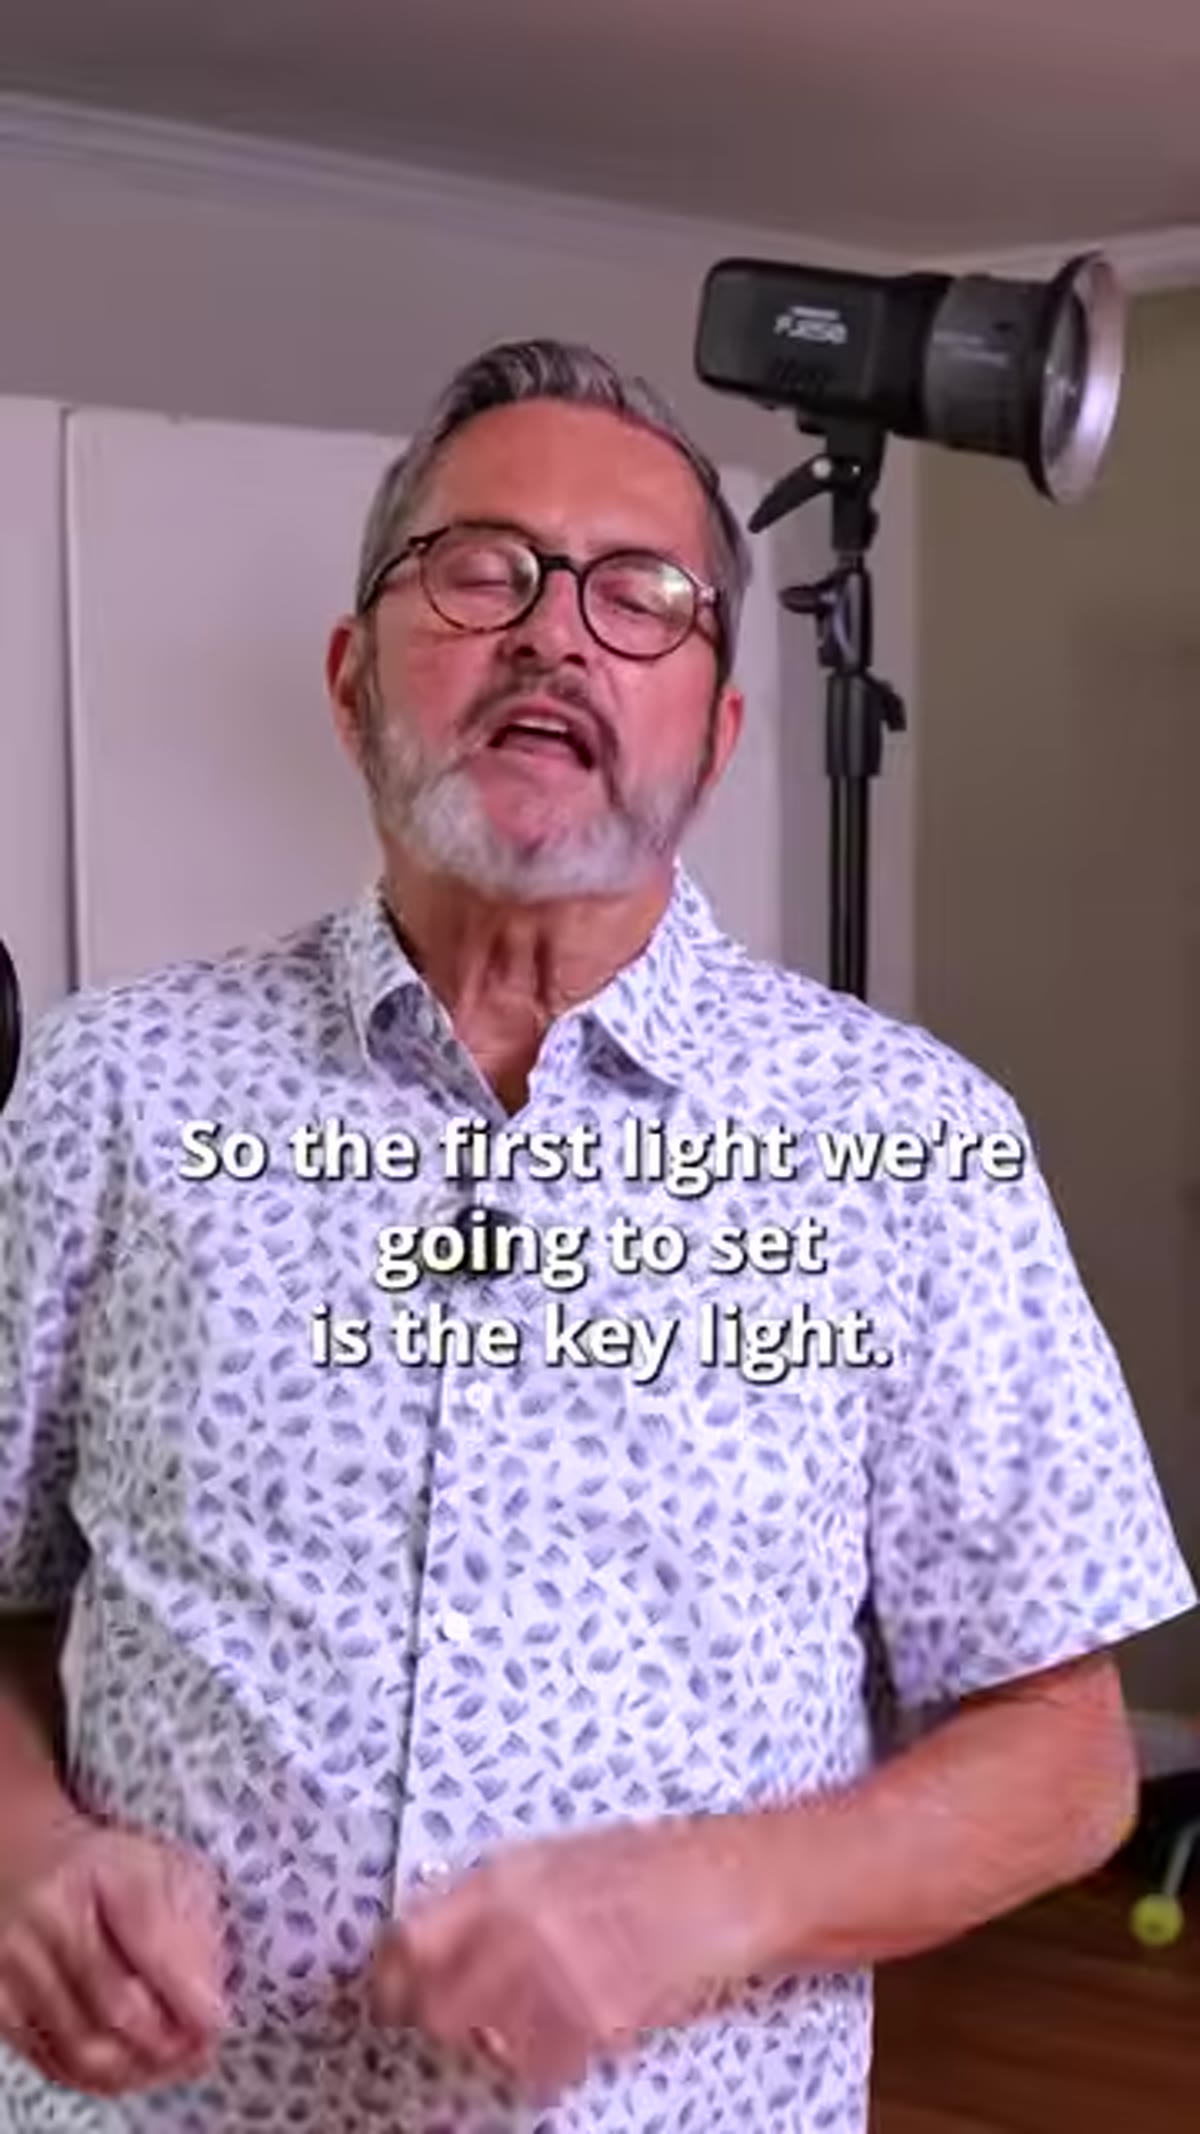 Photographer positioning a single key light for a portrait
Before you touch a second light, build your key light in isolation. This is the light that defines the face. It sculpts the cheekbones, determines shadow depth, and sets the entire emotional tone of the image. In the tutorial, this is called the drawing light, which I think is a genuinely useful name for it. It draws the face into existence.
Place your key light in one of the five standard portrait lighting positions: flat, loop, Rembrandt, split, or butterfly. Each position moves the shadow on the face in a different direction and creates a different mood. Loop lighting is my default starting point for most commercial work because it is flattering without being dramatic. Set your power so the key light is exposing correctly on its own. For a strobe like the Westcott FJ400, I typically start around f/8 at ISO 100 and adjust from there based on the modifier. Use a large softbox or an octa for this — the Westcott Rapid Box Switch Octa-M that The Slanted Lens uses is a solid choice because it wraps light around the face rather than punching it straight in.
Step 2: Evaluate the Catchlight and Eye Quality
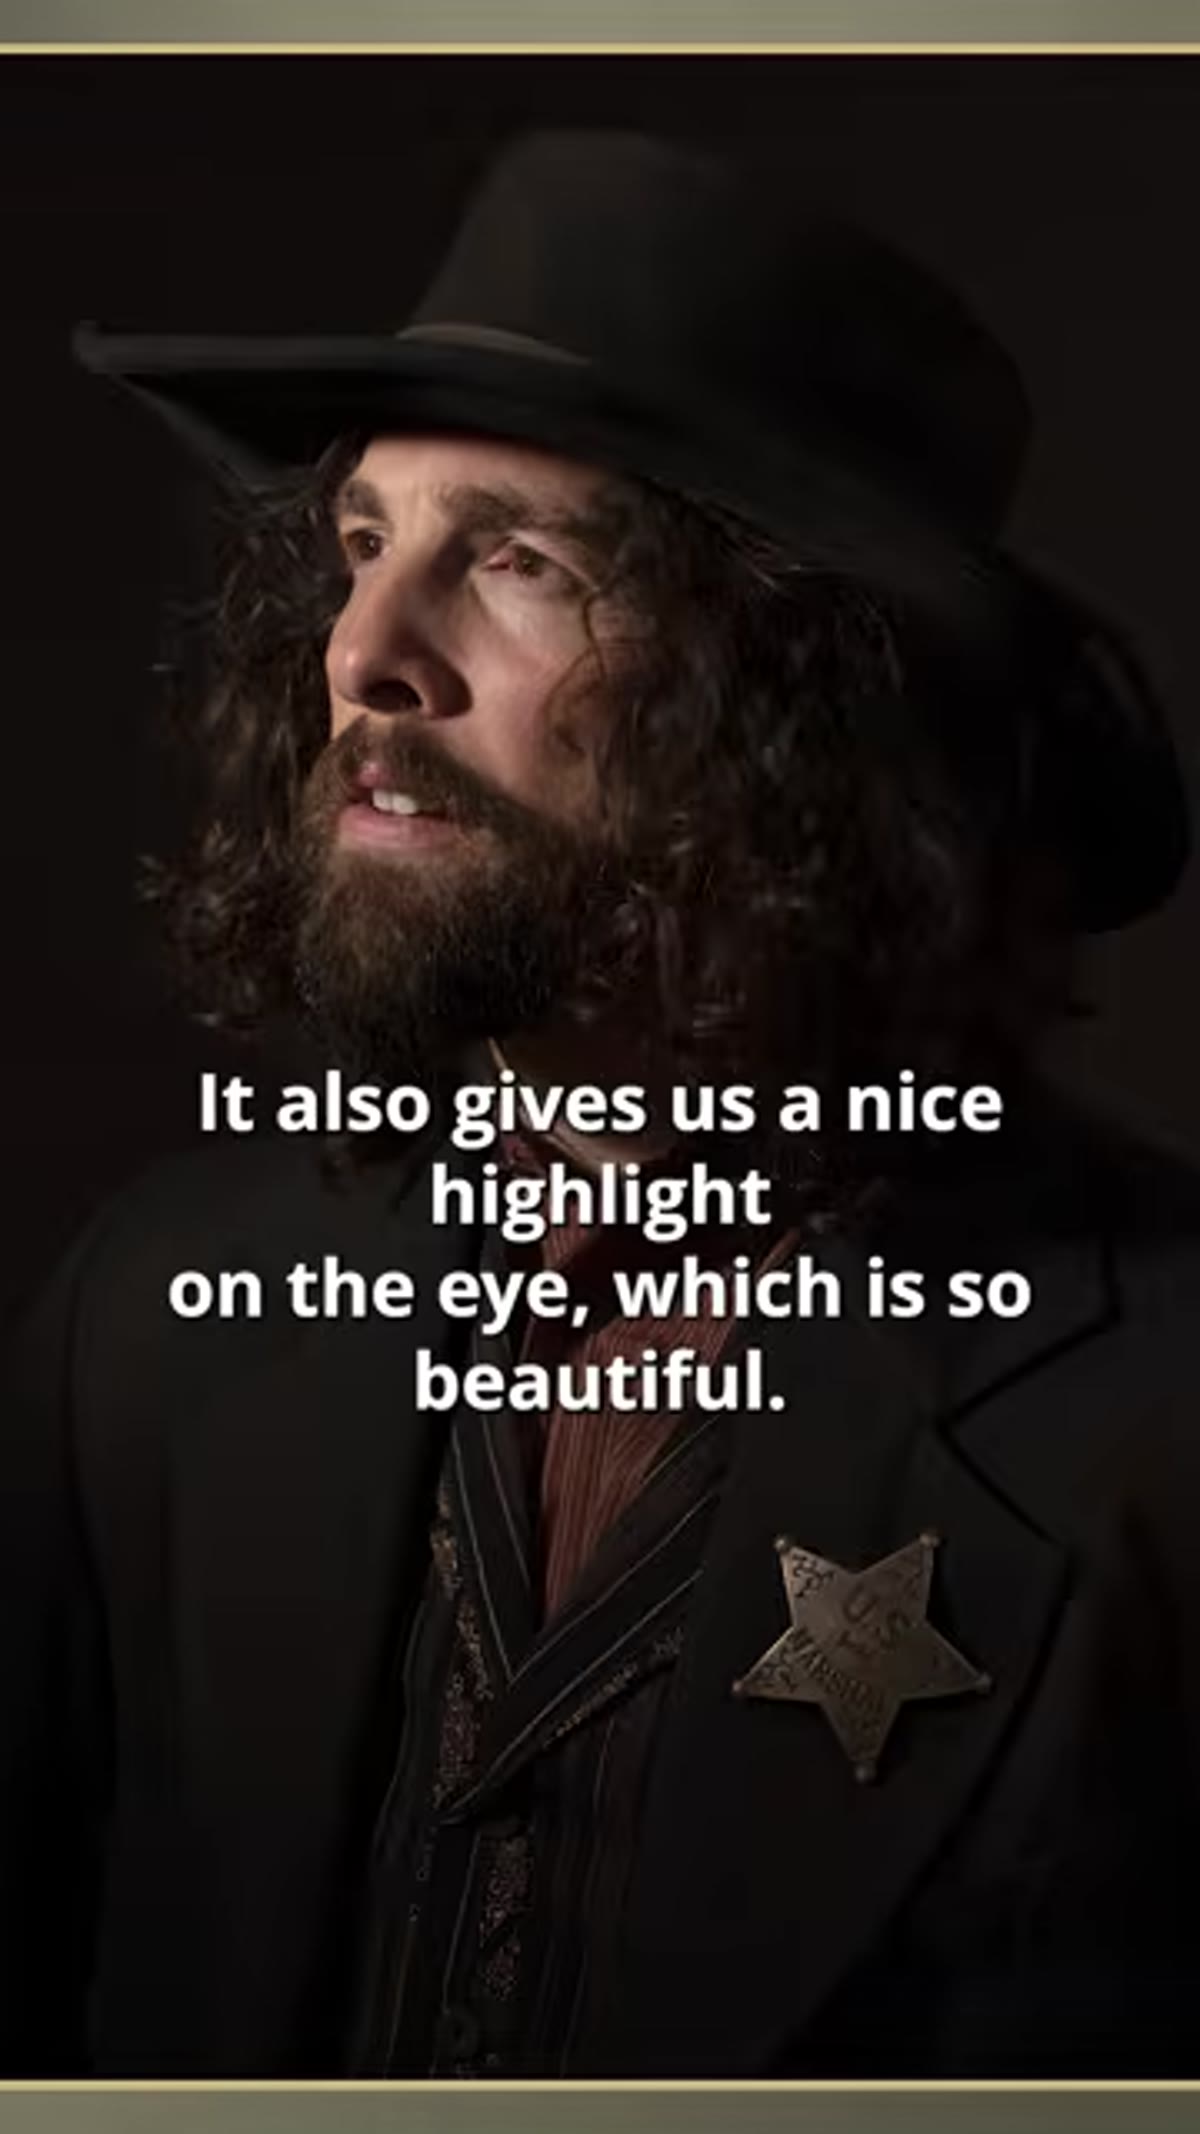 Close-up of subject’s eye showing catchlight from key light
Once your key light is set, look at the eyes before you do anything else. A good portrait lives or dies in the eyes, and the catchlight — that small specular reflection of your light source — tells you immediately whether your modifier and position are working. The shape and position of the catchlight should feel natural, not distracting. An octa produces a rounded catchlight that reads as a window, which the human brain processes as flattering and natural.
If the catchlight is clipping at the top of the iris or sitting too low, your light position needs to adjust. I keep a small piece of masking tape on every stand in my studio labeled with its modifier and typical use. It sounds obsessive but it means I can rebuild a setup from memory without second-guessing anything. At this stage of the setup, the face should already look good. If it does not, more lights will not fix it.
Step 3: Add the Rim Light to Separate Subject from Background
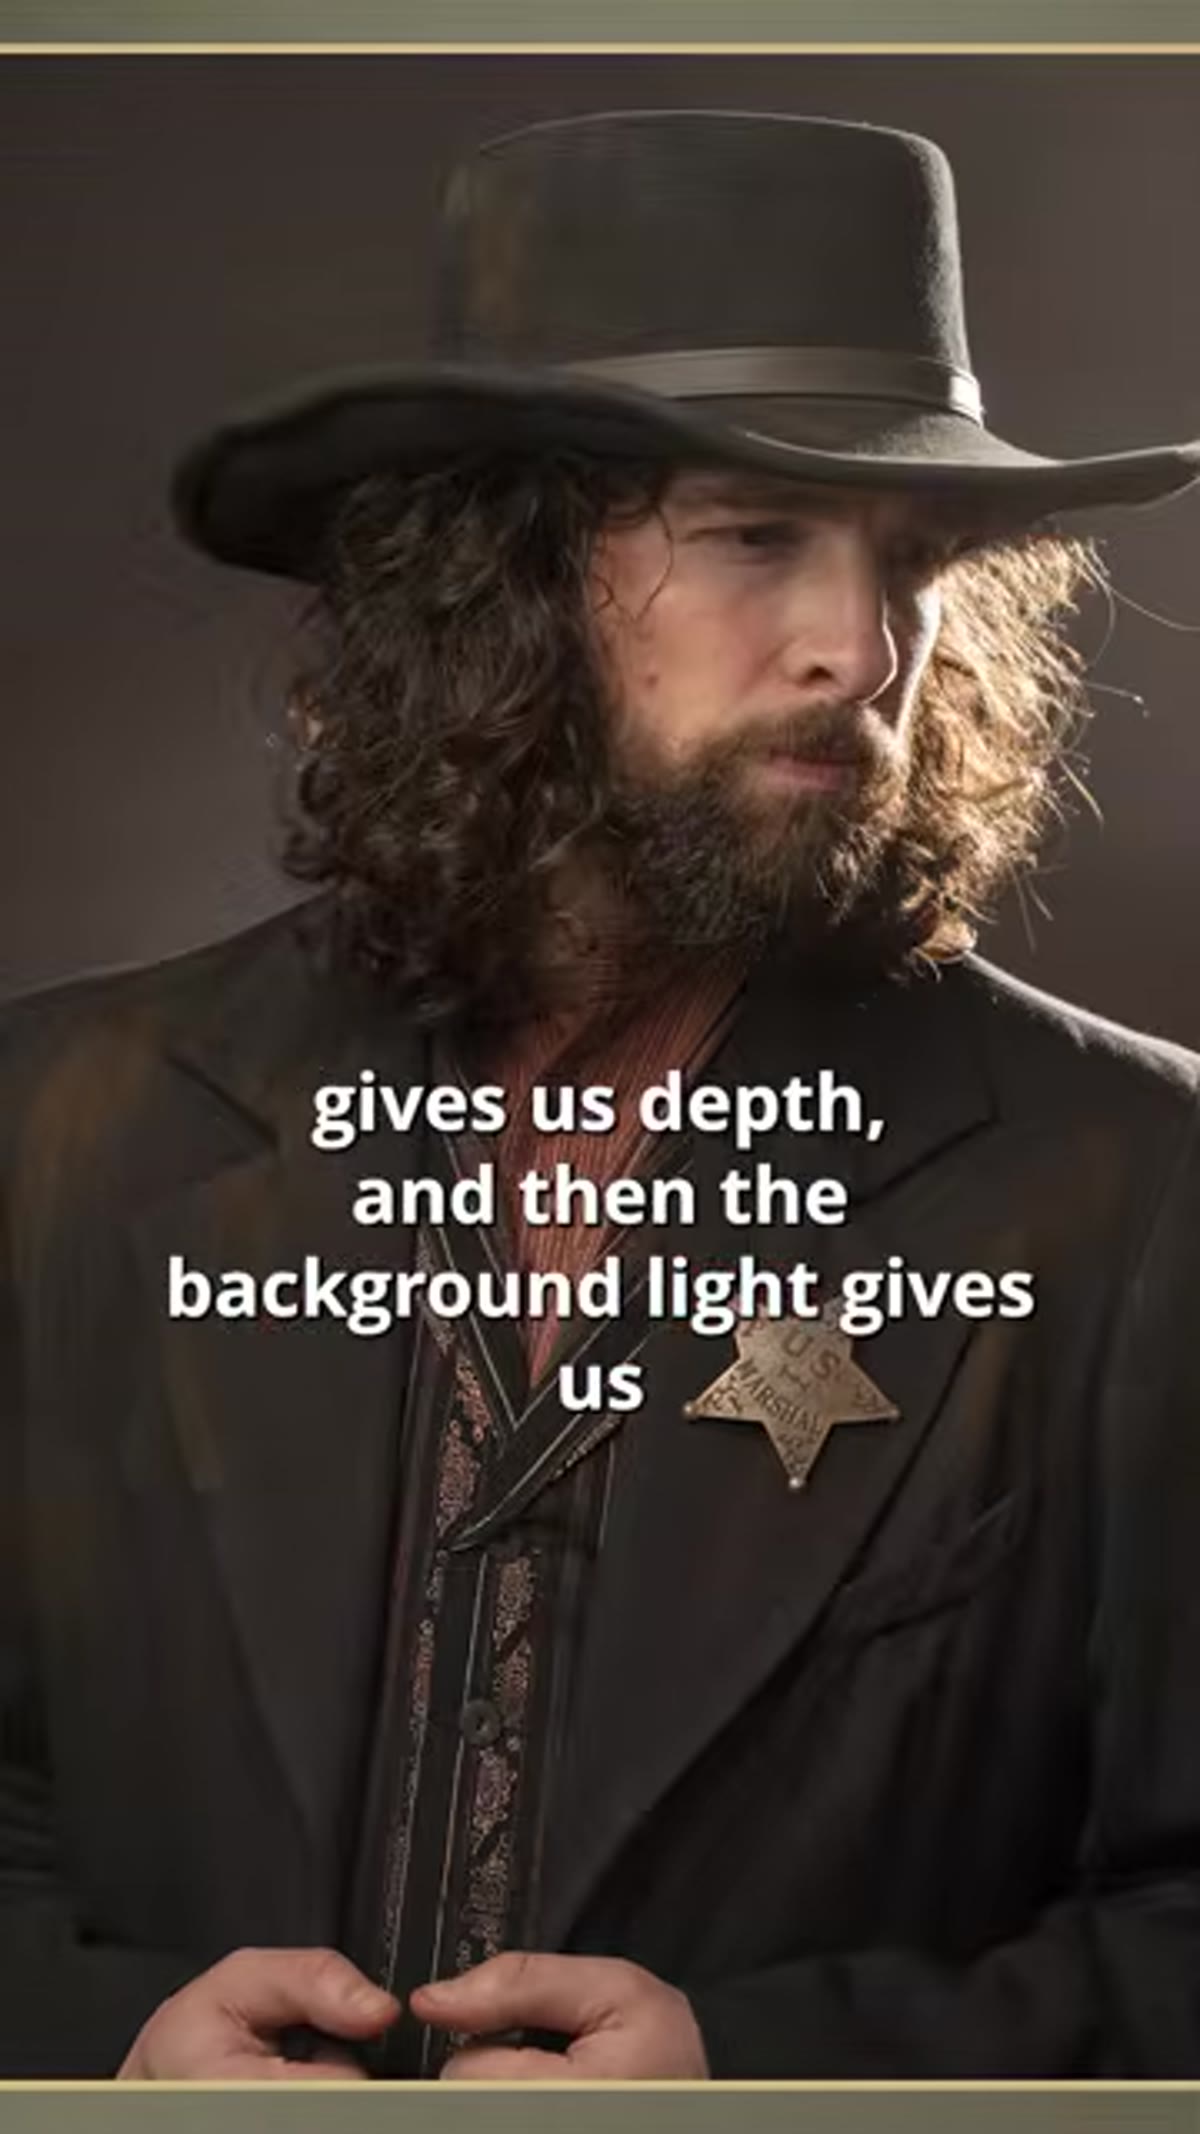 Rim light positioned behind subject creating edge separation
The second light in this system is the rim light, also called a contour light in the tutorial. It lives behind and to the side of the subject, usually opposite the key light, and its job is separation. Without it, a subject wearing dark clothing against a dark background simply dissolves. The rim light draws a line of light along the edge of the shoulder and head that pops the subject into three-dimensional space.
Set the rim light at a lower power than the key — roughly one to two stops under. It should not be visible as a light source from the camera position, only as an edge effect. If it is blowing out highlights on the shoulder or creating a halo that dominates the frame, pull the power down or flag it off. I often use a strip box or a grid for this light because I want precision. An ungridded bare strobe as a rim light will spill onto your background and muddy everything you are trying to control.
Step 4: Light the Background Separately to Build Depth
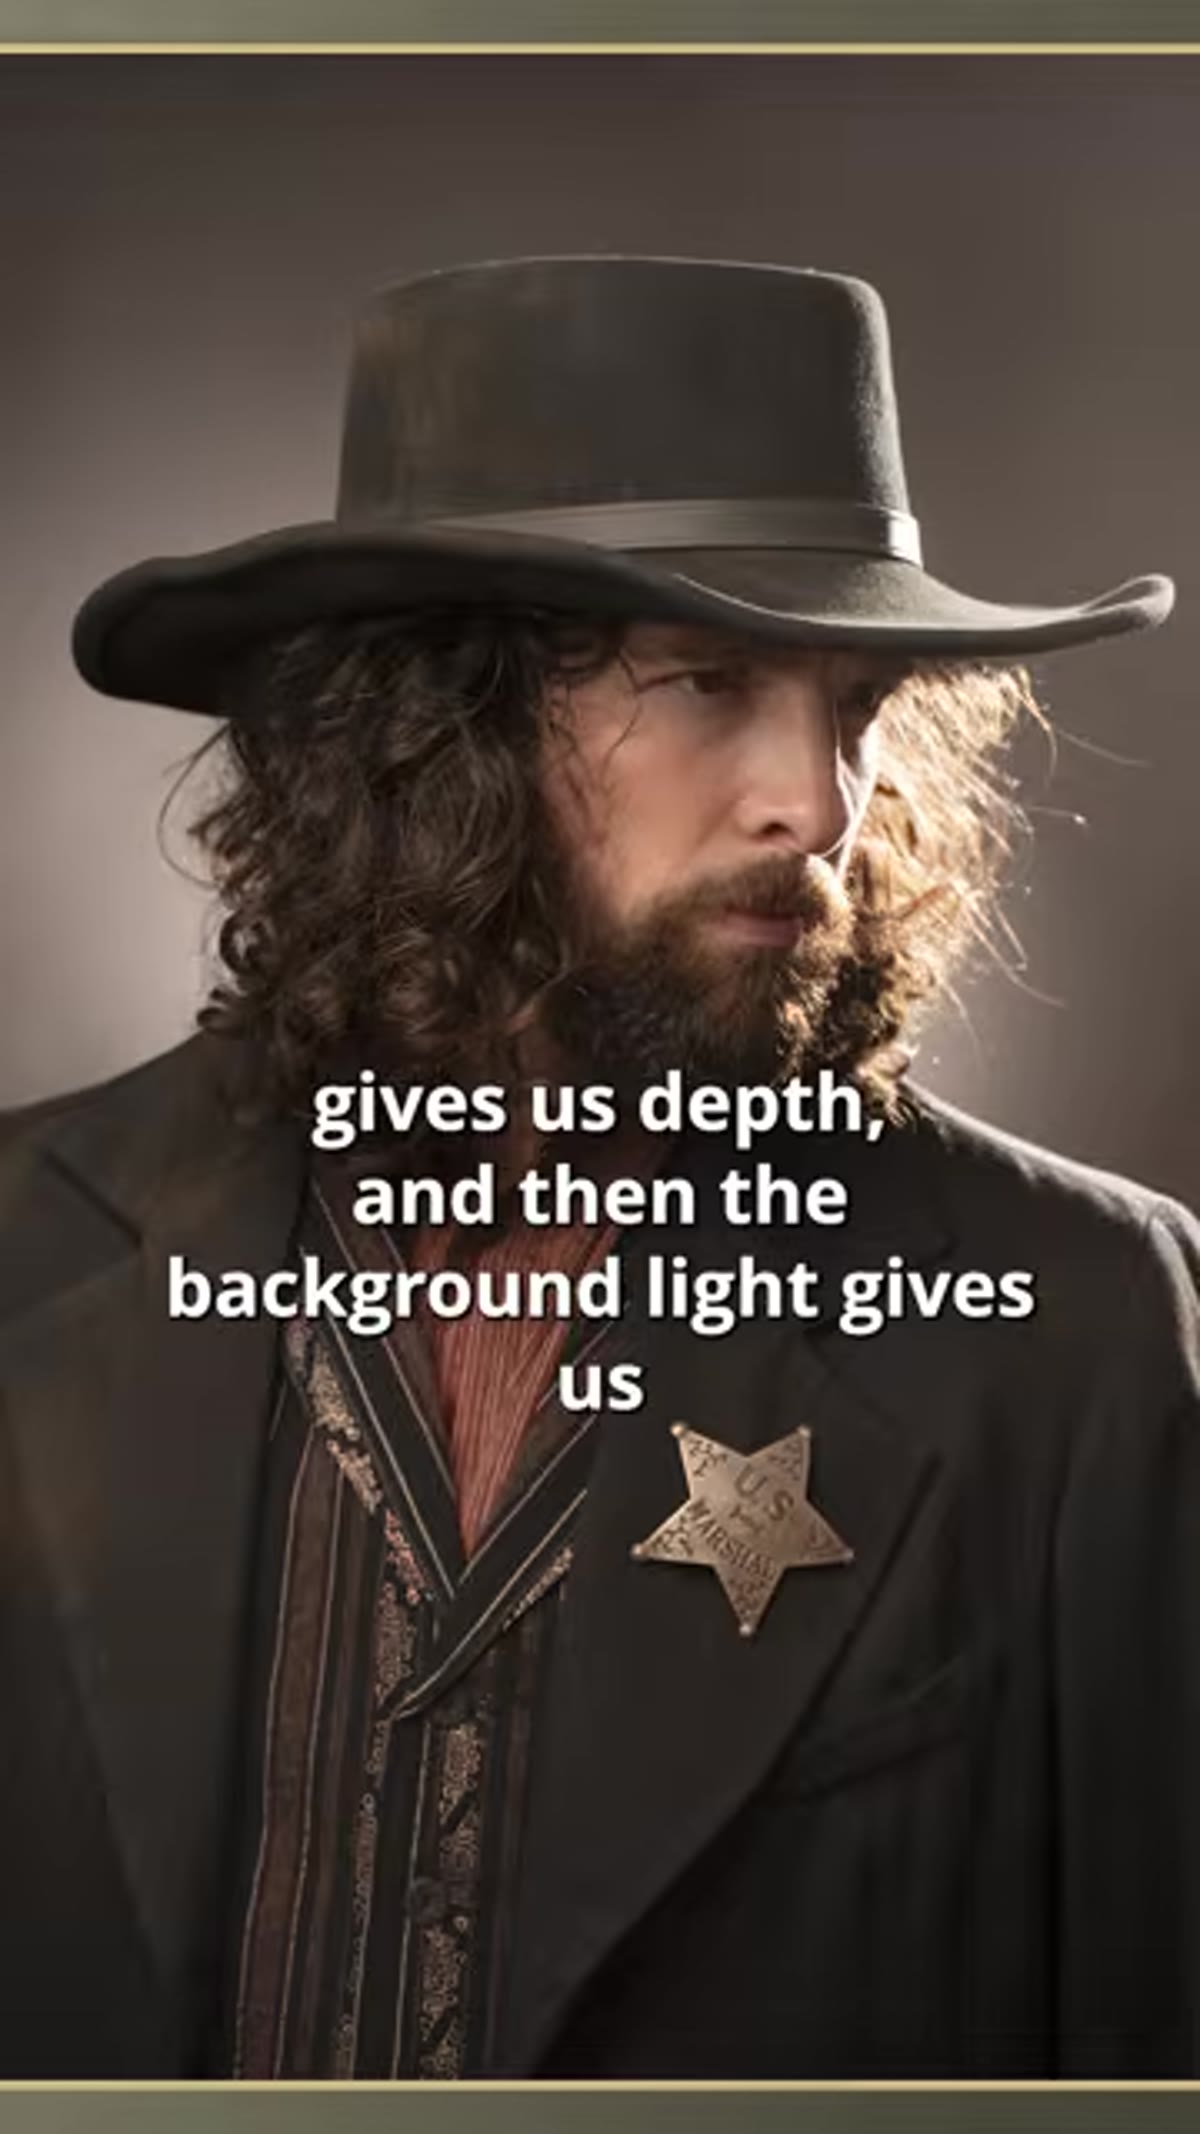 Background light illuminating backdrop behind subject
The background light is what most beginners skip, and it is exactly why their portraits look two-dimensional. This third light is aimed entirely at the backdrop, not the subject. Its purpose is to give the background its own tonal value, independent of whatever light is spilling from the other two sources.
You have real creative control here. Keep the background light subtle and you get a gradual, natural-looking gradient. Push it harder and the background goes bright, which can feel clean and high-key. Add a colored gel and you shift the mood completely. I regularly shoot against a grey seamless and use a yellow or orange gel on the background light for beauty clients who want warmth without the complexity of a colored background. The key is to treat the background as its own subject that happens to live behind your model.
Step 5: Balance All Three Lights Together and Test
 Photographer reviewing three-light portrait on camera screen
Once all three lights are placed, do not assume they are balanced just because each looked right in isolation. Fire a test frame and read the histogram and the image together. The key light should be your exposure anchor. The rim should add edge without overexposing. The background should sit at a stop or two under or over the subject depending on your intent.
Chimping here is not a weakness — it is the job. I shoot tethered to Capture One on commercial work, but even on simpler jobs I pull the image into a full-screen review before the subject and I get deep into the session. Small power adjustments at this stage save enormous time in post.
What I Would Add From My Own Experience
The tutorial gives you the architecture. What it cannot give you is the intuition for how light wraps differently depending on skin tone and facial structure. I started keeping a lighting journal years ago — a small sketchbook where I draw every setup after every shoot, with notes on power ratios and what worked or did not. After a few months of that habit, I could look at almost any portrait and reverse-engineer the setup. That skill, more than any gear purchase, is what improved my work.
If you are testing this three-light system for the first time, do it with no client present. Set up a friend or a stand-in and shoot an entire roll of test frames adjusting one light at a time. You will learn more in that single afternoon than in a semester of reading about lighting theory.
The single most important thing this tutorial communicates is that each light has a job, and that job should be understood before you add another light to the equation. Build from one source, solve for the face, then layer in separation and depth. That sequence is the foundation of every strong portrait I have ever made.
Watch the full tutorial on YouTube to see the actual setup demonstrated with real examples. The Slanted Lens walks through the positions and results in a way that is worth seeing in motion.
Comments
Leave a Comment