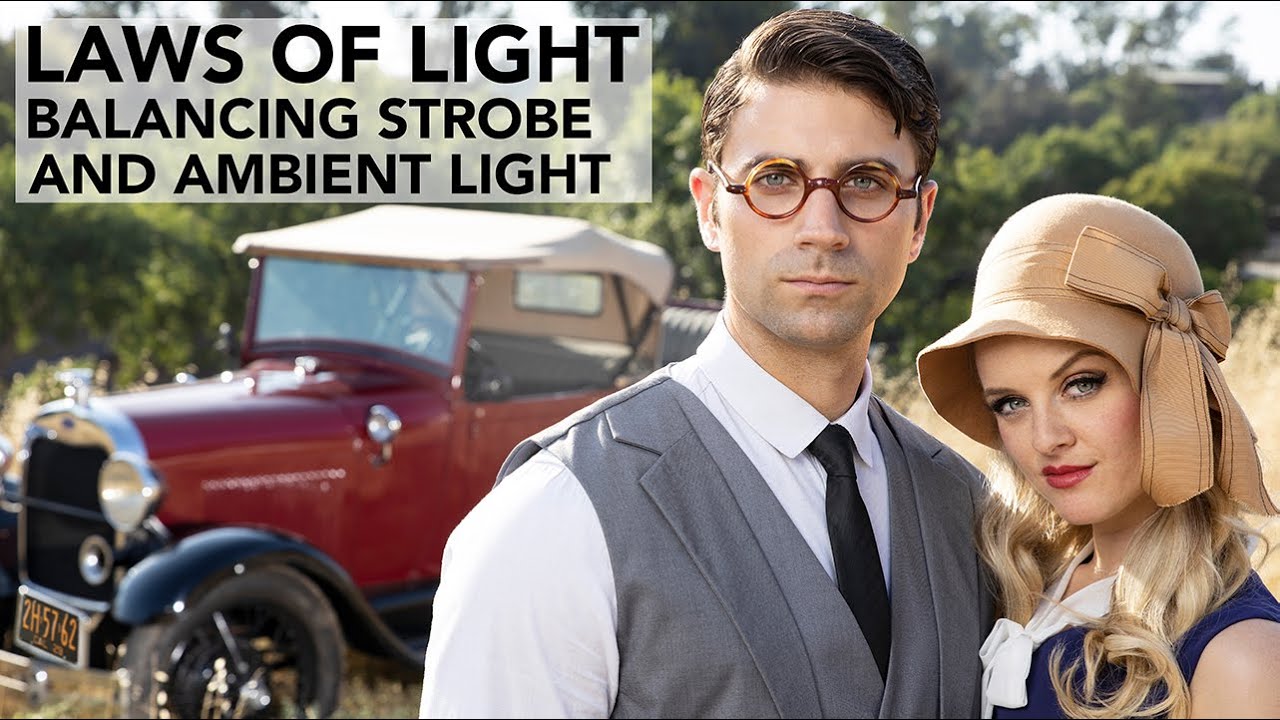
Every commercial shooter eventually faces the same problem: you have a subject who needs clean, controlled light, and a background that needs to look like the world they actually live in. Studio strobes give you the former. Ambient light gives you the latter. Getting both in the same frame without one wrecking the other is a skill that took me longer to learn than I’d like to admit. My early editorial work was littered with shots where the subject looked beautifully lit and the background looked like a blackout curtain. I was treating aperture, shutter speed, and strobe power as three separate problems. They aren’t. They’re a sequence.
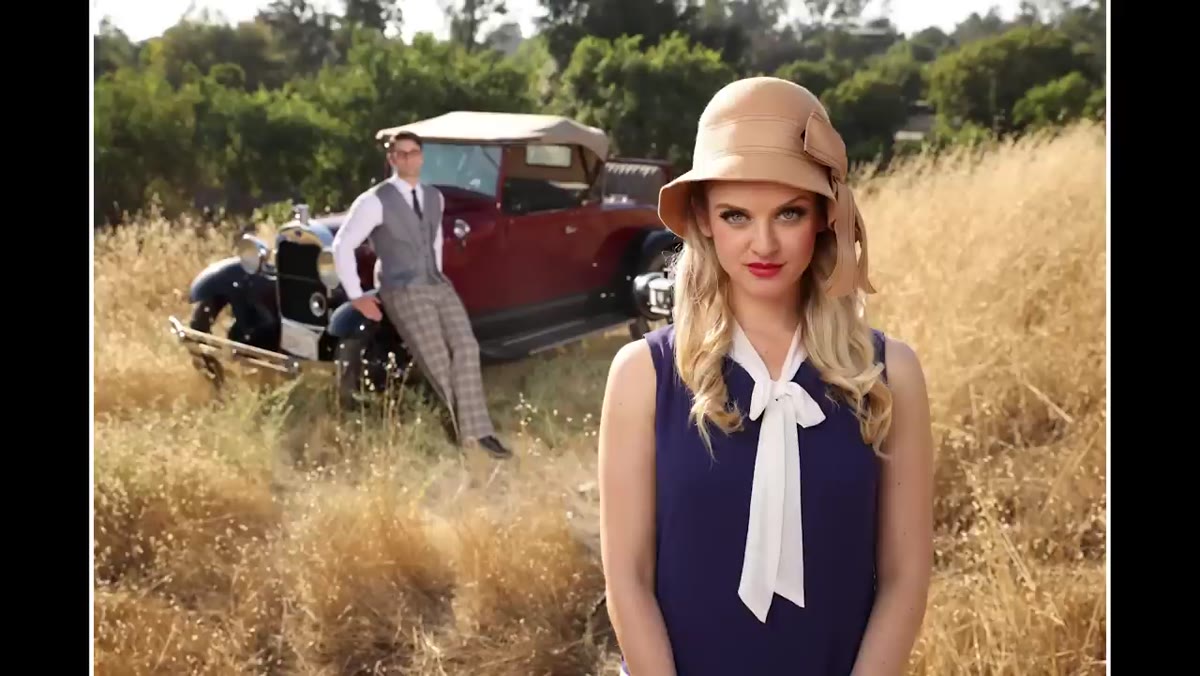
In this The Slanted Lens tutorial, JP Morgan and his team shoot a 1929 Ford Model A outdoors with two subjects, moving from bright afternoon sun to near-darkness. Watch the full tutorial on YouTube to see the full progression. The scenario is specific enough to be useful and flexible enough to apply to almost any location shoot. What makes this video worth your time is that JP doesn’t just show you the results. He walks through the exact decision order, which is the part most tutorials skip.
The formula sounds almost too simple once you hear it. But the order of operations is what makes it work, and inverting even one step sends you chasing your tail for the rest of the shoot.
Step 1: Choose Your Aperture First, Based on Depth of Field
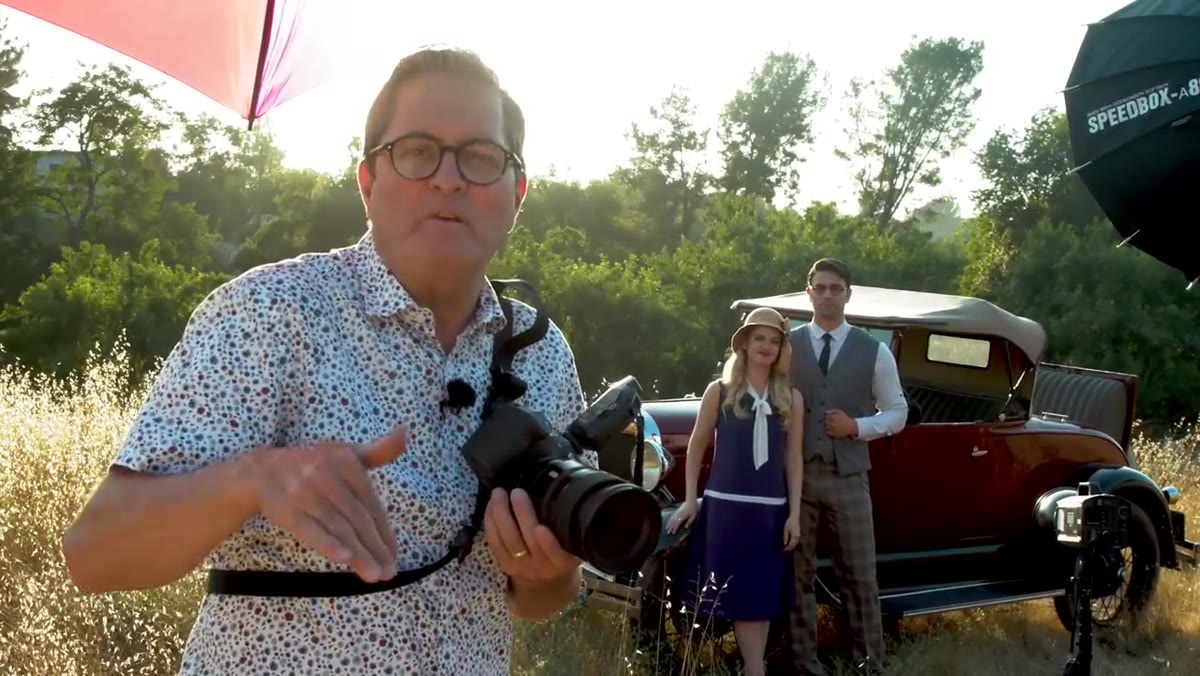
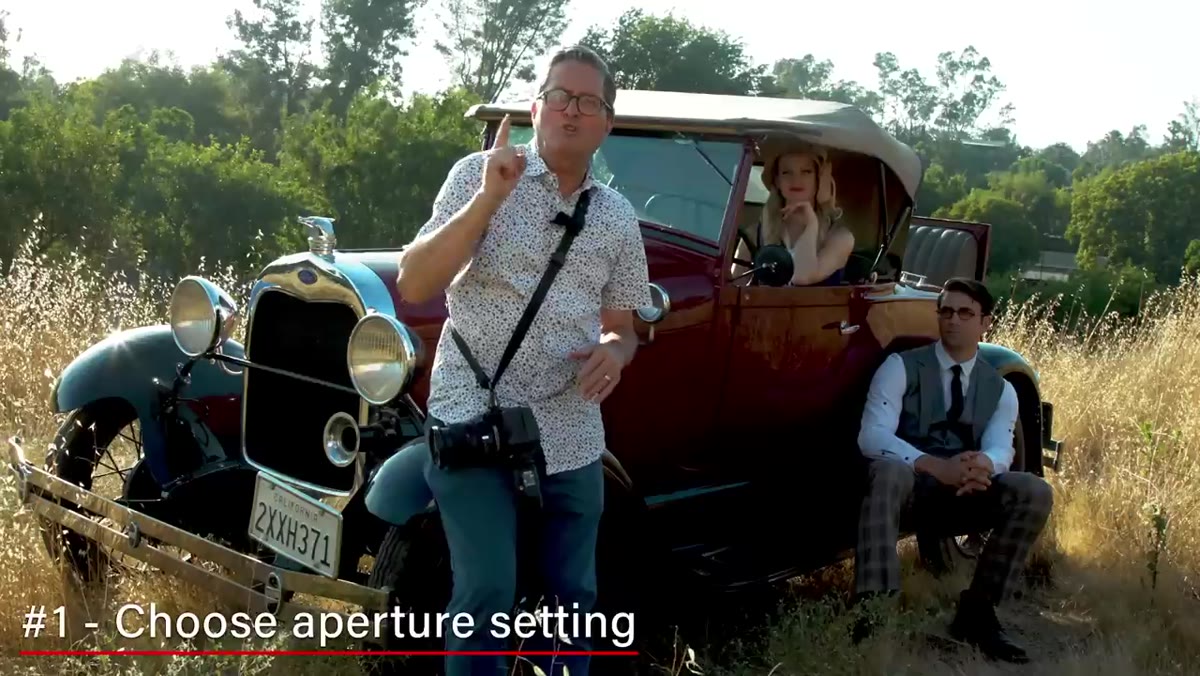 JP explaining the three-step formula to camera
Before you touch your strobe, decide how much depth of field the shot requires. That choice lives entirely in your aperture setting, and everything else in the formula depends on it. If you want your background sharp and present, you’re working around f/8 to f/11. If you want your subject to separate cleanly from the environment with some background blur, you’re at f/3.5 to f/5.6. JP chooses f/5.6 for the first setup specifically because he wants the car to register in the background without competing with the subject.
JP explaining the three-step formula to camera
Before you touch your strobe, decide how much depth of field the shot requires. That choice lives entirely in your aperture setting, and everything else in the formula depends on it. If you want your background sharp and present, you’re working around f/8 to f/11. If you want your subject to separate cleanly from the environment with some background blur, you’re at f/3.5 to f/5.6. JP chooses f/5.6 for the first setup specifically because he wants the car to register in the background without competing with the subject.
I work the same way. I label my test shots in my lighting journal with the aperture first, before I write anything else down. That number is the anchor. Everything you do with your strobe and your shutter comes after.
Step 2: Set Your Strobe Power to Match That Aperture
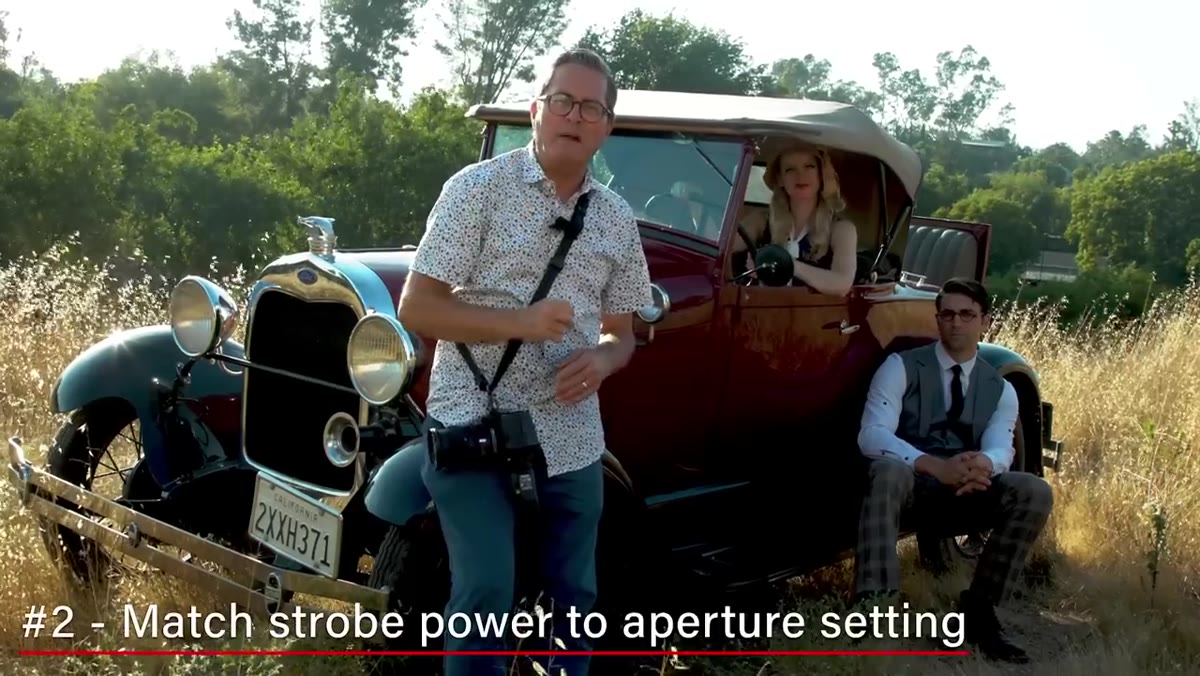 Strobe and softbox positioned camera left of subjects
Once your aperture is locked, bring your strobe power up or down until the light falling on your subject looks correct at that aperture. At this stage you are only looking at your subject. The background does not matter yet. If your subject is properly exposed at f/5.6, you move on. If they’re overexposed, pull the strobe down. If they’re dark, bring it up. JP runs a B500 in a softbox off camera left for the key, then adds a second light to fill the shadow side of the male subject and kick some light onto the car.
Strobe and softbox positioned camera left of subjects
Once your aperture is locked, bring your strobe power up or down until the light falling on your subject looks correct at that aperture. At this stage you are only looking at your subject. The background does not matter yet. If your subject is properly exposed at f/5.6, you move on. If they’re overexposed, pull the strobe down. If they’re dark, bring it up. JP runs a B500 in a softbox off camera left for the key, then adds a second light to fill the shadow side of the male subject and kick some light onto the car.
The critical thing to understand here is that your shutter speed has essentially no effect on strobe output. A strobe fires in a fraction of a millisecond. Whether your shutter is open for 1/250 or 1/30, the flash dumps the same amount of light. That’s not intuition, it’s physics. So at this step, don’t even think about your shutter. It’s irrelevant to what you’re solving for right now.
Step 3: Dial Your Shutter Speed to Control the Ambient
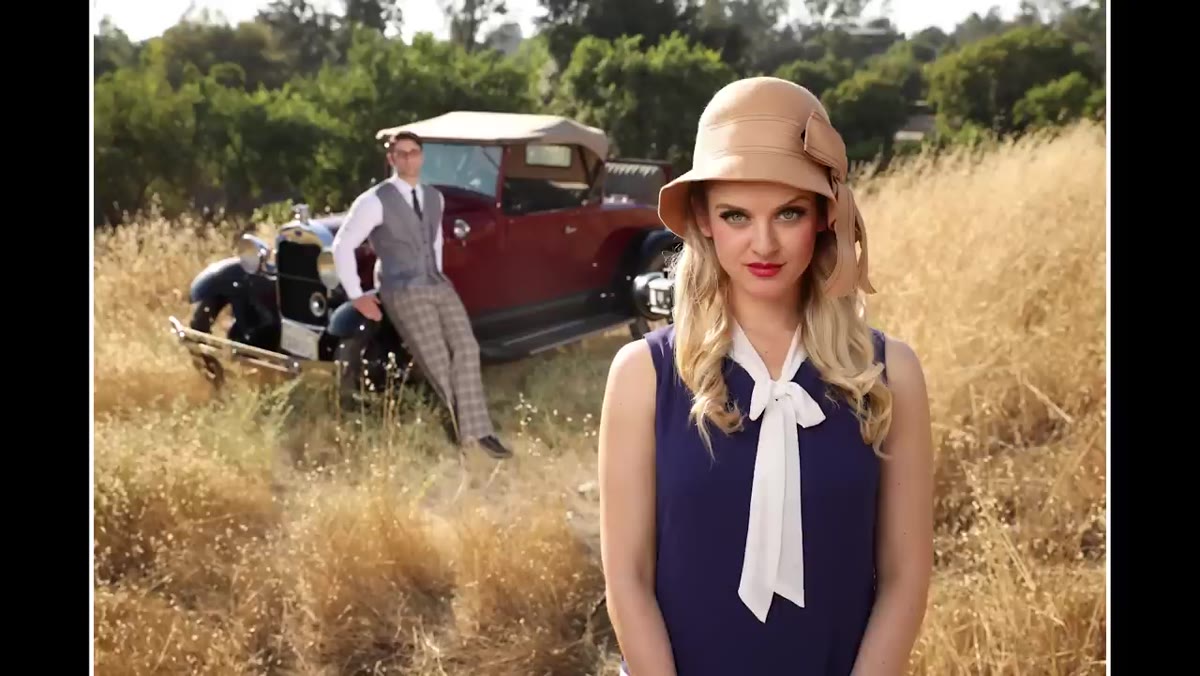 Camera LCD showing background brightness change between shutter speeds
This is where most people’s brains want to rebel, because the shutter speed suddenly controls just one thing: how much ambient light reaches the sensor. Want the background brighter? Slow the shutter down. Want it darker and moodier? Speed it up. Your subject’s exposure, set by strobe power and aperture, stays constant through all of this.
Camera LCD showing background brightness change between shutter speeds
This is where most people’s brains want to rebel, because the shutter speed suddenly controls just one thing: how much ambient light reaches the sensor. Want the background brighter? Slow the shutter down. Want it darker and moodier? Speed it up. Your subject’s exposure, set by strobe power and aperture, stays constant through all of this.
JP starts at 1/160 and finds the background too dark. He drops to 1/80 and it opens up, but runs slightly hot. He lands at 1/100 and the balance clicks into place. The car reads, the sky has detail, and the subjects look like they belong in that environment rather than being pasted into it. That range of adjustments, 1/80 to 1/160, changed the background significantly while the subjects stayed perfectly exposed the whole time.
Step 4: Add a Second Strobe If the Scene Needs It
 Second strobe being switched on to fill subject and illuminate car
Once your formula is running, adding a second light follows the same logic as the first. You’re still working within the aperture you set in Step 1. Bring the second strobe up until it fills the shadow areas or brightens the secondary subject to a level you’re happy with. JP uses the second light to address the underexposure on the male subject and to throw some light onto the car. The shutter does not change. The aperture does not change. You’re just adding a second variable that operates by the same rules as the first.
Second strobe being switched on to fill subject and illuminate car
Once your formula is running, adding a second light follows the same logic as the first. You’re still working within the aperture you set in Step 1. Bring the second strobe up until it fills the shadow areas or brightens the secondary subject to a level you’re happy with. JP uses the second light to address the underexposure on the male subject and to throw some light onto the car. The shutter does not change. The aperture does not change. You’re just adding a second variable that operates by the same rules as the first.
Keep your second light’s modifier consistent with the first if you want the quality of light to match. Mixing a large softbox with a bare bulb on the same scene usually reads as exactly that. Intentional contrast between the two can work, but it should be a choice, not an accident.
Step 5: Apply the Same Formula as the Light Drops
 Scene shifting to lower ambient light, subjects repositioned near car
The same three-step sequence scales directly to low-light situations. As the sun drops and ambient levels fall, you’re not reinventing anything. You choose an aperture, often opening up to f/3.5 or wider because you want the already-dark background to fall off softly, match your strobe to that aperture, then slow your shutter to let whatever ambient remains come through. JP demonstrates this with a near-dark setup later in the shoot, and the formula holds. The only real difference is that your shutter speeds get longer and you may need to watch for subject motion blur if anything is moving.
Scene shifting to lower ambient light, subjects repositioned near car
The same three-step sequence scales directly to low-light situations. As the sun drops and ambient levels fall, you’re not reinventing anything. You choose an aperture, often opening up to f/3.5 or wider because you want the already-dark background to fall off softly, match your strobe to that aperture, then slow your shutter to let whatever ambient remains come through. JP demonstrates this with a near-dark setup later in the shoot, and the formula holds. The only real difference is that your shutter speeds get longer and you may need to watch for subject motion blur if anything is moving.
One Caveat From My Own Shooting
The formula JP outlines is solid, and I follow it in essentially the same order. The place where I’d add a beat of caution is sync speed. Most cameras max out at 1/200 or 1/250 before the shutter curtain starts cutting into your strobe exposure. If you’re outside in bright sun and your ambient-correct shutter speed is above that ceiling, you have two options: use high-speed sync if your system supports it, or close your aperture down and adjust your strobe power accordingly. I’ve walked clients through reshoot conversations because a junior assistant didn’t know that ceiling existed. Know your camera’s sync limit before you’re on location.
I also use this formula when shooting tethered for beauty clients indoors. The background in those cases is usually a sweep, and controlling how much ambient hits it lets me shift the feel of the image without touching a single light stand. Open the shutter a bit and the sweep picks up the ambient warmth of the room. Close it down and you get a cleaner, more isolated look.
The single most important idea in this tutorial is the sequence: aperture first, strobe second, shutter third. Get that order into your hands, not just your head, and balancing strobes with ambient light stops being a guessing game. Watch the full tutorial on YouTube to see JP work through both the daylight and low-light setups from start to finish.
Comments (1)
Just used this on a wedding shoot edit. Client was thrilled.
Leave a Comment