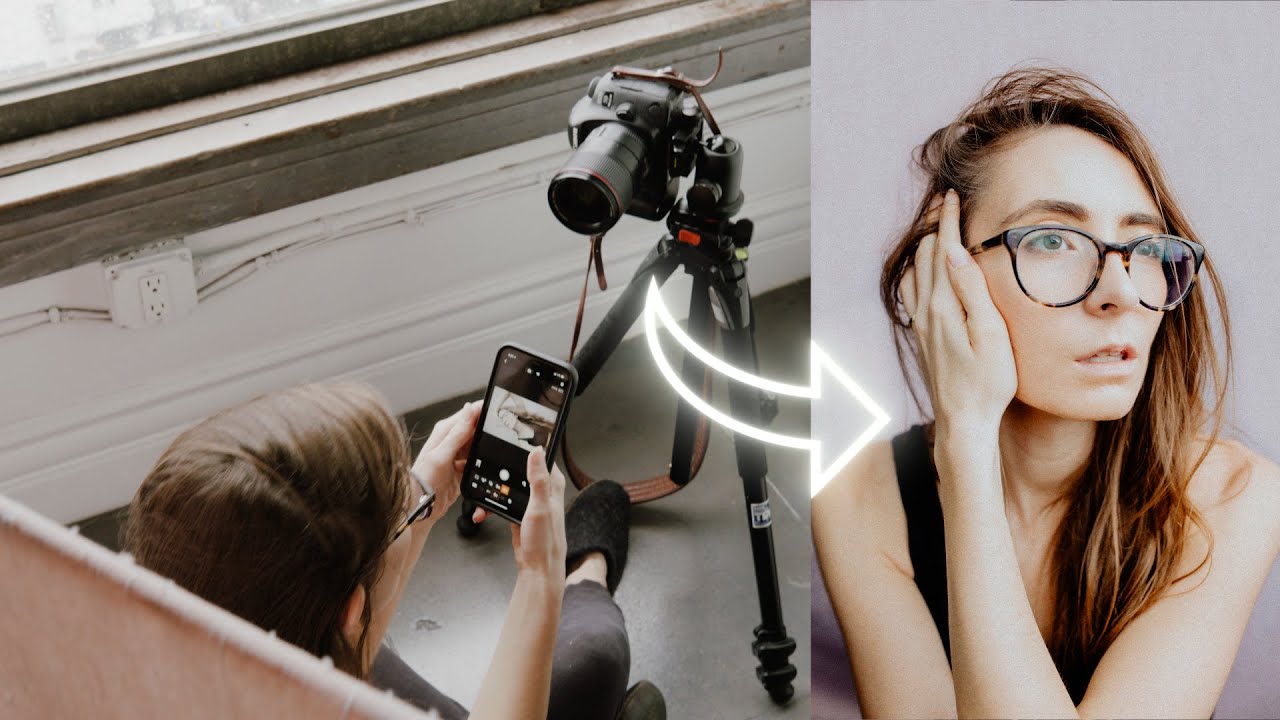
There is a particular kind of panic that sets in when a location falls through. I have been shooting commercial and editorial work long enough to know that panic well. The instinct is to assume you need more gear, a bigger space, a rental studio. What I have learned, slowly and sometimes the hard way, is that the constraint is rarely the room. It is almost always the light and whether you understand how to work with what you have. That is exactly why a tutorial like this one caught my attention.
In this Mango Street tutorial, photographers Rachel and Daniel walk through building a functional bedroom studio for roughly $35 using things most people already own. Watch the full tutorial on YouTube before or after reading this breakdown. What I want to do here is pull the actual technique out of the setup and give you enough context to execute it yourself, even if you have never set up a portrait session at home before.
The results they pull from this setup are not “pretty good for a bedroom.” They are genuinely clean, well-lit portraits. That does not happen by accident. It happens because every decision in a simple setup has more weight than it would in a fully equipped studio. Get one thing wrong and there is nothing else to save you. Get it right, and the simplicity works in your favor.
Step 1: Choose Your Window and Kill Your Artificial Lights
 Photographer positioned beside a large bedroom window
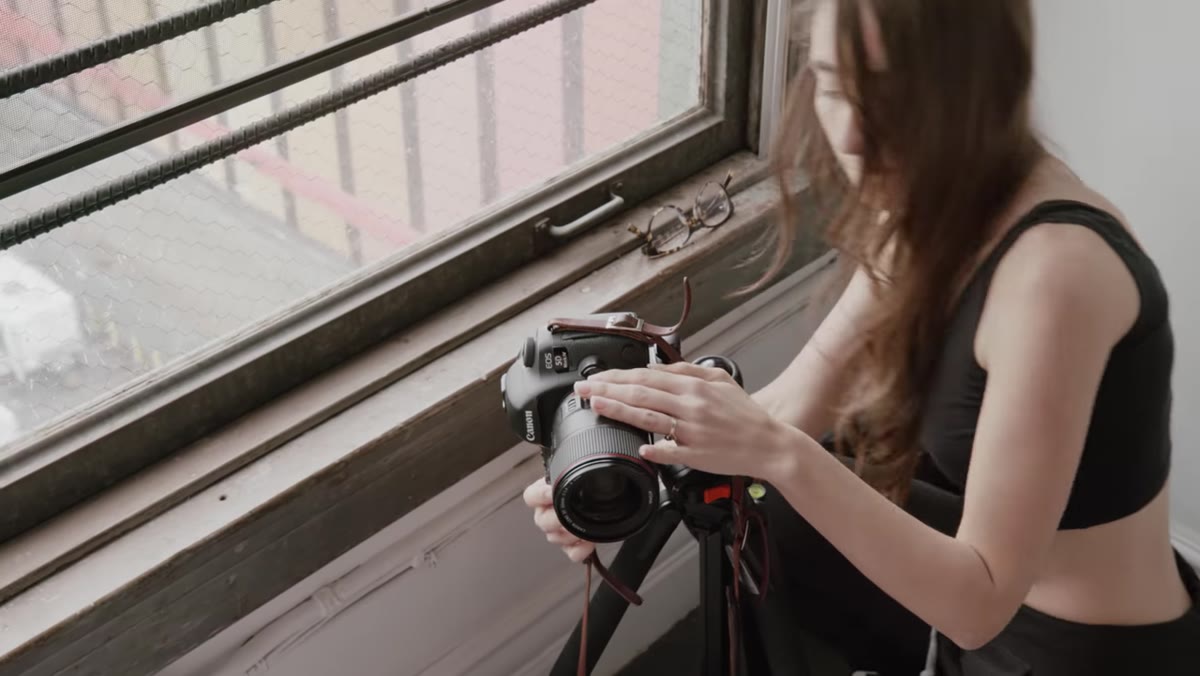
The first and most important decision in this entire setup is window placement. The tutorial is clear on this: position yourself next to a window and use that natural light as your primary source. This is correct, and I would add that you want a window with indirect light if at all possible. Direct sunlight creates harsh shadows and blows out skin highlights faster than almost any studio strobe on a bad day.
Photographer positioned beside a large bedroom window
The first and most important decision in this entire setup is window placement. The tutorial is clear on this: position yourself next to a window and use that natural light as your primary source. This is correct, and I would add that you want a window with indirect light if at all possible. Direct sunlight creates harsh shadows and blows out skin highlights faster than almost any studio strobe on a bad day.
The second instruction, turning off any tungsten or warm interior bulbs, matters more than it might seem. Mixing color temperatures is one of the most common ways amateur portraits fall apart in post. You end up with a subject that looks green or orange depending on which light is winning, and no amount of white balance correction fixes a frame where two different temperatures are hitting the subject from two different angles. I learned this the hard way early in my career on an editorial shoot where I left a practical lamp on in the background and spent an afternoon in Lightroom trying to undo something that should have taken two seconds to prevent.
Step 2: Hang Your Backdrop with Whatever You Have
 White shower curtain hung as a seamless backdrop
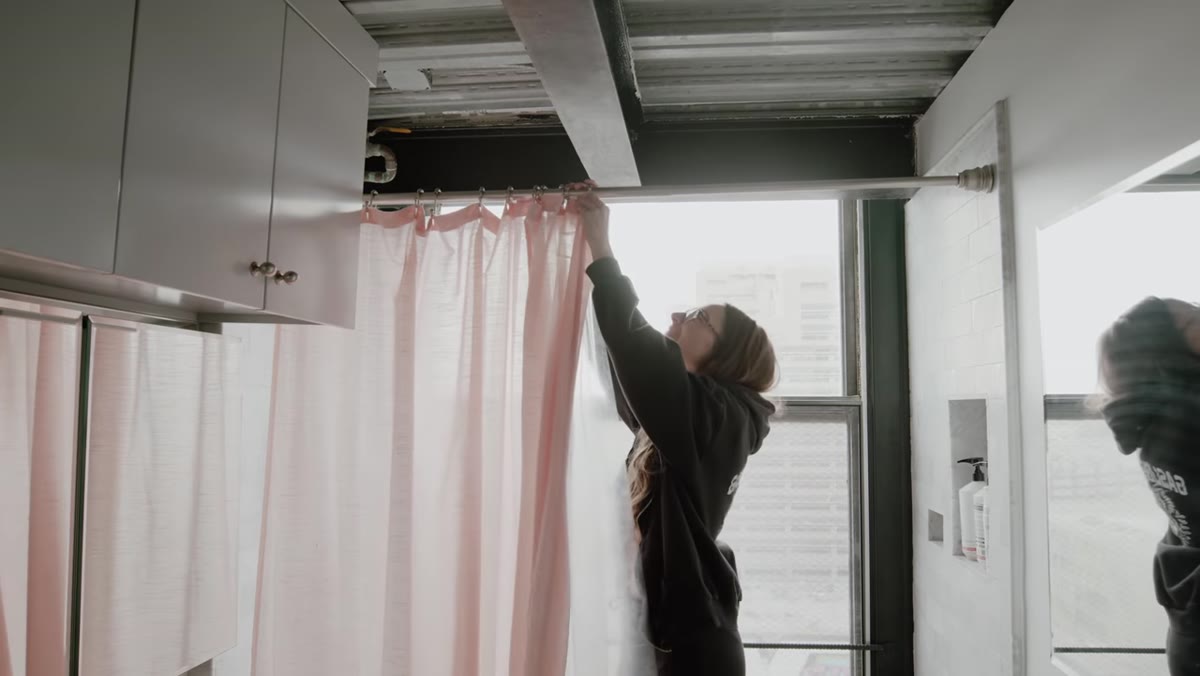
Mango Street uses a white shower curtain as their backdrop, and it is a genuinely smart choice. It is large, it hangs relatively smooth, and it is cheap. A blanket, a flat sheet, or even drapes pulled from another room all work on the same principle: you need a large, unbroken surface behind the subject that does not compete visually with what you are shooting.
White shower curtain hung as a seamless backdrop
Mango Street uses a white shower curtain as their backdrop, and it is a genuinely smart choice. It is large, it hangs relatively smooth, and it is cheap. A blanket, a flat sheet, or even drapes pulled from another room all work on the same principle: you need a large, unbroken surface behind the subject that does not compete visually with what you are shooting.
For hanging it, the tutorial suggests string, yarn, or simply tossing a sheet over a door. I would suggest using painter’s tape or binder clips to keep the top edge from bunching if you go the curtain rod or door route. The cleaner the hang, the less work you do in post. Even a small drape or fold in a light-colored backdrop reads as a shadow on camera and looks sloppy in ways that distract from the subject.
Step 3: Choose Your Focal Length for the Space You Have
 Camera setup showing 35mm lens on Canon 5D Mark IV
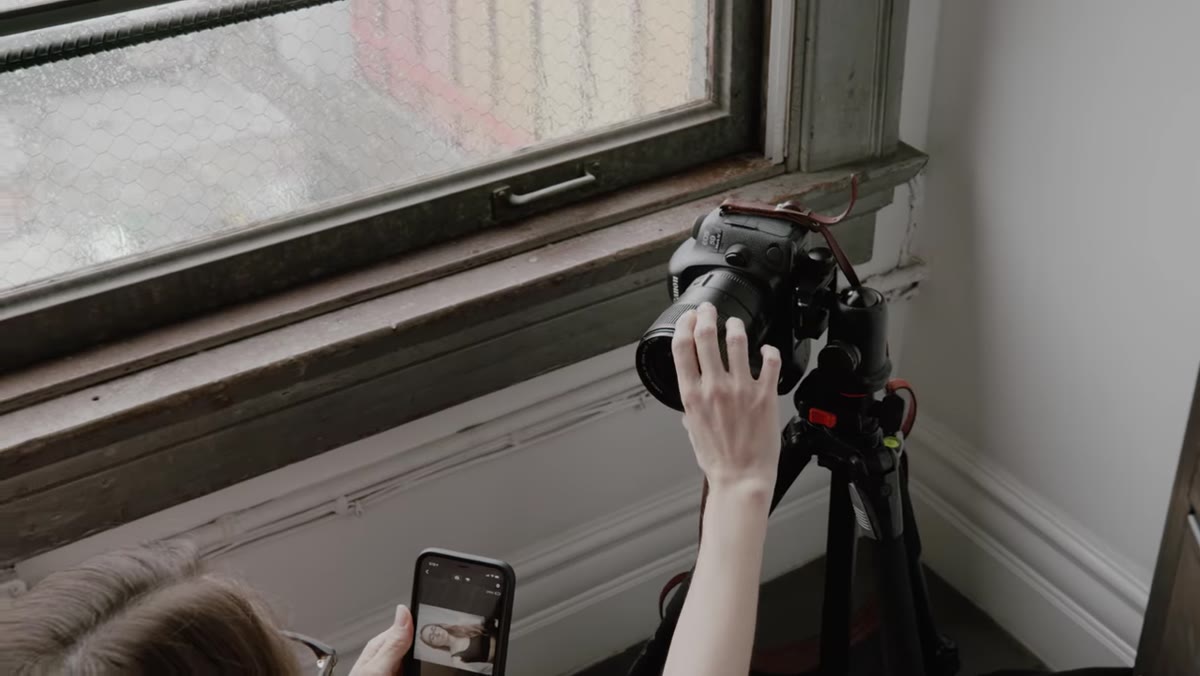
Because the bedroom leaves limited distance between camera and subject, the tutorial recommends a 35mm focal length. This is the right call for a confined space. Anything longer and you run out of room to back up. Anything wider and you start getting facial distortion that does not flatter portrait subjects.
Camera setup showing 35mm lens on Canon 5D Mark IV
Because the bedroom leaves limited distance between camera and subject, the tutorial recommends a 35mm focal length. This is the right call for a confined space. Anything longer and you run out of room to back up. Anything wider and you start getting facial distortion that does not flatter portrait subjects.
If you are shooting on a crop sensor camera, a 24mm lens gets you close to the same field of view. The goal is a focal length that lets you frame a head-and-shoulders or three-quarter shot without pressing your back against the far wall. If your only option is a kit zoom, set it to somewhere between 24mm and 35mm and lock it there.
Step 4: Trigger the Shutter Remotely
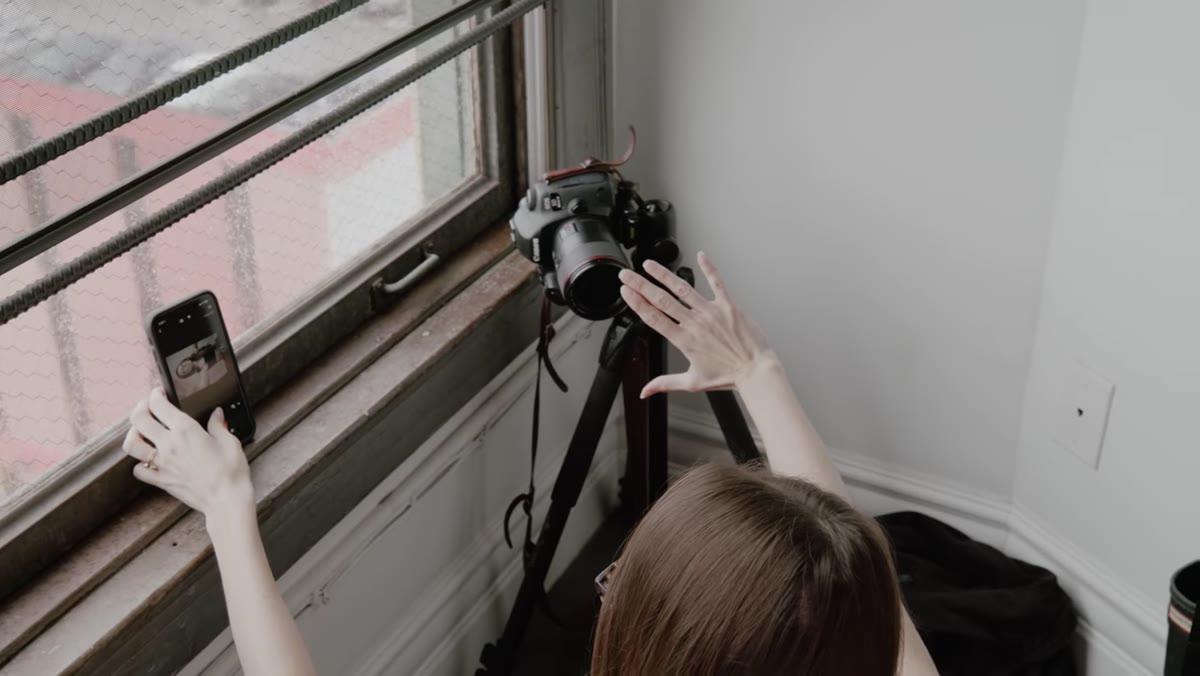 Phone screen showing camera live view for remote triggering
Mango Street connects a smartphone wirelessly to their Canon 5D Mark IV to preview framing, check focus, and fire the shutter. Most major camera manufacturers have a companion app that does exactly this. Canon has Camera Connect, Nikon has SnapBridge, and Sony has their own Imaging Edge Mobile app. If your camera does not have built-in WiFi, a cheap wireless remote or a tethering cable to a laptop works just as well.
Phone screen showing camera live view for remote triggering
Mango Street connects a smartphone wirelessly to their Canon 5D Mark IV to preview framing, check focus, and fire the shutter. Most major camera manufacturers have a companion app that does exactly this. Canon has Camera Connect, Nikon has SnapBridge, and Sony has their own Imaging Edge Mobile app. If your camera does not have built-in WiFi, a cheap wireless remote or a tethering cable to a laptop works just as well.
The key is being able to see your frame before you commit to a pose. Shooting blind and running back to check the camera after every frame kills the momentum of a self-portrait session. Set your focus point manually or use face-detection autofocus, lock exposure, and then work the pose from in front of the lens.
Step 5: Incorporate a Prop That Interacts with the Light
 Clear shower curtain held in front of subject as prop
The tutorial introduces a second use for the shower curtain here, this time as a prop held in front of the subject. A clear or translucent surface in front of the lens or between the subject and the window creates refraction, diffusion, and visual texture that you simply cannot replicate in post. It also gives the subject something to do with their hands and their focus, which almost always improves the energy of a portrait.
Clear shower curtain held in front of subject as prop
The tutorial introduces a second use for the shower curtain here, this time as a prop held in front of the subject. A clear or translucent surface in front of the lens or between the subject and the window creates refraction, diffusion, and visual texture that you simply cannot replicate in post. It also gives the subject something to do with their hands and their focus, which almost always improves the energy of a portrait.
Other options that work similarly: a glass of water, a piece of crinkled cellophane, a window screen, or even a plant held close to the lens. The logic is the same. You are adding a layer between the camera and the subject that does something interesting with the light already in the room.
Step 6: Clean Up the Background in Post
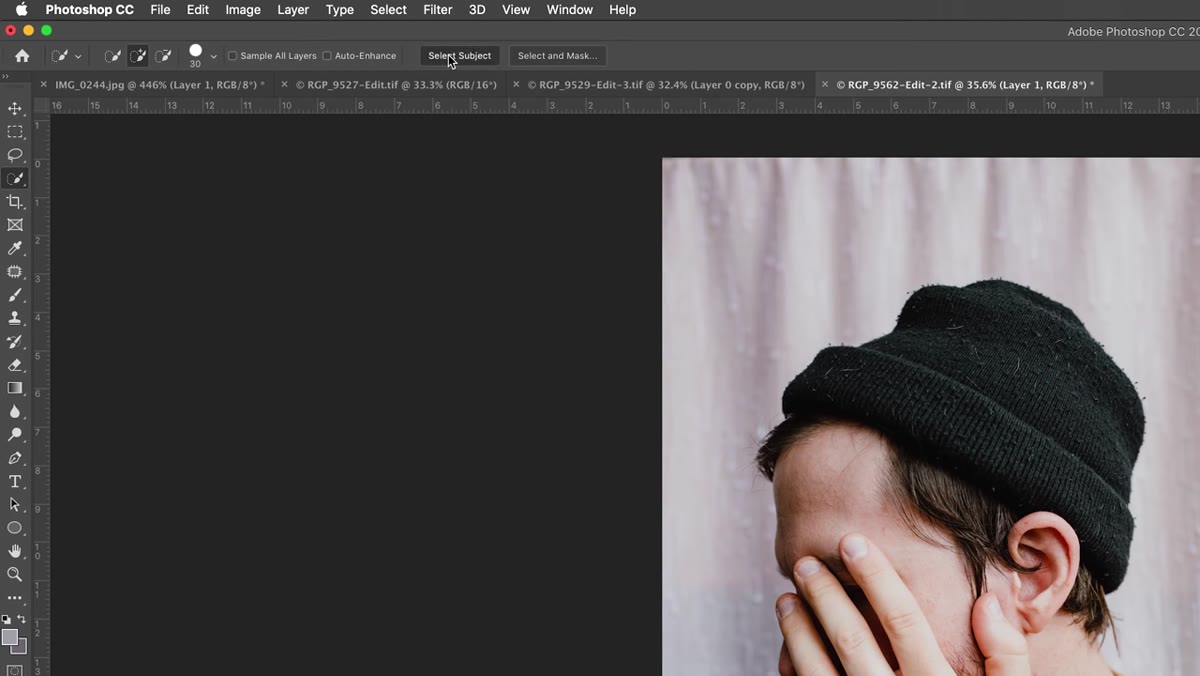 Photoshop selection and clone stamp cleanup on background
Even a well-hung backdrop picks up wrinkles, uneven light fall-off, and the occasional shadow from a door frame or piece of furniture. The tutorial handles this in Photoshop by selecting the subject, inverting the selection to isolate the background, and using a large soft clone stamp at low opacity to even out the tone.
Photoshop selection and clone stamp cleanup on background
Even a well-hung backdrop picks up wrinkles, uneven light fall-off, and the occasional shadow from a door frame or piece of furniture. The tutorial handles this in Photoshop by selecting the subject, inverting the selection to isolate the background, and using a large soft clone stamp at low opacity to even out the tone.
I would add one detail: clone stamp toward the center of the frame, not from the edges inward. Edges often have the most variation in brightness, and pulling texture from there into the midground makes the background look worse. Sample from the smoothest part of the backdrop and work outward from there. Keep your opacity under 30 percent and build the correction gradually.
What I Would Add from My Own Work
I keep a lighting journal where I sketch every setup from every shoot, and the bedroom window setups are some of the most instructive pages in it. The thing that surprises working photographers and students alike is how much you can shape a window by modifying what is around it, not the window itself. A white foam core board on the opposite side of the subject from the window kicks light back into the shadows and gives you something close to a two-light setup without a second light source. A dark piece of fabric on the same side as the window flags the light and makes it more directional. These two moves, a reflector and a flag, cost nothing and give you meaningful control over how the light wraps the subject’s face.
If you are serious about self-portrait or bedroom studio work, spend one session doing nothing but moving a single white board around in relation to the window and the subject. Photograph each position. What you learn in that hour will stick longer than any lighting diagram.
The single most important thing this tutorial demonstrates is that a controlled light source and a clean background are the entire foundation of a portrait. Everything else is refinement. You do not need a studio to have those two things. You need a window, a sheet, and the willingness to turn off the wrong lights.
Watch the full tutorial on YouTube to see the setup and the final images together. The before-and-after alone is worth the three minutes.
Comments (1)
My workflow just got 10x faster. Not even kidding.
Leave a Comment