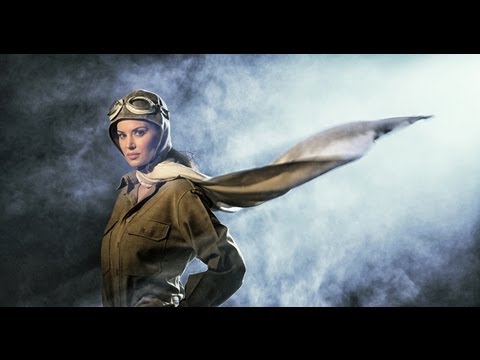
Continuous lighting used to be a compromise I made reluctantly. Strobes were precise, repeatable, and fast. Hot lights felt like a workaround for filmmakers who hadn’t fully committed to either medium. Then I started getting more hybrid jobs, clients who wanted a behind-the-scenes reel alongside the stills, and my entire attitude shifted. You can’t fire a strobe at 24 frames per second. Continuous light, once you understand how to manage it, stops being a limitation and starts being a genuinely elegant solution.
That’s exactly why I keep coming back to this tutorial from The Slanted Lens. Watch the full tutorial on YouTube — Jay P. Morgan works through a two-light continuous setup, then builds it into something more complex by the end, and the reasoning behind every decision is actually explained rather than just demonstrated. The subject is a model styled in vintage World War I aviation gear, which creates a specific mood the lighting has to serve. That specificity is what makes the tutorial useful. Copying settings from a generic tutorial gets you nowhere. Understanding why someone made those choices in context gets you everywhere.
The other thing that stuck with me: ISO is a budget tool, not just a quality setting. That reframe alone changed how I plan my continuous light shoots.
Step 1: Commit to Your Camera Settings First
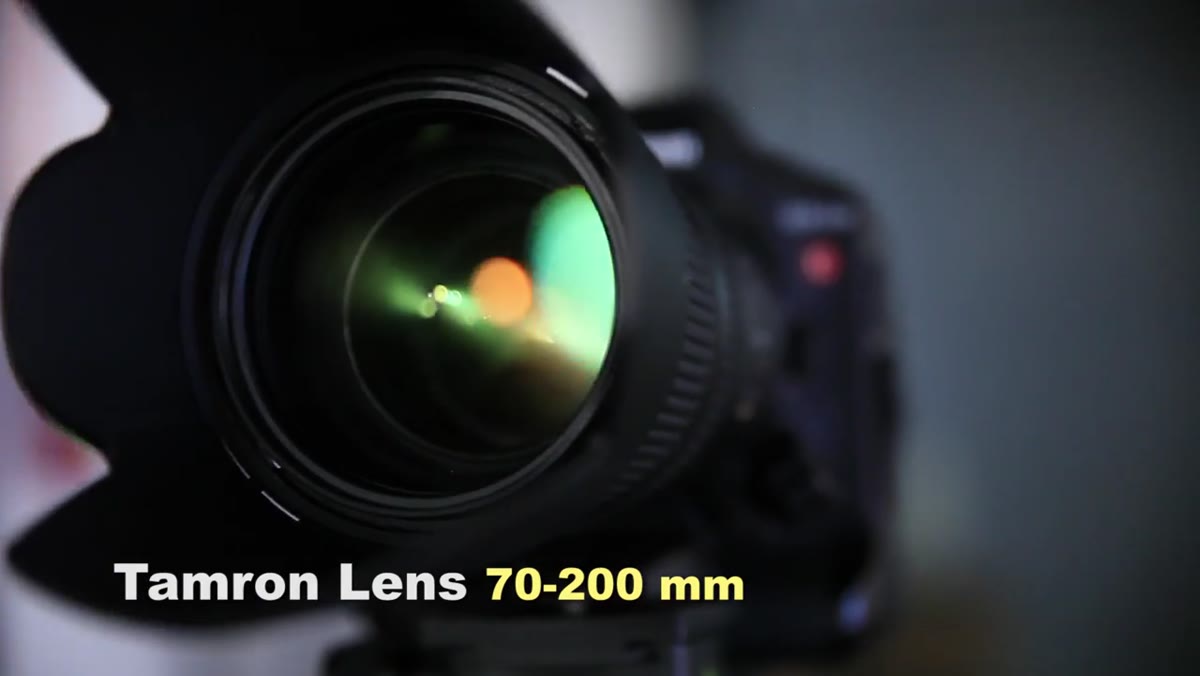 Camera settings discussed: 1/50s shutter, f/5.6, ISO 640
Before a single light goes up, nail your exposure targets. In this setup, the camera is locked at 1/50th of a second, f/5.6, and ISO 640. The slow shutter is intentional. For a relatively still subject wearing a flowing scarf, that 1/50th introduces a controlled motion blur that reads beautifully in both stills and video. You’re not fighting the movement; you’re using it as a design element.
Camera settings discussed: 1/50s shutter, f/5.6, ISO 640
Before a single light goes up, nail your exposure targets. In this setup, the camera is locked at 1/50th of a second, f/5.6, and ISO 640. The slow shutter is intentional. For a relatively still subject wearing a flowing scarf, that 1/50th introduces a controlled motion blur that reads beautifully in both stills and video. You’re not fighting the movement; you’re using it as a design element.
The ISO choice is where most photographers get nervous, but modern full-frame sensors have made ISO 640 genuinely clean. More importantly, shooting at 640 instead of 160 means you need a fraction of the wattage to achieve the same exposure. That difference scales: what requires one 2,000-watt light at ISO 640 would demand four of them at ISO 160. Fewer, smaller lights mean one person can run the shoot. I’ve worked with 10K tungsten units on commercial sets. They’re physically intimidating and generate heat that becomes a real problem over a long day. Keeping your wattage low by leaning on ISO is not a shortcut. It’s smart production.
Step 2: Position a 2K Tungsten as a Rim Light
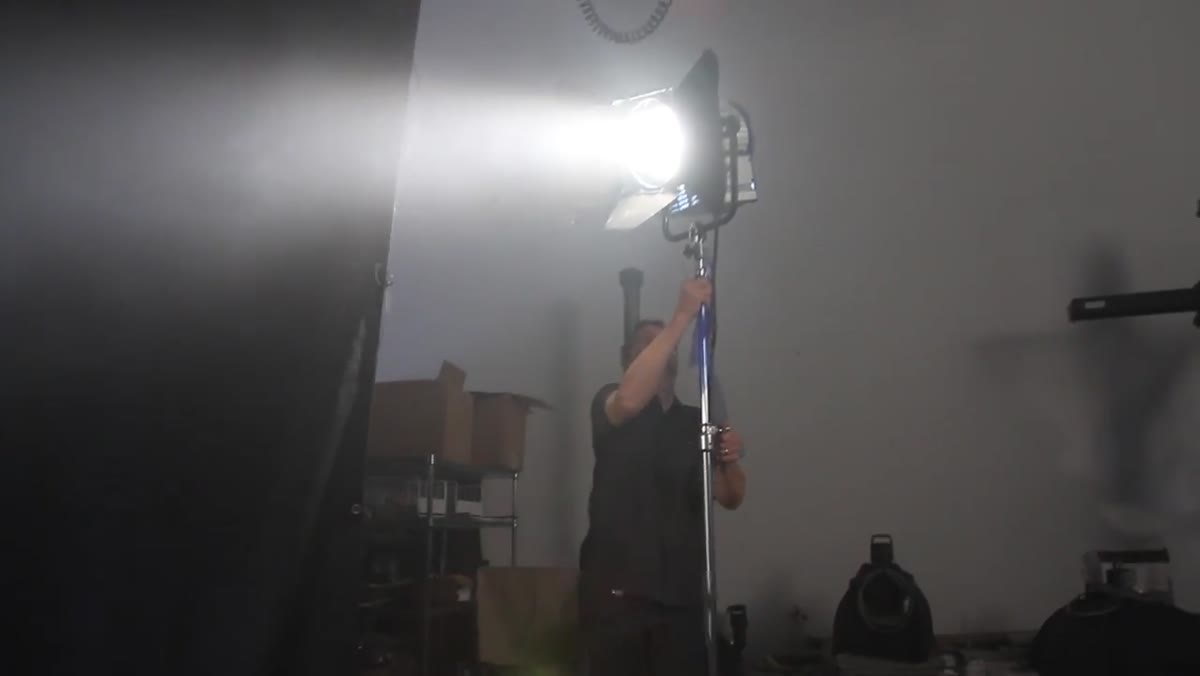 2K tungsten light placed far camera-right behind subject
The first light is a 2,000-watt tungsten unit placed on the camera-right side of the frame, pushed well back toward the rear of the set. The job of this light is edge separation. It wraps a bright rim around the subject, pulling her silhouette away from the dark background and giving the image a sense of three-dimensional depth.
2K tungsten light placed far camera-right behind subject
The first light is a 2,000-watt tungsten unit placed on the camera-right side of the frame, pushed well back toward the rear of the set. The job of this light is edge separation. It wraps a bright rim around the subject, pulling her silhouette away from the dark background and giving the image a sense of three-dimensional depth.
A blue gel is placed over the 2K. This does two things simultaneously: it introduces a color temperature contrast against the warmer key light that will come later, and it throws a colored wash onto the background that adds visual interest without requiring a separate background light. A dark, clean backdrop — a duvatyne or any matte dark wall with no ambient light hitting it – works here because the rim light provides all the separation you need. The subject is also elevated on an apple box, which creates a slightly upward camera angle. Even a few inches of height shift reads as authority in the frame.
Step 3: Add a Beauty Dish with Grid as the Key Light
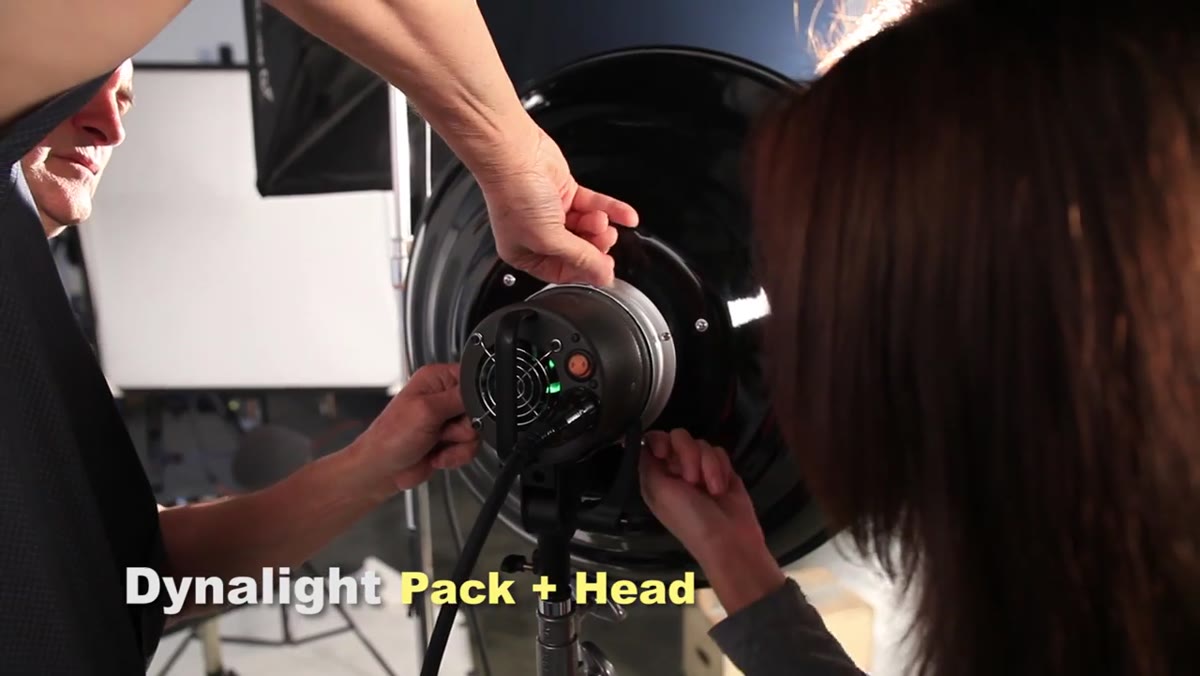 Beauty dish with grid positioned above subject’s face
The key light is a 600-watt continuous tungsten head fitted with a beauty dish and a grid. The grid keeps the light directional and controlled, preventing it from spilling onto the background or washing out the rim effect you’ve already built. A half-CTO gel warms the light slightly, pushing it toward a more flattering skin tone against the cooler rim.
Beauty dish with grid positioned above subject’s face
The key light is a 600-watt continuous tungsten head fitted with a beauty dish and a grid. The grid keeps the light directional and controlled, preventing it from spilling onto the background or washing out the rim effect you’ve already built. A half-CTO gel warms the light slightly, pushing it toward a more flattering skin tone against the cooler rim.
The placement detail that matters most here is the feathering. The beauty dish is aimed so that the subject’s face sits at the lower edge of the light’s coverage circle rather than dead center. This causes a natural fall-off down her body, so the face is fully lit and the torso gradually dims. It reads as a vignette even though nothing has been added in post. It also means the light grazes the scarf, which will interact with any atmospheric element you add later. Feathering a modifier is one of those techniques that takes ten seconds to execute and produces results that would otherwise require an additional light.
Step 4: Bounce a 1K Off the Wall as Fill
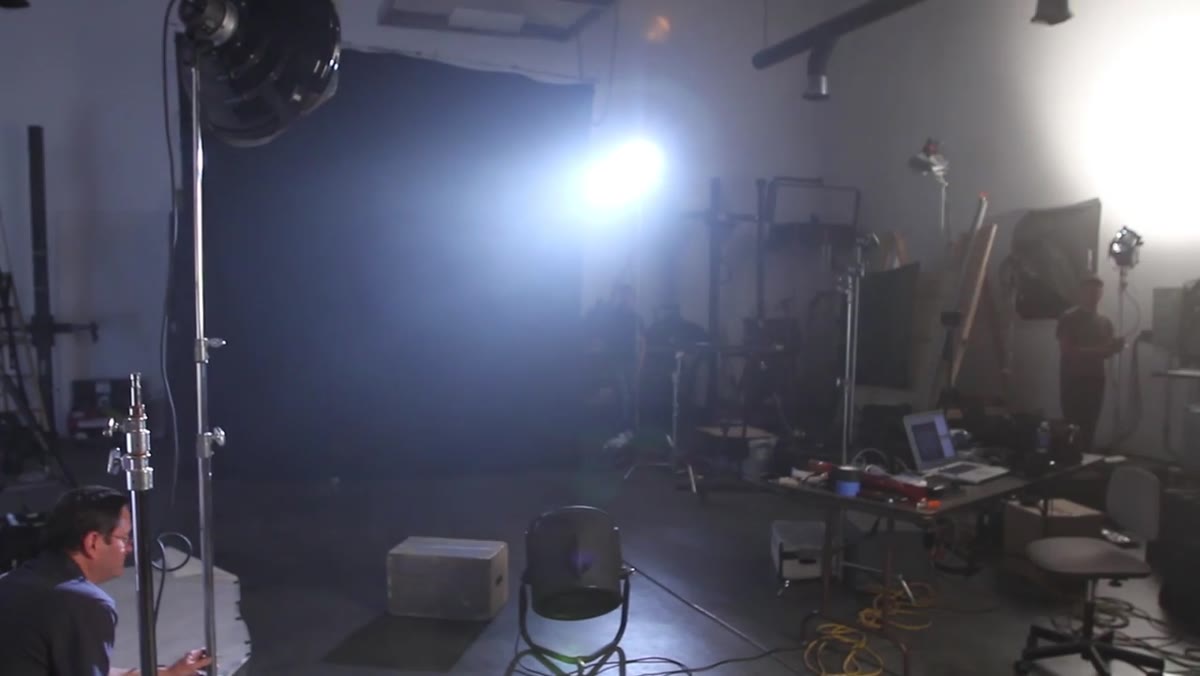 1K light bouncing off rear wall for ambient fill
A 1,000-watt light is pointed directly at a wall rather than at the subject. The reflected light bounces back into the set as a soft, even fill. This solves a problem specific to dark, high-contrast setups: the shadow side of the face can go completely black, which may or may not be the look you want. A wall bounce gives you a gentle, wraparound fill without adding another hard light source into the mix.
1K light bouncing off rear wall for ambient fill
A 1,000-watt light is pointed directly at a wall rather than at the subject. The reflected light bounces back into the set as a soft, even fill. This solves a problem specific to dark, high-contrast setups: the shadow side of the face can go completely black, which may or may not be the look you want. A wall bounce gives you a gentle, wraparound fill without adding another hard light source into the mix.
There’s a practical second benefit. If you’re capturing behind-the-scenes video of the shoot, you need enough ambient light for the documentary camera to work. A wall-bounced 1K lifts the room’s base exposure just enough for secondary cameras to capture usable footage without the set looking artificially lit. It’s a quiet light that nobody notices until it’s gone.
Step 5: Introduce Smoke as the Final Element
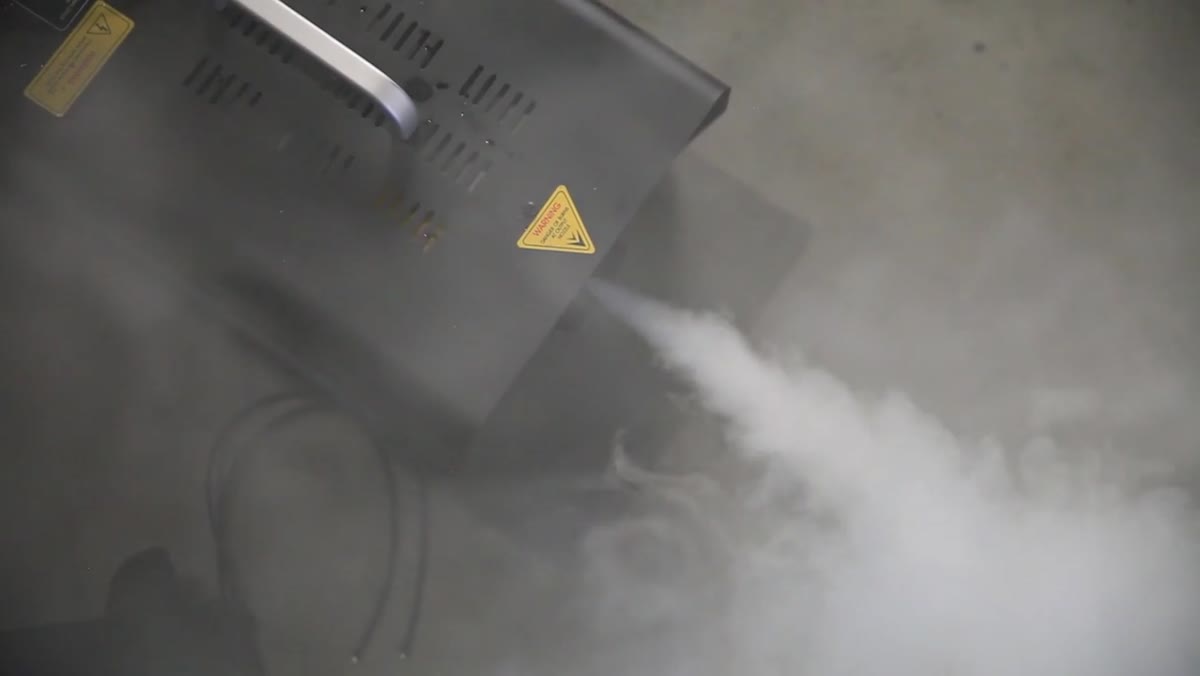 Smoke machine filling set; rim light catching the haze
Smoke is the ingredient that separates this setup from a competent portrait into an atmospheric image. A Rosco 1700 fog machine pumps haze into the set, and the rear rim light catches it. The smoke becomes visible, tangible, and directional all at once because the light is already positioned to rake across the scene from behind.
Smoke machine filling set; rim light catching the haze
Smoke is the ingredient that separates this setup from a competent portrait into an atmospheric image. A Rosco 1700 fog machine pumps haze into the set, and the rear rim light catches it. The smoke becomes visible, tangible, and directional all at once because the light is already positioned to rake across the scene from behind.
The timing requires patience. Let the smoke settle into the environment rather than firing it in one dense burst. You want atmosphere, not fog. Once it’s in the air, the existing lighting does all the work. The blue-gelled rim light turns the haze into a textured, luminous background element. This is the kind of effect that looks expensive and complex but costs almost nothing once the base lighting is doing its job correctly.
What I’d Do Differently on My Own Set
The tutorial is built around tungsten sources, which have a specific warmth and quality that I genuinely like for certain looks. But I’d add one step before shooting: white balance calibration against the actual modifier surface, not a gray card in open air. Early in my career I ruined an editorial shoot by trusting my camera’s auto white balance under mixed continuous sources. The images had a color temperature inconsistency across the sequence that wasn’t fixable in post without destroying the skin tones. Now I set a custom white balance from a target placed where the subject’s face will be, with every light running. Takes two minutes. Saves the shoot.
I’d also keep a lighting diagram of this setup in my notes. I sketch every setup I use in a small journal I carry to every shoot. A two-light continuous rig this clean is worth having documented because it adapts. Swap the gel color, change the backdrop, adjust the modifier, and you have a dozen variations on one solid foundation.
The single most transferable idea from this tutorial is that ISO management is production management. Adjusting your ISO to reduce the wattage you need isn’t compromising image quality with modern sensors. It’s choosing to work with lighter, safer, more manageable equipment. That decision compounds across a shoot day in ways that matter: less heat, faster setup, fewer hands needed, lower rental costs.
Watch the full tutorial on YouTube and pay attention to how Jay P. Morgan explains the scaling logic around ISO. That five-minute section is worth more than most full-length lighting courses.
Comments (2)
Solid advice. Especially the part about taking your time with it.
Love this. I referenced a similar technique in one of my recent posts. Always good to see other perspectives.
Leave a Comment