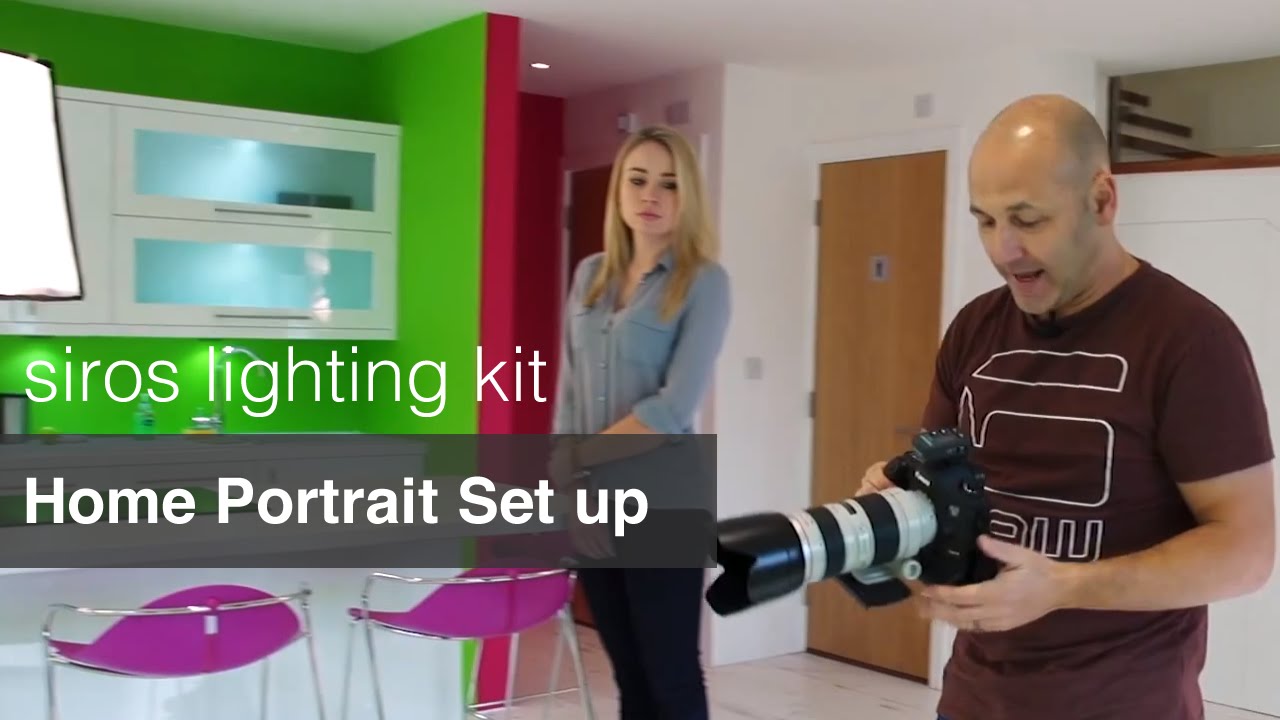
Most of my portrait work happens in a controlled environment where I can label every light, dial in every modifier, and sketch the setup in my lighting journal before the client walks through the door. But the jobs that actually test your knowledge are the ones that strip all of that away: a tight residential space, a minimal kit, and a subject in front of you. That’s the situation KL Taylor works through in this Visual Education tutorial on the Broncolor Siros lighting kit, and it’s one of the more practically useful demonstrations I’ve come across for photographers who need to produce polished portrait work outside a dedicated studio.
Watch the full tutorial on YouTube
What makes this tutorial worth your time isn’t the gear itself, though the Siros is impressive. It’s the decision-making process. Taylor walks through two distinct portrait setups in what reads as a domestic kitchen-lounge space, then hints at a third in a corporate office environment. He’s solving a real problem: how do you use a two-light kit to its full potential when you can’t move walls, add flags, or rearrange the room? The answer, as with most good lighting work, is in the placement logic and the willingness to start with a test shot and adjust from there.
Step 1: Understand What Each Light Is Doing Before You Place It
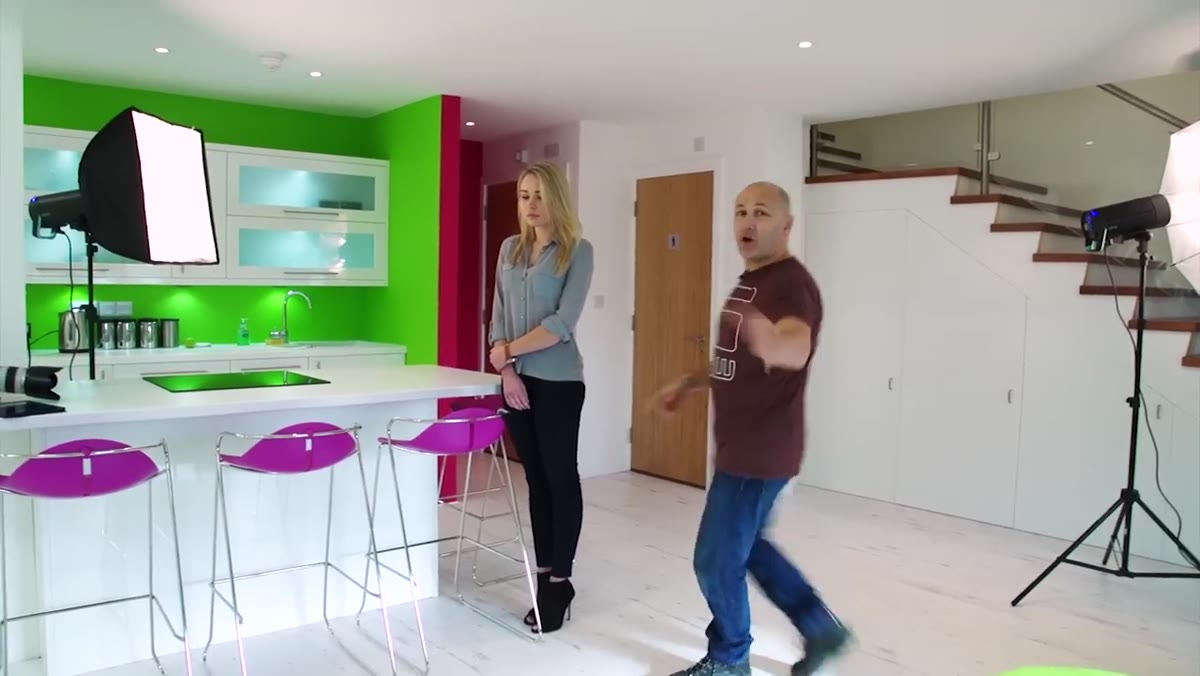 Broly hair light and softbox positioned in kitchen space
Before anything goes on a stand, you need to assign a job to each light. In a two-light setup, there’s no room for a modifier that’s doing double duty poorly. Taylor makes this explicit: the umbrella-style Broly light handles edge separation along the back of the subject’s hair, and the softbox does the primary job of illuminating the face. Hair light goes to one side, key light faces the subject. Two lights, two functions. No overlap, no waste.
Broly hair light and softbox positioned in kitchen space
Before anything goes on a stand, you need to assign a job to each light. In a two-light setup, there’s no room for a modifier that’s doing double duty poorly. Taylor makes this explicit: the umbrella-style Broly light handles edge separation along the back of the subject’s hair, and the softbox does the primary job of illuminating the face. Hair light goes to one side, key light faces the subject. Two lights, two functions. No overlap, no waste.
If you blur that distinction, you get flat light with muddy separation, and no amount of post-processing will put dimensionality back into a portrait. I’ve made that mistake myself. Assign roles first, then position.
Step 2: Place the Hair Light for Edge Separation
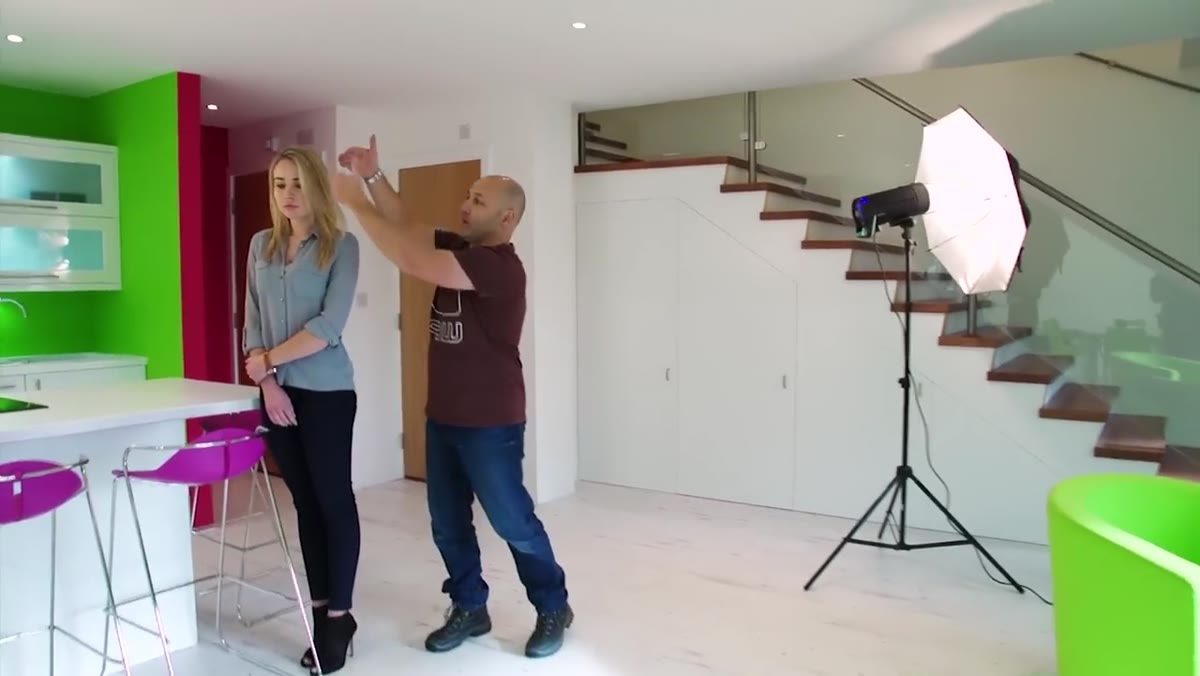 Broly light positioned to camera left for hair separation
The Broly light goes behind and to the side of the subject, aimed at the shoulder and hair on the side facing away from the key. Taylor positions it so it carves a rim of light along that edge, pulling the subject visually away from the background. This is the light that does the heavy lifting for three-dimensionality in the image.
Broly light positioned to camera left for hair separation
The Broly light goes behind and to the side of the subject, aimed at the shoulder and hair on the side facing away from the key. Taylor positions it so it carves a rim of light along that edge, pulling the subject visually away from the background. This is the light that does the heavy lifting for three-dimensionality in the image.
The exact angle matters. Too far around and you get lens flare or spill onto the background. Too tight and you lose the rim effect entirely. A starting point that works in most home-sized spaces is roughly 45 degrees behind the subject’s shoulder line, angled slightly downward toward the hair. Flag it if you have one. If you don’t, position it so the camera can’t see the light source directly.
Step 3: Set Up the Softbox as Your Key Light
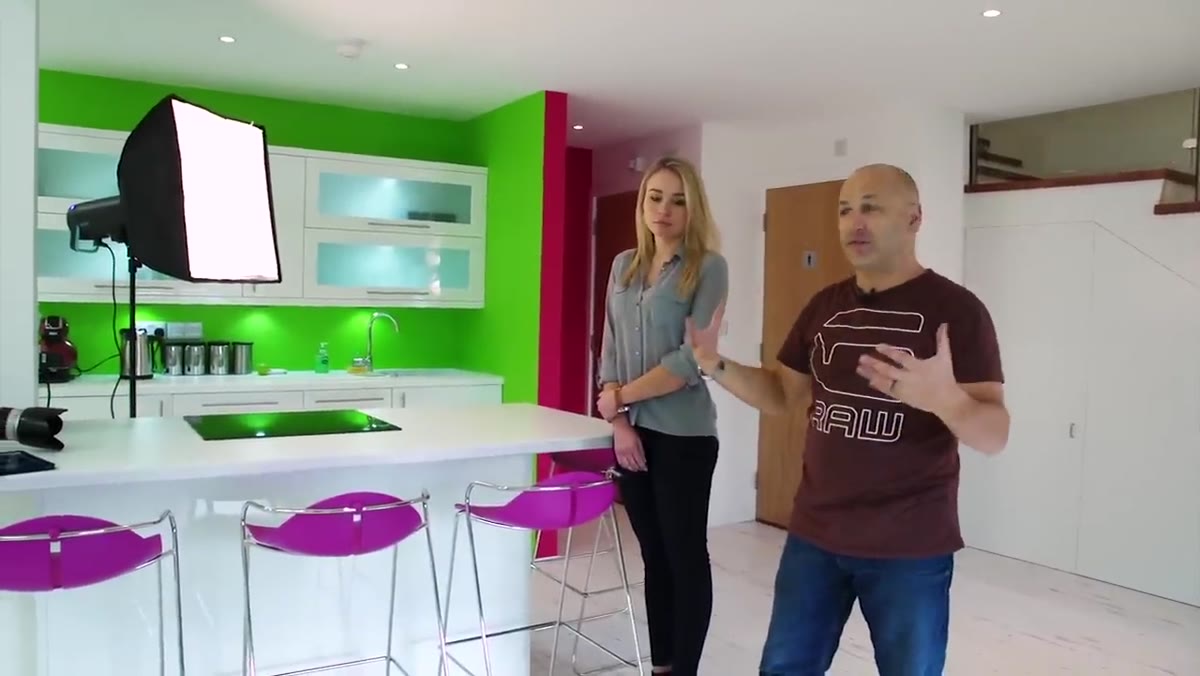 Softbox positioned facing subject for key light illumination
The softbox comes in from the front, positioned to wrap light across the face. Taylor doesn’t overthink the modifier choice here: a softbox in a small space like a kitchen gives you a large, even source that’s forgiving on skin without going so flat that you lose all shadow structure. It’s not the most dramatic lighting, but it’s appropriate for a natural, home-environment portrait.
Softbox positioned facing subject for key light illumination
The softbox comes in from the front, positioned to wrap light across the face. Taylor doesn’t overthink the modifier choice here: a softbox in a small space like a kitchen gives you a large, even source that’s forgiving on skin without going so flat that you lose all shadow structure. It’s not the most dramatic lighting, but it’s appropriate for a natural, home-environment portrait.
Position it slightly above eye level and angle it down toward the face. This mimics the quality of light you’d get from a north-facing window, which is not an accident. In a space that’s supposed to feel like someone’s home, your lighting should feel like it belongs there.
Step 4: Choose a Wide Aperture and Lean on the 9-Stop Power Range
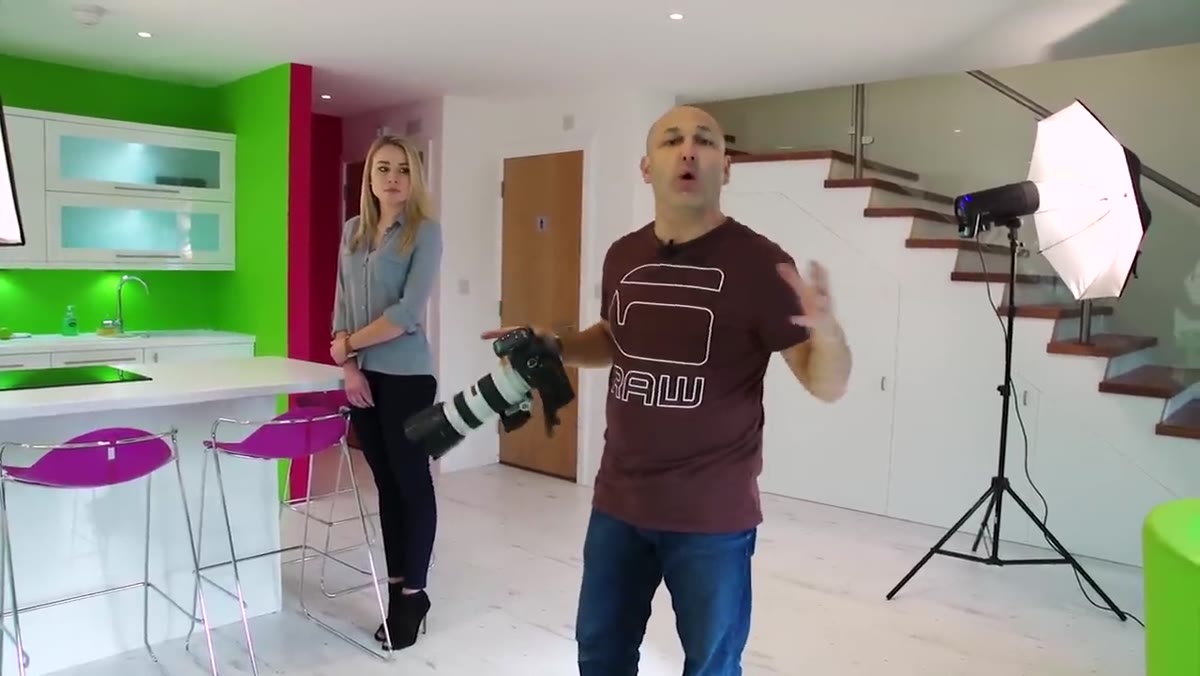 Camera settings shown with Canon 5D and 70-200 lens at f/3.2
Taylor shoots this on a Canon 5D Mark III with a 70 to 200mm lens, and he’s working at f/3.2. That’s a wide aperture, and it means he needs to pull the flash power down significantly to avoid overexposing. This is where the Siros earns its place: it has a 9-stop power range, which gives you the flexibility to shoot wide open without fighting your flash. Most monolights max out around 5 or 6 stops of range. The extra room matters when you’re balancing a flash against ambient light in a bright domestic interior.
Camera settings shown with Canon 5D and 70-200 lens at f/3.2
Taylor shoots this on a Canon 5D Mark III with a 70 to 200mm lens, and he’s working at f/3.2. That’s a wide aperture, and it means he needs to pull the flash power down significantly to avoid overexposing. This is where the Siros earns its place: it has a 9-stop power range, which gives you the flexibility to shoot wide open without fighting your flash. Most monolights max out around 5 or 6 stops of range. The extra room matters when you’re balancing a flash against ambient light in a bright domestic interior.
A 70 to 200mm at the longer end also gives you natural subject compression and lets you put real distance between the subject and the background, which helps the softbox light fall off before it hits the wall behind her.
Step 5: Use the App to Control Lights Without Leaving the Camera
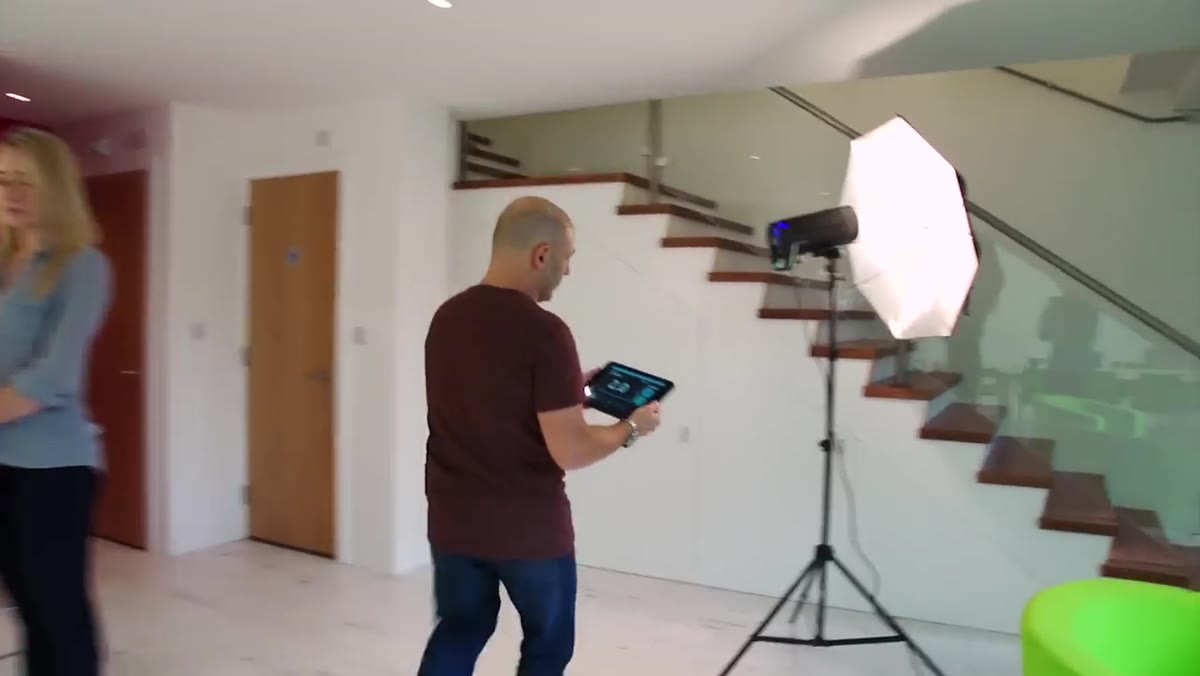 Broncolor app displayed on iPad showing individual lamp controls
The Siros lights communicate over their own self-contained Wi-Fi network. You don’t need a router or an internet connection. The lights create the network, your phone or tablet finds it, and from the app you can adjust total power or dial in each individual light independently. Taylor demonstrates switching between two lights in the app, each identified by a color indicator: one shows as the default, one shows as green, and you can fine-tune them without walking to the stand.
Broncolor app displayed on iPad showing individual lamp controls
The Siros lights communicate over their own self-contained Wi-Fi network. You don’t need a router or an internet connection. The lights create the network, your phone or tablet finds it, and from the app you can adjust total power or dial in each individual light independently. Taylor demonstrates switching between two lights in the app, each identified by a color indicator: one shows as the default, one shows as green, and you can fine-tune them without walking to the stand.
For the setup he’s demonstrating, where both lights are within arm’s reach, this might feel like a convenience feature. But in a room where one light is up high on a boom arm, or positioned in a corner you can’t easily access, controlling power from your camera position without breaking your flow is a genuine workflow improvement.
Step 6: Take a Test Shot and Read What You Have
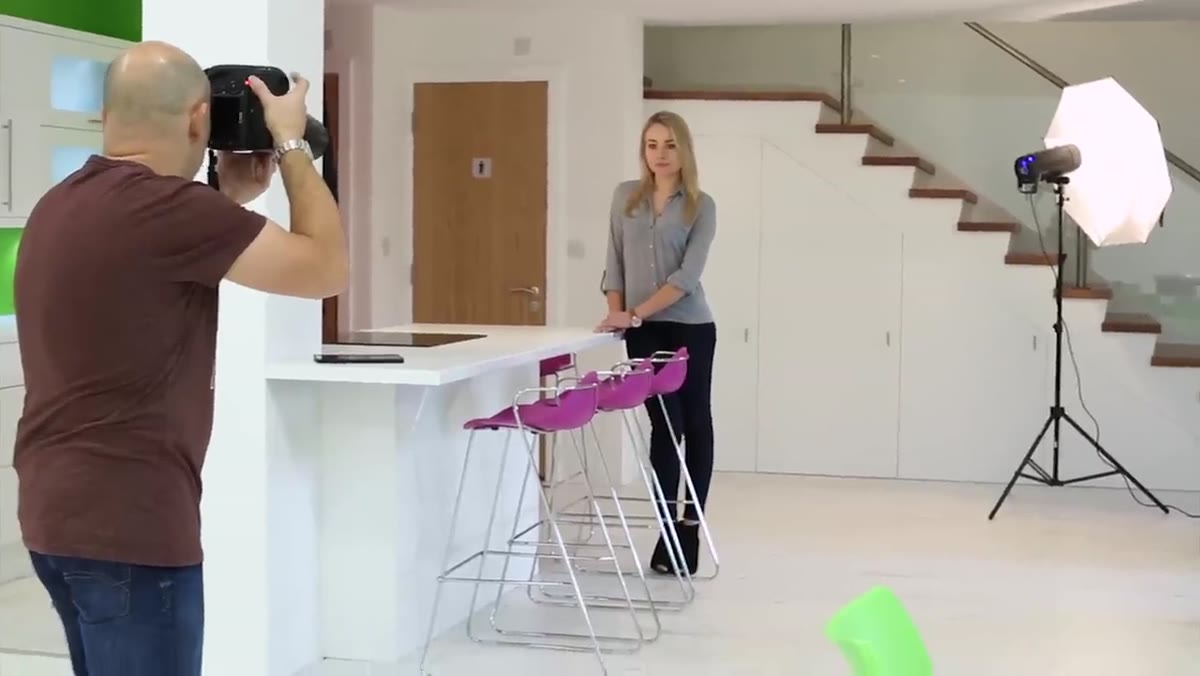 First test shot reviewed on camera screen in kitchen setup
Taylor’s first shot goes up and he reads it immediately. He’s looking at separation, facial exposure, and whether the hair light is doing its job or bleeding into areas it shouldn’t. This isn’t optional. No matter how carefully you pre-visualize a lighting setup, the room, the subject’s skin tone, the wall reflectivity, and the ambient light all interact in ways you can’t fully predict before the shutter fires.
First test shot reviewed on camera screen in kitchen setup
Taylor’s first shot goes up and he reads it immediately. He’s looking at separation, facial exposure, and whether the hair light is doing its job or bleeding into areas it shouldn’t. This isn’t optional. No matter how carefully you pre-visualize a lighting setup, the room, the subject’s skin tone, the wall reflectivity, and the ambient light all interact in ways you can’t fully predict before the shutter fires.
Start with the key light only. Get that reading right. Then bring in the hair light and adjust until the separation looks natural, not theatrical. You’re building the exposure in layers.
What I’d Add From My Own Work
Taylor keeps the background environmental throughout this demo, using the row of chairs as a color element and a compositional lead-in. That’s a smart call in a space that reads as a home. But in my experience, even in casual portrait setups, you gain a lot by doing one quick test with a gray card before you start shooting in earnest. Domestic spaces have mixed color temperatures that can shift the apparent white balance between the flash-lit subject and the ambient-lit background. I ruined an early editorial job by ignoring exactly that, and I’ve been calibrating at the start of every unfamiliar setup ever since. It adds two minutes and saves an hour of correction later.
The Siros kit won’t solve every location challenge, but the combination of wide power range, wireless control, and a clean two-modifier approach gives you a compact system that can produce professional portrait results in spaces that weren’t designed for photography. Taylor’s demonstration proves the concept works. The real takeaway is simpler than any single piece of gear: define your lights’ jobs before you place them, test before you commit, and let the room work with you rather than against it.
Watch the full tutorial on YouTube
Comments (3)
Great breakdown. The step-by-step approach really helps.
Love how you break down complex stuff into manageable steps.
Well explained. I think my audience would really benefit from this — mind if I link to it?
Leave a Comment