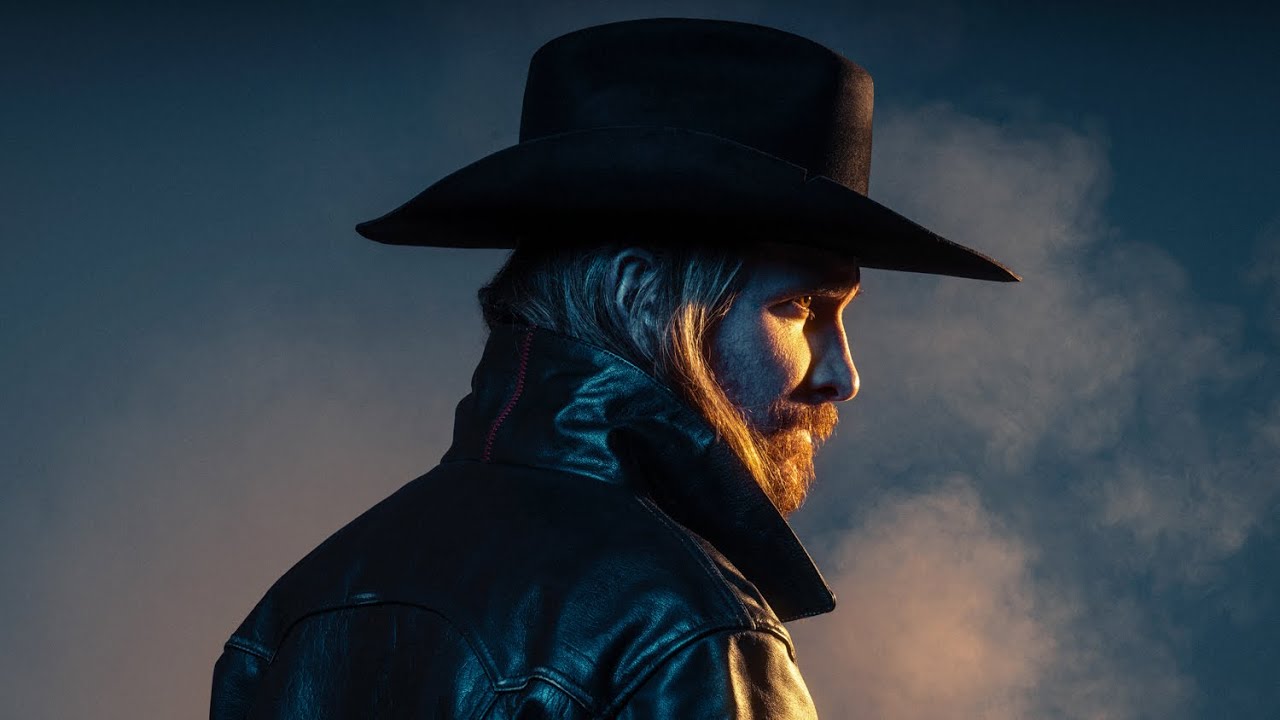
There’s a moment every studio photographer knows. The client walks in, looks around at the wrinkled backdrop, the gaffer tape, the light stands held together with wishful thinking, and their face does something complicated. You can see them calculating whether they’ve made a mistake. Then you show them the back of the camera, and the whole room shifts. That gap between what the studio looks like and what the camera sees is, frankly, the entire job. It’s something I’ve built a career on, and it’s exactly the tension at the center of this tutorial.
In this Peter McKinnon tutorial, Watch the full tutorial on YouTube, McKinnon hands the teaching over to Lane, a photographer with over a decade of studio experience, much of it built from scratch starting in his mother’s living room. That detail matters. Lane’s approach isn’t rooted in ideal conditions or expensive infrastructure. It’s rooted in problem-solving with what’s available, which is exactly the mindset that translates to real, paying work. What follows is my breakdown of the core techniques from the video, expanded with the specifics you need to actually execute them.
Step 1: Treat Any Space Like a Studio
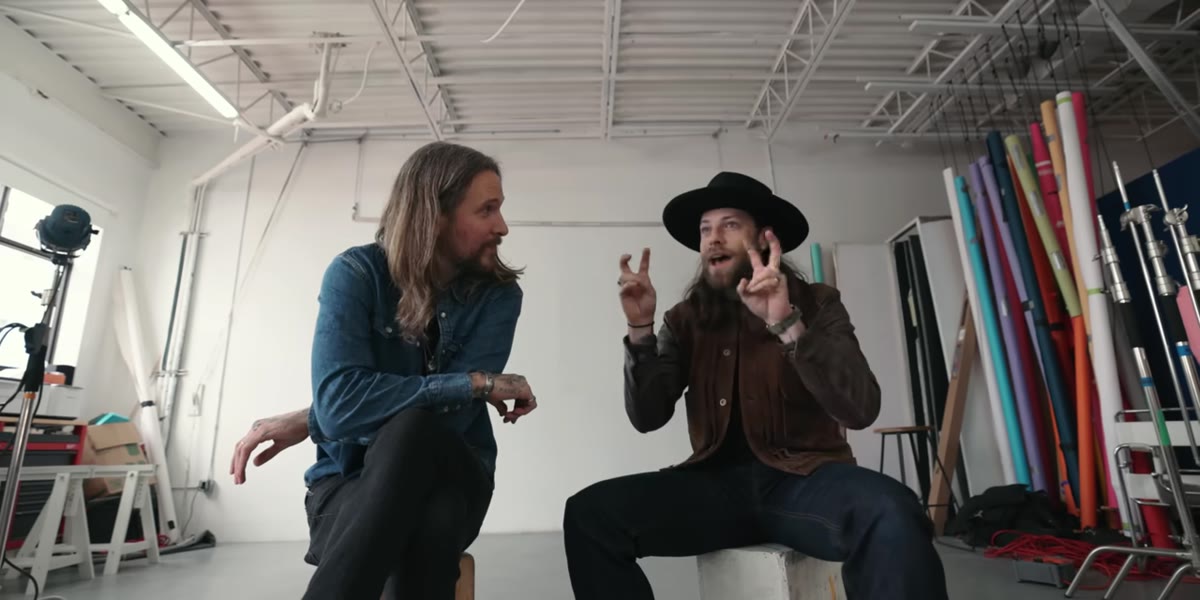 Lane describes starting studio photography in his mother’s living room
The fundamental lesson Lane opens with is that a studio is a mindset before it’s a location. He started shooting in his mother’s living room, and he counts that as legitimate studio photography because the decision-making process is identical whether you’re in a 3,000-square-foot commercial space or a corner of someone’s house. The controllable variables are the same: light direction, background, subject placement, and distance.
Lane describes starting studio photography in his mother’s living room
The fundamental lesson Lane opens with is that a studio is a mindset before it’s a location. He started shooting in his mother’s living room, and he counts that as legitimate studio photography because the decision-making process is identical whether you’re in a 3,000-square-foot commercial space or a corner of someone’s house. The controllable variables are the same: light direction, background, subject placement, and distance.
In practice, this means you should be looking at any room and asking what wall can serve as a background, where the light source is, and how you can block or redirect ambient light. I keep a small roll of black wrap and a few clamps in my bag for exactly this reason. You don’t need a studio to think like one.
Step 2: Plan Your Looks Before the Shoot
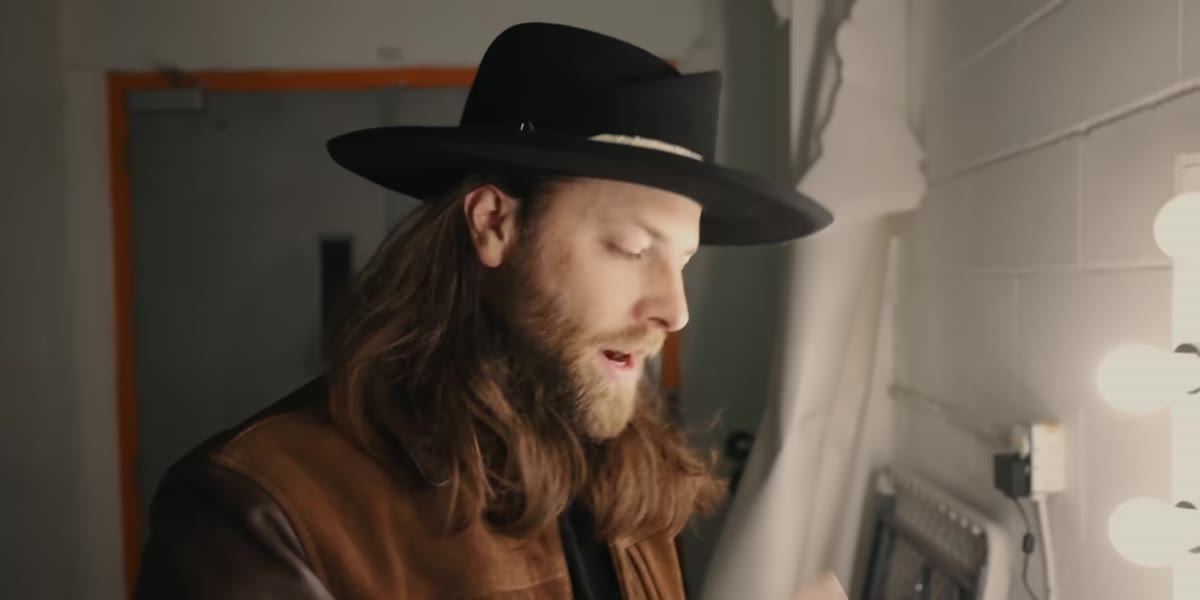 Lane writes down lens choice and lighting setup in a viewpoint list
Lane describes writing out a plan before every shoot that includes the lens, the general lighting setup, and what the light is doing for each specific look. He calls it a “viewpoint.” I call it not embarrassing yourself in front of a client. Whatever the name, the discipline is the same: go in with a roadmap.
Lane writes down lens choice and lighting setup in a viewpoint list
Lane describes writing out a plan before every shoot that includes the lens, the general lighting setup, and what the light is doing for each specific look. He calls it a “viewpoint.” I call it not embarrassing yourself in front of a client. Whatever the name, the discipline is the same: go in with a roadmap.
My version of this lives in a lighting journal I’ve kept for years. Before a shoot, I sketch two or three setups with rough measurements - key light distance, angle from subject, any fill or negative fill I’m planning. The value isn’t in executing the sketch perfectly. It’s in walking onto set with a decision already made so your brain is free to react to what the subject is actually doing instead of still trying to figure out where to put the light.
Step 3: Choose a Background That Reads Better in Camera Than in Person
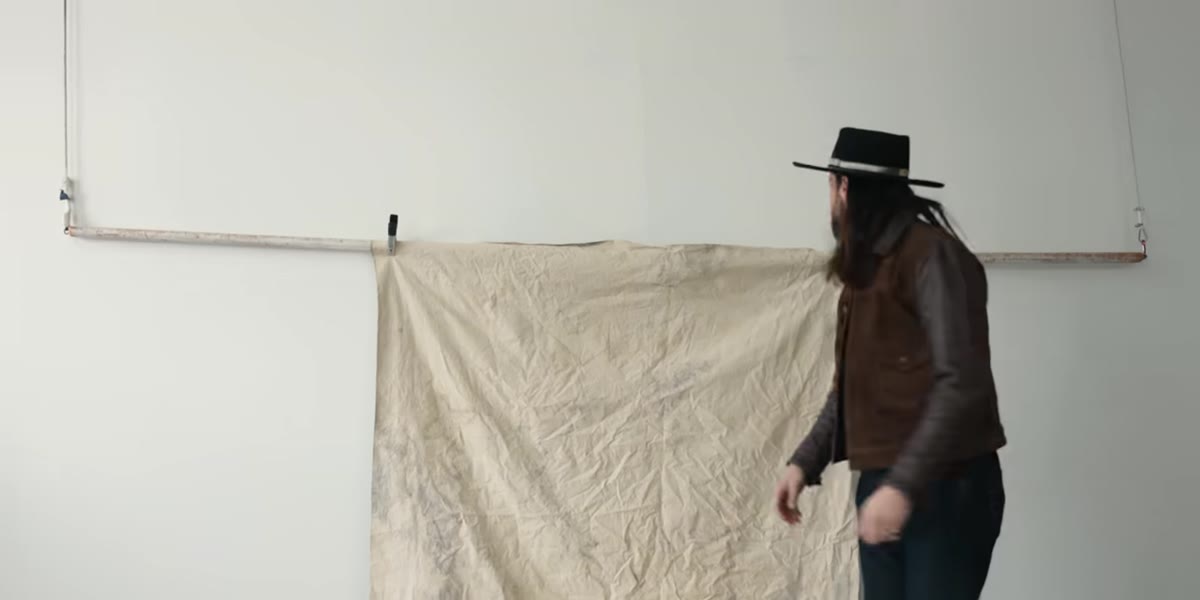 Lane points to worn, textured backdrop that looks rough in real life
Lane is refreshingly blunt about this. The backdrop he’s using looks rough. He says it looks “shoddy.” But through the camera, with the right light, it reads as textured, atmospheric, and intentional. This is the lie referenced in the video’s title, and it’s not a lie so much as a fundamental truth about how photography compresses and reinterprets physical space.
Lane points to worn, textured backdrop that looks rough in real life
Lane is refreshingly blunt about this. The backdrop he’s using looks rough. He says it looks “shoddy.” But through the camera, with the right light, it reads as textured, atmospheric, and intentional. This is the lie referenced in the video’s title, and it’s not a lie so much as a fundamental truth about how photography compresses and reinterprets physical space.
Textured, imperfect backgrounds tend to photograph better than clean, flat ones unless you’re shooting beauty or product work where the background is part of the technical spec. A worn canvas, painted concrete, or even a wood-paneled wall will catch light and give your subject something to exist in front of rather than just hang against. The test I always run: photograph the background alone at your shooting exposure. If it looks interesting without a subject, it’ll work with one.
Step 4: Ask Your Subject About Their Preferred Side Before You Lock In Your Lighting
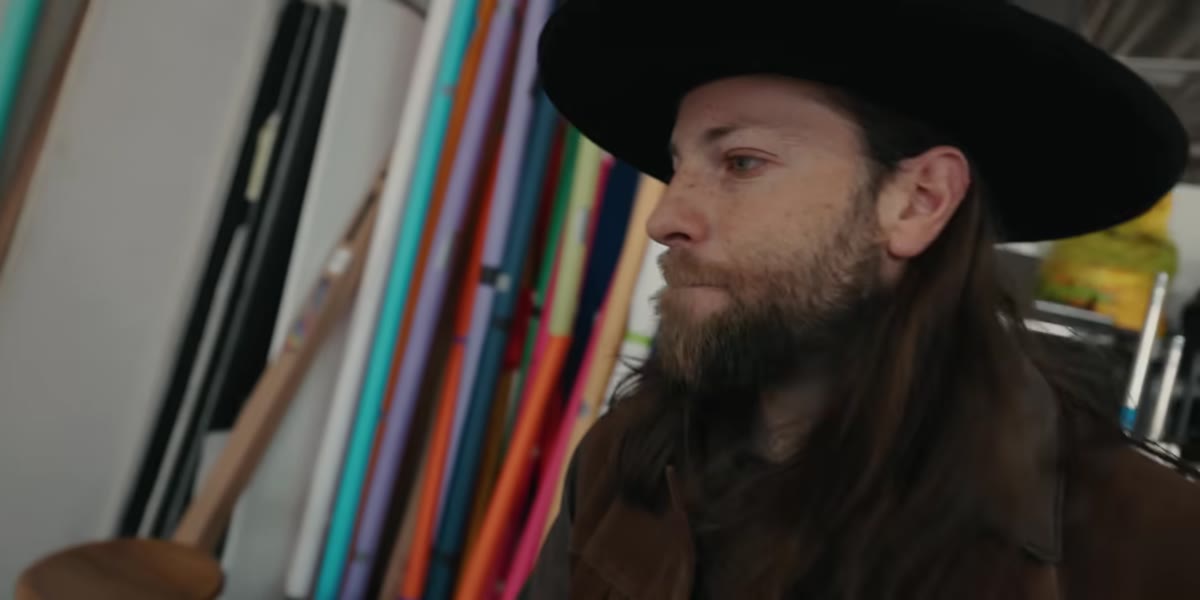 Lane asks Peter which side he prefers before positioning the key light
This is the step most photographers skip and almost everyone regrets. Lane makes a point of asking his subject which side they prefer before finalizing the key light position. The practical reason is simple: if your subject is uncomfortable with their left side facing camera, you’ll spend the whole shoot fighting their body language instead of directing it.
Lane asks Peter which side he prefers before positioning the key light
This is the step most photographers skip and almost everyone regrets. Lane makes a point of asking his subject which side they prefer before finalizing the key light position. The practical reason is simple: if your subject is uncomfortable with their left side facing camera, you’ll spend the whole shoot fighting their body language instead of directing it.
The deeper reason matters more. A subject who feels heard and considered from the first five minutes is a more relaxed subject. A relaxed subject moves better, holds eye contact more naturally, and stops thinking about the camera. Everything you do in those early moments of a shoot is either building or eroding that trust. Asking a simple question about a good side costs you thirty seconds and buys you the whole session.
Step 5: Use a Single Hard Light to Create Mood Before Adding Anything Else
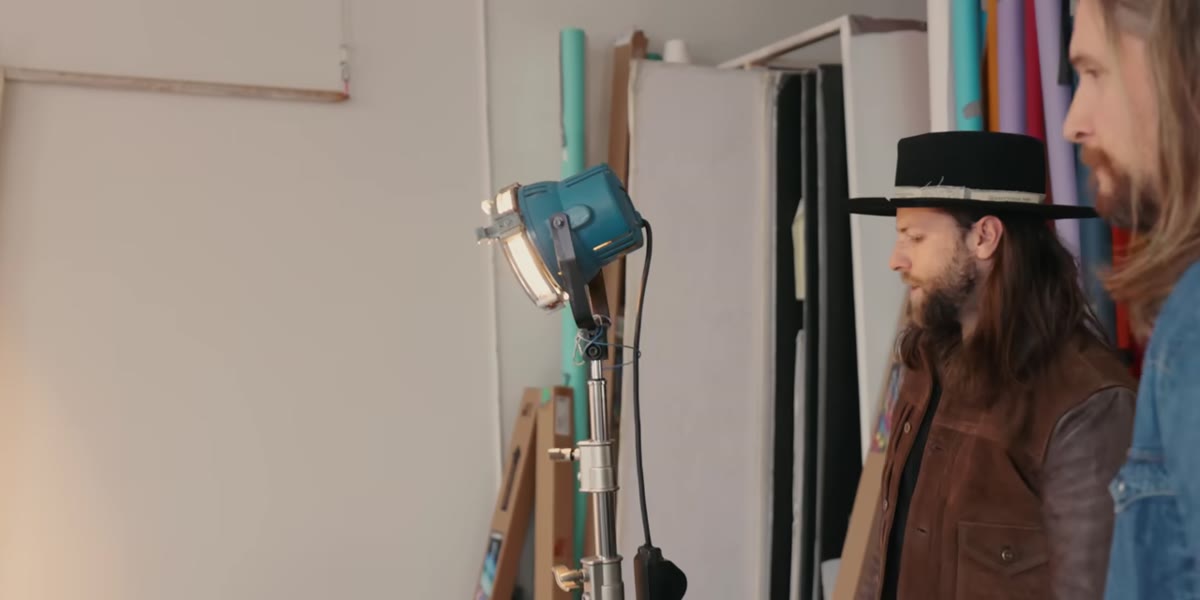 vintage tungsten spotlight positioned to create shadow and dramatic contrast
For the first look, Lane goes with a single hard light source - a vintage tungsten spotlight - positioned to create deliberate shadow. No fill, no reflector, no softbox to clean things up. The goal is mood, and mood requires contrast. He describes wanting something dramatic, textured, and a little bit mysterious.
vintage tungsten spotlight positioned to create shadow and dramatic contrast
For the first look, Lane goes with a single hard light source - a vintage tungsten spotlight - positioned to create deliberate shadow. No fill, no reflector, no softbox to clean things up. The goal is mood, and mood requires contrast. He describes wanting something dramatic, textured, and a little bit mysterious.
Hard light from a single source is the fastest way to establish character in a portrait. Set the light at roughly 45 degrees to the subject’s face, elevated slightly above eye level, and let the shadow fall. The exact position depends on bone structure, so take two test frames and adjust before you commit. Tungsten sources will push your white balance warm, which can be intentional - that amber quality suits certain subjects and aesthetics, particularly anything with leather, wood, or rough texture in the frame. If you’re shooting tethered, just watch what the histogram and the skin tones are doing and decide whether the warmth is serving the image.
Step 6: Make the Client Laugh and Keep Making Them Laugh
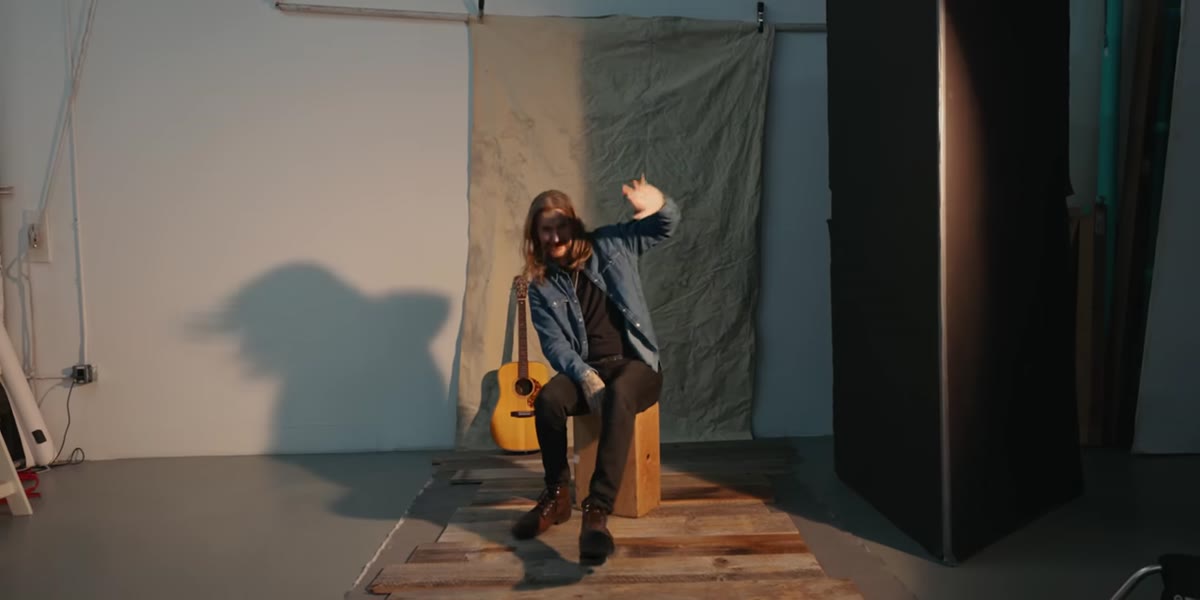 Lane explains that being entertaining is part of the job on every shoot
Lane says this plainly: you need to be entertaining enough that clients walk away saying they had a great time, regardless of the shots. That framing is useful. It positions your personality not as a bonus feature but as part of the actual product you’re delivering.
Lane explains that being entertaining is part of the job on every shoot
Lane says this plainly: you need to be entertaining enough that clients walk away saying they had a great time, regardless of the shots. That framing is useful. It positions your personality not as a bonus feature but as part of the actual product you’re delivering.
For me this looks different than it might for someone else. I’m not a natural comedian on set, but I’ve learned to narrate what I’m doing in a way that makes the process feel collaborative. Telling a subject “I’m moving this light because it’s doing something interesting to your jaw line right now” does two things at once: it explains the adjustment so they don’t feel like they’re just standing there while you fuss, and it pays them a genuine, specific compliment. That combination tends to produce better expressions than any direction I could give.
What I’d Add From My Own Experience
The video doesn’t get deep into color temperature management, and after the worst shoot of my early career - an editorial job where I mixed strobe and tungsten without flagging the difference and delivered unusable files - it’s the first thing I check on any setup that involves multiple sources. Label every light with its color temperature. I use masking tape on the barn door or stand. Sounds excessive until it saves you from a reshoot that costs more than the original job paid.
Also: Lane’s point about the studio being a mindset is where I’d tell anyone who’s just starting to put all their energy. The gear accumulates. The mindset is the harder thing to build, and it’s the thing that makes you useful in any space.
The single most important idea in this entire tutorial is that preparation is its own form of lighting. Show up with a plan, ask the right questions before you shoot, and your subject will feel it. The images will reflect it. Watch the full tutorial on YouTube to see Lane and Peter walk through the actual setups in real time.
Comments
Leave a Comment