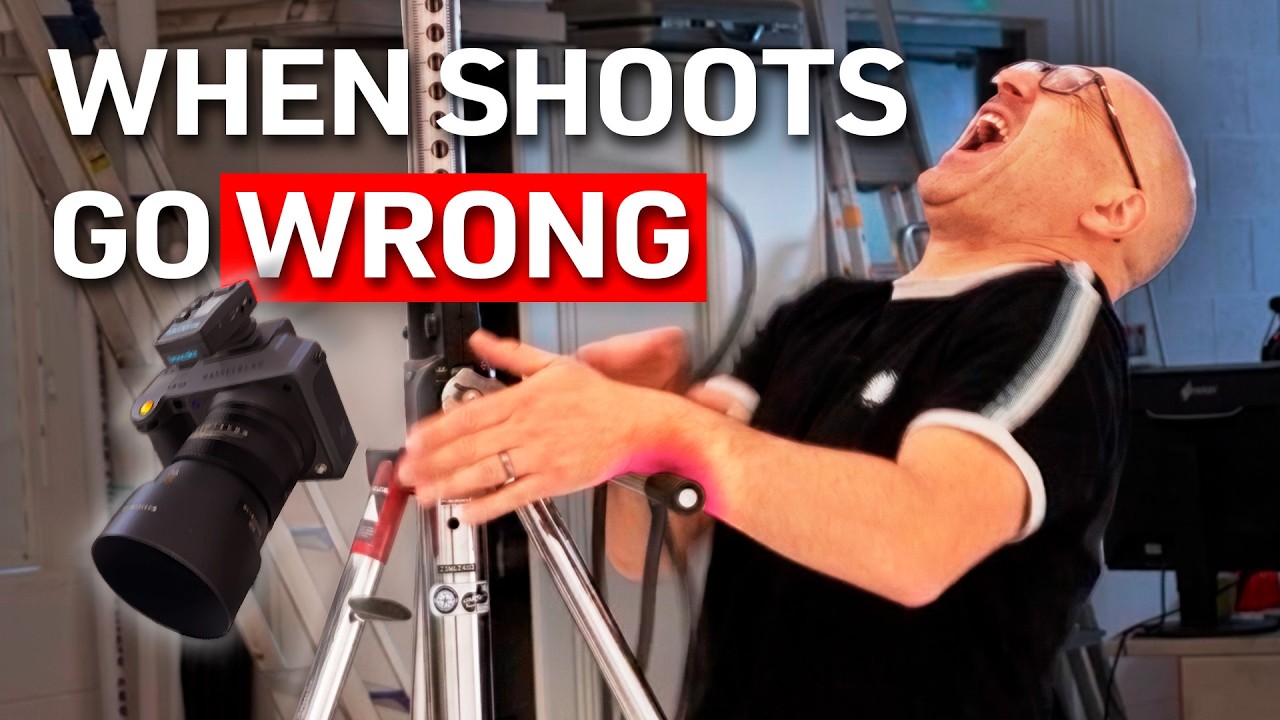
There is a particular kind of education you only get when things go wrong. I have been shooting commercial and editorial work for long enough to know that the polished final tutorial is rarely where the real lessons live. The real lessons live in the moment the camera nearly hits the floor, in the take where someone’s fly was undone the entire time, in the freezing cold studio where nobody thought to book heating. That is where your instincts either hold or they don’t.
Watch the full tutorial on YouTube
In this Visual Education outtake reel, the team pulls back the curtain on what actually happens between the clean, well-lit takes that make it into their photography courses. The video is framed as a blooper reel, and it is genuinely funny. But if you watch it as a working photographer rather than just a viewer, something else emerges. Every small disaster on screen is a prompt to ask: how would you handle that in a real shoot? What do you do when the environment is against you, the crew is laughing, or the setup nearly takes someone’s head off? These are not hypothetical problems. I have sketched setups in my lighting journal mid-shoot specifically because something unexpected forced me to rethink the whole diagram from scratch.
The following breakdown is not a traditional step-by-step technique walkthrough, because this video is not a traditional tutorial. It is something more useful: a map of the friction points that show up repeatedly in studio work, pulled from the chaos on screen and grounded in how I actually deal with them.
Step 1: Control the Environment Before You Pick Up a Camera
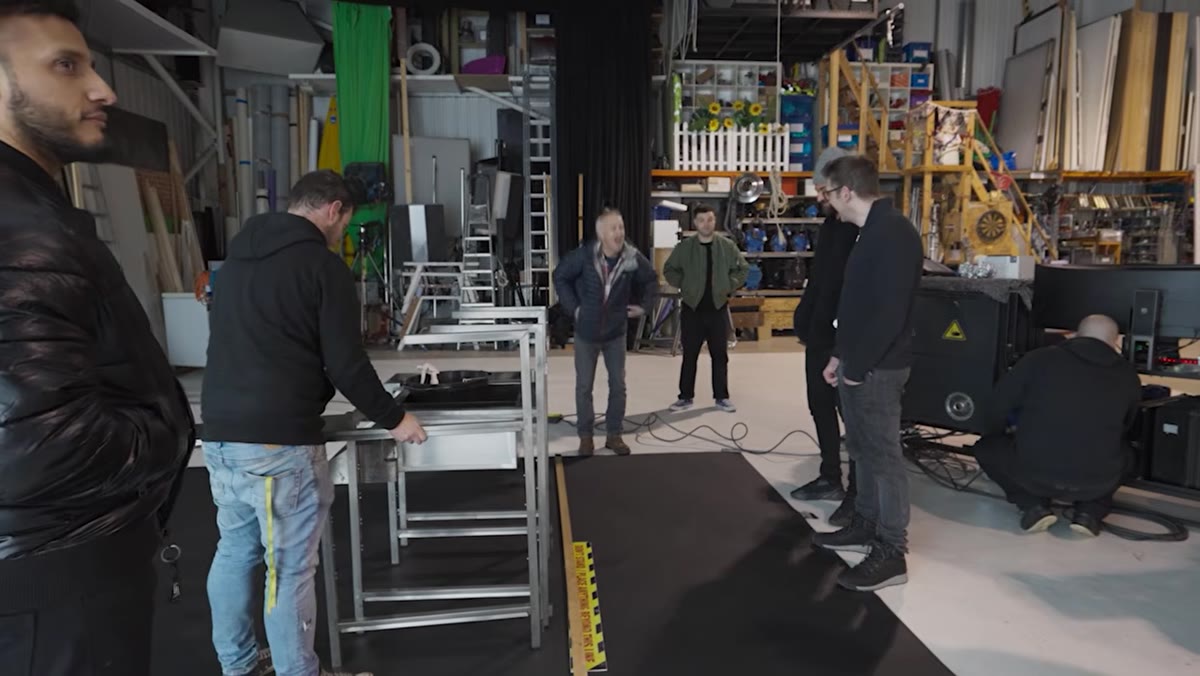 Instructor and crew visibly cold in unheated studio
The team spends a noticeable stretch of this video dealing with a studio that is genuinely cold. Cold enough that hands are shaking, and someone jokes they should have booked heating alongside the space. It sounds like a minor inconvenience. It is not. Cold affects your model’s ability to hold a pose, your own ability to handle equipment with precision, and the mood of the entire set. I tape the name of every light in my studio to its stand with masking tape, and I have a checklist that runs through temperature, ventilation, and ambient noise before a single strobe gets triggered. It sounds obsessive. It has also saved three shoots I can think of immediately.
Instructor and crew visibly cold in unheated studio
The team spends a noticeable stretch of this video dealing with a studio that is genuinely cold. Cold enough that hands are shaking, and someone jokes they should have booked heating alongside the space. It sounds like a minor inconvenience. It is not. Cold affects your model’s ability to hold a pose, your own ability to handle equipment with precision, and the mood of the entire set. I tape the name of every light in my studio to its stand with masking tape, and I have a checklist that runs through temperature, ventilation, and ambient noise before a single strobe gets triggered. It sounds obsessive. It has also saved three shoots I can think of immediately.
When you are hiring an external studio, confirm heating as specifically as you confirm the power outlets and the ceiling height. If you are shooting in your own space in winter, run the heat an hour before the crew arrives. A comfortable set produces better work. That is not a soft observation. It is mechanical.
Step 2: Build a Shot Before You Commit to a Low Position
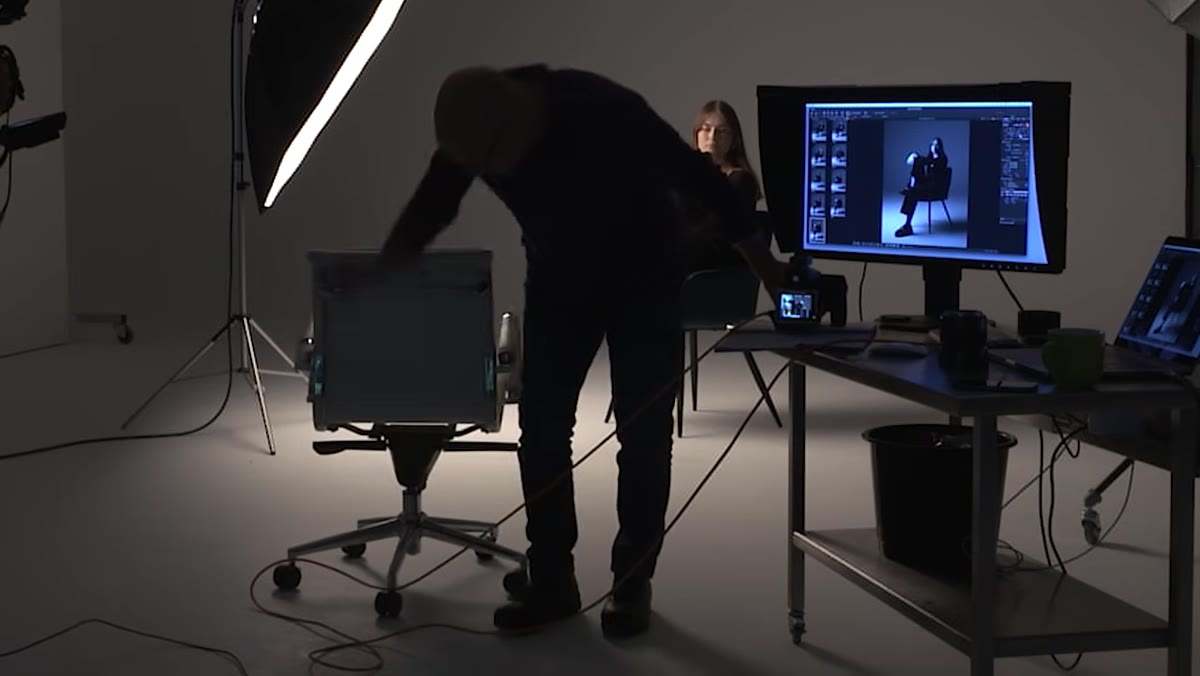 Camera nearly dropped moving to low shooting angle
There is a moment in the video where the presenter moves to a low shooting position and the camera nearly ends up on the floor. It gets a laugh, and the presenter calls it out directly. Low-angle shooting is genuinely one of the trickier physical transitions in studio work, particularly when you are moving between positions mid-explanation or mid-shoot. The risk is not just the equipment. It is that rushing into a new angle before you have mentally committed to the framing means you are more likely to second-guess it, move again, and introduce inconsistency across the sequence.
Camera nearly dropped moving to low shooting angle
There is a moment in the video where the presenter moves to a low shooting position and the camera nearly ends up on the floor. It gets a laugh, and the presenter calls it out directly. Low-angle shooting is genuinely one of the trickier physical transitions in studio work, particularly when you are moving between positions mid-explanation or mid-shoot. The risk is not just the equipment. It is that rushing into a new angle before you have mentally committed to the framing means you are more likely to second-guess it, move again, and introduce inconsistency across the sequence.
My rule is simple: decide where the camera is going, then move to it deliberately. If I am dropping to floor level for a fashion frame, I check the background, the fall of the key light from that height, and whether my modifier is still doing what I intended it to do before I fire a single frame. Lighting that works beautifully from eye level can go completely flat at knee height. Run the logic before you run the camera.
Step 3: Give Directional Instructions That Have a Reference Point
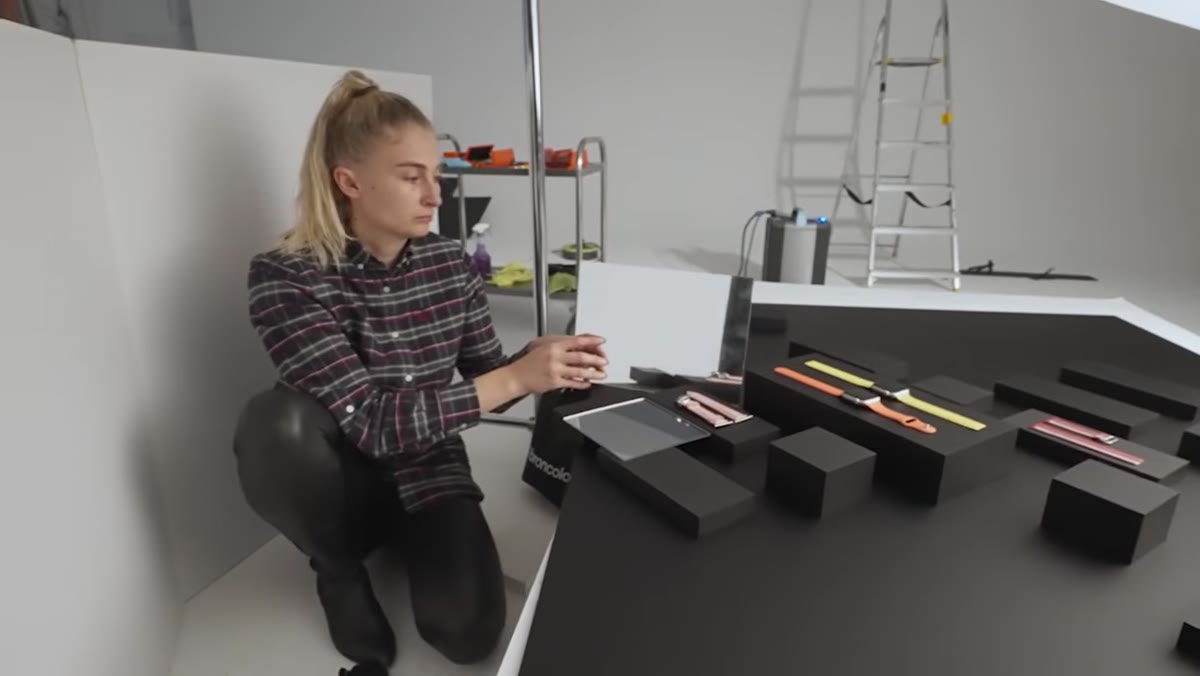 Crew confused by “horizontal” mirror direction instruction
One of the clearest teaching moments in the video comes when someone is asked to place a mirror horizontally and the crew member responds, quite reasonably, “in relation to what?” The presenter is briefly stumped. It is a small moment, but it points at something that causes real delays on set: directional language that assumes a shared reference frame that does not actually exist between you and the person you are directing.
Crew confused by “horizontal” mirror direction instruction
One of the clearest teaching moments in the video comes when someone is asked to place a mirror horizontally and the crew member responds, quite reasonably, “in relation to what?” The presenter is briefly stumped. It is a small moment, but it points at something that causes real delays on set: directional language that assumes a shared reference frame that does not actually exist between you and the person you are directing.
When I am directing an assistant with a reflector or repositioning a diffusion panel, I have learned to anchor every instruction to something physical. “Bring the left edge of that panel level with her shoulder” lands faster than “tilt it a little.” With models, the same principle applies to posing. “Drop your chin toward your left collarbone” is cleaner than “look down a bit.” The more specific the landmark in your instruction, the less back-and-forth you need. On a paid shoot, that back-and-forth is expensive. In a teaching environment, it is just confusion.
Step 4: Wear the Right Protective Gear When Working With Chemicals or Spray
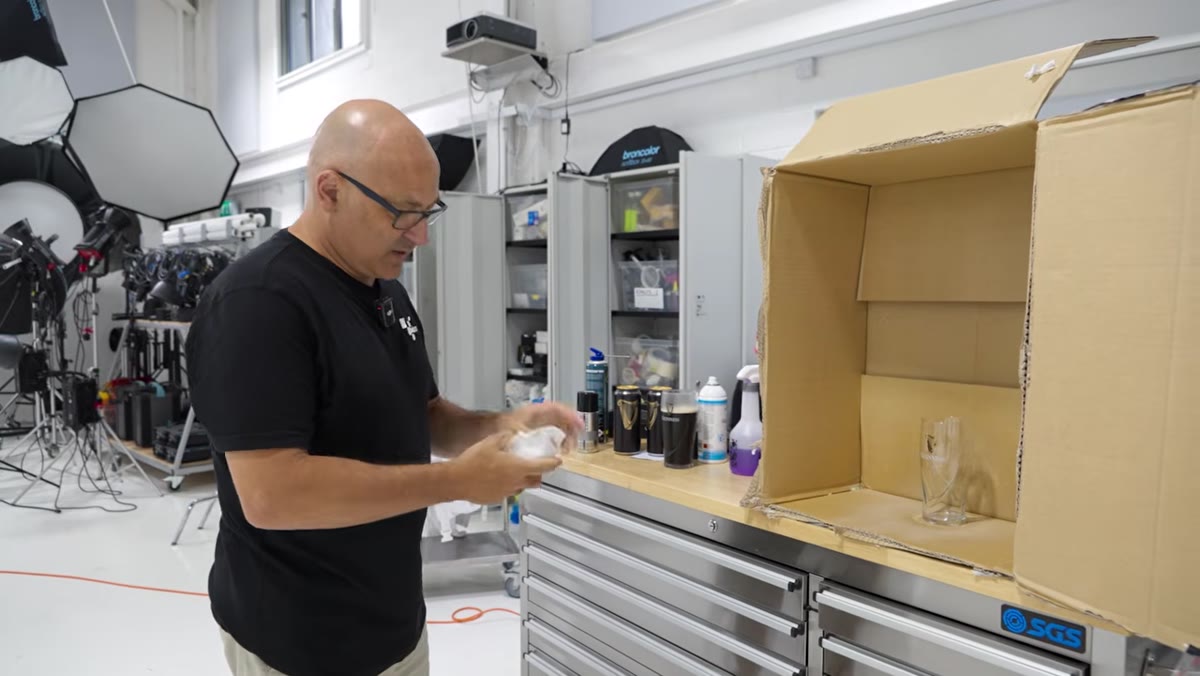 Presenter decides to put on a mask before proceeding
There is a dry, self-aware moment where the presenter decides mid-take that they probably should have been wearing a mask, given what they were breathing in. It gets a laugh from the crew. The underlying point is worth taking seriously. Studio environments regularly involve spray adhesives, rubber cement, paint, smoke machines, haze fluid, and prop materials that off-gas. The fact that you are focused on your lighting setup does not mean the air quality in the room has stopped mattering.
Presenter decides to put on a mask before proceeding
There is a dry, self-aware moment where the presenter decides mid-take that they probably should have been wearing a mask, given what they were breathing in. It gets a laugh from the crew. The underlying point is worth taking seriously. Studio environments regularly involve spray adhesives, rubber cement, paint, smoke machines, haze fluid, and prop materials that off-gas. The fact that you are focused on your lighting setup does not mean the air quality in the room has stopped mattering.
I keep a box of nitrile gloves and a set of half-face respirators in my studio kit alongside the color checker and the gaffer tape. If something smells like it requires ventilation, it requires ventilation. Full stop.
Step 5: Know Your Face Shape Logic Before You Start Posing
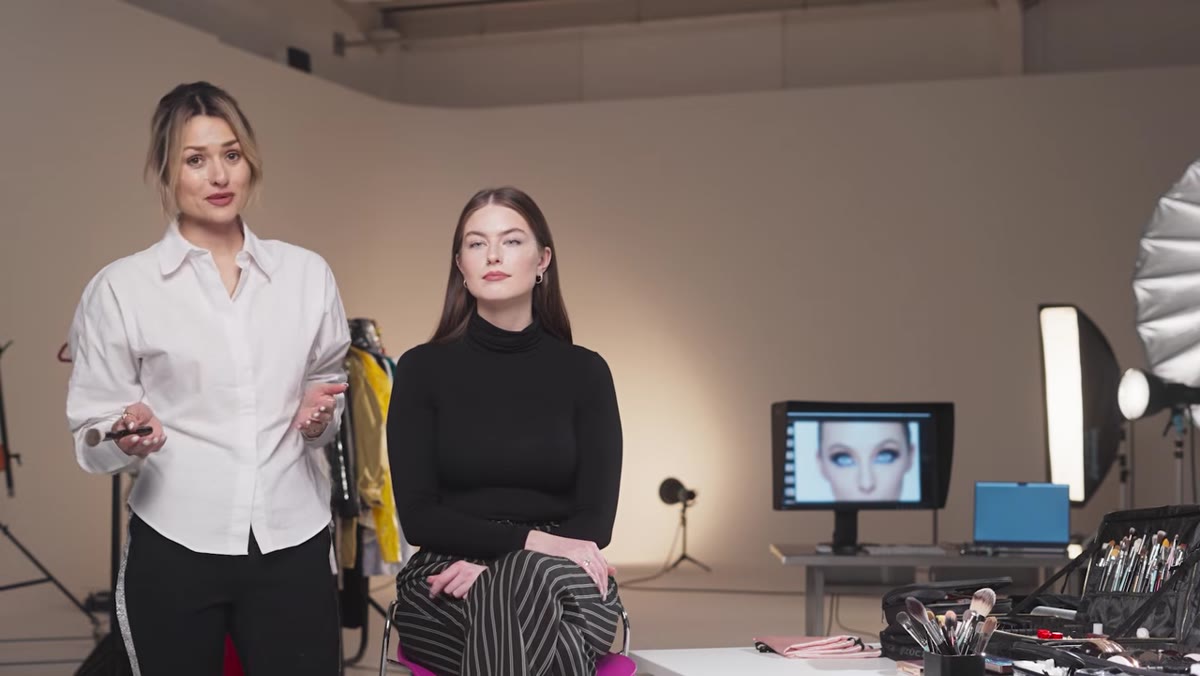 Discussion of face shapes and lighting compensation techniques
Toward the later section of the video, there is a brief, slightly chaotic exchange about face shapes and how to compensate for them with lighting and posing. Round faces, hair loss changing perceived shape, how to explain what you are seeing to a model in plain language. It is funny because the explanation keeps losing its thread. But the underlying topic is one I return to on almost every portrait or beauty shoot.
Discussion of face shapes and lighting compensation techniques
Toward the later section of the video, there is a brief, slightly chaotic exchange about face shapes and how to compensate for them with lighting and posing. Round faces, hair loss changing perceived shape, how to explain what you are seeing to a model in plain language. It is funny because the explanation keeps losing its thread. But the underlying topic is one I return to on almost every portrait or beauty shoot.
Before a session, I note the subject’s dominant face shape and flag two or three adjustments I will probably need to make. With a round face, I typically raise the key light slightly and watch the shadow line under the cheekbone. With a longer or more angular face, I may pull the light source wider to soften the planes. The specific adjustments matter less than the habit of thinking about them before the model is standing in front of you, because once you are in the moment, you want to be reacting, not diagnosing.
What I Would Add From My Own Experience
The Visual Education team makes their chaos look easy to recover from, and that is itself worth studying. Recovery speed on set comes from having done the preparation. I keep a lighting diagram sketched for every setup I plan to use before the shoot day, drawn in an app I built out for exactly that purpose. When something goes sideways, I am not rebuilding from scratch. I am adjusting from a known point. The sketches also mean I can hand a diagram to an assistant and have them reset a configuration while I am reviewing cards from the previous setup. That parallel workflow only exists because the groundwork was done in advance.
The single most transferable thing in this video is also the least glamorous: studios are unpredictable, and the photographers who work well inside them are the ones who have internalized enough craft to improvise from solid foundations. The outtakes are funny. The habits they point toward are worth building.
Watch the full tutorial on YouTube and visit Visual Education for their full library of photography and lighting courses.
Comments (5)
Never thought of approaching it this way. Really creative.
Never thought of approaching it this way. Really creative.
Finally someone explains this in a way that actually makes sense.
I keep coming back to this article. It's that useful.
Love this. I referenced a similar technique in one of my recent posts. Always good to see other perspectives.
Leave a Comment