Every few months, someone emails me asking some version of the same question: “I have a few hundred dollars. What do I actually buy?” It’s a reasonable question, and it deserves a better answer than “it depends” or a link to a forum thread from 2014. Most budget gear guides are written by people who either have no idea what professionals actually use or are trying to sell you something. So when I came across Watch the full tutorial on YouTube by Daniel Norton Photographer, I sat up straight. He does something deceptively simple: he opens Amazon with a $500 budget and goes shopping in real time, explaining every decision out loud.
What makes this useful is that Daniel isn’t performing expertise. He’s working through the logic the same way a good mentor would. He searches the way a normal person would search, filters through the noise, and narrows down to what actually matters for portrait work. I’ve been shooting commercial and editorial work in Los Angeles for years, and I still found myself nodding at his reasoning. If you’re standing at the starting line of building a studio kit and you don’t know where to put your foot first, this tutorial gives you that first step.
Step 1: Frame the Problem Before You Open Your Wallet
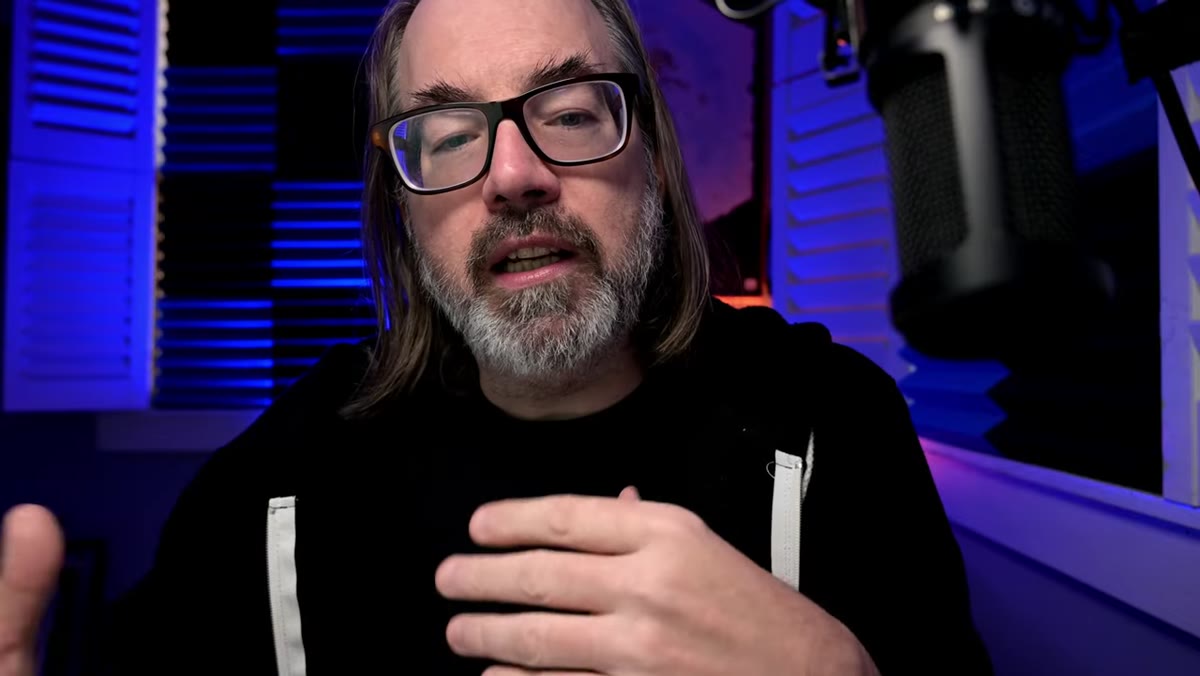 Daniel describing the $500 budget and portrait photography goal
Before Daniel even touches a search bar, he does something most gear tutorials skip entirely: he defines the scope. The budget is $500. The camera is assumed. The goal is portraits. Everything else is secondary. This constraint-first thinking is the most professional thing in the whole video, and most beginners do the opposite, browsing endlessly before deciding what they actually need.
Daniel describing the $500 budget and portrait photography goal
Before Daniel even touches a search bar, he does something most gear tutorials skip entirely: he defines the scope. The budget is $500. The camera is assumed. The goal is portraits. Everything else is secondary. This constraint-first thinking is the most professional thing in the whole video, and most beginners do the opposite, browsing endlessly before deciding what they actually need.
If you’re doing this exercise yourself, write down the same three things before you search: your budget, what you already own, and the single genre you’re trying to shoot. That third item matters more than people realize. Portrait lighting and product lighting overlap in some areas but diverge sharply in others. Lock in your target first.
Step 2: Go to Amazon and Search Strategically
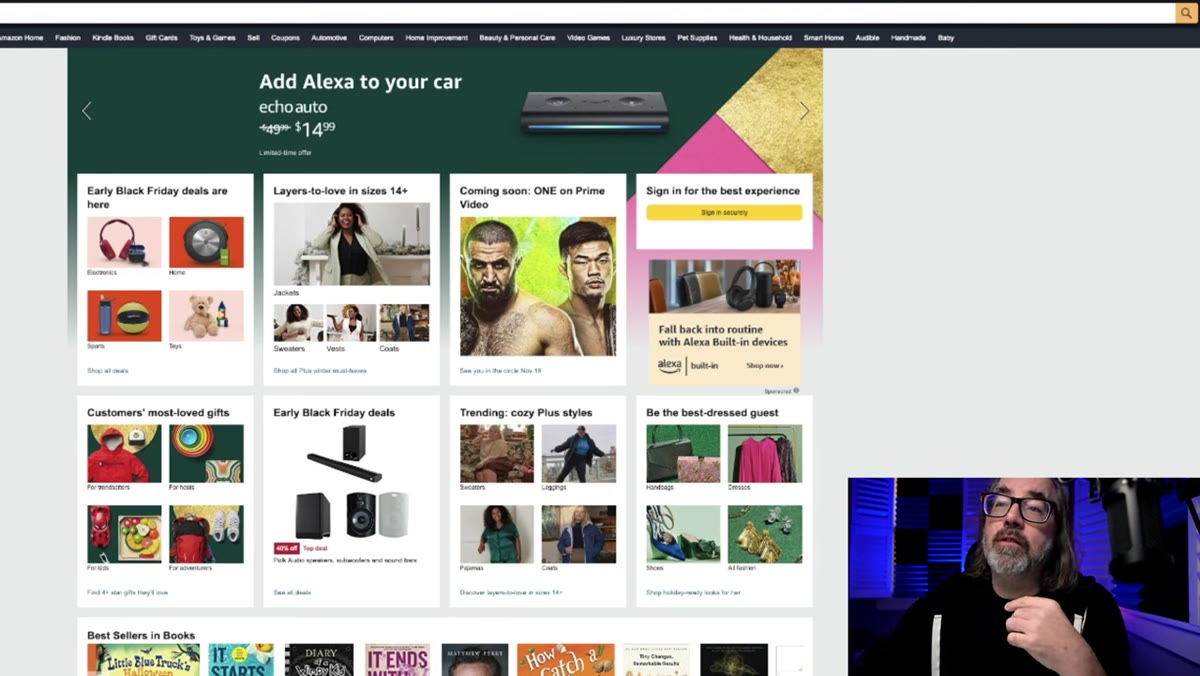 Amazon search bar with “photography lighting flash kit” typed in
Daniel heads straight to Amazon, not because it’s the best gear source, but because it’s the most democratically accessible one. Not everyone lives near an Adorama or a B&H. Amazon is the wall of internet most people are staring at, and learning to navigate it well is a legitimate skill.
Amazon search bar with “photography lighting flash kit” typed in
Daniel heads straight to Amazon, not because it’s the best gear source, but because it’s the most democratically accessible one. Not everyone lives near an Adorama or a B&H. Amazon is the wall of internet most people are staring at, and learning to navigate it well is a legitimate skill.
His search strategy is worth copying. He starts with “photography lighting,” sees the results skew heavily toward LEDs and continuous lights, and then adds “flash kit” to narrow it. Flash is what you want for portraits because it freezes motion, syncs cleanly with your camera shutter, and produces a quality of light that continuous LED panels at this price point simply cannot replicate. If you see “bi-color LED panel” in your results, keep scrolling.
Step 3: Identify the Reputable Brands in the Budget Range
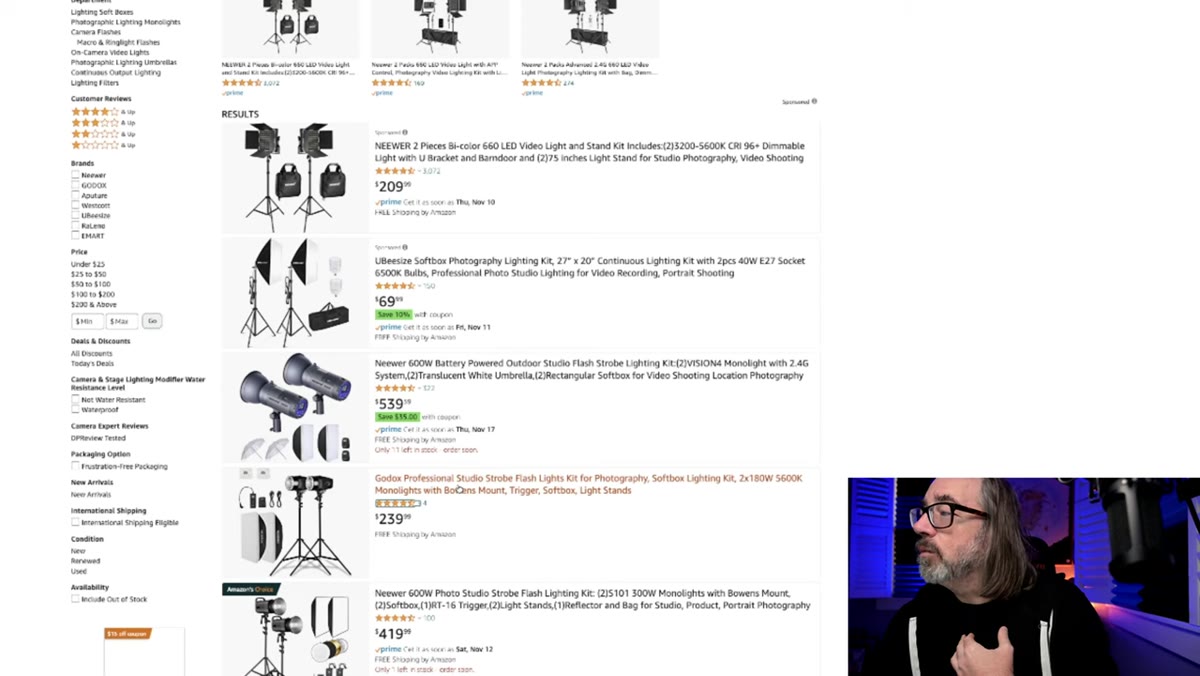 Godox flash kit product listing visible on screen
Once the results tighten up, Daniel starts identifying brand names. Godox shows up quickly, and he treats it the way most working photographers treat it now: as the default serious answer at the budget end of the market. A few years ago that wouldn’t have been true, but Godox has earned its reputation through consistent quality at a price point that makes sense for someone building their first kit.
Godox flash kit product listing visible on screen
Once the results tighten up, Daniel starts identifying brand names. Godox shows up quickly, and he treats it the way most working photographers treat it now: as the default serious answer at the budget end of the market. A few years ago that wouldn’t have been true, but Godox has earned its reputation through consistent quality at a price point that makes sense for someone building their first kit.
What you’re looking for at this stage is not the cheapest option or the most expensive option in the $500 range. You’re looking for a kit that includes at least two lights, some form of light modifier (softbox or umbrella), and ideally a carrying case. Two lights matter because a single light can only take you so far. You need a main light and at least one secondary source, whether that’s a fill light, a background light, or a hair light.
Step 4: Compare Kits Side by Side
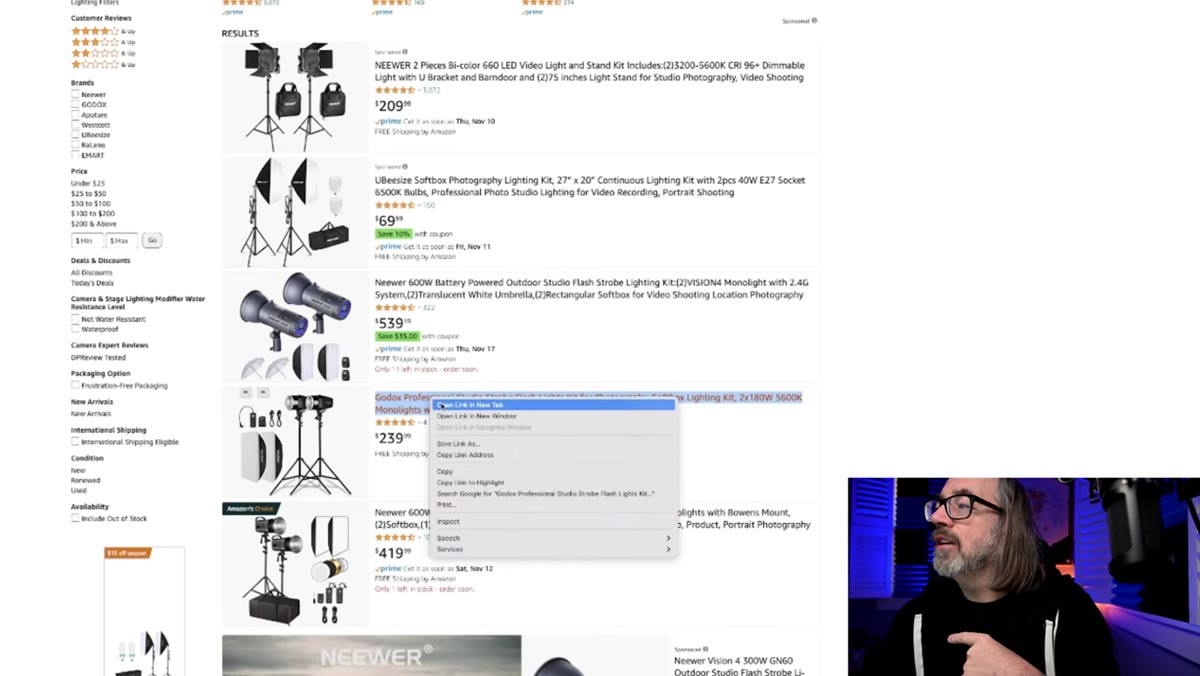 Multiple Amazon tabs open comparing flash kit options
Daniel opens several listings simultaneously and compares them directly rather than evaluating each one in isolation. This is how you avoid getting anchored to the first thing you see. Look at what each kit includes: how many heads, what modifiers are in the box, whether a bag is included, and what the watt-second rating is on the heads themselves.
Multiple Amazon tabs open comparing flash kit options
Daniel opens several listings simultaneously and compares them directly rather than evaluating each one in isolation. This is how you avoid getting anchored to the first thing you see. Look at what each kit includes: how many heads, what modifiers are in the box, whether a bag is included, and what the watt-second rating is on the heads themselves.
Pay attention to the modifier quality. A cheap softbox shipped inside a cheap kit is often worth almost nothing because the internal diffusion material is thin and the speed ring fit is loose. If a kit comes with softboxes you don’t trust, budget a separate $40 to $60 for a decent Godox or Glow softbox. Your light quality comes through the modifier more than through the head itself at this power level.
Step 5: Check What’s Missing and Budget for It
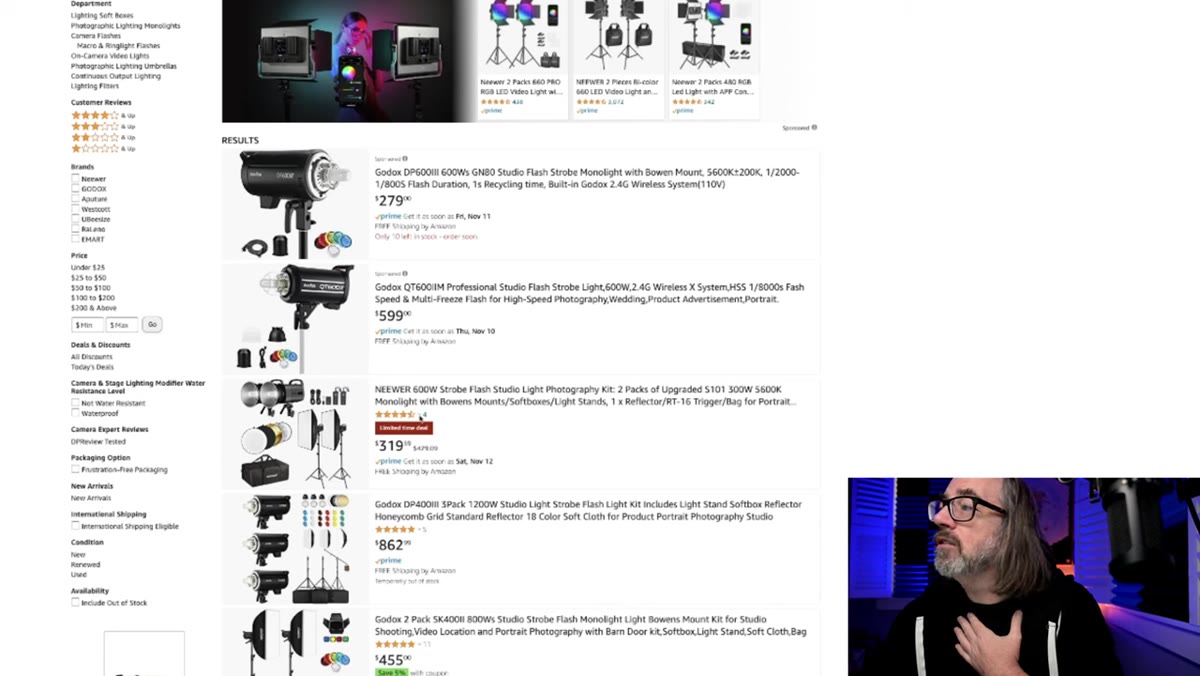 Daniel noting kit contents and identifying gaps in the package
Here’s where Daniel’s experience shows. He doesn’t just look at what’s in the box. He thinks about what’s not in the box. A flash kit rarely includes a backdrop or stand system, and if you’re shooting portraits without a backdrop solution, you’re locked into shooting against whatever wall you have behind you.
Daniel noting kit contents and identifying gaps in the package
Here’s where Daniel’s experience shows. He doesn’t just look at what’s in the box. He thinks about what’s not in the box. A flash kit rarely includes a backdrop or stand system, and if you’re shooting portraits without a backdrop solution, you’re locked into shooting against whatever wall you have behind you.
At the $500 level, after spending roughly $300 to $350 on a solid two-light flash kit, you have $150 to $200 left. A collapsible backdrop with a crossbar and two stands can be found for around $80 to $120 on Amazon. It won’t last forever, but it gives you control over your background immediately. Alternatively, spend that remaining budget on a better modifier and shoot against a painted wall you prep yourself. Both are valid. The point is to plan for the full picture, not just the lights.
Step 6: Prioritize Flash Over LED at This Budget
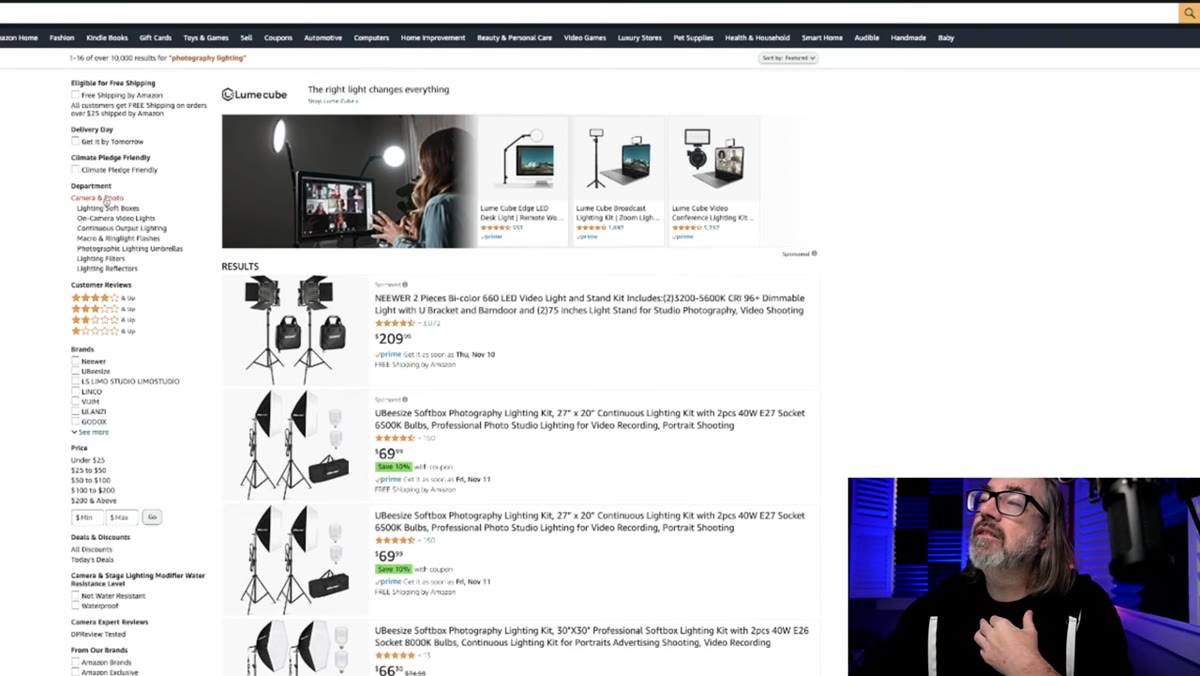 Search results showing LED panels mixed with flash kits
Daniel filters out the LED options without much hesitation, and I’d make the same call. Continuous LED lights at the sub-$200 price point are genuinely useful for video work and some product photography, but for portraits they carry real limitations. The color accuracy is often inconsistent, and cheap LEDs can have a green tint that takes extra work to correct in post. I ruined a major editorial job early in my career by mixing color temperatures I hadn’t calibrated, and I’ve been precise about light sources ever since.
Search results showing LED panels mixed with flash kits
Daniel filters out the LED options without much hesitation, and I’d make the same call. Continuous LED lights at the sub-$200 price point are genuinely useful for video work and some product photography, but for portraits they carry real limitations. The color accuracy is often inconsistent, and cheap LEDs can have a green tint that takes extra work to correct in post. I ruined a major editorial job early in my career by mixing color temperatures I hadn’t calibrated, and I’ve been precise about light sources ever since.
Flash gives you consistent color temperature, more power per dollar, and a natural workflow for portrait photography. At $500, that is where your money goes.
What I’d Add From My Own Experience
I’d take one more step that Daniel doesn’t get into here, which is documentation. The day a new kit arrives, I test every modifier against a known subject, usually a white seamless wall or a gray card, and I sketch the setup in my lighting journal before I pack anything away. I note the power settings, the distances, and the resulting exposure. That sketch is worth more than any spec sheet that comes in the box.
A $500 kit will not cover every situation. What it will do is teach you how light actually behaves, which is knowledge that transfers directly when you eventually upgrade. Buy the tools, then use them obsessively enough to outgrow them.
The single most important takeaway from Daniel’s tutorial is this: define your constraints before you shop. $500 is a real budget for portrait lighting if you spend it intentionally. The mistake most beginners make is browsing without a plan and ending up with a cart full of compromises.
Watch the full tutorial on YouTube and follow along with your own Amazon tab open. His real-time decision-making process is worth seeing once before you spend a dollar.
Comments (1)
Just used this on a wedding shoot edit. Client was thrilled.
Leave a Comment