I shoot in a controlled environment almost every day. Strobes on stands, tape marks on the floor, modifiers I’ve tested a dozen times before a client walks in. The variables are mine to set. Wedding photographers don’t get that luxury, and for a long time I let that difference make me dismissive of what they do. Then I watched Roberto Valenzuela walk through an entire Hawaii wedding shoot, frame by frame, explaining not just what he captured but where he stood, where he refused to stand, and exactly why. In this CreativeLive tutorial, Watch the full tutorial on YouTube, Valenzuela reconstructs his decision-making process from location selection through posing through final execution, and it is one of the most structured approaches to uncontrolled environments I have come across.
What hit me hardest was recognizing that Valenzuela applies the same kind of analytical rigor I use in a studio to spaces he has never seen before. He walks into a room and reads it the way I read a lighting diagram. That is a learnable skill, and this tutorial is essentially a manual for building it.
The format is a screen-capture walkthrough of his actual wedding files, organized by category, with Photoshop annotations drawn directly over the images to show the geometry, symmetry, and balance he identified in each location. Four-plus hours of content. Here is how it works, broken down into the core steps.
Step 1: Organize the Shoot Into Categories Before You Edit Anything
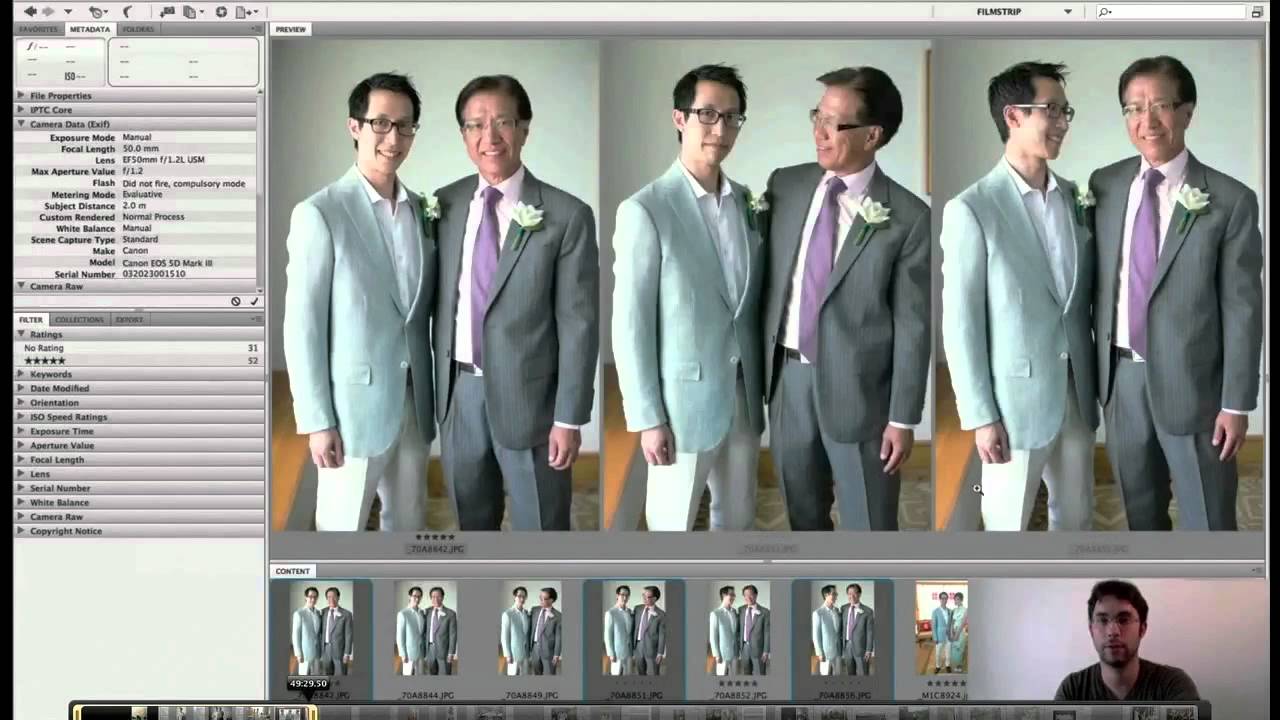
 Folders organized by shoot category shown on screen
Valenzuela separates his wedding files into distinct folders before he does anything else: bride alone, groom alone, couple together, wedding party, family portraits. This is not just a Lightroom housekeeping habit. It forces you to evaluate each subset of the day on its own terms and ask whether your location choices served that specific type of shot.
Folders organized by shoot category shown on screen
Valenzuela separates his wedding files into distinct folders before he does anything else: bride alone, groom alone, couple together, wedding party, family portraits. This is not just a Lightroom housekeeping habit. It forces you to evaluate each subset of the day on its own terms and ask whether your location choices served that specific type of shot.
In studio work I do something similar when I’m prepping a multi-look shoot. Grouping by subject type before you start culling prevents you from unconsciously judging a family portrait against a bridal solo. The criteria are different. Keep them separate.
Step 2: Document Where You Did NOT Shoot, and Why
 Split view showing rejected versus chosen shooting locations
This is the step most tutorials skip entirely. Valenzuela opens each location and shows the spots he rejected alongside the spots he used. He treats the negative space of his decision-making as instructional material, not just the hero shots.
Split view showing rejected versus chosen shooting locations
This is the step most tutorials skip entirely. Valenzuela opens each location and shows the spots he rejected alongside the spots he used. He treats the negative space of his decision-making as instructional material, not just the hero shots.
The practical habit here is to start carrying your phone or a small notebook specifically to record the spots you passed on and the reason. Bad background, competing color temperature, unflattering overhead light, no natural frame. When I started doing this on location commercial jobs, my location scouting got sharper within a few shoots because I was building a vocabulary of what to avoid, not just what to seek.
Step 3: Draw the Geometry You See in the Frame
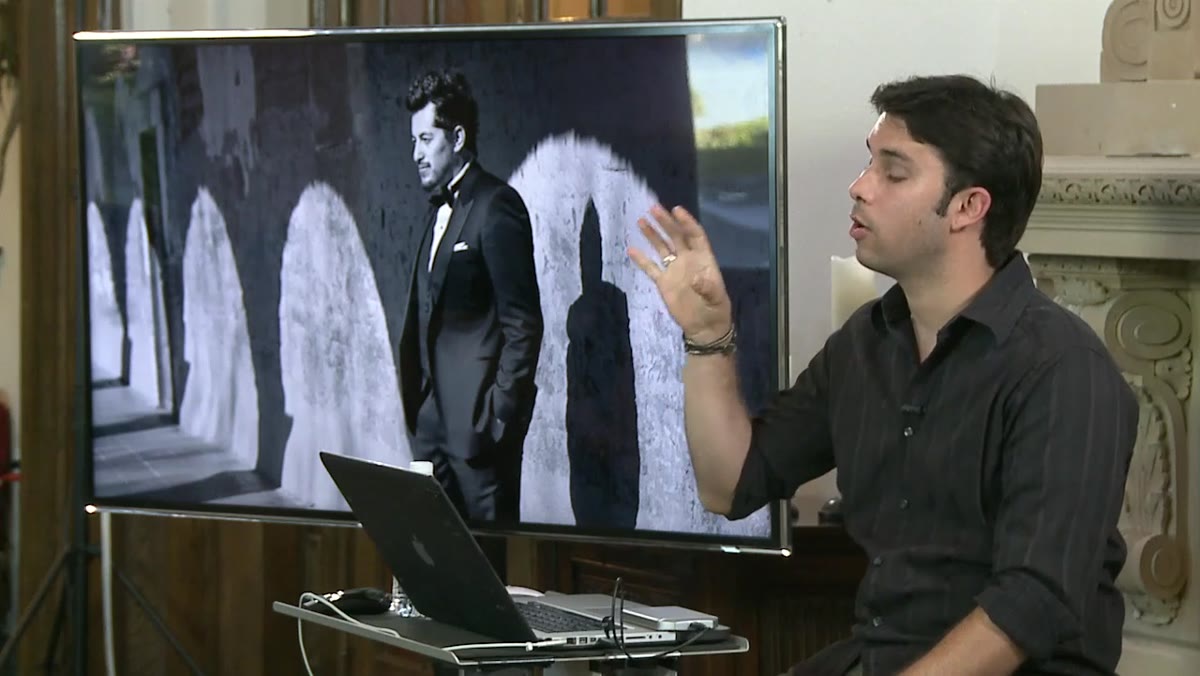 Red brush annotations drawn over location photo in Photoshop
Once Valenzuela opens an image in Photoshop, he uses a red brush to physically draw the structural elements he recognized when he chose that spot: symmetry lines, geometric shapes, leading lines, balance points. He is externalizing visual instincts so a viewer can trace his thinking.
Red brush annotations drawn over location photo in Photoshop
Once Valenzuela opens an image in Photoshop, he uses a red brush to physically draw the structural elements he recognized when he chose that spot: symmetry lines, geometric shapes, leading lines, balance points. He is externalizing visual instincts so a viewer can trace his thinking.
If you want to train your eye to see this way, do the same thing with your own finished work. Pull up an image you are proud of and annotate it. Find the lines. You will either confirm that you made those decisions consciously, or you will discover you got lucky, and knowing the difference matters. I keep a lighting journal where I sketch every setup from every shoot. This annotation practice is the location-scouting equivalent.
Step 4: Lock the Eyes Before You Trigger an Expression
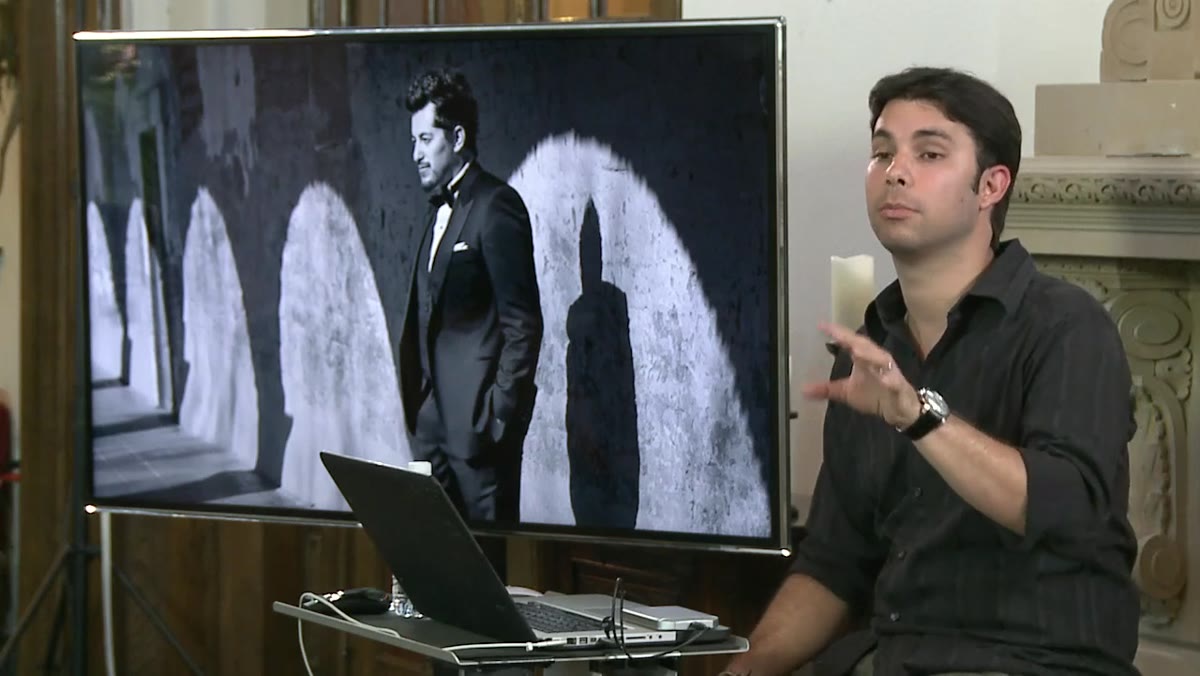 Valenzuela demonstrating eye direction during group posing
On posing, Valenzuela is direct about his philosophy: he does not leave expression to chance. His sequence is to position the eyes first, settle them, and then prompt the laugh or reaction. Because the eyes are already set, they stay anchored even when the subject’s face goes loose with genuine emotion.
Valenzuela demonstrating eye direction during group posing
On posing, Valenzuela is direct about his philosophy: he does not leave expression to chance. His sequence is to position the eyes first, settle them, and then prompt the laugh or reaction. Because the eyes are already set, they stay anchored even when the subject’s face goes loose with genuine emotion.
This applies directly to studio portraits. I have caught myself prompting a reaction before I have checked eye direction and gotten a frame where everything reads as warm and alive except for one subject glancing slightly off. The fix is sequence. Pose the eyes, confirm them, then introduce the prompt. You get a higher percentage of usable frames, and more importantly, you are not relying on the subject to save you.
Step 5: Work the Body from the Ground Up
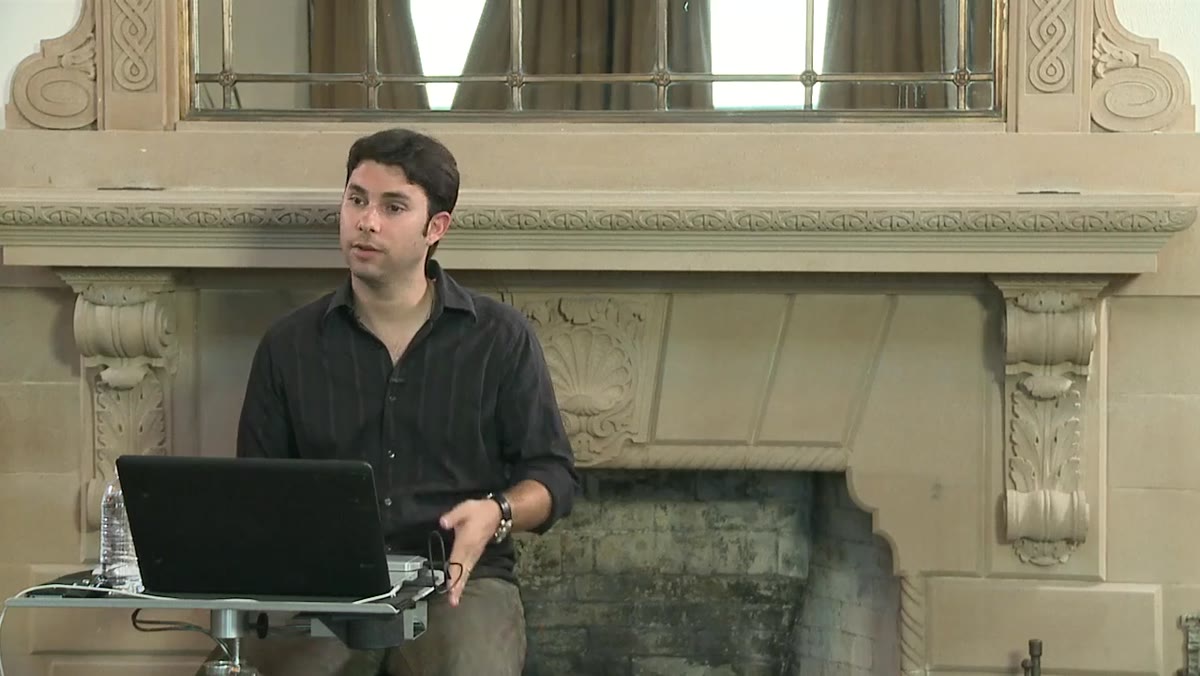 Explanation of body weight shifts and collarbone positioning
Valenzuela describes posing as a system that runs from the feet upward: where the weight sits, how the hips shift, the collarbone angle, the chin placement, and finally the eyes. Each decision feeds the one above it. If the weight is wrong, the collarbone will compensate awkwardly and the whole pose reads as stiff no matter what the face is doing.
Explanation of body weight shifts and collarbone positioning
Valenzuela describes posing as a system that runs from the feet upward: where the weight sits, how the hips shift, the collarbone angle, the chin placement, and finally the eyes. Each decision feeds the one above it. If the weight is wrong, the collarbone will compensate awkwardly and the whole pose reads as stiff no matter what the face is doing.
In studio work with seated or standing subjects, I use almost the same checklist. Feet first, then weight distribution, then the torso, then I work up to the face. It sounds mechanical but it stops you from fixing the chin on someone who is actually collapsing through the hips, which is the real problem.
Step 6: Use the Full Wedding as a Case Study, Not a Portfolio
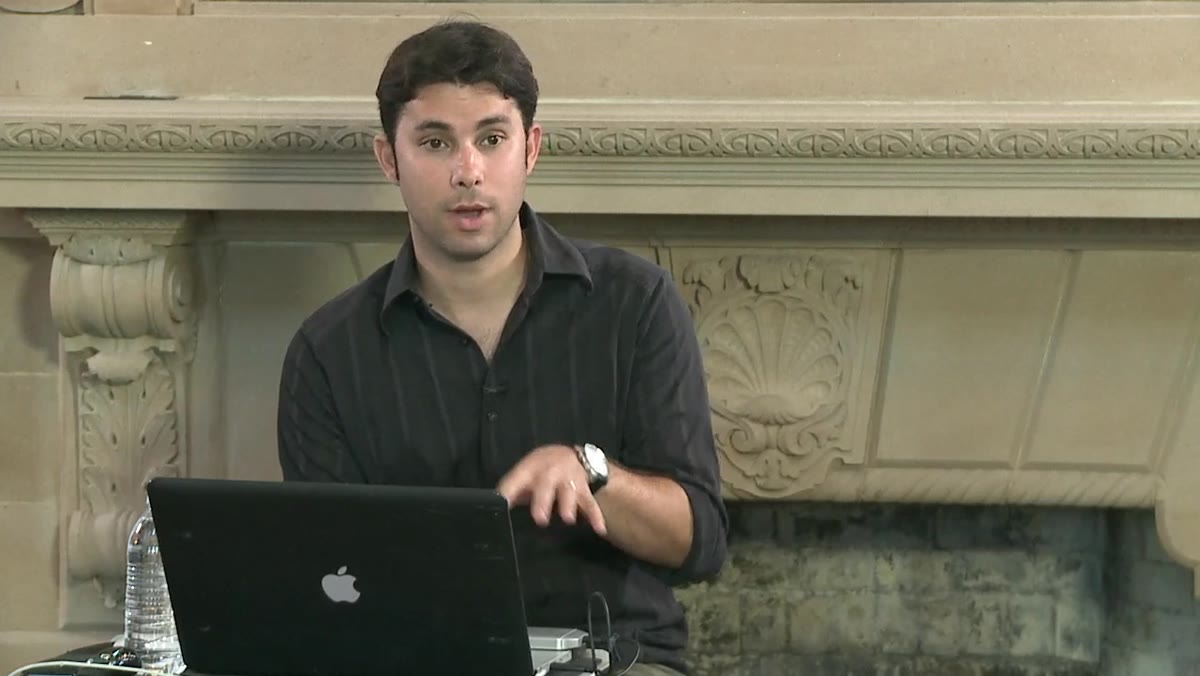 Screen capture overview of full wedding shoot folder structure
The framing of Wedding Evolution as a learning tool is specific: Valenzuela chose a wedding that included real challenges alongside the successes. Language barriers with the wedding party, tricky locations, the full range of what an actual paid job throws at you. He is not showing you a highlight reel. He is showing you a workday.
Screen capture overview of full wedding shoot folder structure
The framing of Wedding Evolution as a learning tool is specific: Valenzuela chose a wedding that included real challenges alongside the successes. Language barriers with the wedding party, tricky locations, the full range of what an actual paid job throws at you. He is not showing you a highlight reel. He is showing you a workday.
That distinction changes how you watch it. You are not trying to replicate his results. You are trying to understand his process well enough to apply it to your own messy, unpredictable situations.
What I’d Add From the Studio Side
The one thing Valenzuela cannot control on a wedding day that I take for granted is color temperature consistency. A location might give you open shade, tungsten interiors, and mixed window light within the same thirty-minute block. My suggestion, borrowed from a painful early editorial job where I failed to calibrate between setups: shoot a custom white balance card at each new location before the couple is in position. It takes twelve seconds and it saves you significant post-processing grief, especially on skin tones where a 400-kelvin drift reads as sickness rather than warmth.
The single most transferable idea in this tutorial is that seeing a location is a skill you practice deliberately, not a talent you either have or don’t. Valenzuela builds that skill by annotating his own images and documenting his rejections as carefully as his selections. Start doing that with your next shoot, regardless of whether you work in a studio or on location. The geometry was always there. You are just learning to draw it.
Watch the full tutorial on YouTube and give yourself time to sit with the annotation sections. That is where the real instruction lives.
Comments
Leave a Comment