There’s a version of studio photography where the gear is the point. You dial in the light, you position the modifier, you shoot. The image is technically correct and emotionally inert. I know that version well because I spent years making it. What I’ve been slowly learning — and what Sue Bryce articulates better than almost anyone working today — is that the technical side of glamour work is actually the easier half of the job.
Watch the full tutorial on YouTube
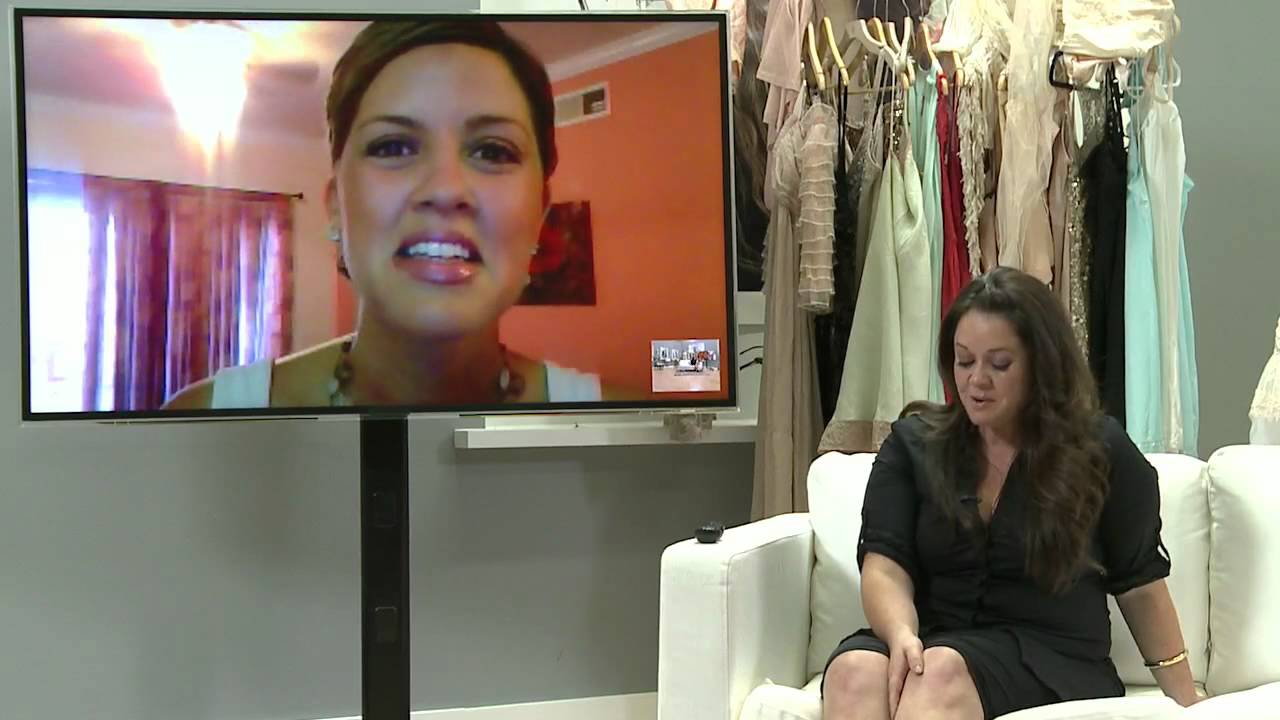
In this CreativeLive tutorial, Sue Bryce closes out a full week of instruction not with a lighting demo or a retouching breakdown, but with a Skype call to a subject named Jill — a woman whose friend had written to Sue hoping to get her photographed. The setup is simple. The lesson underneath it is not. What Bryce demonstrates here is that the entire apparatus of the glamour studio, the posing, the light, the retouching, only functions when the photographer has decided the subject’s story matters more than the photographer’s technique. That shift in priority is what this tutorial is actually about, and it’s one I’ve had to consciously practice.
Step 1: Acknowledge What the Work Is Actually For
 Sue Bryce describing what draws her to the glamour genre
Before you set up a single light, Bryce establishes her frame for why she does this work at all. She’s explicit about it: the photography is a vehicle for a conversation about self-worth. That’s not a tagline. It’s an operating principle that changes every decision downstream, from how you greet the client to how much time you spend on a pose before moving on.
Sue Bryce describing what draws her to the glamour genre
Before you set up a single light, Bryce establishes her frame for why she does this work at all. She’s explicit about it: the photography is a vehicle for a conversation about self-worth. That’s not a tagline. It’s an operating principle that changes every decision downstream, from how you greet the client to how much time you spend on a pose before moving on.
In my own commercial practice, I label every light in the studio with masking tape before a shoot so I never have to think about the rig mid-session. The reason I do that is exactly this: I want my mental bandwidth free for the person in front of me, not the equipment behind them. Bryce is pointing at the same priority. Get your technical system so automatic that the human conversation can take the foreground.
Step 2: Build a Communication Channel That Outlasts the Session
 Sue Bryce discussing the volume of personal emails she receives
Bryce mentions receiving over 12,000 emails in the months following her first CreativeLive appearance, and she reads every one. Most photographers I know would treat that as an overflow problem. She treats it as a feedback loop. Every email tells her something about what her subjects actually experienced, not what they said in the studio, but what settled in afterward.
Sue Bryce discussing the volume of personal emails she receives
Bryce mentions receiving over 12,000 emails in the months following her first CreativeLive appearance, and she reads every one. Most photographers I know would treat that as an overflow problem. She treats it as a feedback loop. Every email tells her something about what her subjects actually experienced, not what they said in the studio, but what settled in afterward.
The practical takeaway here is to design a follow-up process. It doesn’t need to scale to thousands of messages. It can be a simple email sent three days after delivery that asks one open question: how do you feel about what you saw? The answers will teach you more about your posing and your connection with clients than any lighting tweak ever will.
Step 3: Recognize the Difference Between a Good Image and the Right Image
 Sue Bryce explaining Nikki’s photograph of Jill and its intended purpose
Bryce’s friend Nikki had photographed Jill in a boudoir-adjacent style, with the specific intent that the image could be used for publication. That’s a precise technical and editorial brief: the photograph needed to be honest about Jill’s current situation while also being usable by a wider audience. Those two requirements pull in different directions, and navigating that tension is a real skill.
Sue Bryce explaining Nikki’s photograph of Jill and its intended purpose
Bryce’s friend Nikki had photographed Jill in a boudoir-adjacent style, with the specific intent that the image could be used for publication. That’s a precise technical and editorial brief: the photograph needed to be honest about Jill’s current situation while also being usable by a wider audience. Those two requirements pull in different directions, and navigating that tension is a real skill.
When I shoot editorial work, I keep a lighting journal where I sketch every setup from every session. One thing I’ve noticed over years of those sketches is that the setups I was proudest of technically often weren’t the images the client used. The images they used were the ones where something true happened. The lighting was usually fine. It was rarely the deciding variable.
Step 4: Critique With Specificity, Not Reassurance
 Sue Bryce agreeing to critique Nikki’s images of Jill
When Bryce can’t fly to Kentucky to photograph Jill herself, she offers the next best thing: a critique of the images Nikki has already taken. This is a masterclass move that most photographers skip. Rather than default to encouragement, she agrees to look at the actual frames and give precise feedback. That’s how you help a photographer improve and how you serve the subject.
Sue Bryce agreeing to critique Nikki’s images of Jill
When Bryce can’t fly to Kentucky to photograph Jill herself, she offers the next best thing: a critique of the images Nikki has already taken. This is a masterclass move that most photographers skip. Rather than default to encouragement, she agrees to look at the actual frames and give precise feedback. That’s how you help a photographer improve and how you serve the subject.
When I critique images for other photographers, I use the same method I apply to my own work: I write down what the light is doing before I write down what I’d change. You have to understand the intention before you can improve on the execution. “The shadow placement on the jawline is flattening the face” is useful. “The lighting could be better” is not.
Step 5: Let the Subject’s Story Set the Parameters
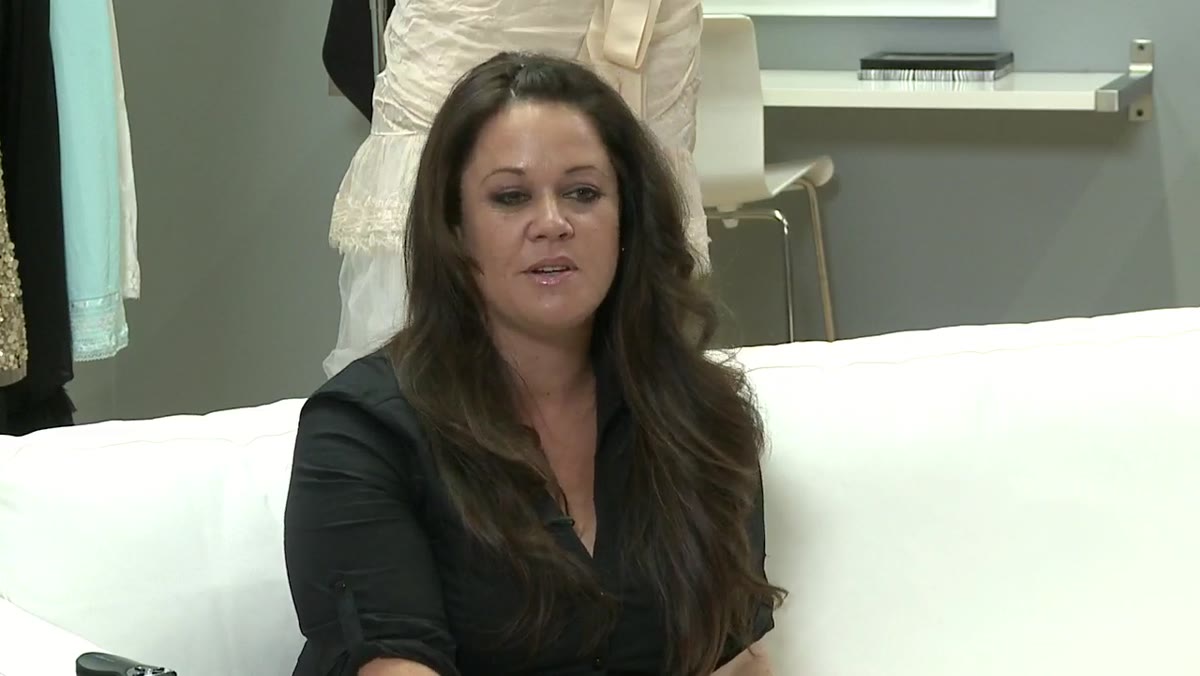 Sue Bryce stating that the session is entirely about Jill’s story
Bryce is direct at this point in the tutorial: this session exists for Jill, not to demonstrate technique, not to fill airtime, not to give Bryce another portfolio image. The subject’s story defines the frame. Everything else serves that frame or gets cut.
Sue Bryce stating that the session is entirely about Jill’s story
Bryce is direct at this point in the tutorial: this session exists for Jill, not to demonstrate technique, not to fill airtime, not to give Bryce another portfolio image. The subject’s story defines the frame. Everything else serves that frame or gets cut.
This is harder to execute than it sounds. In a studio environment, you have a tendency to default to what works, your go-to lighting ratio, your standard pose progression, your usual retouching pipeline. Those defaults exist because they produce reliable results. But reliable is not the same as right, and when a subject brings a specific story into the studio, your defaults can actually get in the way. The ability to set them aside and ask what this particular image needs to do is a discipline you have to practice intentionally.
Step 6: Use the Live Platform to Extend the Impact
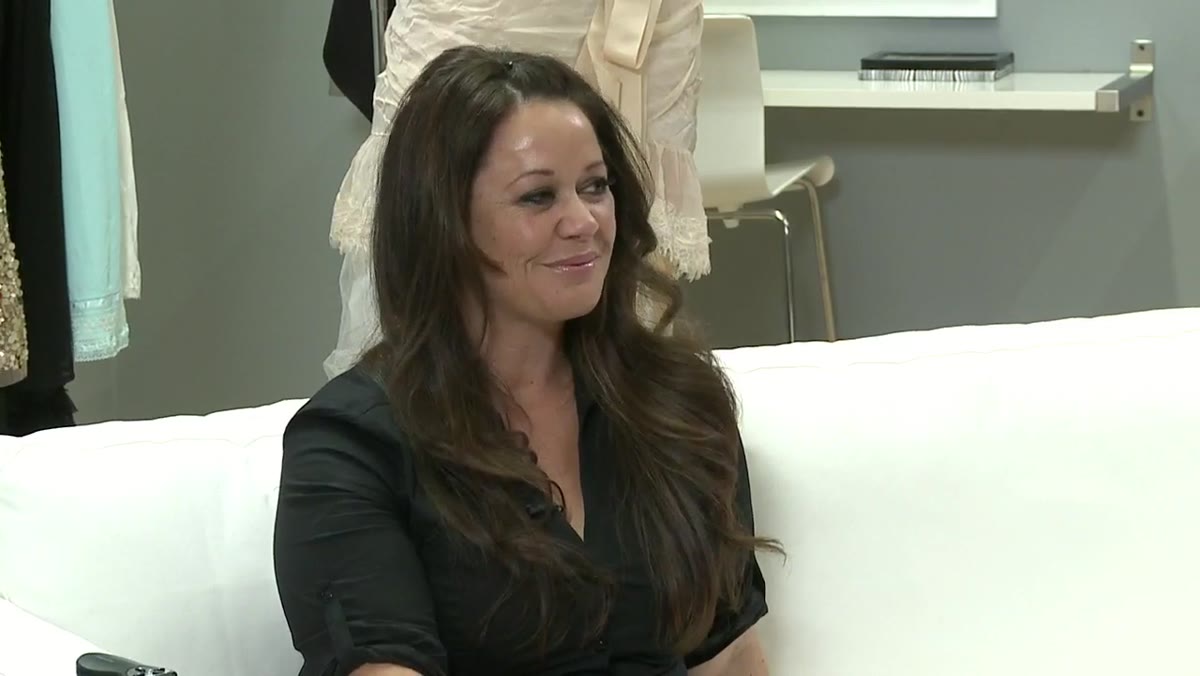 Sue Bryce preparing to connect to Jill via Skype on the live broadcast
Bryce connects Jill to the CreativeLive audience via Skype, essentially turning a private portrait session into a public conversation. The technical execution here is straightforward, but the editorial instinct behind it is sharp. She understood that Jill’s story had value beyond a single image, and that a live audience could carry that story further than any single photograph would.
Sue Bryce preparing to connect to Jill via Skype on the live broadcast
Bryce connects Jill to the CreativeLive audience via Skype, essentially turning a private portrait session into a public conversation. The technical execution here is straightforward, but the editorial instinct behind it is sharp. She understood that Jill’s story had value beyond a single image, and that a live audience could carry that story further than any single photograph would.
For working photographers, the lesson is about the distribution of impact. A great portrait does something for the subject in the room. A great portrait with a platform behind it does something for everyone watching who recognizes themselves in that subject. If you have any kind of audience, even a small one, think about when it’s appropriate to use it this way.
My Caveat: Technique Still Has to Be There
Everything Bryce demonstrates in this tutorial depends on the technical foundation being solid. Connection and intention don’t compensate for bad light. I’ve watched photographers try to lead with empathy and produce unflattering images, and the subject notices. The trust breaks. The technical and the human sides of this work are not in competition. The technique earns the trust. The trust opens the conversation. The conversation produces the image that actually matters.
The single most important thing this tutorial demonstrates is that glamour photography is not about making someone look good. It’s about making them feel seen. The light is how you do it. The intention is why.
Watch the full tutorial on YouTube
Comments (2)
The before and after really sells it. Incredible difference.
The before and after really sells it. Incredible difference.
Leave a Comment