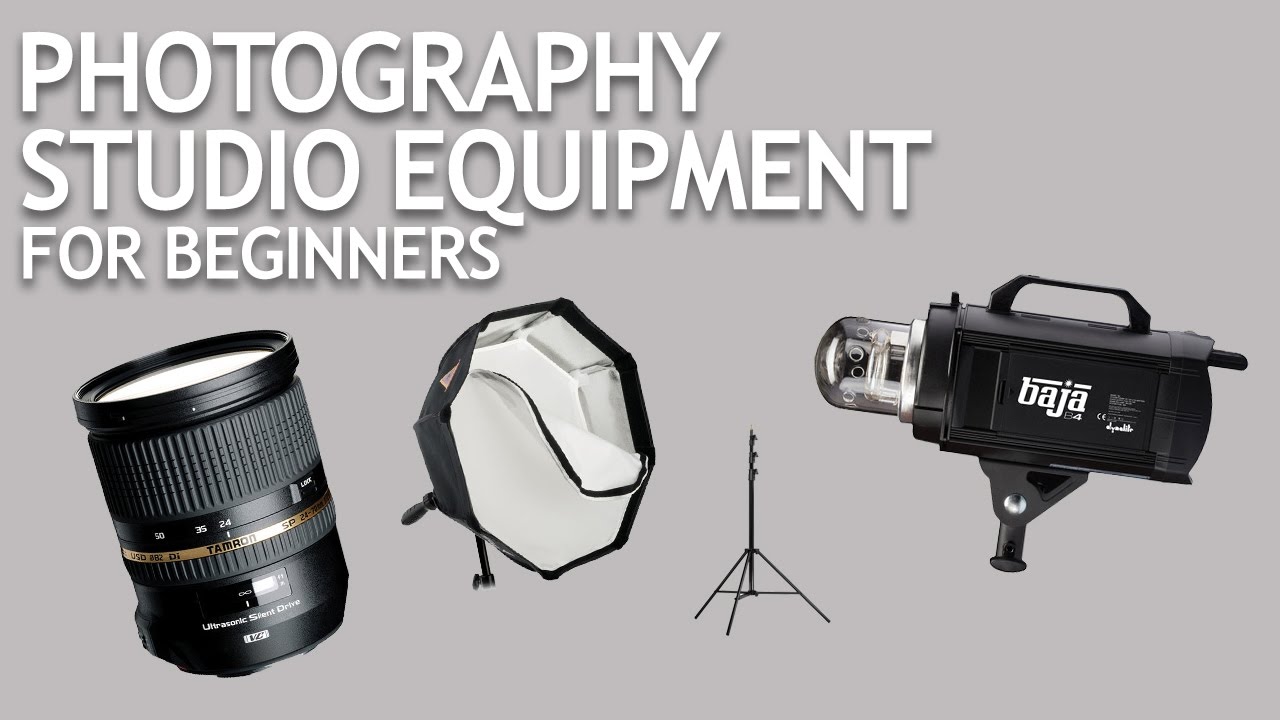
Every few months someone emails me asking what gear they need to start shooting paid work. For years I sent them a list I’d cobbled together from memory. The problem with that approach is that my memory is calibrated to someone who’s been shooting commercial and editorial work in Los Angeles for nearly two decades. What I think of as “basic” is not what a beginner should spend money on first.
That’s why I keep coming back to this tutorial from The Slanted Lens. Watch the full tutorial on YouTube — it’s one of the cleaner breakdowns of how to think about studio startup costs I’ve seen, organized around three budget tiers and built around a simple premise: get enough equipment to start making money, not enough to impress other photographers online.
What follows is my walkthrough of the video’s structure, with some friction added where I think a working shooter would make different calls.
Step 1: Understand the Framework Before You Buy Anything
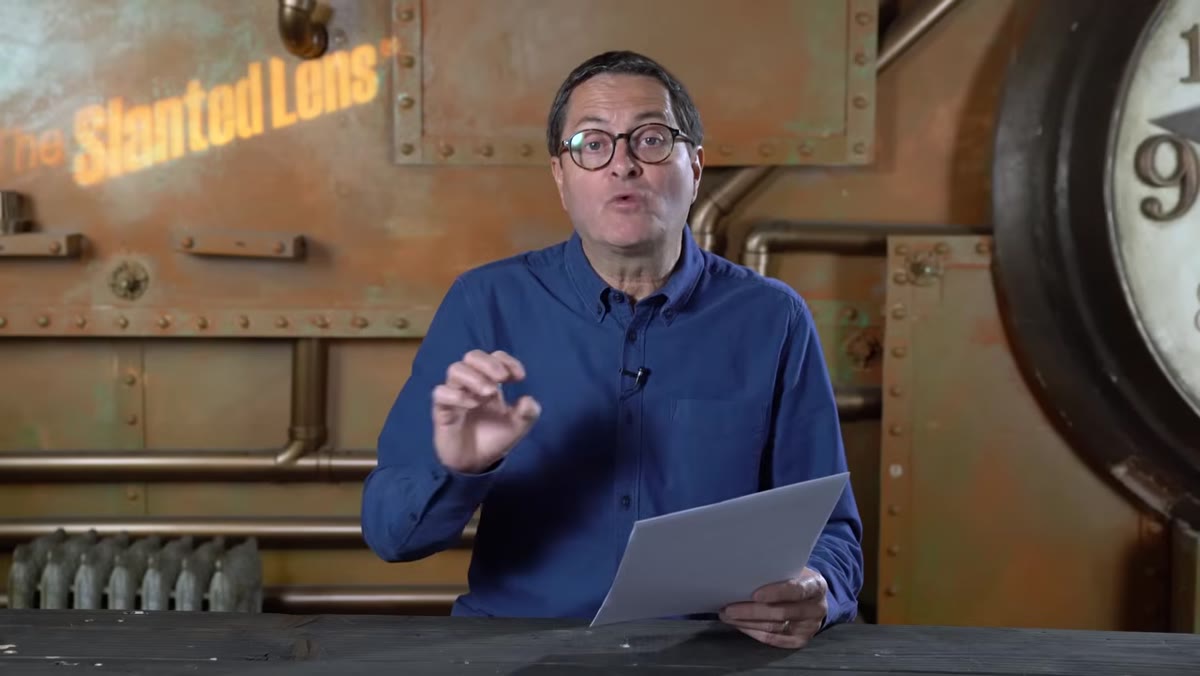
 Host introducing three budget tiers for studio equipment
The tutorial is built around three price tiers, each representing a real entry point into shooting professionally. This framing matters more than any specific product on the list. Too many beginners buy gear at random, responding to YouTube thumbnails and forum arguments. Having a budget ceiling forces you to make tradeoffs, and learning to make smart tradeoffs is actually a photography skill.
Host introducing three budget tiers for studio equipment
The tutorial is built around three price tiers, each representing a real entry point into shooting professionally. This framing matters more than any specific product on the list. Too many beginners buy gear at random, responding to YouTube thumbnails and forum arguments. Having a budget ceiling forces you to make tradeoffs, and learning to make smart tradeoffs is actually a photography skill.
Before you watch a single product recommendation, sit down and write a number at the top of a page. That number is your real budget, not the number you wish it was. The tiers in this tutorial start around $1,300 and climb toward $3,000. If your number is lower than $1,300, that’s fine, but you need to know it before the video starts.
Step 2: Start With the Entry-Level Kit Around $1,300
 Canon Rebel T7 camera and 18-55mm kit lens shown on screen
The first tier is built around a Canon Rebel T7 with the 18-55mm kit lens. The host is direct about this: when someone asks what camera to buy to start shooting, this is the answer. Not a used medium format body. Not a mirrorless system you’ll need to invest heavily into. A current-generation entry-level DSLR with a usable zoom range and a reliable autofocus system.
Canon Rebel T7 camera and 18-55mm kit lens shown on screen
The first tier is built around a Canon Rebel T7 with the 18-55mm kit lens. The host is direct about this: when someone asks what camera to buy to start shooting, this is the answer. Not a used medium format body. Not a mirrorless system you’ll need to invest heavily into. A current-generation entry-level DSLR with a usable zoom range and a reliable autofocus system.
The kit lens gets dismissed constantly by photographers who have forgotten what it was like to not own a 50mm f/1.2. The 18-55mm is genuinely useful for portraits at the longer end, covers environmental work at the wide end, and costs nothing extra because it’s bundled. If you already own a camera body, skip this line item entirely and redirect that money toward light.
Step 3: Add a Reflector Before You Think About Strobes
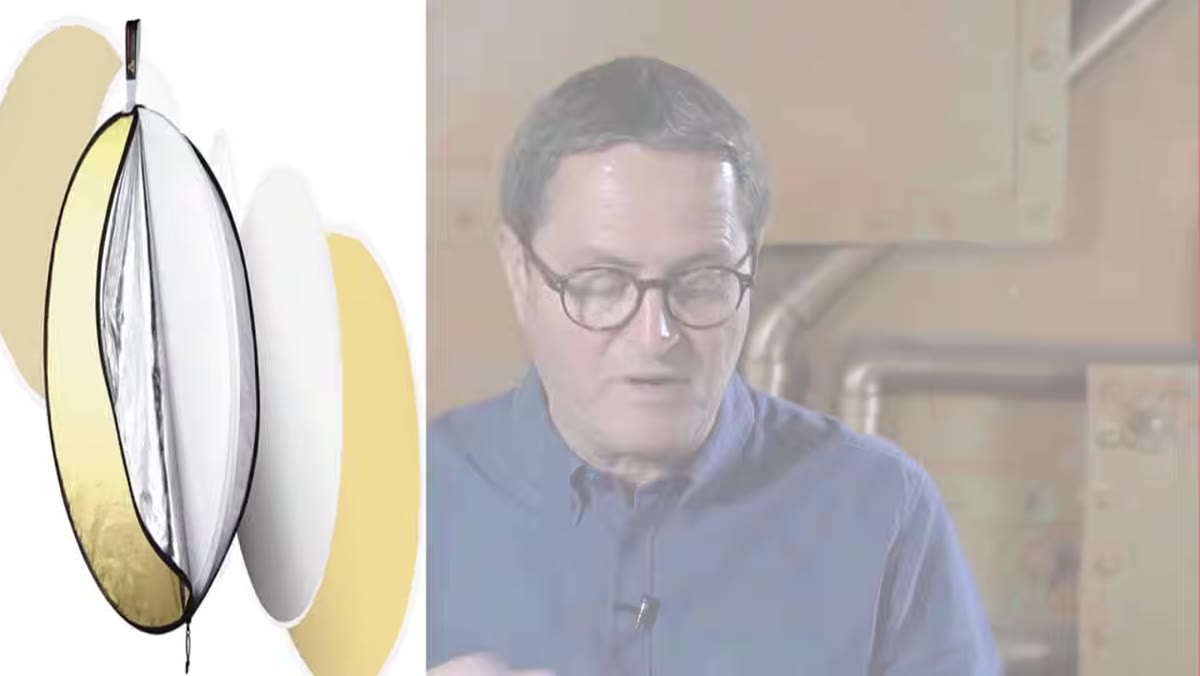 Photoflex multi-disc reflector displayed alongside light stand and clamp
At the $1,300 tier, there’s no strobe in the kit. That’s the right call and I’d defend it aggressively. A reflector, a light stand, and a clamp give you a controlled fill source using available light. You learn to read how light falls on a face, where the shadows are going, and how much bounce actually changes the image. These are things a softbox and a power pack will not teach you automatically.
Photoflex multi-disc reflector displayed alongside light stand and clamp
At the $1,300 tier, there’s no strobe in the kit. That’s the right call and I’d defend it aggressively. A reflector, a light stand, and a clamp give you a controlled fill source using available light. You learn to read how light falls on a face, where the shadows are going, and how much bounce actually changes the image. These are things a softbox and a power pack will not teach you automatically.
The specific setup here is a Photoflex multi-disc reflector mounted to a stand via clamp. The clamp is a small line item but an essential one. Holding a reflector while operating a camera solo is not a workflow. It is a circus act. Get the stand, get the clamp, free your hands.
Step 4: Build the Support System - Tripod, Card, and Card Reader
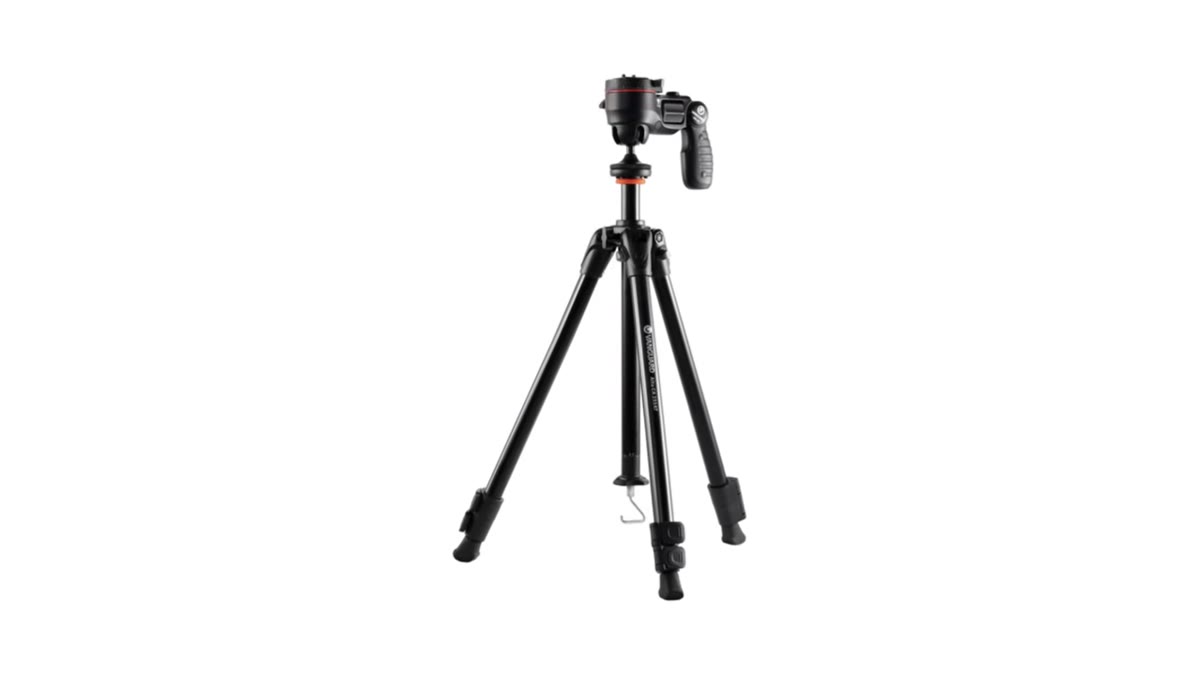 Vanguard tripod with pistol grip head shown alongside memory card and reader
The rest of the entry kit is support infrastructure: a Vanguard tripod with a pistol grip head, a 64GB SanDisk card, and a card reader. The host makes a point about the tripod that I agree with completely. Most working photographers in a fast-paced studio session will shoot handheld, but learning to use a tripod early builds habits that matter later. Tethered shooting, precise product work, long exposures, all of it assumes you’re comfortable putting your camera on a stick and leaving it there.
Vanguard tripod with pistol grip head shown alongside memory card and reader
The rest of the entry kit is support infrastructure: a Vanguard tripod with a pistol grip head, a 64GB SanDisk card, and a card reader. The host makes a point about the tripod that I agree with completely. Most working photographers in a fast-paced studio session will shoot handheld, but learning to use a tripod early builds habits that matter later. Tethered shooting, precise product work, long exposures, all of it assumes you’re comfortable putting your camera on a stick and leaving it there.
The card reader is easy to skip if your laptop has a built-in slot, but a dedicated USB reader is faster, more reliable, and saves your card slot from wear. At the price point listed here, it’s a negligible cost. Buy it anyway.
Step 5: Move to the Mid-Tier Kit Around $3,000
 Canon EOS 7D Mark II body highlighted on screen
The second tier swaps the Rebel body for a Canon EOS 7D Mark II. This is still a crop sensor camera, but the build quality, autofocus tracking, and burst rate all step up meaningfully. If you’re shooting anything that moves, whether that’s children, athletes, or commercial clients who can’t hold still, the 7D handles it more confidently than the T7.
Canon EOS 7D Mark II body highlighted on screen
The second tier swaps the Rebel body for a Canon EOS 7D Mark II. This is still a crop sensor camera, but the build quality, autofocus tracking, and burst rate all step up meaningfully. If you’re shooting anything that moves, whether that’s children, athletes, or commercial clients who can’t hold still, the 7D handles it more confidently than the T7.
The important thing about jumping to this tier isn’t the camera body. It’s that the budget increase opens the door to light modifiers and potentially a first monolight. That shift changes the kind of work you can take on. You move from being dependent on window light and bounce to being able to control your entire exposure independently of the sun, the weather, or which direction your client’s office faces.
What I’d Change Based on Shooting Fashion and Beauty
I’ve been shooting fashion and beauty clients in studio long enough to have strong opinions about the order of purchases. The one thing I’d add to the $1,300 kit that the tutorial doesn’t mention is a white foam core board from any art supply store. Cost is under five dollars. Placed opposite your reflector or window, it acts as a secondary bounce source and gives you a crude two-reflector setup for almost nothing.
I keep a lighting journal where I sketch every setup from every shoot, and when I flip back to my early pages, the rigs that taught me the most were the improvised ones. A reflector clamped to a stand, foam core taped to a chair, and a window. That constraint forces observation. You start to notice what the light is actually doing to skin instead of assuming the gear is handling it for you. Once you own a full strobe kit, you can lose that instinct fast if you’re not careful.
The Slanted Lens tutorial is honest about what you’re getting at each tier and what you’re giving up. That honesty is what makes it worth your time. Buy for the work you’re doing right now, not the work you imagine doing in five years.
The single most important idea in the whole video is this: the goal of your first kit is to let you start making money, not to make you feel like a professional. Those are different targets and they require different equipment. Pick the tier that matches your current client list, not your aspirations.
Watch the full tutorial on YouTube to see the complete product breakdown and pricing across all three tiers.
Comments
Leave a Comment