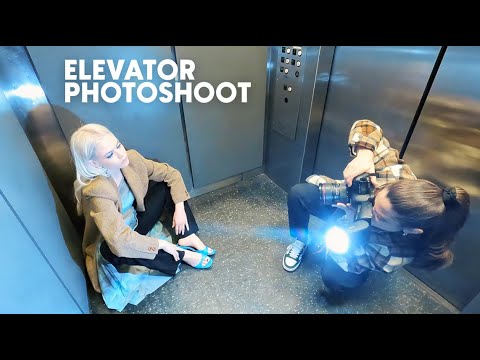
I’ve rented studios that let me down. A booking falls through, the space is half the size they advertised, or the location you scouted looks completely different when you actually show up with a model and a bag full of gear. Every working photographer has a version of this story. What separates the photographers who salvage the day from the ones who pack up early is a specific kind of problem-solving instinct, and it has very little to do with equipment. It has everything to do with reading a space and committing to what it gives you.
Watch the full tutorial on YouTube
In this Jessica Kobeissi behind-the-scenes video, she rents a studio, ends up pivoting to an elevator in the same building, and produces work she’s genuinely excited about. The video is funny and loose, but underneath the laughter there’s a real methodology at work. She’s making deliberate decisions about light, framing, and posing inside roughly 25 square feet. I’ve watched it several times now, not because I needed to learn what an elevator looks like, but because watching a skilled photographer adapt in real time is one of the most instructive things you can do.
Step 1: Accept the Location Completely
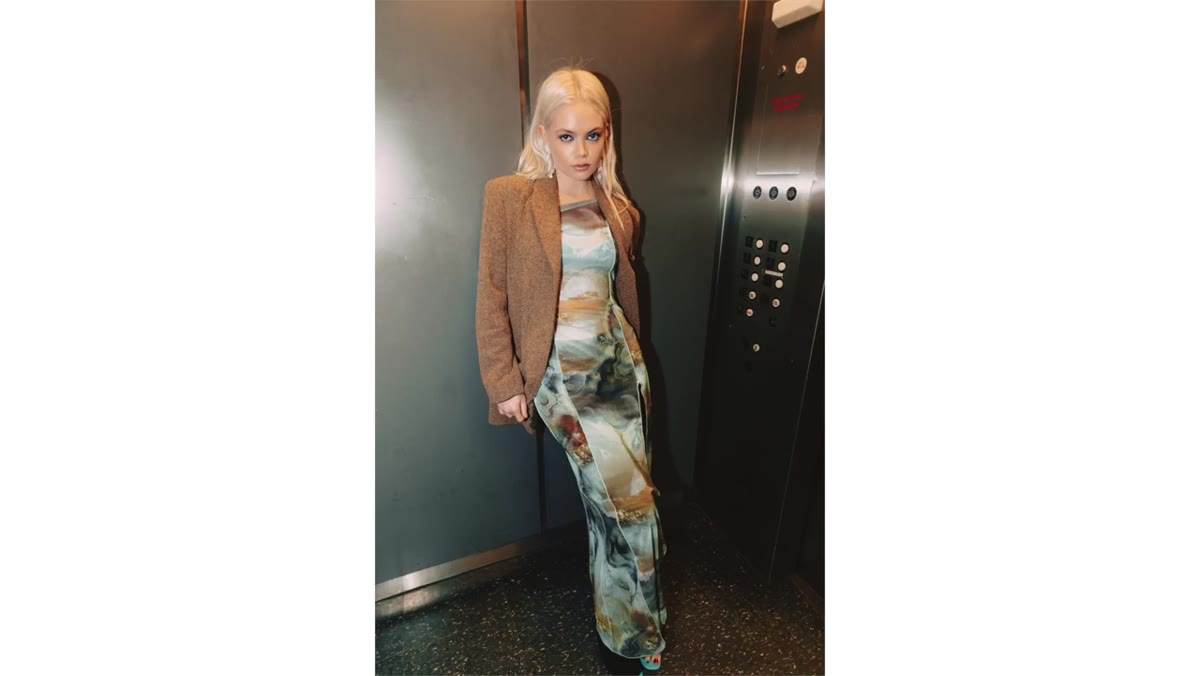 Kobeissi announces the elevator as the official shoot location
The moment Kobeissi declares the elevator the location, she’s done arguing with reality. This sounds obvious but it’s the hardest step for most photographers, including me early in my career. When a space isn’t what you planned, there’s a mental tax you pay every time you compare it to what you wanted. That tax shows up in your work. The shots feel tentative. Kobeissi burns that bridge immediately and treats the elevator as a creative decision rather than a compromise. Before you fire a single frame in an unexpected space, you need to make that same psychological commitment.
Kobeissi announces the elevator as the official shoot location
The moment Kobeissi declares the elevator the location, she’s done arguing with reality. This sounds obvious but it’s the hardest step for most photographers, including me early in my career. When a space isn’t what you planned, there’s a mental tax you pay every time you compare it to what you wanted. That tax shows up in your work. The shots feel tentative. Kobeissi burns that bridge immediately and treats the elevator as a creative decision rather than a compromise. Before you fire a single frame in an unexpected space, you need to make that same psychological commitment.
Step 2: Assess Your Natural and Artificial Light Sources
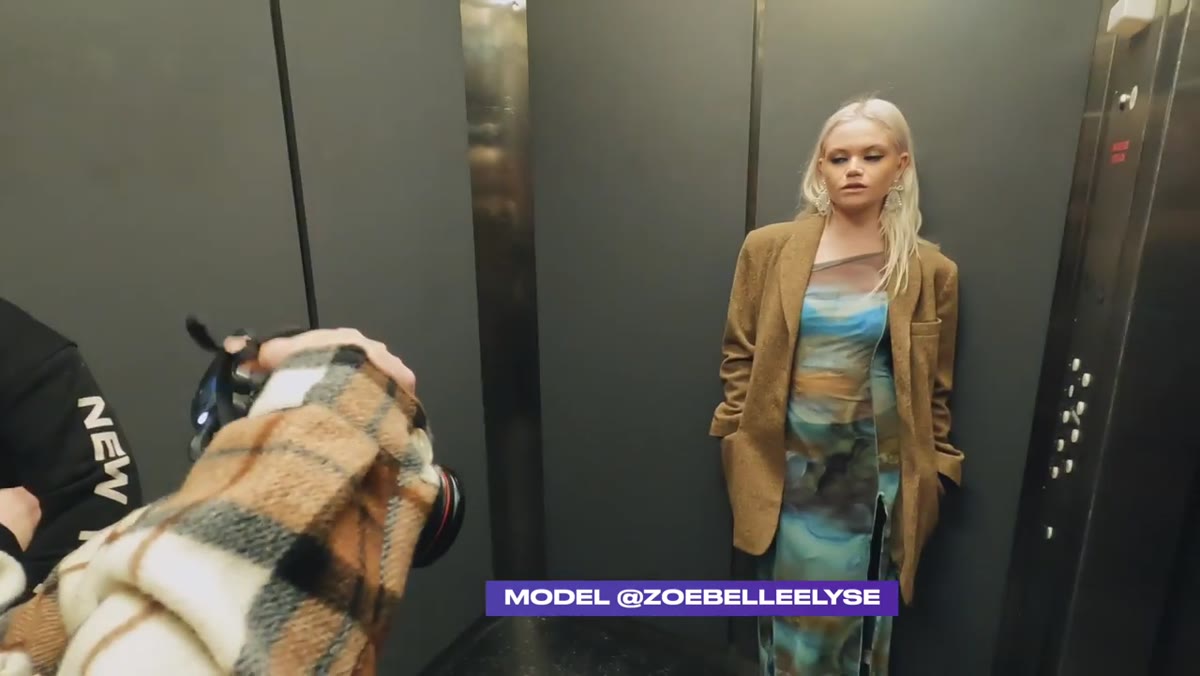 Discussion of flashlight source outside the elevator doors
The first practical conversation in the video is about the flashlight source positioned outside the elevator. This is the right instinct. In any unfamiliar space, your first job is to inventory the light, not to start posing the model. An elevator typically has harsh overhead fluorescents with a color temperature around 4000K to 5000K. That light flattens faces and creates unflattering downward shadows. Kobeissi brings in an external flash source positioned outside the doors, which gives her a directional key light that she can control independently of whatever the ceiling fixtures are doing. If you’re shooting a similar space without a flash unit, position your subject near the open doors to pull in ambient light from the hallway, which is almost always softer and warmer than what’s inside the elevator car.
Discussion of flashlight source outside the elevator doors
The first practical conversation in the video is about the flashlight source positioned outside the elevator. This is the right instinct. In any unfamiliar space, your first job is to inventory the light, not to start posing the model. An elevator typically has harsh overhead fluorescents with a color temperature around 4000K to 5000K. That light flattens faces and creates unflattering downward shadows. Kobeissi brings in an external flash source positioned outside the doors, which gives her a directional key light that she can control independently of whatever the ceiling fixtures are doing. If you’re shooting a similar space without a flash unit, position your subject near the open doors to pull in ambient light from the hallway, which is almost always softer and warmer than what’s inside the elevator car.
Step 3: Use the Walls as Natural Bounce and Fill
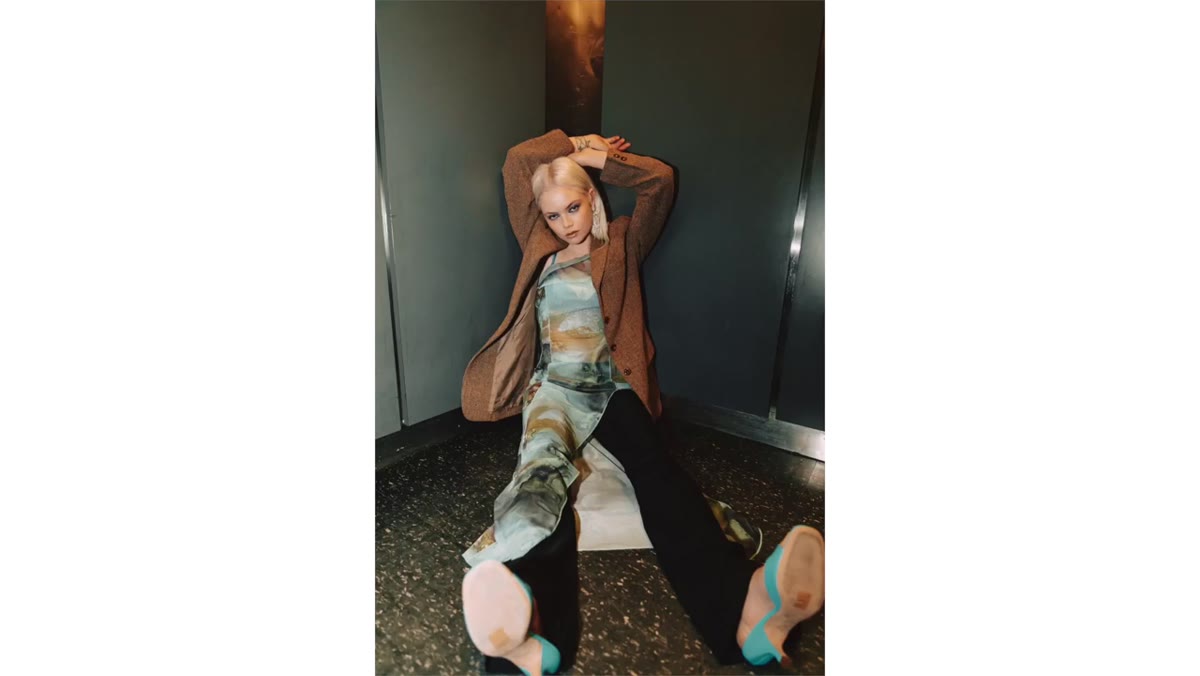 Kobeissi noting she genuinely loves the small enclosed space
Tight spaces have a real photographic advantage that’s easy to miss when you’re frustrated about the square footage. The walls of an elevator act as natural reflectors. A single flash or even a strong continuous light source will bounce off three or four surfaces simultaneously, wrapping the subject in soft fill light you didn’t have to set up or pay for. I keep a small collapsible reflector in every kit for exactly this reason, but in a white or metallic elevator car, you often don’t need it. Position your light source at a 45-degree angle to the subject relative to the open door, and let the opposite wall do the fill work. Your exposure on the shadow side will be much more forgiving than it would be in an open space.
Kobeissi noting she genuinely loves the small enclosed space
Tight spaces have a real photographic advantage that’s easy to miss when you’re frustrated about the square footage. The walls of an elevator act as natural reflectors. A single flash or even a strong continuous light source will bounce off three or four surfaces simultaneously, wrapping the subject in soft fill light you didn’t have to set up or pay for. I keep a small collapsible reflector in every kit for exactly this reason, but in a white or metallic elevator car, you often don’t need it. Position your light source at a 45-degree angle to the subject relative to the open door, and let the opposite wall do the fill work. Your exposure on the shadow side will be much more forgiving than it would be in an open space.
Step 4: Build Poses Around the Architecture
 Kobeissi directing the model into a kneeling position
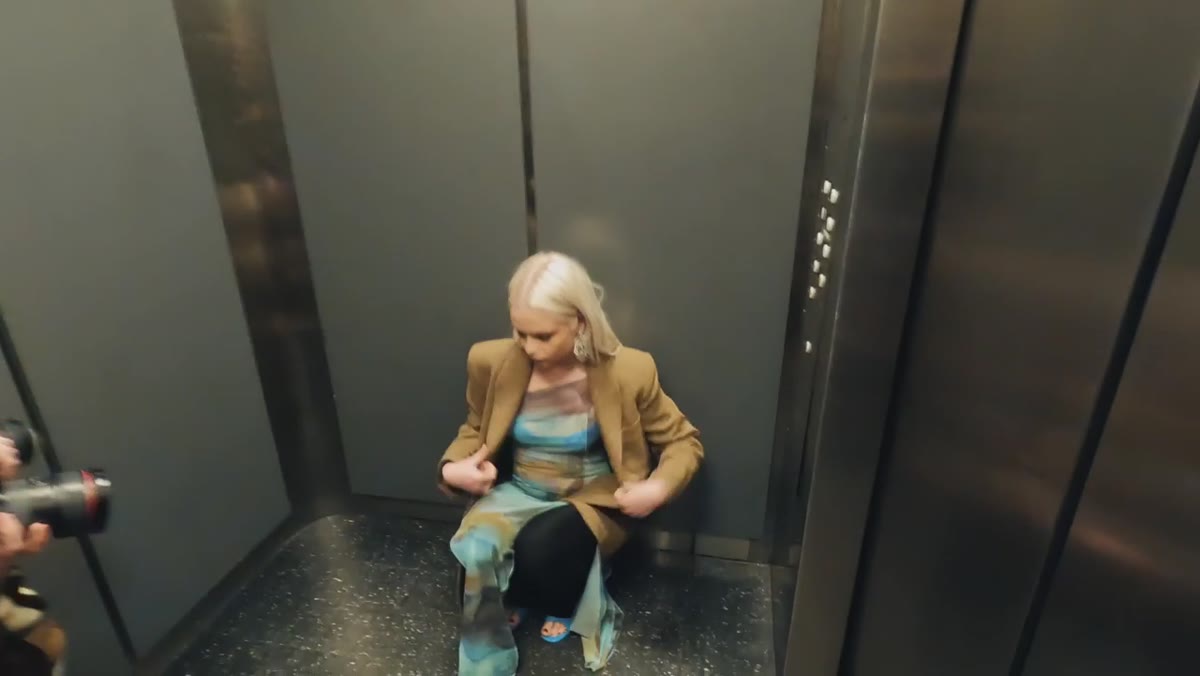
Kobeissi starts working through poses that make use of the elevator’s physical structure, beginning with a kneeling position on the floor. This is smart for two reasons. First, it adds vertical variety in a space where you can’t move backward for a different angle. Second, low poses in a confined space create compression and intimacy in the frame that flatters the subject. When you’re working in a small space, the architecture should be a prop and a posing guide, not an obstacle. Have your subject lean against the wall, use the corner for back support, sit on the floor, brace against the door frame. Each of those positions generates a fundamentally different image without requiring you to change your light setup at all.
Kobeissi directing the model into a kneeling position
Kobeissi starts working through poses that make use of the elevator’s physical structure, beginning with a kneeling position on the floor. This is smart for two reasons. First, it adds vertical variety in a space where you can’t move backward for a different angle. Second, low poses in a confined space create compression and intimacy in the frame that flatters the subject. When you’re working in a small space, the architecture should be a prop and a posing guide, not an obstacle. Have your subject lean against the wall, use the corner for back support, sit on the floor, brace against the door frame. Each of those positions generates a fundamentally different image without requiring you to change your light setup at all.
Step 5: Try Long Exposure for Creative Variation
 Kobeissi setting up a long exposure attempt in the elevator
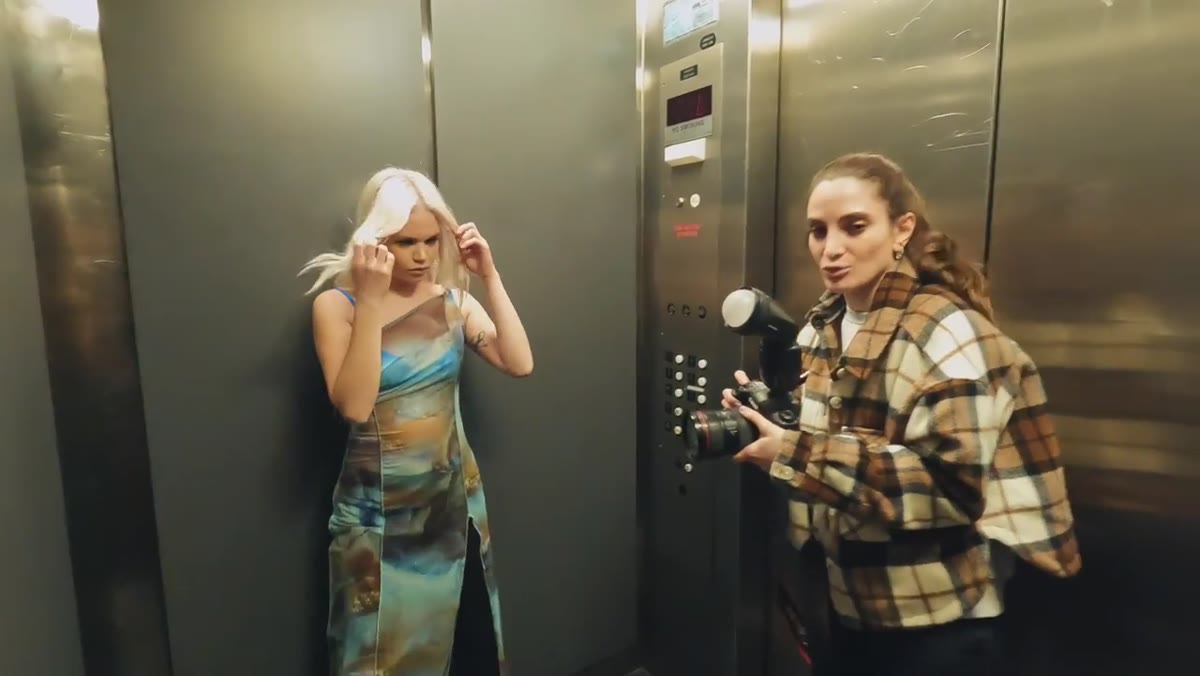
Midway through the shoot, Kobeissi experiments with long exposure shots, and this is where the elevator’s unusual nature becomes a genuine creative asset rather than just a workaround. In a moving elevator, long exposure introduces motion blur that you can’t replicate in a static studio. The technique requires a slower shutter speed, somewhere in the range of 1/15 to 1/4 of a second, with the flash set to rear curtain sync so the model’s sharp frozen image lands at the end of the exposure rather than the beginning. The result is a sharp subject with motion streaking through the background or around the edges, which reads as dynamic and intentional rather than accidental.
Kobeissi setting up a long exposure attempt in the elevator
Midway through the shoot, Kobeissi experiments with long exposure shots, and this is where the elevator’s unusual nature becomes a genuine creative asset rather than just a workaround. In a moving elevator, long exposure introduces motion blur that you can’t replicate in a static studio. The technique requires a slower shutter speed, somewhere in the range of 1/15 to 1/4 of a second, with the flash set to rear curtain sync so the model’s sharp frozen image lands at the end of the exposure rather than the beginning. The result is a sharp subject with motion streaking through the background or around the edges, which reads as dynamic and intentional rather than accidental.
Step 6: Work the Threshold - Shoot From Outside the Space
 Kobeissi shooting from outside the elevator as the doors close
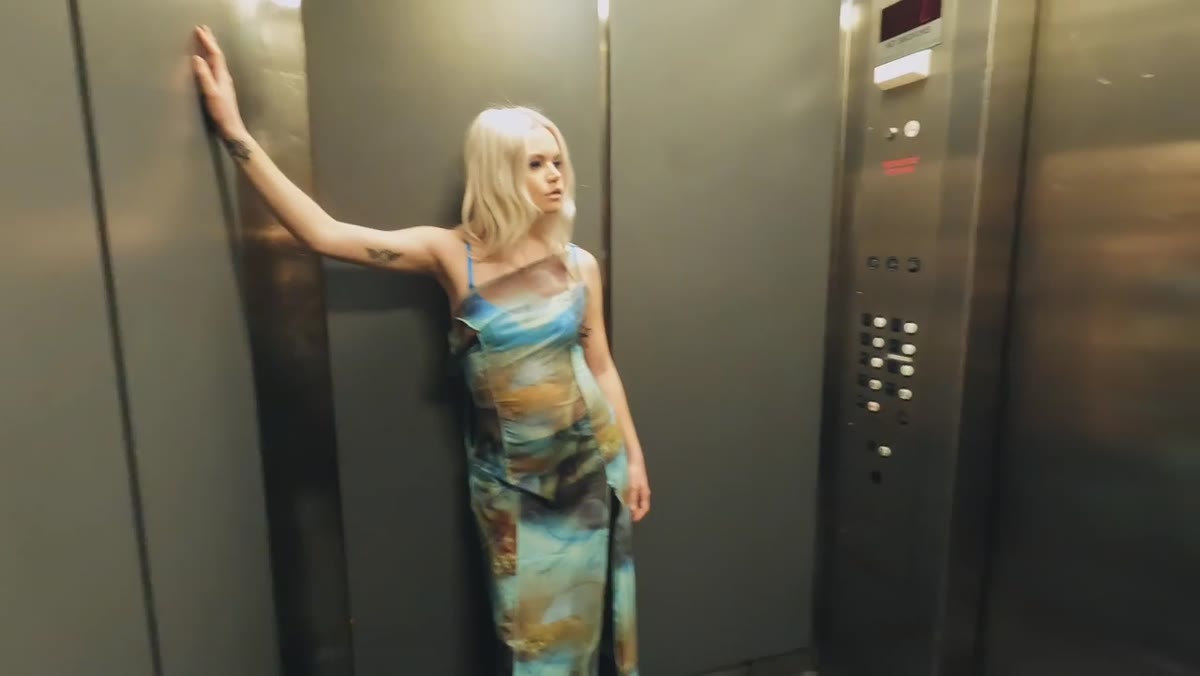
One of the most effective shots in the sequence comes when Kobeissi steps outside and shoots through the closing elevator doors. This framing technique turns the door edges into natural vignetting and creates depth that a straight-on interior shot can’t achieve. The subject is lit from inside the car while the photographer is in the hallway, which also gives you more physical distance for compression if you’re on a longer lens. The door frame becomes a portrait frame within your frame. This is a technique I use constantly in doorways, windows, and archways during location work. Any threshold you can position between yourself and the subject adds foreground interest and pulls the viewer’s eye directly to the person.
Kobeissi shooting from outside the elevator as the doors close
One of the most effective shots in the sequence comes when Kobeissi steps outside and shoots through the closing elevator doors. This framing technique turns the door edges into natural vignetting and creates depth that a straight-on interior shot can’t achieve. The subject is lit from inside the car while the photographer is in the hallway, which also gives you more physical distance for compression if you’re on a longer lens. The door frame becomes a portrait frame within your frame. This is a technique I use constantly in doorways, windows, and archways during location work. Any threshold you can position between yourself and the subject adds foreground interest and pulls the viewer’s eye directly to the person.
What I’d Do Differently With Studio Flash
I shoot with a single Profoto B10 as a portable key light on most location jobs. In an elevator situation, I’d use it on the lowest power setting through a small magnetic dome modifier, positioned just outside the door at roughly head height. What Kobeissi demonstrates here works beautifully, but if you want to push the quality of light even further, reducing the flash power and compensating by bringing it physically closer to the subject gives you a softer, larger light source relative to the subject’s face. I’ve started sketching these kinds of improvised setups in a lighting journal I keep, partly to remember them and partly because the constraints of a weird location often produce diagrams that teach me more than a planned studio setup ever does.
The single most important thing this video demonstrates is that creative constraints are not the enemy of good work. They are frequently the source of it. Kobeissi didn’t settle for the elevator, she chose it, and that distinction changed everything about how the shoot went. The next time a location falls through on you, spend five minutes looking at what the actual space gives you before you start problem-solving your way back to what you had planned.
Watch the full tutorial on YouTube
Comments
Leave a Comment