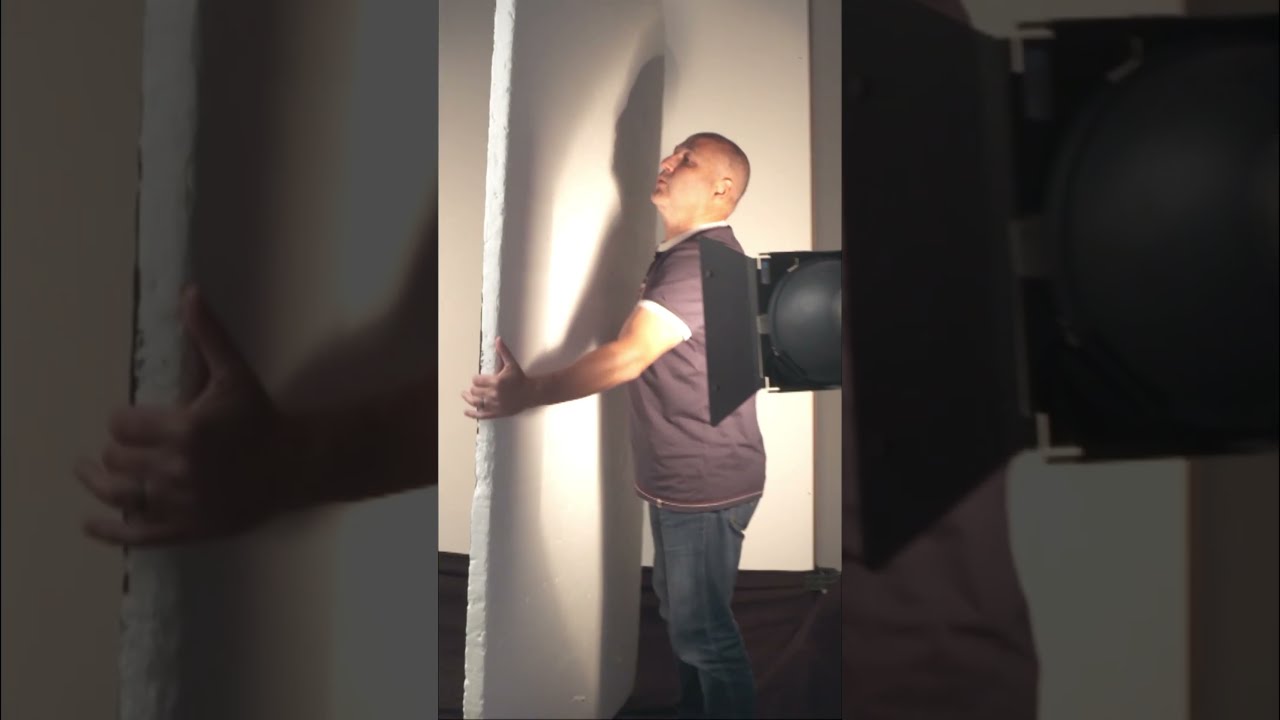
Polyboards are one of those pieces of studio equipment that look simple enough to maintain yourself. They are just foam boards, after all. Sand one down, give it a fresh coat, and you are back in business. I have repainted mine more times than I can count, and for a long time I assumed the type of paint was an afterthought. It is not. This particular detail took me one genuinely unpleasant afternoon to learn, and the lesson stuck.
Watch the full tutorial on YouTube
In this Visual Education tutorial, the presenter gets straight to the point with a warning that every studio photographer should hear before they ever pick up a paintbrush. The video is short, but the information is exactly the kind of hard-won, practical knowledge that rarely makes it into equipment manuals or beginner courses. It is the sort of thing a studio assistant learns from a senior photographer on their third week of the job, if they are lucky.
I keep a lighting journal where I sketch every setup from every shoot, and over the years I have added margin notes about gear maintenance right alongside the diagrams. This one earned a note in capital letters. Here is the full breakdown of what the tutorial covers and how to apply it correctly.
Step 1: Understand What Polyboards Are and Why They Matter
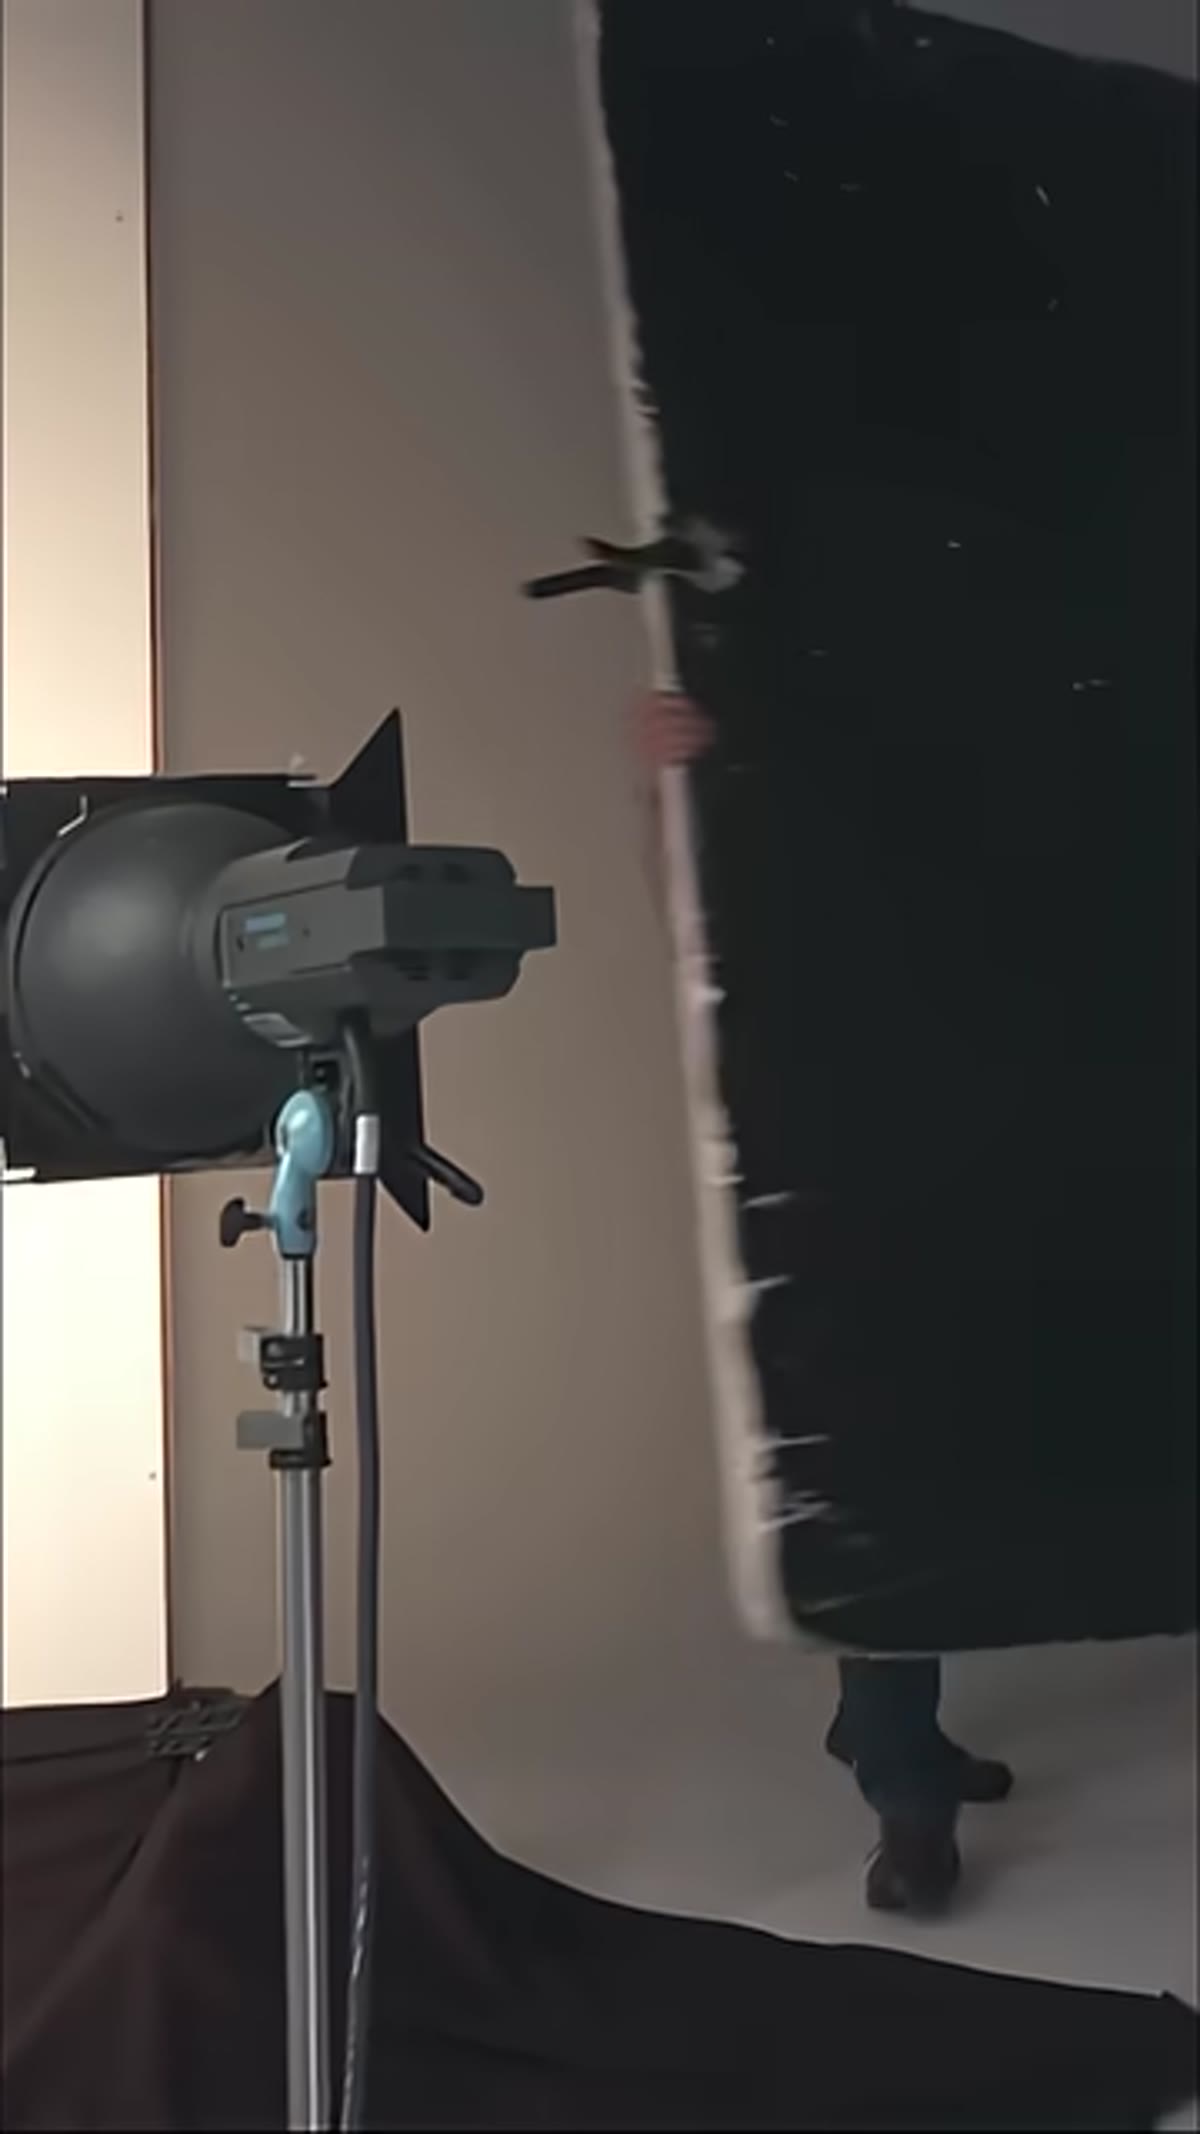 Polyboard standing upright in a photography studio
Polyboards are a standard fixture in professional photo studios. They are large, lightweight foam-core panels used to control light, whether that means bouncing it into shadow areas to lift exposure, or flagging it away from the lens to prevent flare and spill. If you are working in a studio of any size, you almost certainly have at least one of these in rotation.
Their value is in their versatility. A single board with a white side and a black side gives you two completely different tools in one piece of equipment. White bounces and softens. Black subtracts light and deepens contrast. Keeping both surfaces clean, fresh, and correctly painted is part of maintaining the tool properly.
Step 2: Know the Standard Finish for Each Side
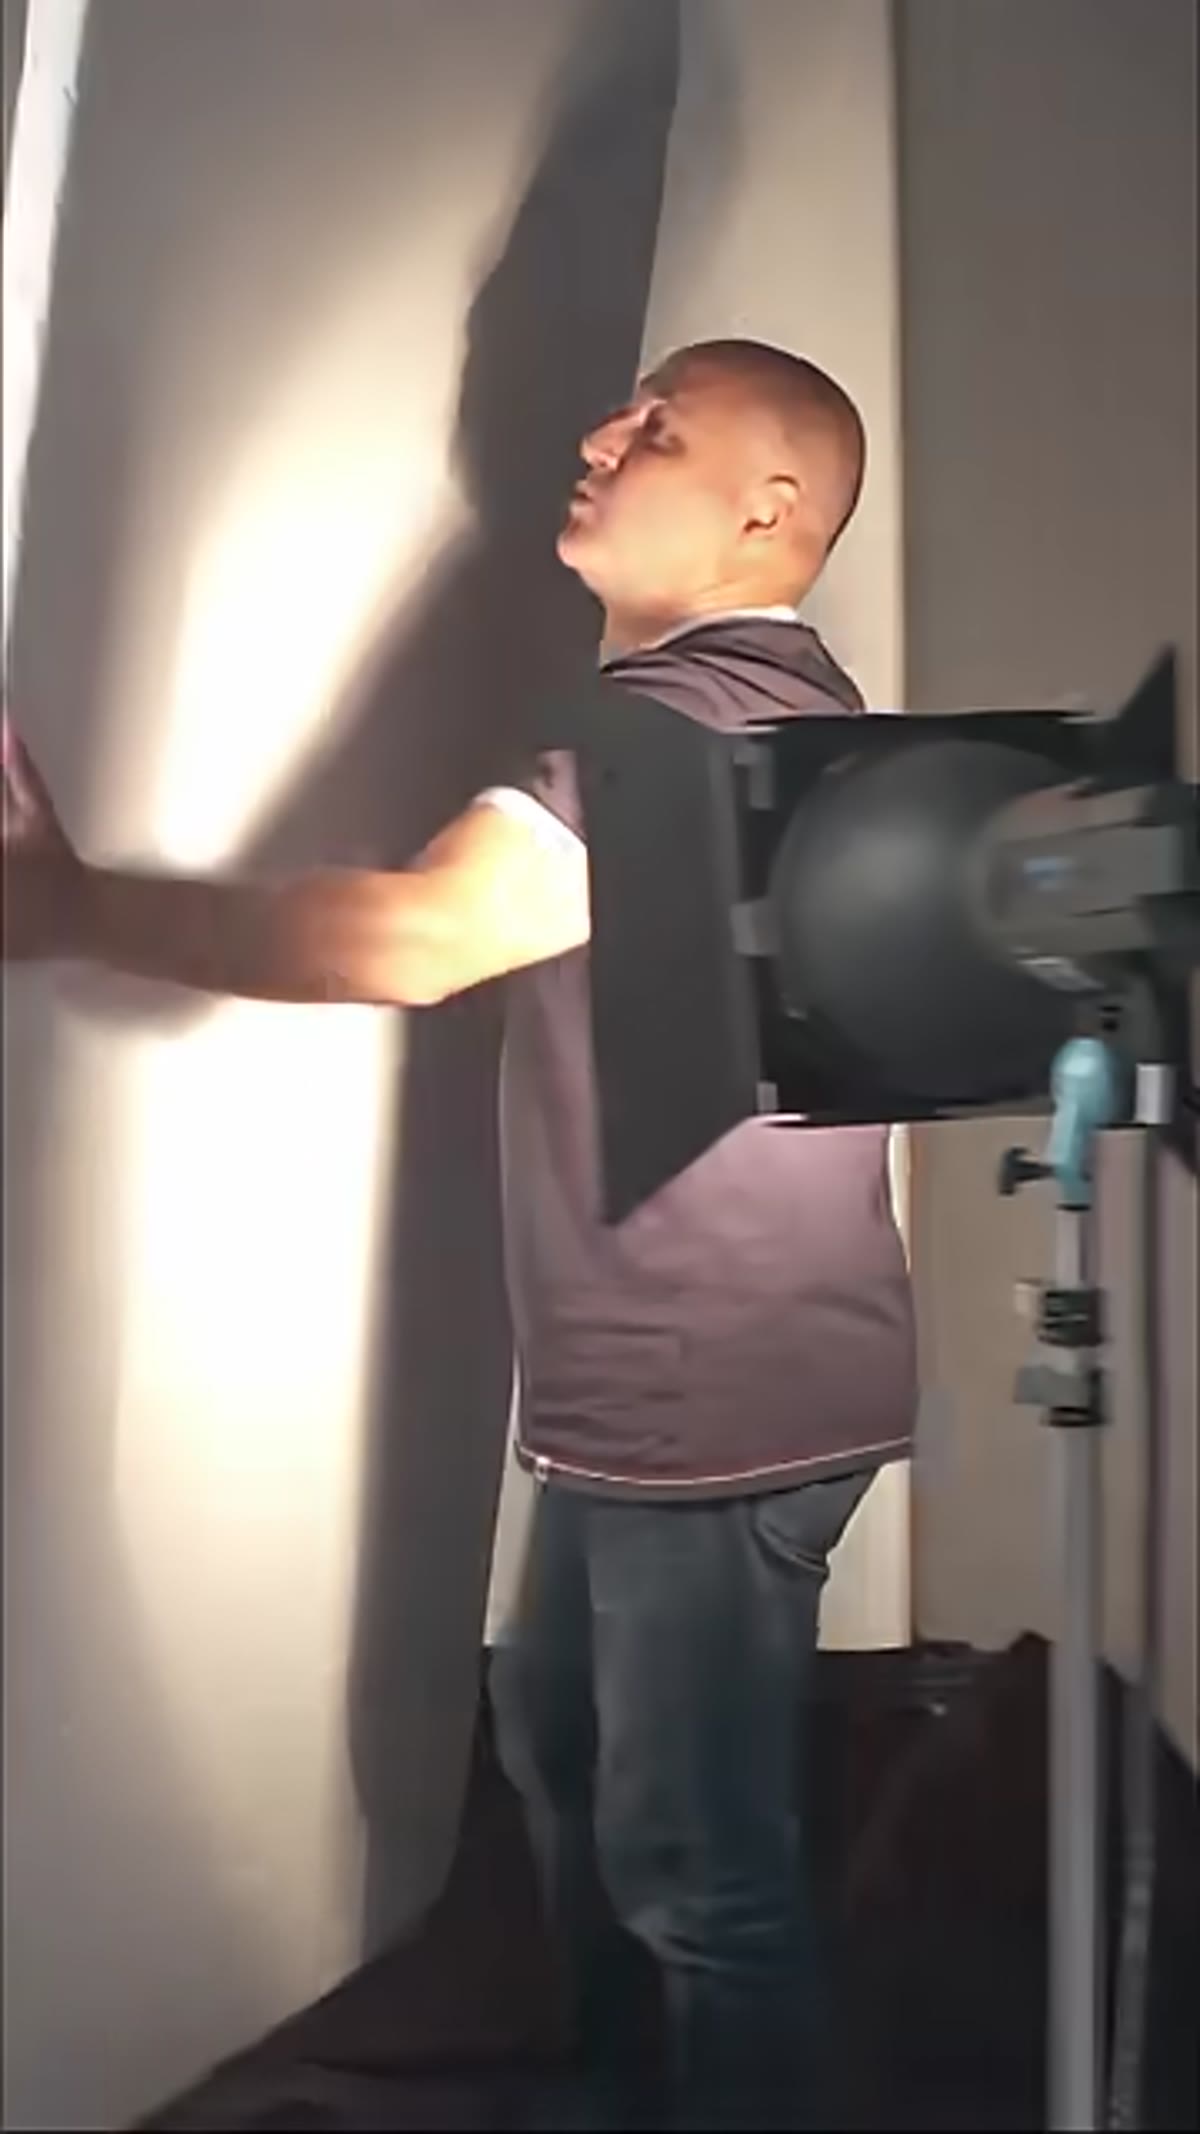 Polyboard showing white side facing camera
The industry standard is white emulsion on one side and flat black paint on the other. White emulsion gives you a consistent, neutral reflective surface that works predictably across different lighting setups. It is not glossy, it does not introduce color casts, and it bounces light in a diffuse, even way. That consistency matters when you are building a repeatable lighting setup for a client.
The black side needs to absorb light rather than reflect it, so the flatter the finish, the better. A glossy black will still create subtle specular bounce that defeats the purpose. Flat or matte black paint is the right call, and it makes a measurable difference in how cleanly you can cut light on a set.
Step 3: Use Water-Based Paint Every Time
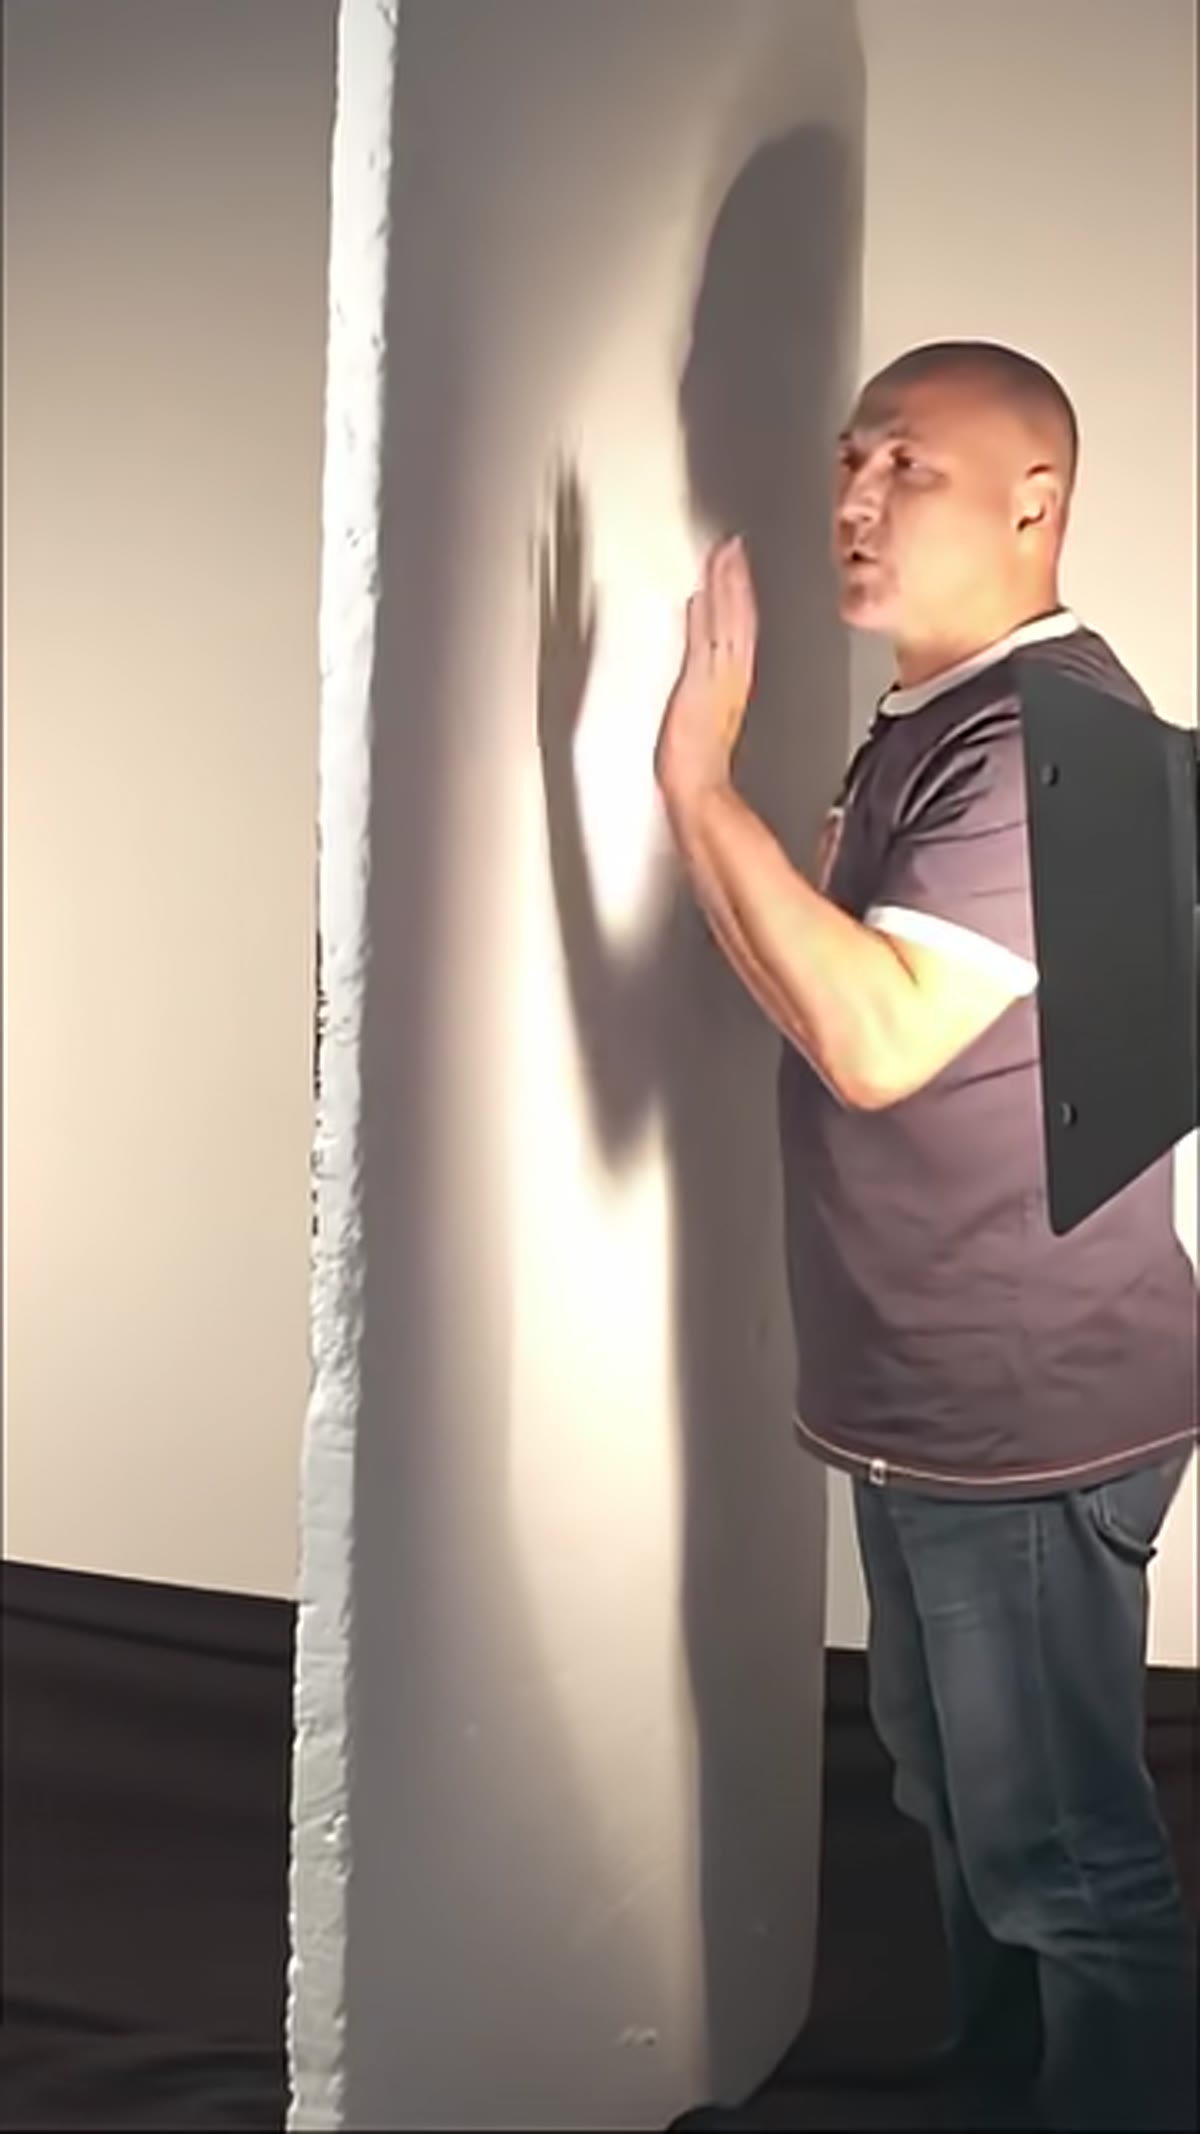 Close-up of paint tin labeled water-based white emulsion
Both sides should be painted with water-based paint. Full stop. White emulsion is water-based by nature, so the white side is straightforward. For the black side, you want a water-based flat black. These are widely available at any hardware or decorating shop, and they adhere well to foam-core surfaces without any special priming or preparation.
Water-based paints dry relatively quickly, clean up easily, and most importantly, they do not react chemically with the foam-core material inside the board. That last point is the one that matters most, and it leads directly to the next step.
Step 4: Never Use Oil-Based Paint
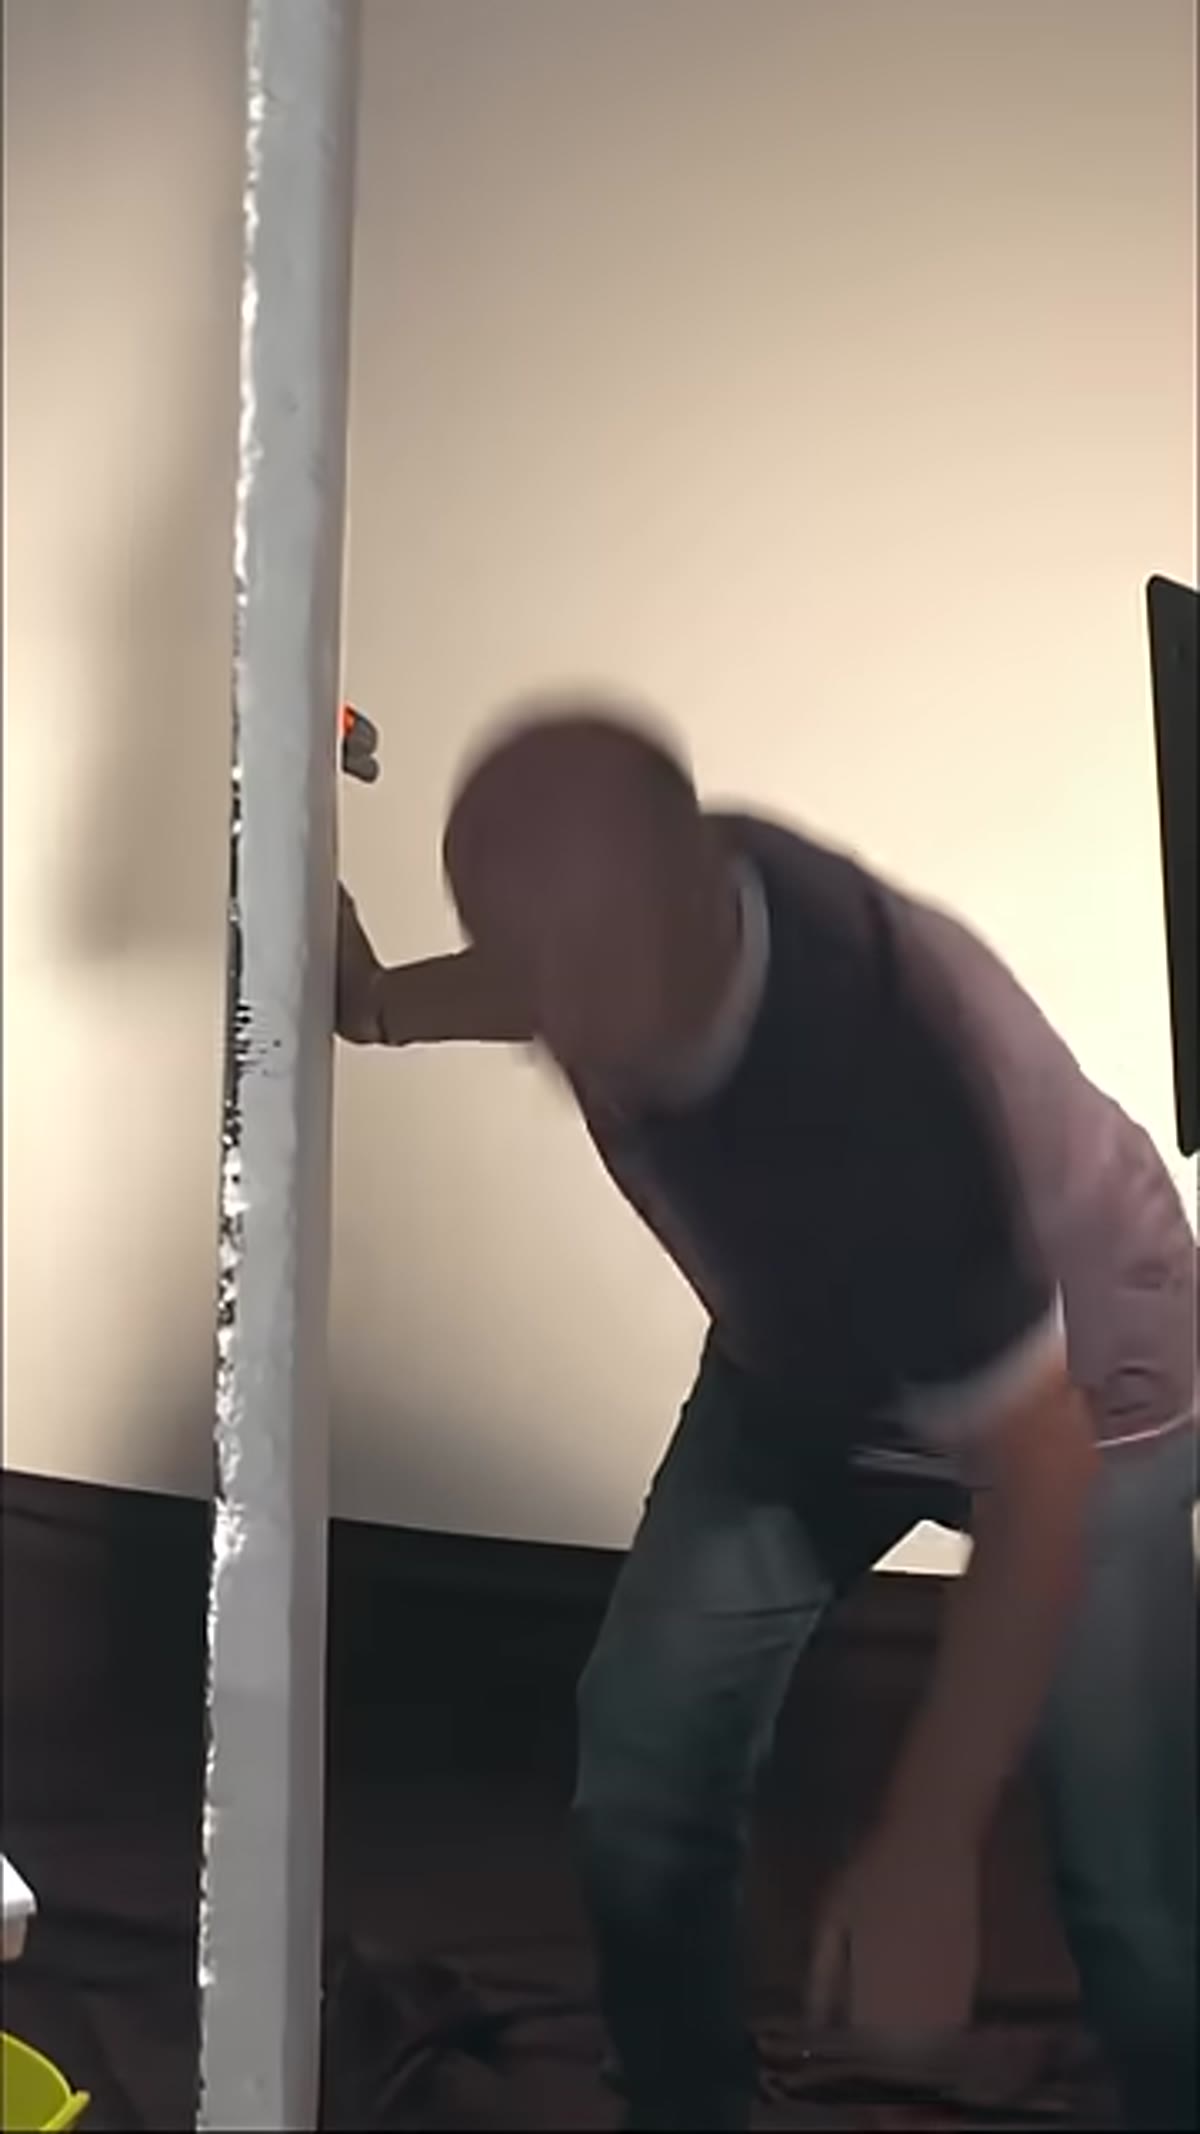 Presenter emphasizing the warning directly to camera
This is the core warning in the tutorial, and the presenter shares it from direct personal experience rather than theory. Painting a polyboard with oil-based paint causes the foam core inside to break down. The solvents in oil-based paint react with the foam, and the result is not just a ruined board. The board begins to melt, and as it does, it releases fumes that are genuinely harmful to breathe.
I have never made this specific mistake myself, but I have worked in a studio where someone once used the wrong spray paint on a reflector, and the smell alone was enough to clear the room for two hours. With a full-sized polyboard and oil-based paint, the situation is significantly worse. This is not a cosmetic issue. It is a health and safety one.
Step 5: Check the Paint Tin Before You Start
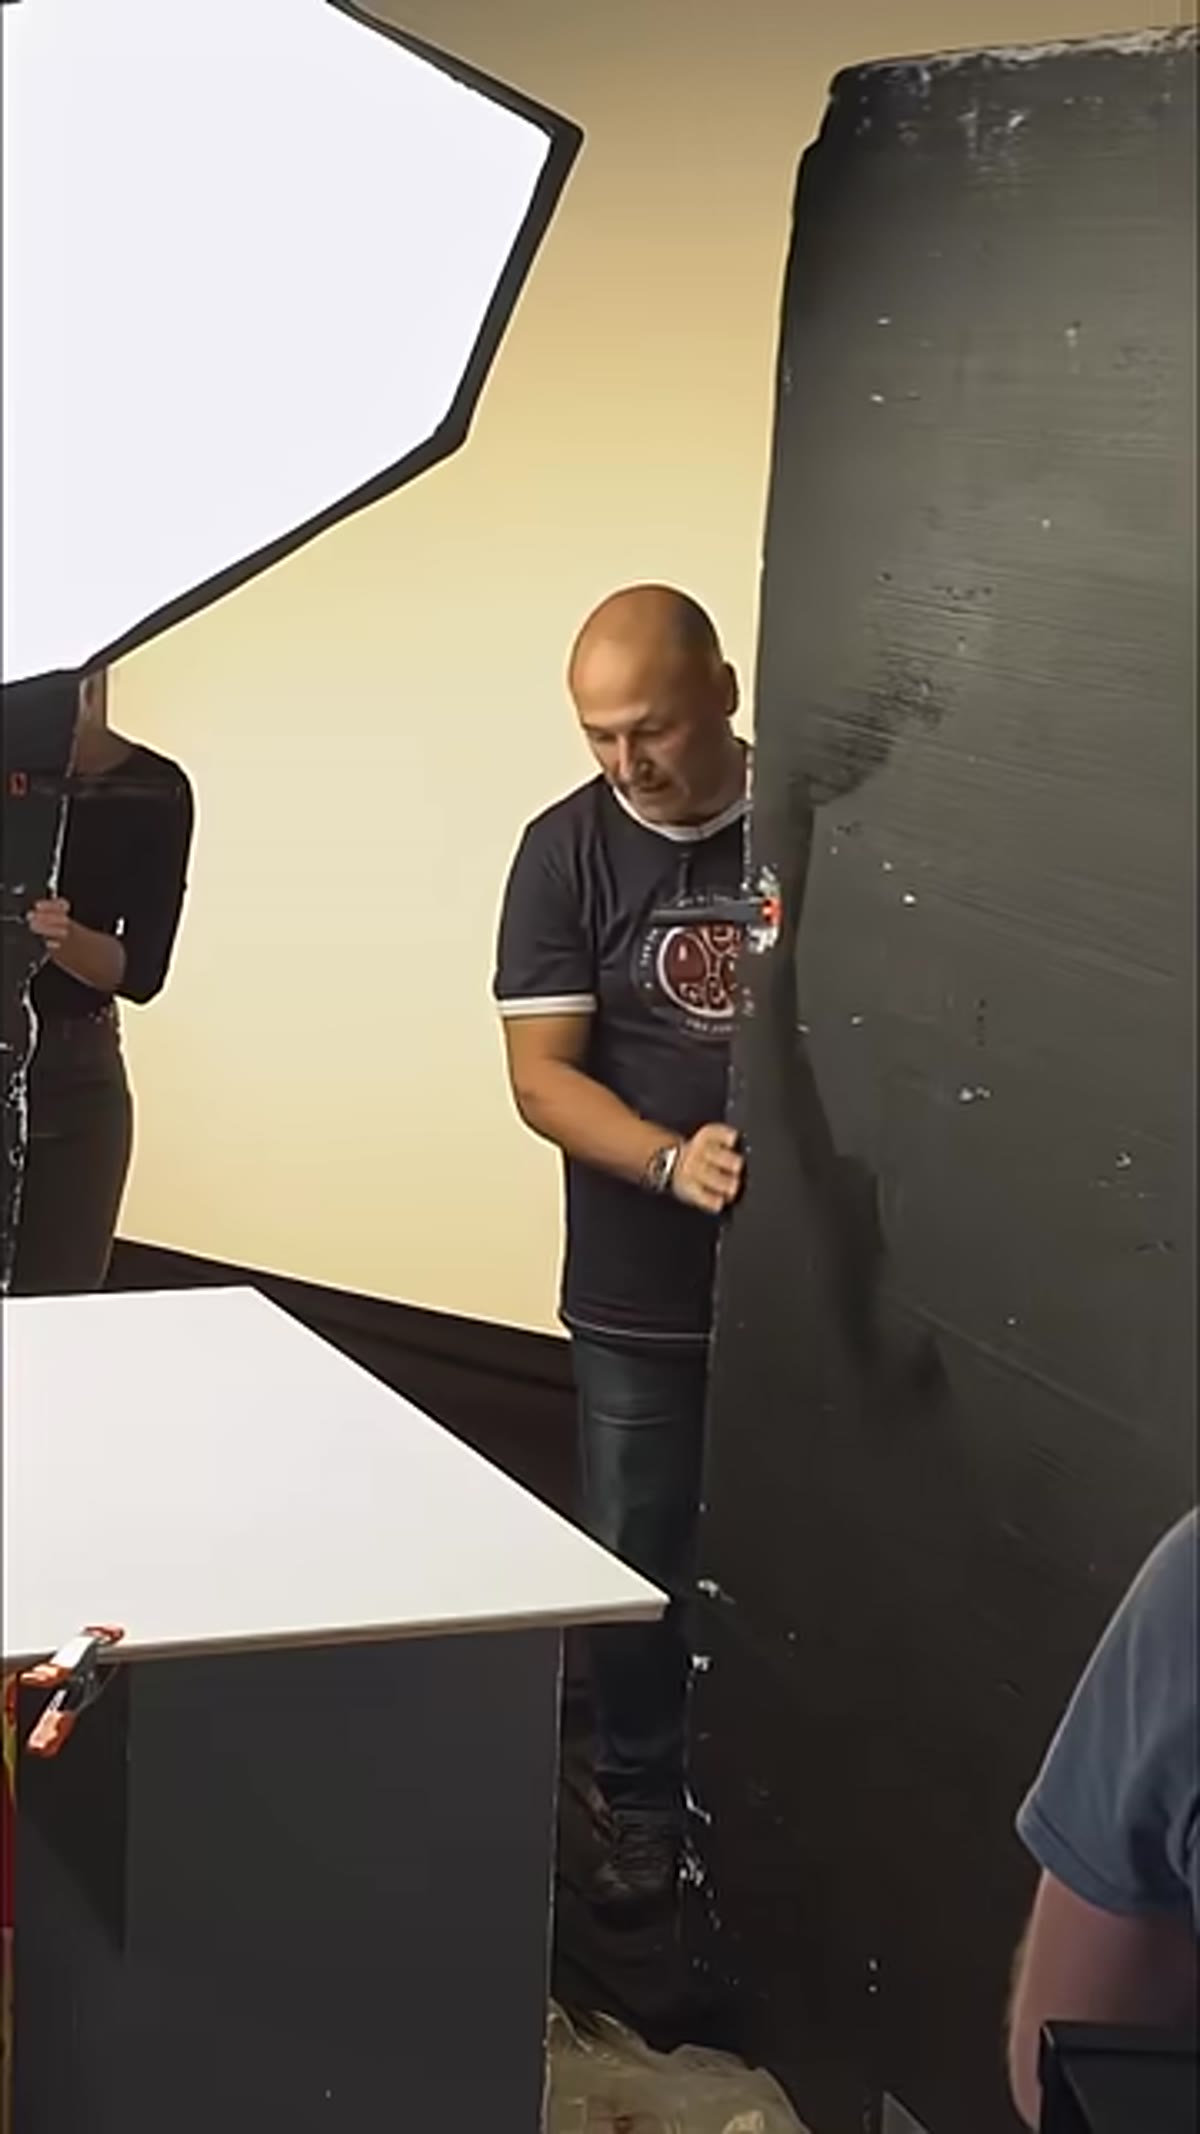 Final frame with presenter in studio holding paint tin
Before you repaint any studio board, turn the tin over and check the cleanup instructions. If the instructions say to clean brushes with white spirit, turpentine, or any solvent, it is oil-based. Put it back. If the instructions say to clean brushes with water, you are good to go.
This takes ten seconds and eliminates any guesswork. It is the same habit I use when I am testing any new material in the studio. I want to know exactly what I am working with before it goes anywhere near my equipment. Labels matter. I label every light in my studio with masking tape and a marker, and I treat paint tins the same way. Know what it is before you use it.
A Note From My Own Studio Practice
Over the years I have found that polyboards need refreshing more often than most photographers expect. White emulsion scuffs, yellows slightly under heavy use, and starts to introduce a subtle warm cast that you might not notice until a skin tone comes back looking slightly off in post. I repaint my white sides every six to twelve months depending on how hard they have been working, and I always do it in a ventilated space even with water-based paint.
For the black side, I have switched to a water-based chalkboard-style flat black in the last couple of years. It gives an even deeper matte finish than standard wall paint and holds up well over time. It is still fully water-based, so there is no risk to the foam core, and the light absorption is noticeably cleaner on a dark background setup.
The single most important takeaway here is this: oil-based paint and foam-core polyboards are chemically incompatible, and the consequences go beyond damaged gear. Always use water-based emulsion on the white side and water-based flat black on the dark side. Check the tin before you open it, and when in doubt, the cleanup instructions tell you everything you need to know.
Watch the full tutorial on YouTube
Comments (7)
Just used this on a wedding shoot edit. Client was thrilled.
I've watched a dozen tutorials on this and yours is the clearest by far.
Just subscribed. If the rest of your content is this good, I'm in.
Wow, I had no idea you could do this. Mind blown.
Well explained. I think my audience would really benefit from this — mind if I link to it?
This is going in my reference folder. Incredibly useful.
I keep coming back to this article. It's that useful.
Leave a Comment