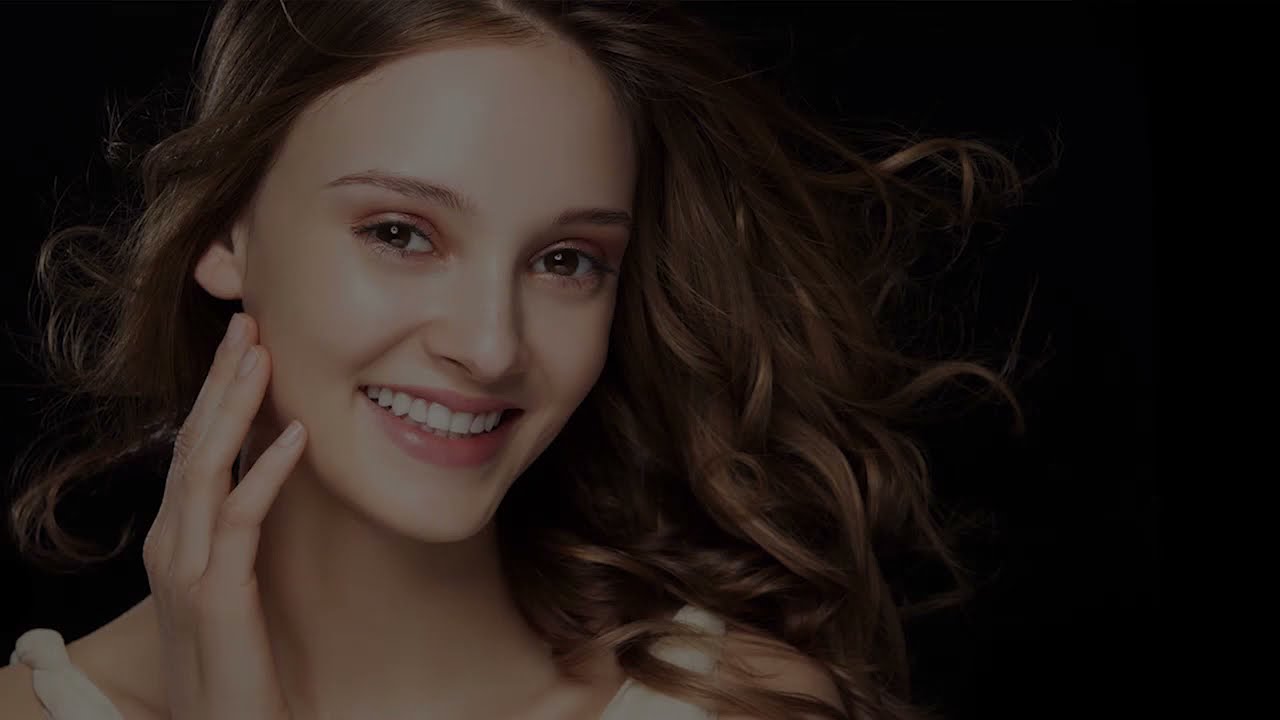
Every time I take on a new portrait client, the posing conversation starts the same way. They’ve scrolled through Pinterest, they have references saved, and they want to look like that. What they don’t realize, and what took me an embarrassingly long time to fully internalize myself, is that the pose alone isn’t what creates a flattering image. The pose only works when the camera is in the right position relative to the subject. Change the angle or the focal length, and the same pose can look completely different. That relationship between optics and posing is something a lot of tutorials skip right over.
In this CreativeLive tutorial on posing individuals full length, the instructor breaks down exactly that foundation before touching a single posing suggestion. Watch the full tutorial on YouTube. I’ve been shooting studio work for commercial and editorial clients for years, and I still found myself nodding along and immediately wanting to work through this with my next subject. The core insight is deceptively simple: your camera is not a neutral recorder of poses. It is an optical instrument that distorts relative size based on distance, and once you understand that, you stop posing by feel and start posing by geometry.
Step 1: Understand the Core Optical Rule Before You Touch a Pose
 Hand extended toward camera appearing much larger than face
Whatever is physically closest to the camera appears largest in the frame. This is not a stylistic choice or a quirk of a particular lens. It is a consistent optical property of how cameras render three-dimensional space onto a flat sensor. The instructor demonstrates this with his own hand: held near his face, it looks normal. Extended toward the camera, it dominates the frame. That same principle applies to every part of your subject’s body.
Hand extended toward camera appearing much larger than face
Whatever is physically closest to the camera appears largest in the frame. This is not a stylistic choice or a quirk of a particular lens. It is a consistent optical property of how cameras render three-dimensional space onto a flat sensor. The instructor demonstrates this with his own hand: held near his face, it looks normal. Extended toward the camera, it dominates the frame. That same principle applies to every part of your subject’s body.
This is the rule everything else builds on. Before you think about arms, legs, chin angles, or weight distribution, anchor yourself to this: closer means larger, farther means smaller. Write it on a piece of tape and stick it to your monitor if you have to. I have a lighting diagram app on my phone, and I’ve started adding posing notes alongside my light placement sketches for exactly this reason.
Step 2: Use Hip Placement to Control How the Lower Body Reads
 Subject shifting hips away from camera to reduce apparent width
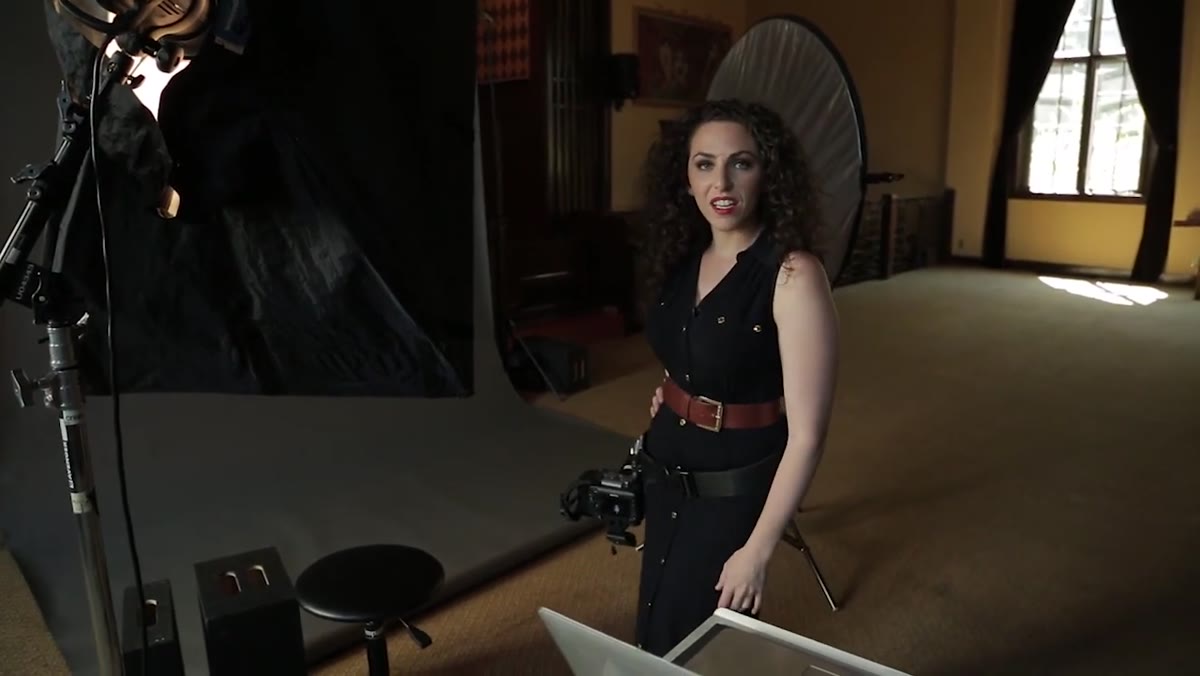
The most practical application of the distance-equals-size rule is controlling how the hips and midsection appear. When a subject’s weight is on their front leg and their hip is pushed toward the camera, the lower half of the body looks wider because it is closer to the lens. When they shift their weight to the back leg and push their hips away, the lower body recedes in the frame and appears visually narrower.
Subject shifting hips away from camera to reduce apparent width
The most practical application of the distance-equals-size rule is controlling how the hips and midsection appear. When a subject’s weight is on their front leg and their hip is pushed toward the camera, the lower half of the body looks wider because it is closer to the lens. When they shift their weight to the back leg and push their hips away, the lower body recedes in the frame and appears visually narrower.
The instructor shows a side-by-side comparison that makes this undeniable. The subject’s apparent hip width is roughly halved simply by changing which direction her hips are facing relative to the camera. No retouching, no lens swap, no change in camera position. Just a deliberate shift in weight. When I’m working with clients who are self-conscious about their midsection, this is the first adjustment I make. It is reliable, it is quick, and it requires no awkward conversation.
Step 3: Lean the Upper Body to Create a Counterbalance
 Subject leaning chest and face toward camera while hips push back
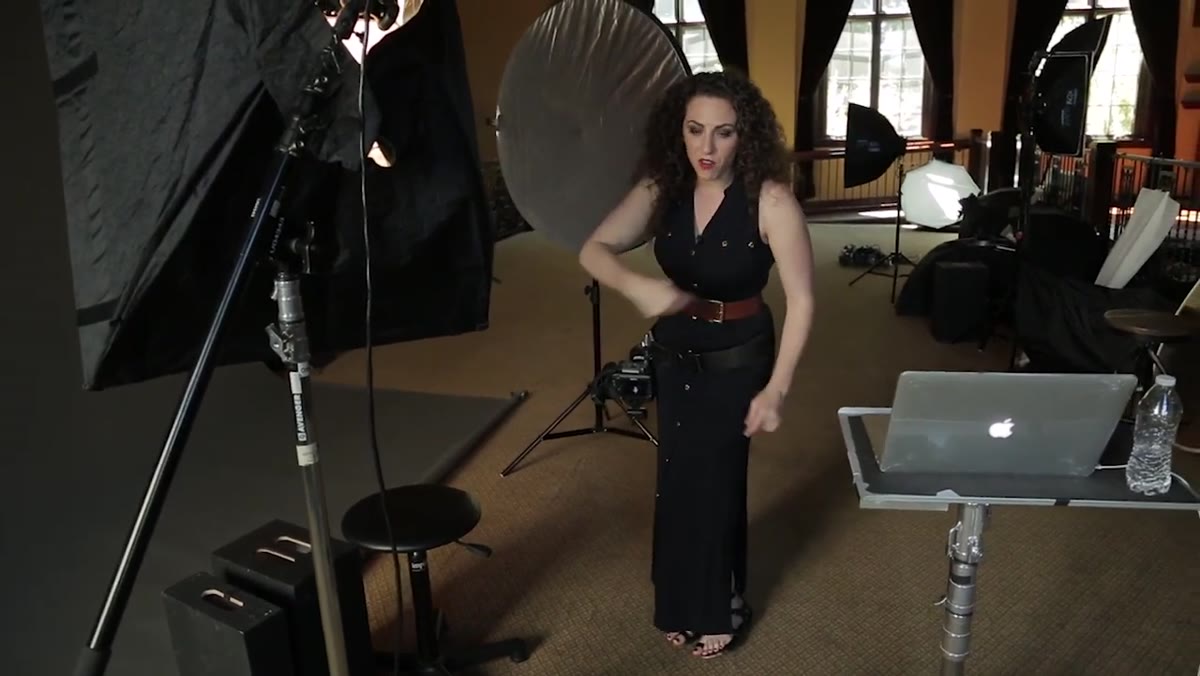
Once the hips are pushed back, leaning the chest and face slightly toward the camera completes the shape. Now you have a subject whose upper body is the closest element to the lens, making the face and chest appear more prominent, while the lower body recedes. The result is a natural-looking S-curve that photographs well without looking forced or contorted.
Subject leaning chest and face toward camera while hips push back
Once the hips are pushed back, leaning the chest and face slightly toward the camera completes the shape. Now you have a subject whose upper body is the closest element to the lens, making the face and chest appear more prominent, while the lower body recedes. The result is a natural-looking S-curve that photographs well without looking forced or contorted.
This combination, hips back and weight on the rear leg, upper body angled slightly forward, is one of the most consistently useful posing positions I return to in the studio. It works for a wide range of body types because it creates the illusion of a defined waist without any physical compression. Think of it as using the camera’s own optics as your slimming tool.
Step 4: Adjust Camera Height to Shift What Appears Closest to the Lens
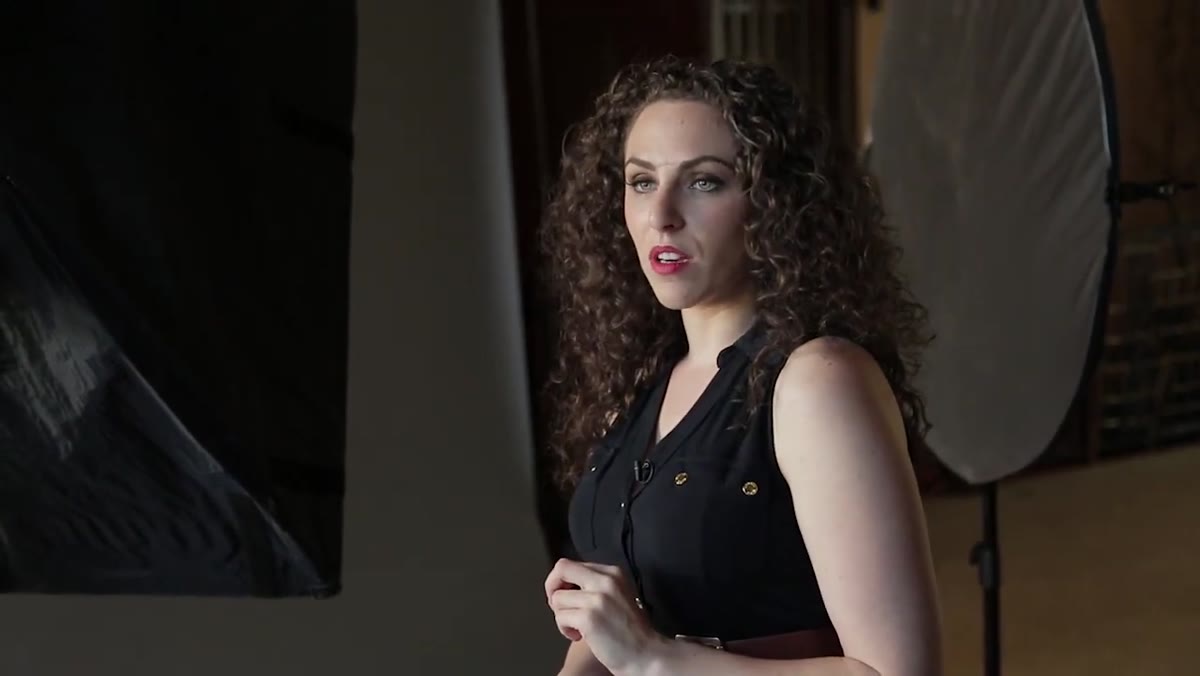 Demonstrating how shooting from a higher angle brings eyes closer to camera
The same distance-equals-size principle applies vertically, not just horizontally. If you raise your camera and shoot slightly downward, the top of the frame, meaning the subject’s eyes and forehead, becomes the closest element. This makes the eyes appear more prominent relative to the rest of the body, which is generally flattering in portraiture.
Demonstrating how shooting from a higher angle brings eyes closer to camera
The same distance-equals-size principle applies vertically, not just horizontally. If you raise your camera and shoot slightly downward, the top of the frame, meaning the subject’s eyes and forehead, becomes the closest element. This makes the eyes appear more prominent relative to the rest of the body, which is generally flattering in portraiture.
Shooting from a low angle does the opposite. When the camera is positioned at midsection height and aimed upward, the midsection becomes the closest part of the subject to the lens. For full-length work, that is almost always unflattering unless the specific goal is to emphasize the lower body. Height adjustments are just as much a posing decision as where you tell your subject to put their hands.
Step 5: Make Camera Angle and Pose Work Together, Not Separately
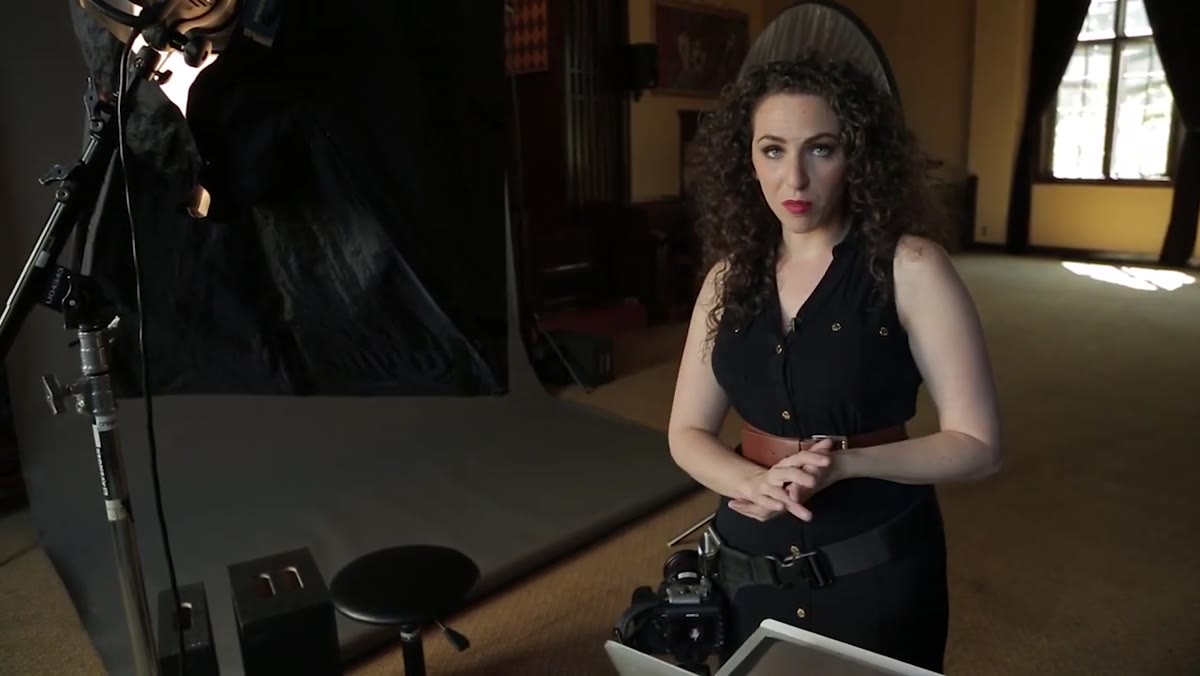 Discussing camera angle as complement to physical pose adjustments
The instructor’s key point here is that pose and camera angle are not separate decisions. They compound each other. A pose that looks mediocre from eye level might become excellent from a slightly elevated camera position because you’re now reinforcing the optical effect rather than fighting it. Conversely, a carefully constructed pose can be undermined by a camera angle that puts the wrong part of the body closest to the lens.
Discussing camera angle as complement to physical pose adjustments
The instructor’s key point here is that pose and camera angle are not separate decisions. They compound each other. A pose that looks mediocre from eye level might become excellent from a slightly elevated camera position because you’re now reinforcing the optical effect rather than fighting it. Conversely, a carefully constructed pose can be undermined by a camera angle that puts the wrong part of the body closest to the lens.
In my own studio workflow, I tend to lock in my camera height before I start directing a pose. I’ll identify what the image needs to emphasize, typically the face and eyes in most commercial work, and position myself accordingly. Then the posing direction builds from that anchor point. It keeps things systematic rather than reactive.
What I’d Add From My Own Shooting Experience
The tutorial focuses on a single subject in a controlled environment, which is the right place to learn this. But when I’m shooting for editorial clients, I’m often contending with multiple subjects, specific wardrobe, and a creative director standing two feet away. The one habit that has kept this framework usable under pressure is making it a verbal cue rather than a physical adjustment. Instead of walking over and repositioning a subject, I say: “Push your back hip away from me and lean your shoulder toward me.” Clients respond to directional language. It translates the geometry into something they can execute on their own, which speeds up the session and keeps the energy moving.
The single most important takeaway from this tutorial is that posing is not just choreography. It is applied optics. Before you decide where to put someone’s hands or how to angle their chin, decide what you want to emphasize and then position both the subject and the camera so that the optical mechanics of distance are working for you. Get that foundation right, and a lot of the harder posing problems become much simpler.
Watch the full tutorial on YouTube to see the side-by-side comparisons that make this click visually. Some things you need to see to believe.
Comments (3)
Never thought of approaching it this way. Really creative.
Shared this with my photography group. Everyone loved it.
This is fantastic. I've been recommending this approach to my readers too.
Leave a Comment