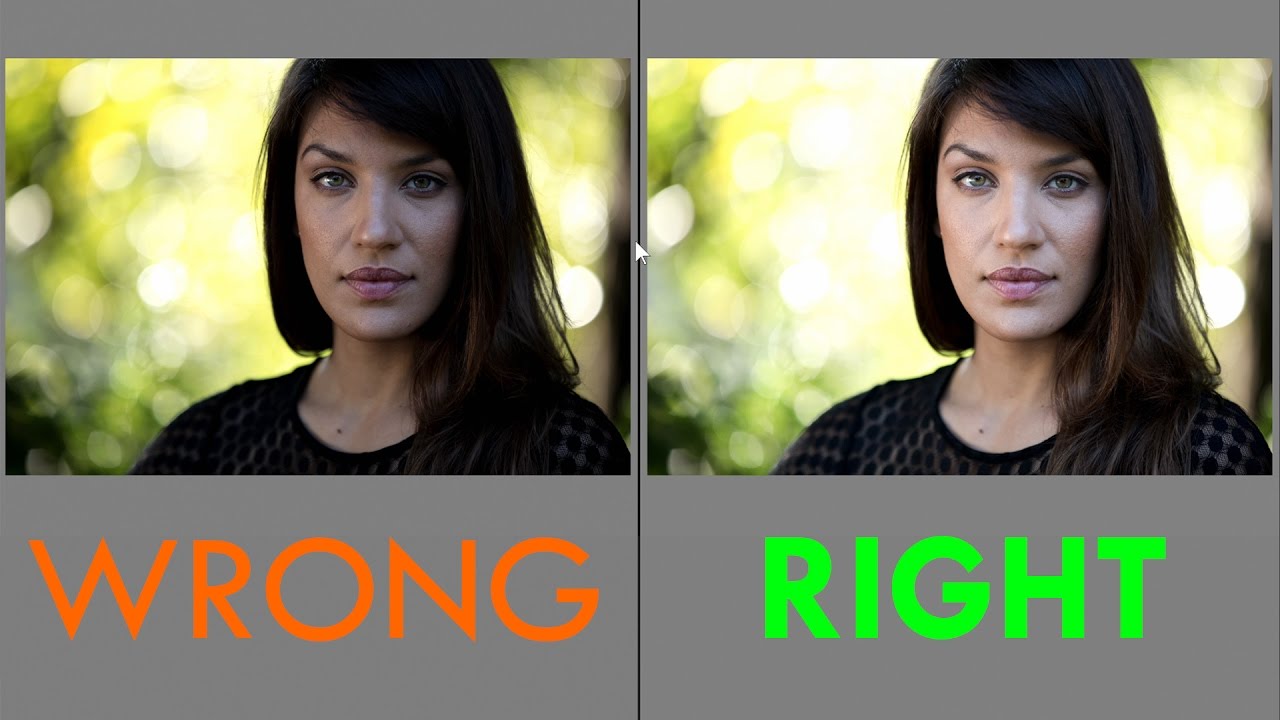
Every working photographer I know has a version of this story. You’re reviewing a shoot, the histograms all look reasonable, the backgrounds are clean, and then you zoom in on your subject’s face and it’s just… dim. Flat. Like someone left the key light two stops too low. The camera did exactly what it was designed to do, and the portrait still came out wrong.
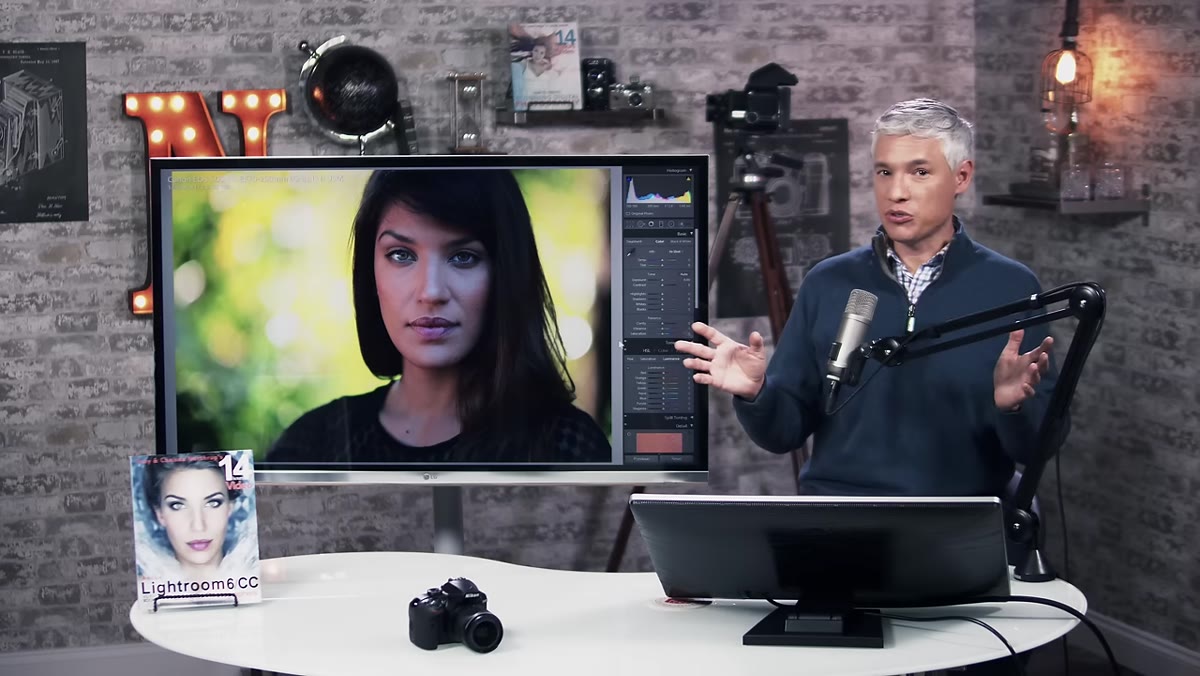
This is the single most common exposure mistake in portrait photography, and it took me longer than I’d like to admit to develop a reliable habit around it. When I came across Watch the full tutorial on YouTube from Tony and Chelsea Northrup, I watched it twice because they articulate the problem with a clarity that most tutorials miss. The issue isn’t technical ignorance. It’s that cameras are designed to average a scene toward middle gray, and when your subject is surrounded by a brighter background, the face pays the price. The fix is simpler than almost anyone expects.
What follows is a step-by-step breakdown of the technique from that tutorial, rewritten the way I’d explain it to an assistant on a shoot day.
Step 1: Recognize What the Camera Is Actually Doing
 Camera auto exposure producing dark subject against bright background
Your camera’s metering system looks at the entire frame and tries to render the average luminosity as middle gray. That works fine for landscapes. For portraits, it means the background is driving the exposure decision, and your subject’s face ends up in the left half of the histogram whether you notice it or not. Auto exposure isn’t broken. It’s just optimized for the wrong thing. The moment you understand that the camera is measuring the whole scene rather than your subject, you can stop fighting it and start compensating deliberately.
Camera auto exposure producing dark subject against bright background
Your camera’s metering system looks at the entire frame and tries to render the average luminosity as middle gray. That works fine for landscapes. For portraits, it means the background is driving the exposure decision, and your subject’s face ends up in the left half of the histogram whether you notice it or not. Auto exposure isn’t broken. It’s just optimized for the wrong thing. The moment you understand that the camera is measuring the whole scene rather than your subject, you can stop fighting it and start compensating deliberately.
Step 2: Crop Into the Subject’s Face to Audit Your Exposure
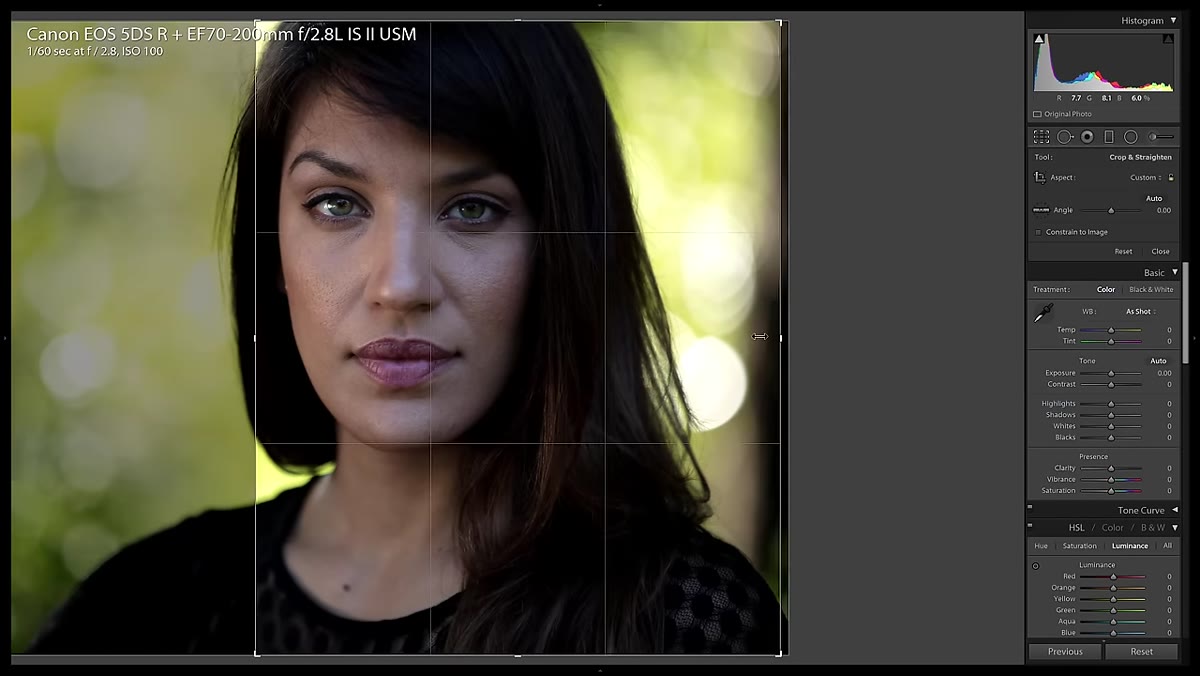 Cropped portrait showing face-only histogram skewed left
Here’s a diagnostic trick that changed how I review portraits. In Lightroom, crop tight on your subject’s face so the background is completely outside the frame. Now look at the histogram. If everything is bunched in the left half, the face is underexposed regardless of how balanced the original histogram looked. The crop isn’t a permanent edit. It’s just a way to remove the background’s influence on your histogram reading so you can evaluate the subject alone. I now do a version of this mentally while I’m shooting, but running this check during culling has caught problems I would have missed.
Cropped portrait showing face-only histogram skewed left
Here’s a diagnostic trick that changed how I review portraits. In Lightroom, crop tight on your subject’s face so the background is completely outside the frame. Now look at the histogram. If everything is bunched in the left half, the face is underexposed regardless of how balanced the original histogram looked. The crop isn’t a permanent edit. It’s just a way to remove the background’s influence on your histogram reading so you can evaluate the subject alone. I now do a version of this mentally while I’m shooting, but running this check during culling has caught problems I would have missed.
Step 3: Adjust Exposure for the Face, Not the Scene
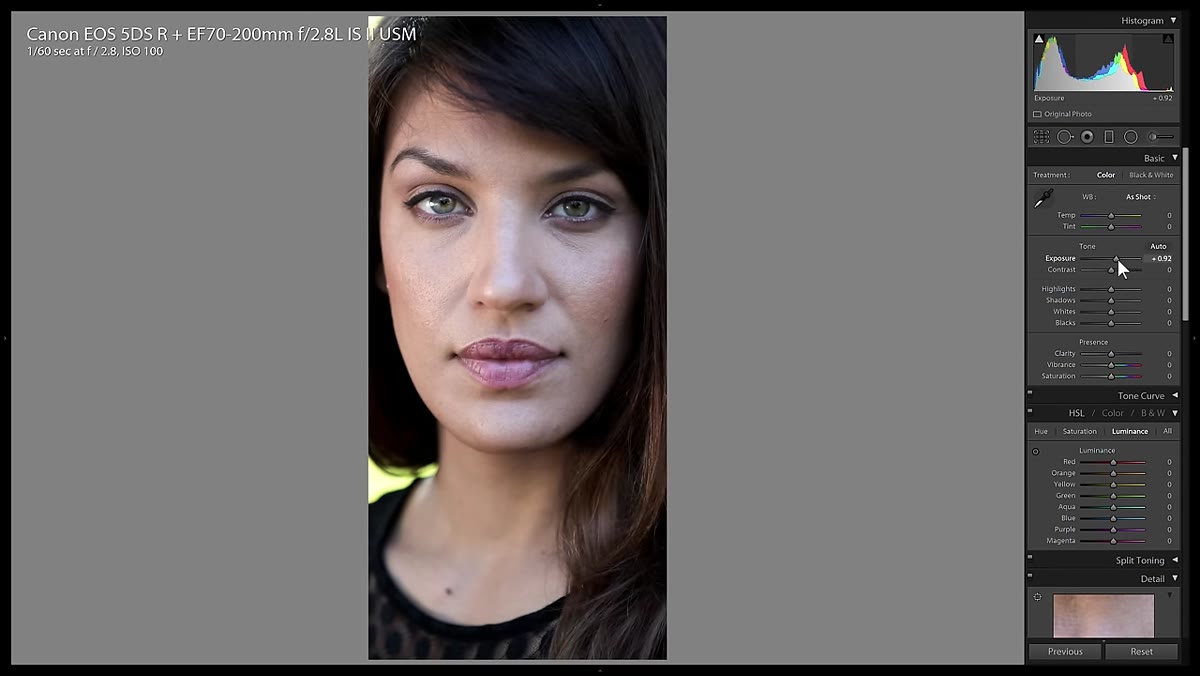 Exposure slider being raised to correct subject’s face brightness
With the crop still in place, drag the exposure slider up until the face histogram looks correct. For portraits, you want skin tones sitting in the right third of the histogram, not dead center. Middle gray is not a flattering target for human skin. It reads as flat and underlit, even if it’s technically “correct” by metering standards. Push the exposure up until faces look like they’re actually lit. The background is still there, and yes, it may clip. That’s acceptable. You’re photographing a person, not a sky.
Exposure slider being raised to correct subject’s face brightness
With the crop still in place, drag the exposure slider up until the face histogram looks correct. For portraits, you want skin tones sitting in the right third of the histogram, not dead center. Middle gray is not a flattering target for human skin. It reads as flat and underlit, even if it’s technically “correct” by metering standards. Push the exposure up until faces look like they’re actually lit. The background is still there, and yes, it may clip. That’s acceptable. You’re photographing a person, not a sky.
Step 4: Remove the Crop and Evaluate the Full Frame
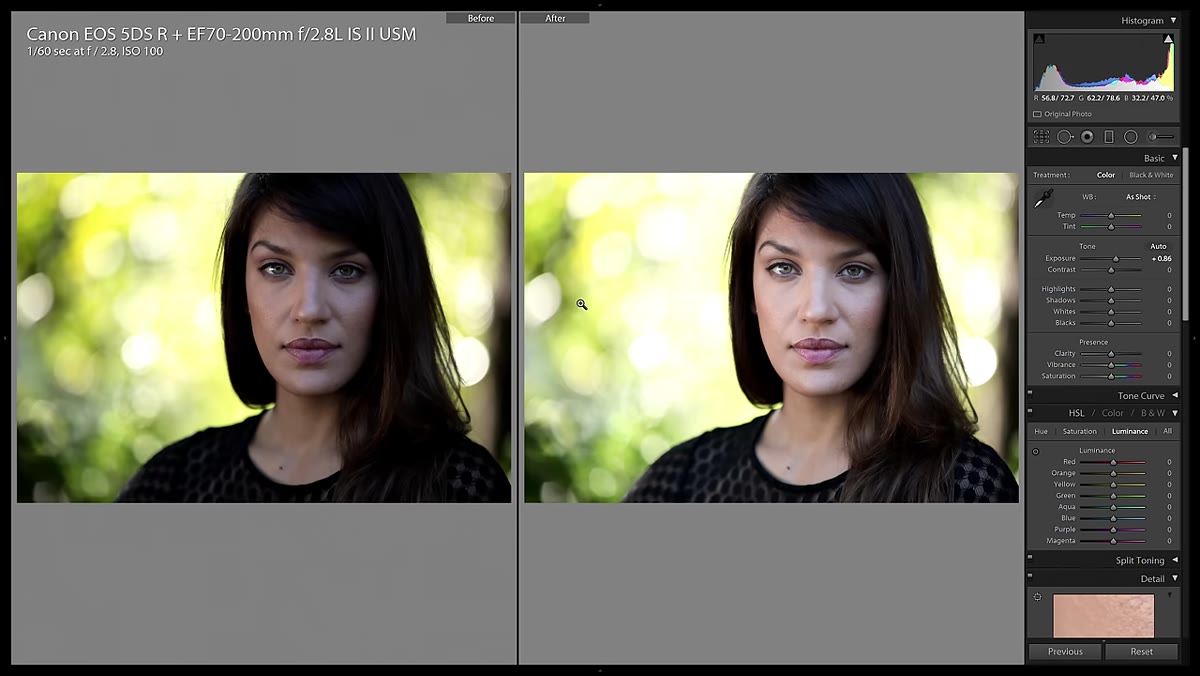 Before and after comparison showing brighter face against blown background
Once you’ve set exposure based on the face, remove the crop and look at the full image. The background will likely be brighter than before, possibly blown in areas. In many portrait situations, that’s completely fine. A softly blown background reads as airy and clean. The viewer’s eye goes to the brightest, sharpest element in the frame. If your subject’s face is properly exposed and the background is lighter, you’ve actually used that perceptual tendency in your favor. The image will feel more intentional, not less.
Before and after comparison showing brighter face against blown background
Once you’ve set exposure based on the face, remove the crop and look at the full image. The background will likely be brighter than before, possibly blown in areas. In many portrait situations, that’s completely fine. A softly blown background reads as airy and clean. The viewer’s eye goes to the brightest, sharpest element in the frame. If your subject’s face is properly exposed and the background is lighter, you’ve actually used that perceptual tendency in your favor. The image will feel more intentional, not less.
Step 5: Use the Highlights Slider to Recover Background Detail
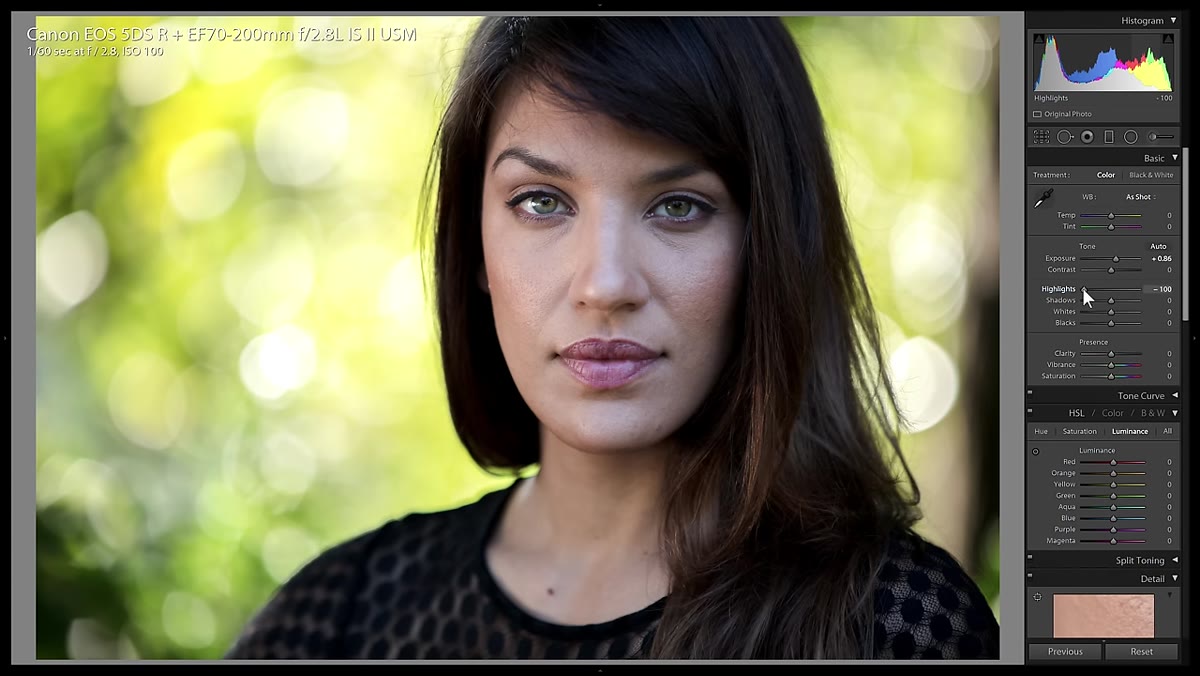 Highlights slider pulled down to recover background without affecting face
If you need detail back in the background, whether that’s flowers in a bouquet, overcast sky texture, or a location element that matters contextually, pull the highlights slider down. Do this after you’ve locked in the face exposure. The highlights recovery in Lightroom works on the brightest parts of the image without significantly affecting midtones, which means your subject’s skin will stay at the brightness you set. You’re not trading face exposure for background detail. You’re recovering the background independently. Drag until the background looks intentional, then stop.
Highlights slider pulled down to recover background without affecting face
If you need detail back in the background, whether that’s flowers in a bouquet, overcast sky texture, or a location element that matters contextually, pull the highlights slider down. Do this after you’ve locked in the face exposure. The highlights recovery in Lightroom works on the brightest parts of the image without significantly affecting midtones, which means your subject’s skin will stay at the brightness you set. You’re not trading face exposure for background detail. You’re recovering the background independently. Drag until the background looks intentional, then stop.
Step 6: Apply the Same Logic to Non-Portrait Subjects
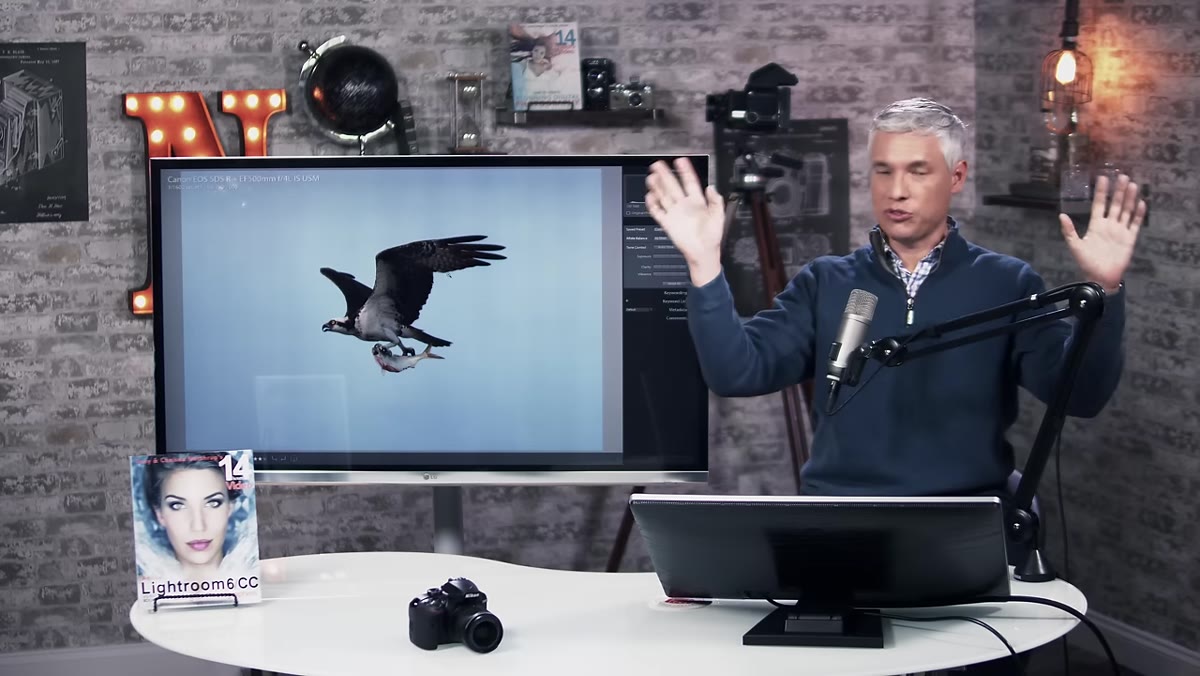 Wildlife bird photo underexposed against bright sky background
The tutorial extends this thinking to wildlife and bird photography, and the logic is identical. When a bird is photographed against an open sky, the camera meters for the large bright area and the subject goes dark. The fix is the same: expose for the subject, accept that the sky may clip, and recover highlights afterward if needed. I’ve started thinking about this as a general principle rather than a portrait-specific tip. Whenever your subject is significantly darker than its surroundings, the camera will underexpose it. Compensate with positive exposure compensation in camera, or correct it in post using this crop-and-expose method.
Wildlife bird photo underexposed against bright sky background
The tutorial extends this thinking to wildlife and bird photography, and the logic is identical. When a bird is photographed against an open sky, the camera meters for the large bright area and the subject goes dark. The fix is the same: expose for the subject, accept that the sky may clip, and recover highlights afterward if needed. I’ve started thinking about this as a general principle rather than a portrait-specific tip. Whenever your subject is significantly darker than its surroundings, the camera will underexpose it. Compensate with positive exposure compensation in camera, or correct it in post using this crop-and-expose method.
What I’d Add From Studio Work
The tutorial covers natural light and outdoor situations, but this exposure philosophy applies just as directly to controlled studio environments. In studio work, you have more control over the relationship between subject brightness and background brightness, but the trap is the same. I’ve seen photographers use a gray seamless background, light it to match the subject, then wonder why the portrait looks lifeless. The answer is almost always that the face needs to be brighter than the background by at least a stop, sometimes more, depending on skin tone.
My practice now is to take a test frame, pull it into Lightroom, and do exactly what this tutorial describes: crop to the face, check the histogram, and confirm that skin tones are sitting in the right third. I keep notes on this in my lighting journal alongside the setup diagram for every shoot. When I come back to a setup six months later, I want to know not just where the lights were placed but where the face was landing on the histogram. It sounds obsessive, but it’s saved more than a few repeat clients from getting images that feel mysteriously flat.
The single most important thing this tutorial taught me to say out loud: the background is the background. It exists to support the subject, not compete with it for proper exposure. Train yourself to read the histogram with the face in mind, not the frame, and your portraits will immediately look more professional.
Watch the full tutorial on YouTube to see Tony walk through the before-and-after comparisons live. Seeing the histogram shift in real time makes the concept click faster than any written description can.
Comments (1)
Love how you break down complex stuff into manageable steps.
Leave a Comment